HDMI cable is a standard interface used for transmitting audio and video signals. Like every other cable, HDMIs too can break down after long-term use. There is also a possibility that you have a defective cable from the start.
This can happen if the pin configuration inside the connectors wears out or gets affected by dirt and debris. You must even look if the insulated protection in the HDMI cable is compromised. HDMI ports also can be the culprit for the cable not functioning as intended.
Basic Troubleshooting
Whenever an HDMI cable is not working it might have something to do with a faulty connection. Therefore the first thing to do is check the HDMI connections on your computer. To start with, ensure that the HDMI is not loosely connected. Also, connect the HDMI cables to another port and check if this resolves the problem.
If the PC has a dedicated GPU, ensure that you have plugged in the HDMI cable in the GPU’s port. Some systems may not detect the display unit if the HDMI is connected to the motherboard’s port in such a case.
Check the Input Source
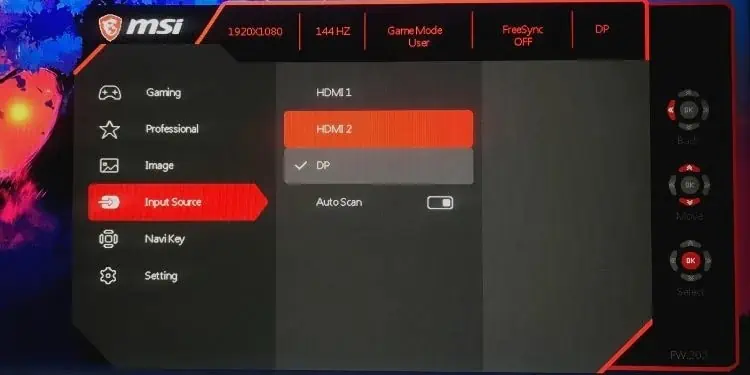
When the input source for the display unit is wrongly configured, it will show a “No signal” error message. This message could look like something is wrong with the HDMI cable. Setting the HDMI as the input source can automatically fix the issue.
- Turn on the monitor.
- Locate the menu button on your monitor and press it. It must be either on the side or on the back of the monitor.
- Find the setting for the Input source.
- Select HDMI.

Inspect for Damage
The first thing you must verify is that the cable doesn’t have any visible physical damage on it. You can check also it by using another HDMI cable to connect to the computer.
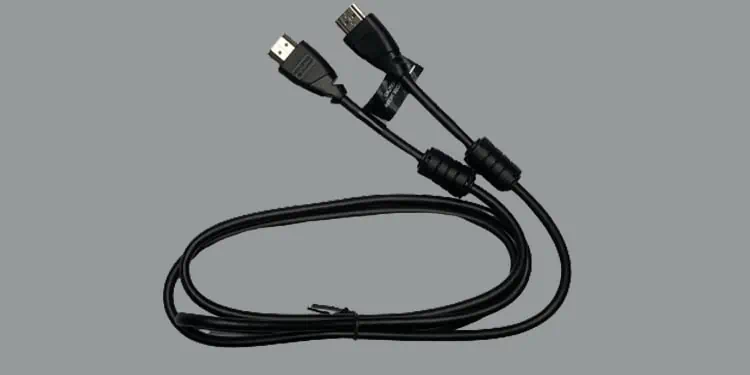
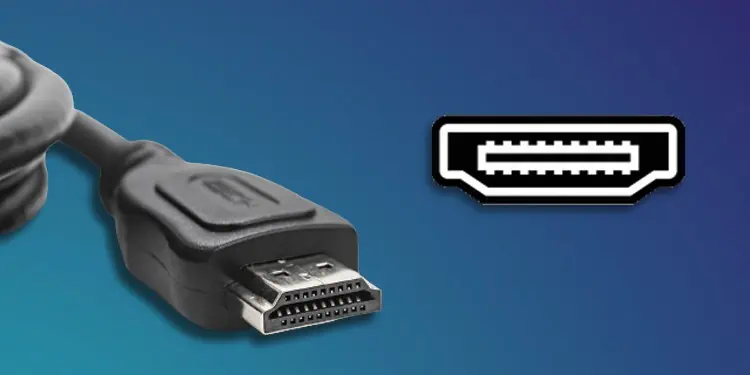
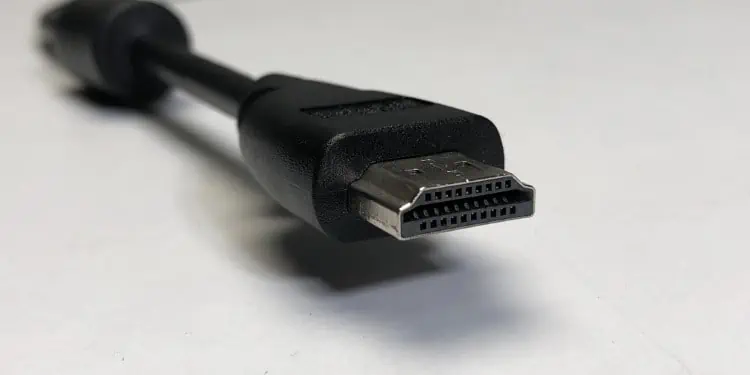
A standard HDMI cable has a 19-pin connector. There are chances that these pins are broken. The connector also sometimes gets clogged by dirt and debris that halts the connection for the cable. To ensure the cable is working fine, inspect the head of the HDMI cable and verify that all 19 pins are visible and the configurations are correct.
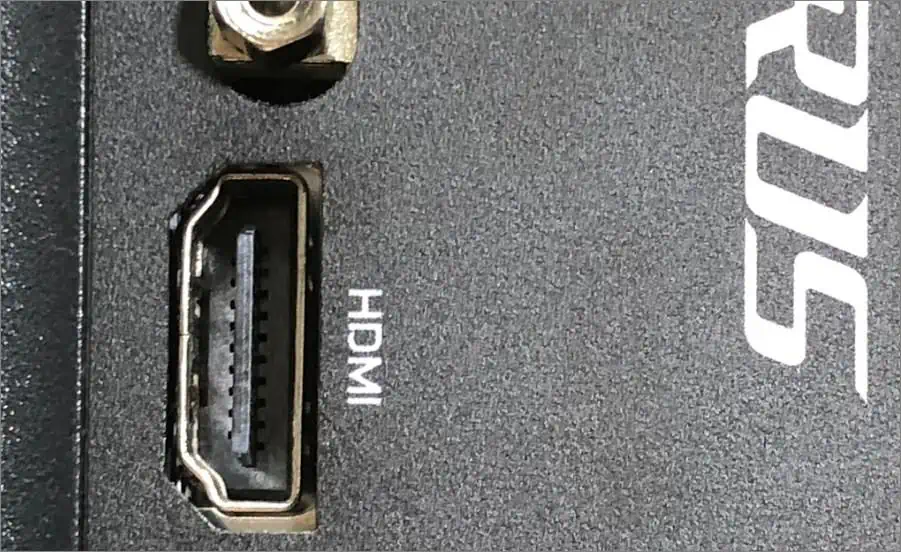
The next thing you have to do is check the HDMI port. If you have used a spare HDMI cable to connect to the port and it does not work, the problem can be with the port itself. The port can be bent which can restrict the connector from plugging in rightly.
Clean the Ports and Connectors
Use compressed air cans or blowers to remove the dust from the HDMI port. For thorough cleaning, you can also use isopropyl alcohol and q-tip and reach the corners of the port.
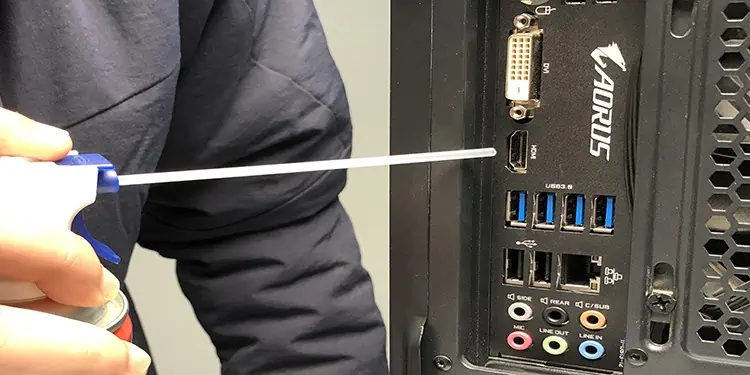
However, turn off the computer and disconnect all the cables and connectors before doing so. After you are done cleaning, leave the computer as it is for some time and let the moisture dry out. Then, use the same process and clean the HDMI connector.
Reinstall Drivers
If you have already tried a spare HDMI cable and cleaned the ports but the issue still exists, then the suspicion goes toward the display drivers. Usually, outdated or corrupted display adapters and monitor drivers can trigger such display issues.
If you are using an outdated driver, performing updates can resolve the problem.
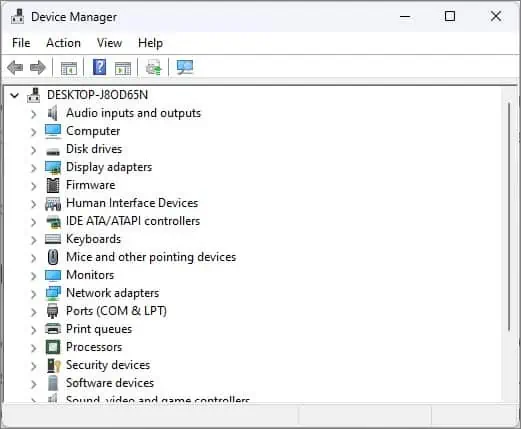
- Press the Windows key + X, and open the Device manager.

- Click on the Display Adapters to find the drivers under it.

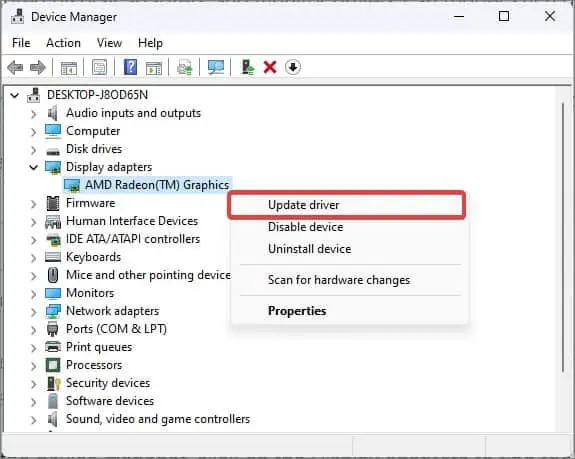
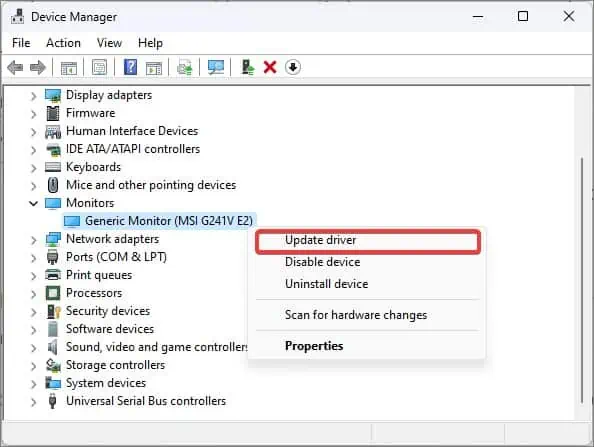
- Right-click on the Graphic card and select Update driver.
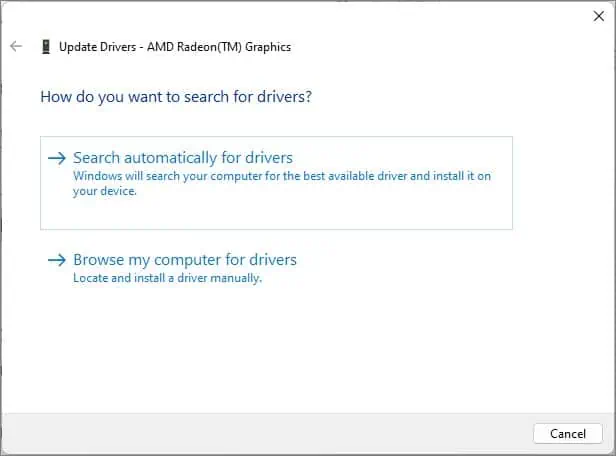
- Choose the option Search automatically for drivers and follow the prompt.

- Follow the same steps as above and reinstall the Monitor drivers.

If the issue has started after a driver update, this proves the case even further. In such a situation, roll back the display adapter driver.
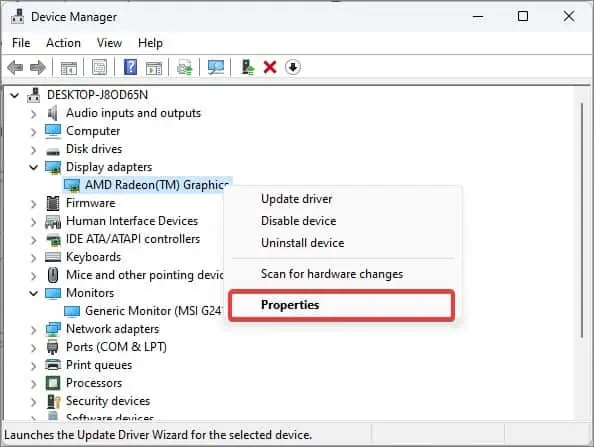
- On the device manager, click on the Display adapters to find the devices under it.

- Right-click on the device and select properties.
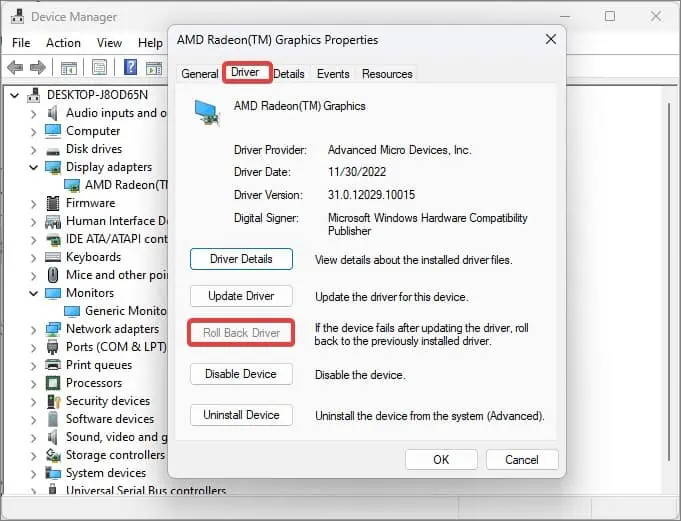
- Go to the Driver tab.
- Click on the Roll Back Driver button.

Uninstall Recent Windows Update
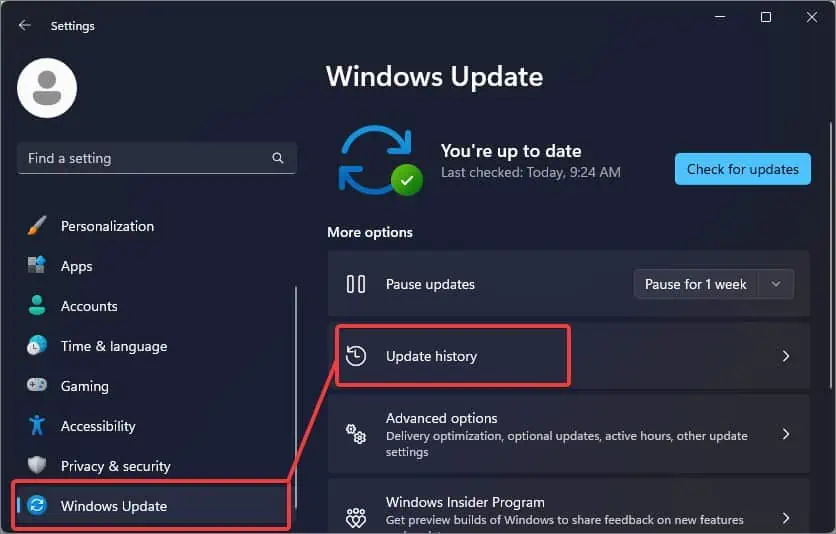
Some Windows updates are reported to trigger issues with the HDMI. Issues pertaining to the Display and the HDMI were seen in the earlier builds and updates of Windows 11. If you are experiencing the problem after a recent Windows update, you can uninstall it to get resolve it.
- Press Windows Key + I to open up Settings.

- Go to Windows Update > Update History.
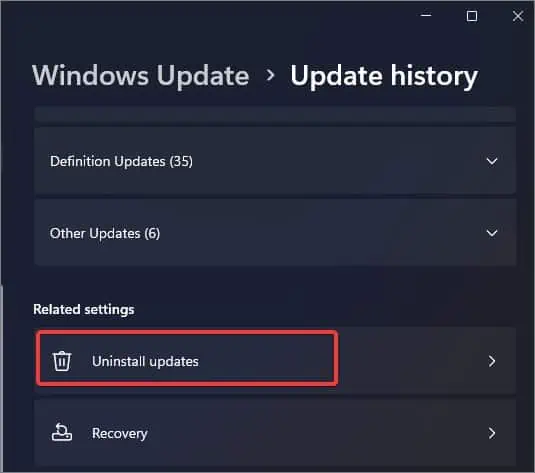
- Navigate to the Related settings section and click on Uninstall updates.

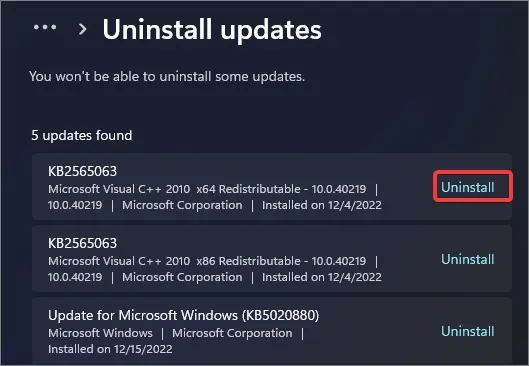
- Locate the recently installed Windows update package and click on Uninstall.

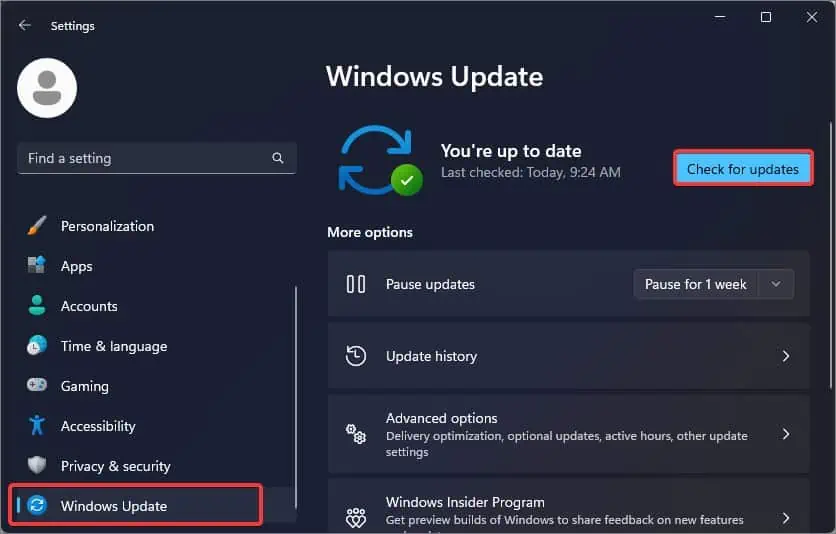
If you do not intend to uninstall the updates, check if there are some pending ones. The new update packages most certainly solve the bugs in the earlier releases.
- Open the Settings.
- Go to the Windows Updates section.
- Click on Check for updates.

- If any newly released update is found, click on the click on Download and install.

