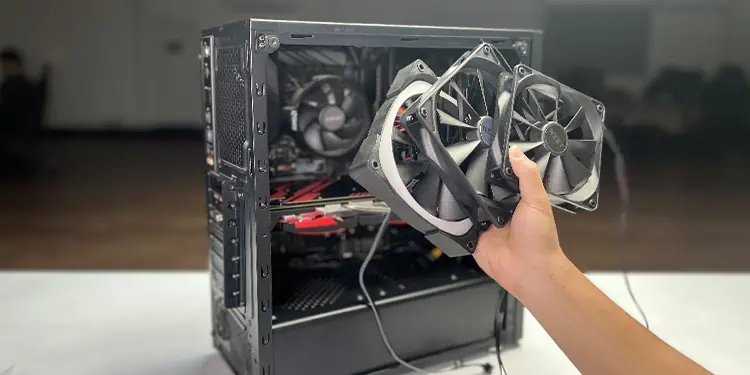
When building a PC, installing the right number of case fans is crucial for proper cooling and airflow. The ideal configuration depends on case size, components, and desired internal pressure. My first PC had only a single exhaust fan, causing GPU throttling under load. After adding two front intake fans, temperatures normalized.
Since then I’ve assembled countless builds in cases of all sizes. According to my experience, it’s better if you have the following numbers of intake and exhaust fans depending on your case and motherboard size.
| Case/MB Form Factors | No. of Fans | No. of Intake Fans | No. of Exhaust Fans |
| Mini-ITX (Small Form Factor) | 1 – 2 | 1 or 0 | 1 or 0 |
| MicroATX (Mini Tower) | 2 – 3 | 1 or 2 | 1 or 2 |
| ATX (Mid Tower) | 3 – 6 | 2-3 | 1-3 |
| EATX (Full Tower) | 5 – 8 | 3-5 | 2-3 |
This is only a rough estimate, and you have to take various other factors into account to figure out the exact number you’ll need.
Factors that Affect the Number of Case Fans
The case fans must fit on your PC and provide the best cooling performance with the least possible noise. You need to consider several factors to be able to set up the perfect cooling system on your PC.
Airflow and Static Pressure
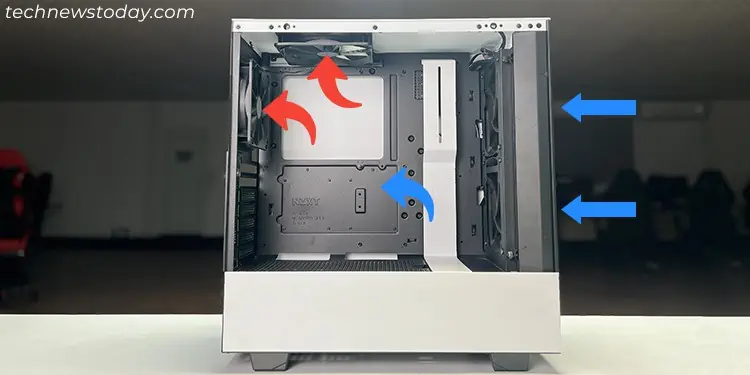
The cooling efficiency of a case fan further depends on two parameters— Airflow and Static Pressure. Airflow is the volume of air that the fan can push every time whereas static pressure represents how well the fan can push air against resistance.
You have to maintain airflow such that cool air from outside the PC gets to your PC components. Then, after these components heat up the air, the hot air goes out of your PC case. So you need to use intake fans to take in the cool air and exhaust fans to throw out the warm air.
- Since hot air moves upward and the air inside the case gradually heats up due to contact with the hot components, you need exhaust fans at the upper part of the case and intake fans at the lower.
- The standard configuration is to have intake fans at the front and bottom and exhaust at the top and back.
You also need to figure out the number of intake and exhaust fans depending on what type of air pressure you want to create inside the fan. You will have to orient them in a proper direction while installing them.
- With more intake than exhaust, it creates positive air pressure. It will cause the cool air to only get in through the intake fans through the dust filters so that dust won’t build up as quickly. However, the exhaust fans may not be able to throw out the hot air fast enough and cause heat to trap inside.
- With more exhaust fans than intake ones, it creates negative air pressure. It will help remove the heat from within the case, but air will get in through other openings, along with dust, to balance the amount of exhaust air. You will need to clean your fans regularly in such cases.
- An equal amount of intake and exhaust fans create neutral air pressure. It is the middle ground as it limits the trapping of heat and the introduction of dust inside the case.
- It’s generally preferred to maintain neutral or negative air pressure inside the case. But having a positive air pressure is also fine if you are particular about preventing dust build-ups.
Different case fans come with different specifications, such as fan size, RPM, and so on. These specifications determine the airflow and static pressure of air through the fans. Larger fans generally provide higher airflow while smaller ones generate more static pressure.
Case Size and Motherboard Layout
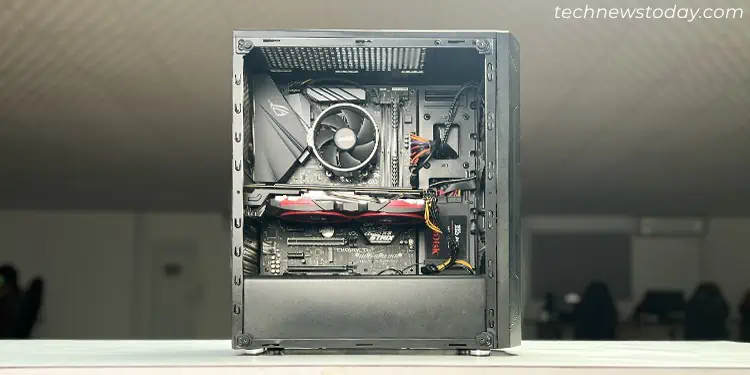
The form factor of your PC case, motherboard layout, and available clearance due to PC components will also determine how efficient each case fan is. So you need to consider them while picking the number and placement of the fans.
- Larger motherboards need more fans than smaller ones to provide enough airflow to all of its components. On the same note, they need larger cases that have enough fan slots for more case fans.
- Smaller motherboards can do with fewer fans, but it’s better to use fans that provide more static pressure so that the cables and the PC components don’t obstruct the airflow.
- But if you are using a smaller motherboard with a larger case, you can also use a larger number of quieter fans with lower RPM, as there’ll be less air resistance.
- Your cable management and placement of larger components like the GPU also affect airflow resistance. You need more fans or those that provide more static pressure to account for such obstructions.
- The more the number of components that generate heat, like CPU, GPU, storage drives, VRMs, etc., the more case fans you’ll need.
- The size of the fans you can use also depends on the available fan slots on your PC case.
Noise
Having a lot of case fans will produce more noise. So you’ll need to balance the number of fans to find a suitable middle point between cooling efficiency and noise level. On the other hand, using many fans may allow you to decrease their speed to lower RPM and quieten the overall setup.
You can also use quieter fan designs with lower RPM from the get-go. It’s better to use PWM fans instead of DC ones as well since they are usually quieter.
Also, since the mounting surface on the different panels is not the same, installing the fans on one side may produce more noise than another. You can install the fans on the areas that make the least noise while maintaining a proper airflow direction.
Most CPU air coolers actually make more noise compared to case fans. So you can also install a liquid cooler to make your setup overall quieter. It will also allow you to reduce the number or speed of the case fans, thereby quieting your PC even further.
Type of CPU/GPU Cooler
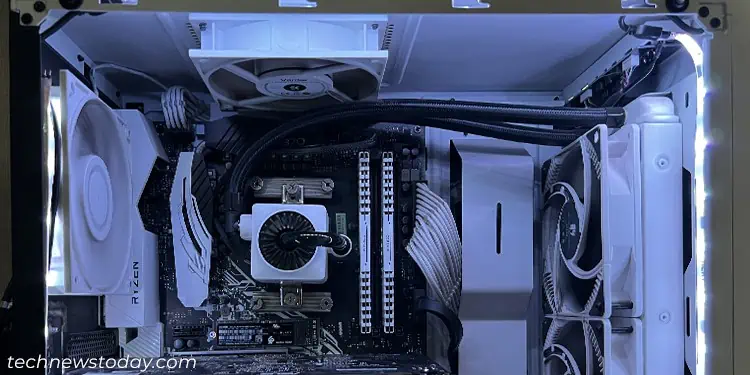
The CPU and the GPU generate the most heat on your system, so you need to maintain their temperature the most. Most CPU/GPU coolers need proper case airflow to work properly, so you need to set up your case fans accordingly.
- High end GPU and CPU come with higher Thermal Design Power (TDP) as they produce more heat. If your CPU and GPU coolers don’t have enough cooling capacity for these, you need to add more case fans.
- You need to set up your case fans differently depending on the type of CPU cooler.
- If you use air coolers for the CPU, it is more dependent on the airflow inside the PC case, so you need to have enough case fans to support it.
- If you use AIOs or custom liquid cooling setups, the CPU cooling won’t depend much on the case fans. They also come with a radiator, which has its own fans that you can use as additional exhaust or intake fans.
- However, the radiator fins will introduce turbulence into the intake and exhaust air through the radiator fans. You will need to account for it while setting your case fans.
- GPU coolers can have an open air cooling system or a blower fan.
- An open air cooling system exhausts hot air inside the case, so you need more case fans to provide a proper airflow direction for this heated air.
- A Blower fan-type cooling system directly exhausts hot air outside the case, so you don’t need to use more case fans.
Ambient Temperature
If you work in a warmer location, the base temperature of your system will be high from the start. It will add to the overall temperature your CPU, GPU and other components can reach. So you need to use more case fans in such locations.
On the flip side, you might be able to decrease the number of case fans for colder locations.
Workload
Whenever you run resource-intensive tasks, your CPU and/or GPU usage increases, consequently producing more heat. So if your usual workload is high, you need to use more case fans to maintain their temperature. You will also need a several case fans if you are overclocking your CPU or GPU.
Even during normal workloads, the CPU/GPU usage can spike up in bursts. Even with a suitable CPU/GPU temperature (let’s say 50°), it can reach a high value and cause temporary thermal throttling.
So it’s best to have enough case fans to keep these processors at a lower temperature (around 40°) even during less-intensive workloads.
Efficient Fan Configuration
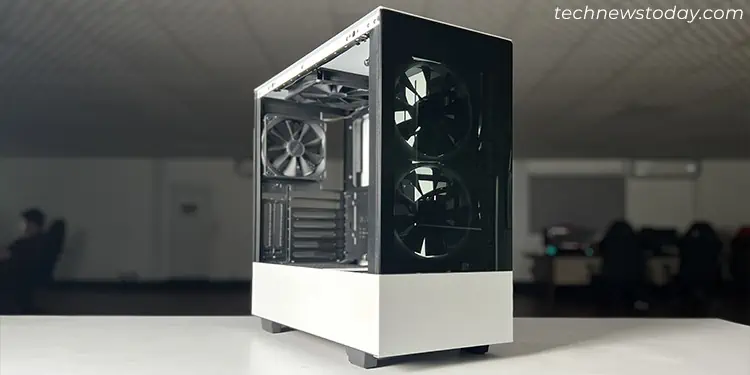
Now that you understand what factors you need to pay attention to, you should already have an idea of how many fans you want to choose.
Here, I’ve listed some of the efficient fan configurations I have used to help you get started. As you’ll see, I particularly like setting up slight positive air pressure. A small difference of temperature is not enough to justify the dust build up in my opinion.
But first, let’s take a brief look at how different the fans on individual panels are so that you have more information on how you should place the fans.
| Panel for Case Fan | Direction | Commonly Available Slots | Properties |
| Back Panel | Exhaust | 1 | – Front and side-mounted case fans have similar intents and purposes. – They introduce cool air to the whole interior of the PC to cool down the motherboard, the GPU and the CPU. |
| Top Panel | Exhaust | 2-3 | – The fan acts more on the processor than the graphics card. – The fan closer to the front might actually exhaust the cool air from the front case fan before it reaches the CPU. |
| Front / Side Panel | Intake | Front (2-3) Side (0-3) | – Front and side-mounted case fans have similar intents and purposes. – They introduce cool air to the whole interior of the PC to cool down the motherboard, the GPU, and the CPU. |
| Bottom Panel | Intake | 1-3 | – Works well on a larger PC to introduce more intake fans. – In a smaller case, it can draw in hot air from the PSU instead of cool air from outside. – The fan directly below the GPU will blow hot air from the GPU to the CPU, thereby heating it instead. |
1/2 Front and 1 Back
Using 1 or 2 fans at the front and 1 at the back is a good starting configuration if you have a small or mini-size case. If you have a dedicated GPU, it’s better to use 2 fans at the front. Otherwise, you can stick with 1 fan.
2 Front, 1 Back and 1 Top
It is the preferred setup for most mid-size cases. It works best if you have high-quality coolers for the CPU and the GPU. However, you can also use this configuration for a comparatively lower-end system on mid-size rigs.
You can also control the fan speed to provide lower noise during normal workload, as four fans will maintain the heat levels more efficiently.
2 Front, 1 Bottom, 1 Back, 1/2 Top
If you have a high-end system on a mid-sized case, it’s best to have fans on all sides. However, make sure that the bottom fan lies away from the power supply.
Also, while I recommend having 2 fans on the front, you can choose to use only one fan on the top if you use a good CPU cooler.
3 Front, 1/2 Bottom, 1 Back, 1/2 Top
For a larger case, it’s best to maintain a sufficient airflow with 3 fans out front, 2 at the bottom, 2 at the top and 1 at the back. If you want to minimize the noise, you can also use only one fan at the bottom and the top.
If your PC case comes with fan slots on the side panel, you can use those for the liquid cooler’s radiators. Or you can mount the radiators at the front and install the case fans on the side.
