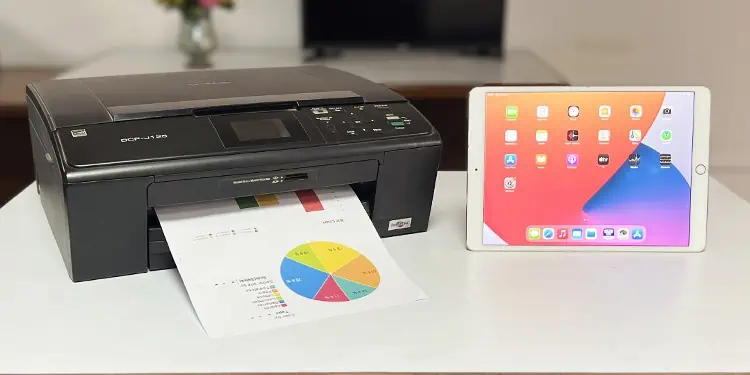
Since the introduction of AirPrint in 2010, Apple devices no longer require a printer driver to use the printer. So, technically you don’t need to add a printer to the iPad to print your stuff.
When giving a print command, you can simply choose the printer of your choice, and it will start to print your document. The only condition is that your printer should have wireless capabilities and support AirPrint.
If your printer does not have AirPrint, you can still print from your iPad using the printer-specific apps.
How to Add Printer to iPad Using AirPrint?
In order to add a printer to your iPad, you should first connect the iPad and printer to the same Wi-Fi broadcast network. Ensure you connect both of them to a 2.4GHz band for a stable connection.
If you are having problems connecting your printer to Wi-Fi, you can go through our comprehensive guides on how to connect HP, Brother, Canon, and Epson printers to Wi-Fi.
Once both devices are connected to Wi-Fi, follow these steps to start printing.
- Go to the image file or document file you need to print and open it.
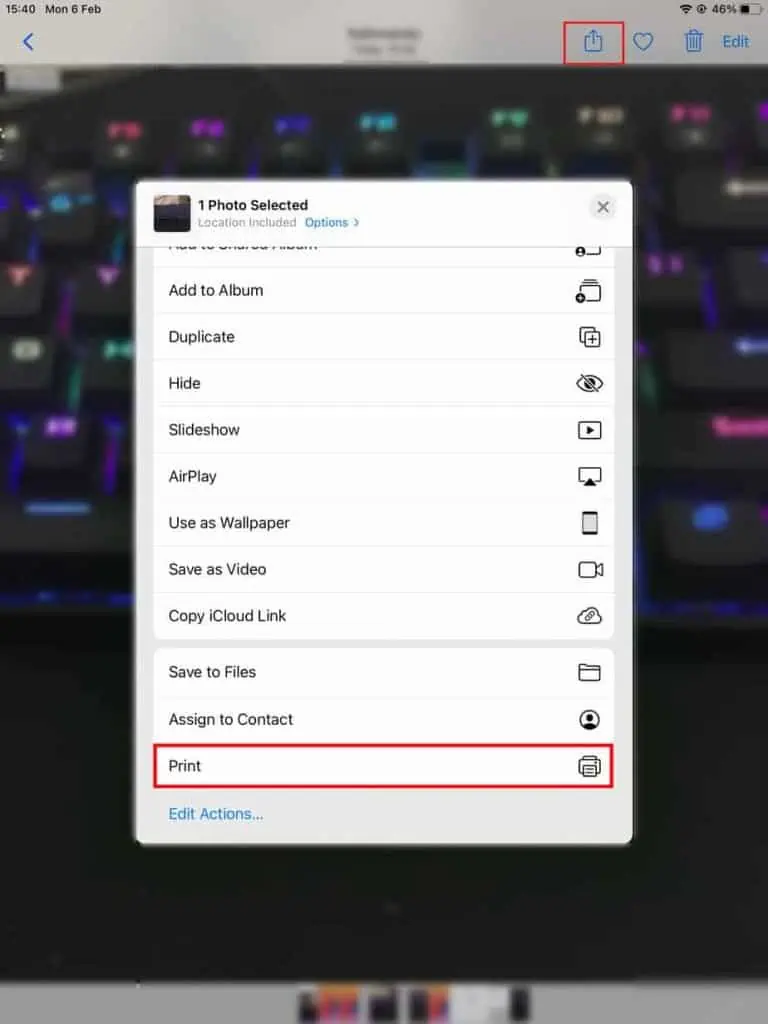
- Touch the Share icon on the top.
- Tap Print in the popup that appears next.

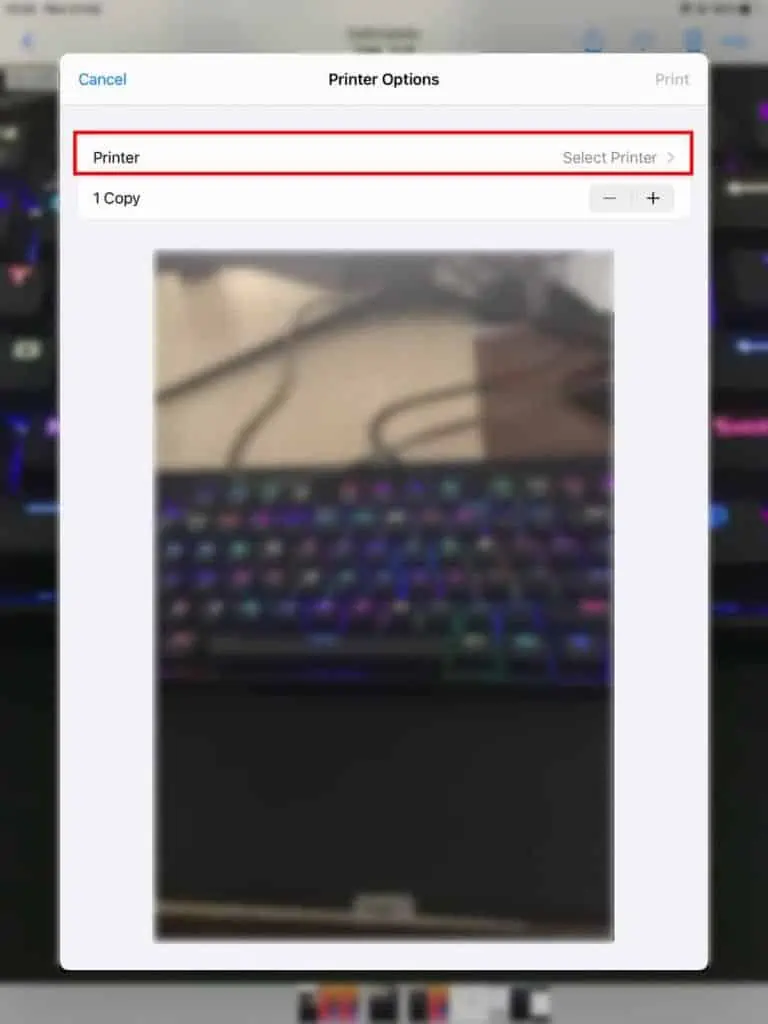
- Tap Printer.

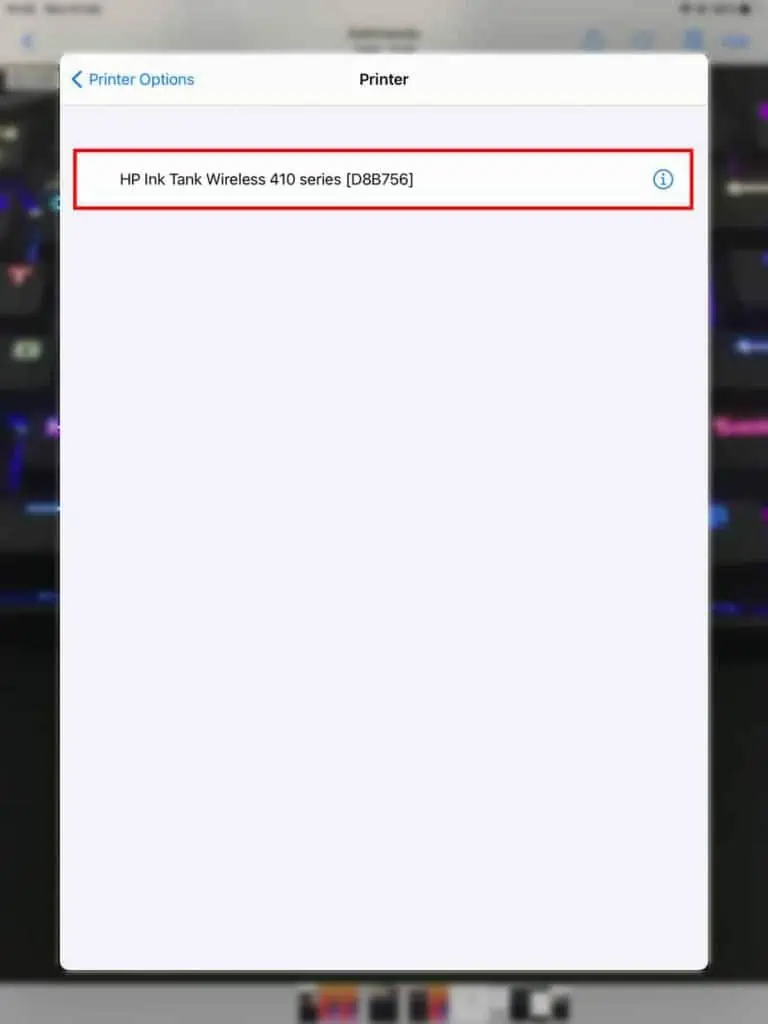
- If your printer shows up here, you can confirm that it is AirPrint enabled. Tap the name of the printer.

- Specify the print settings like paper size and required copies.
- Tap Print.
How to Add Printer to iPad Without AirPrint?
If your printer doesn’t have AirPrint, you will see a “No AirPrint Printers Found” message while trying to add the printer.
In such a case, you need to download the printer manufacturer’s proprietary app to start printing.
For instance, you can use HP Smart for HP printers, Brother iPrint&Scan for Brother printers, Canon PRINT Inkjet/SELPHY for Canon printers, and Epson iPrint for Epson printers.
Add HP Printer to iPad
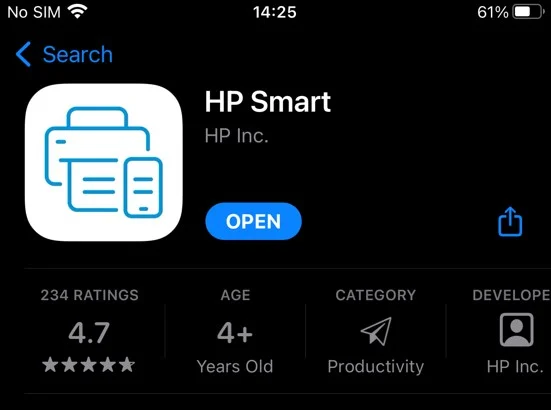
- Install HP Smart app on your iPad and open it.

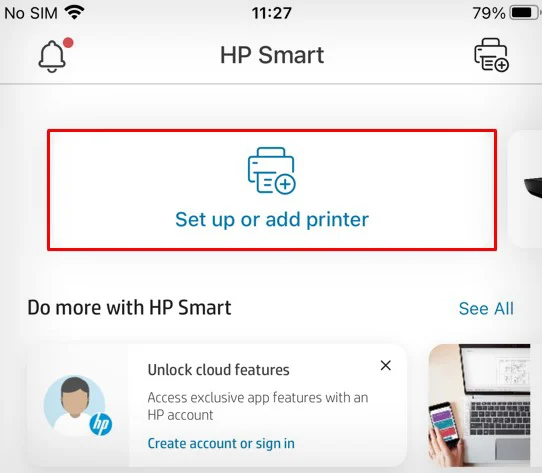
- Set up the printer.

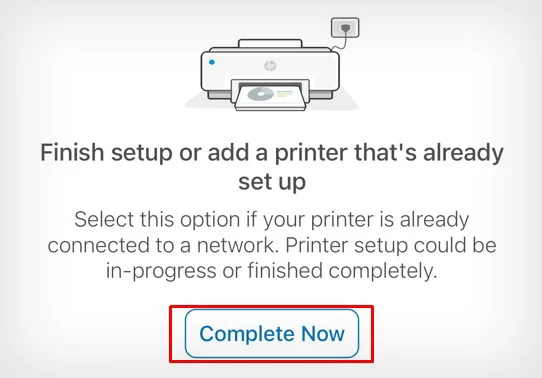
- Touch the Complete Now tab.

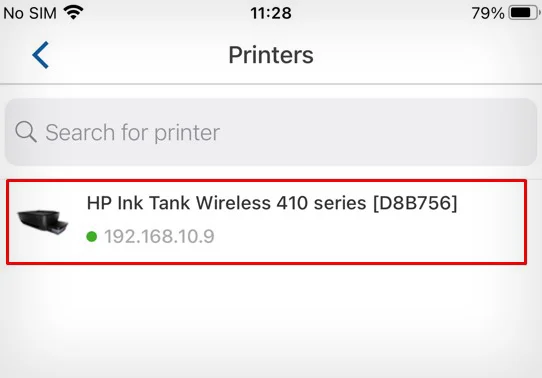
- Choose your printer.

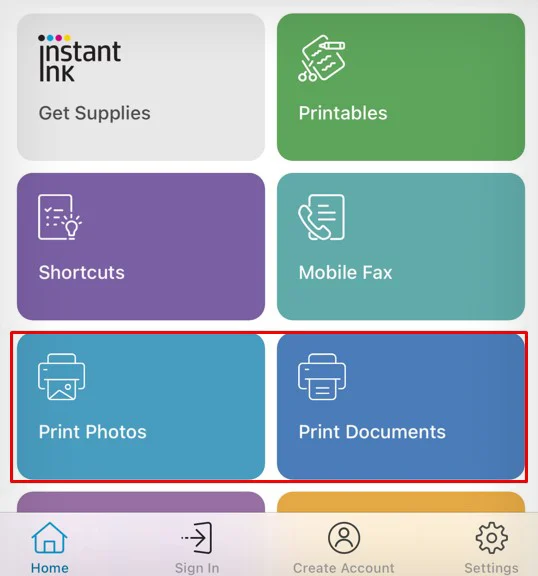
- Click Print Photos/Print Documents.

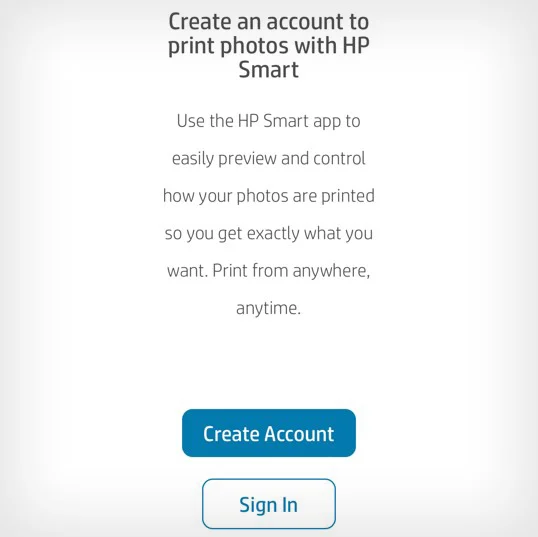
- Complete the Sign in process.

- Select the image/document you need to print. I selected an image here.
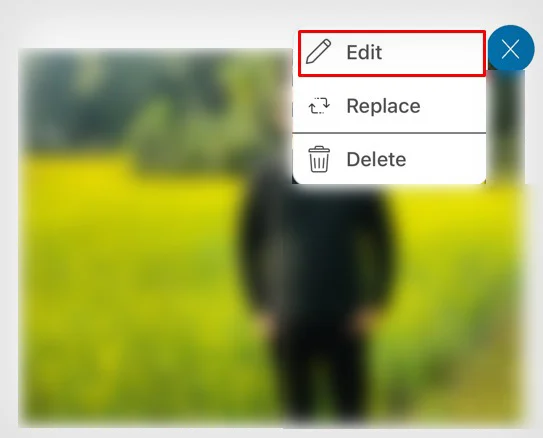
- Tap this icon.

- Tap Edit.

- Adjust the image according to your preference. You may crop it, adjust the brightness, contrast, add text and many more. Tap Done.

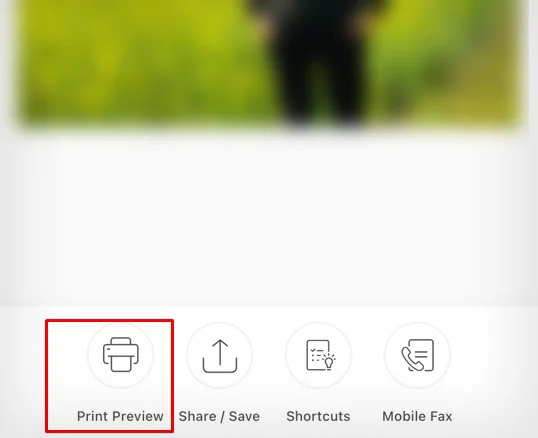
- Select the Print Preview option.

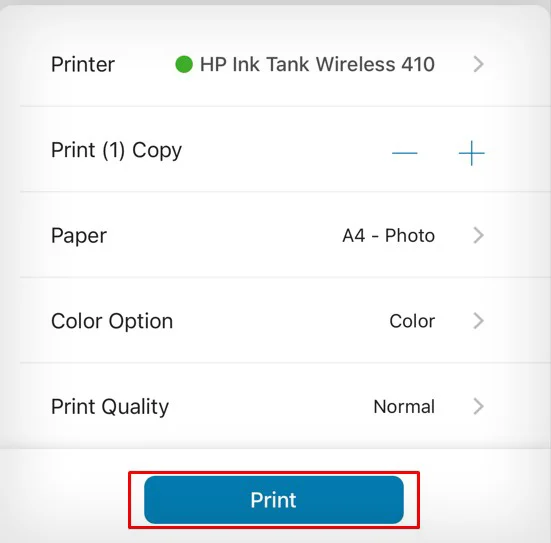
- Choose required copies and whether you want B&W or color print.

- Tap Print.
Add Brother Printer to iPad
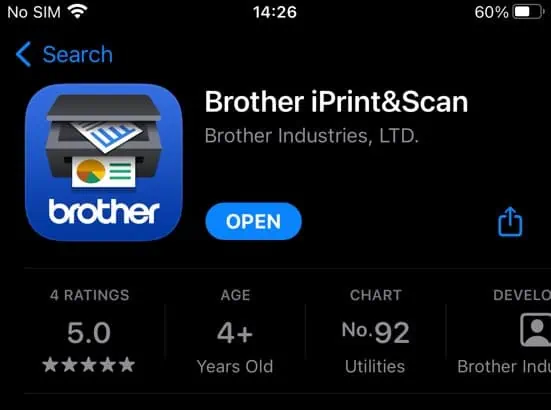
- Install the Brother iPrint&Scan app and open it.

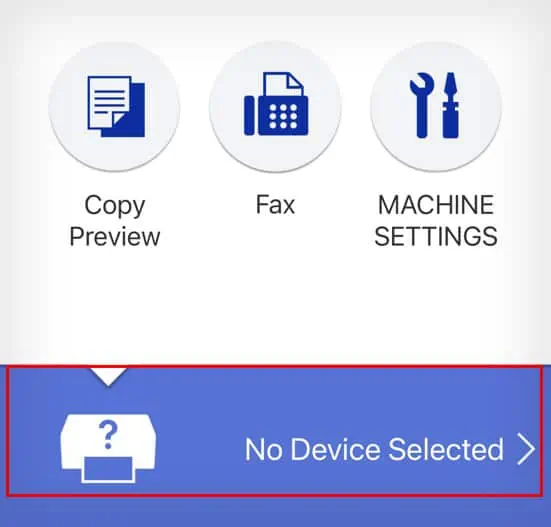
- Tap No Device Selected.

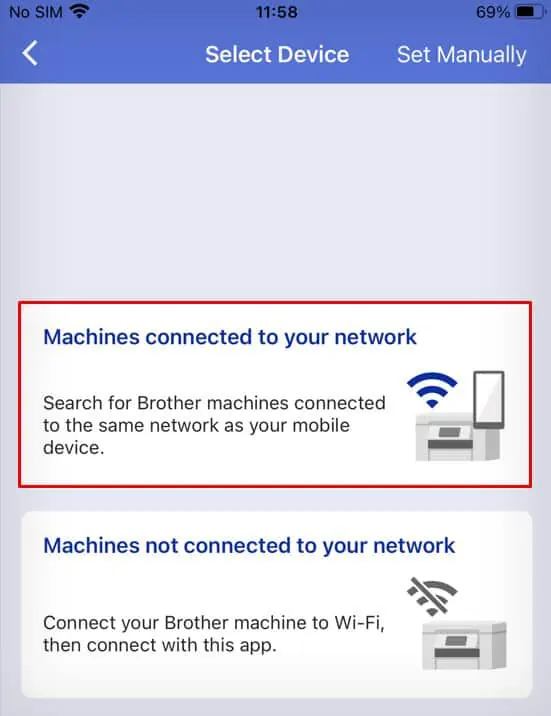
- Choose this option.

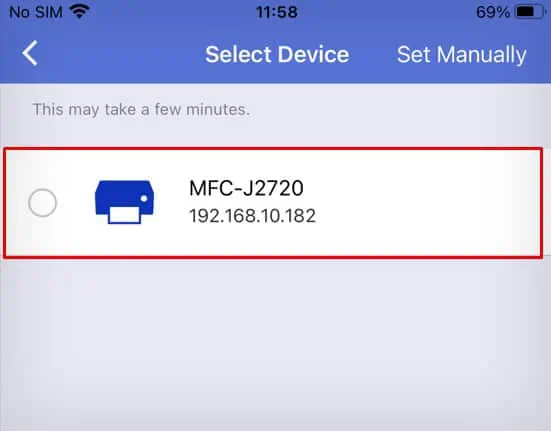
- Select the printer.

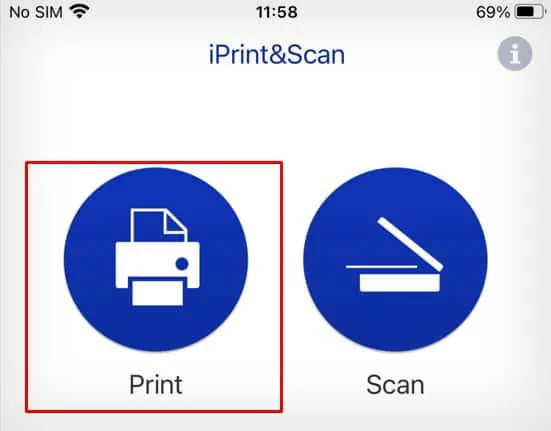
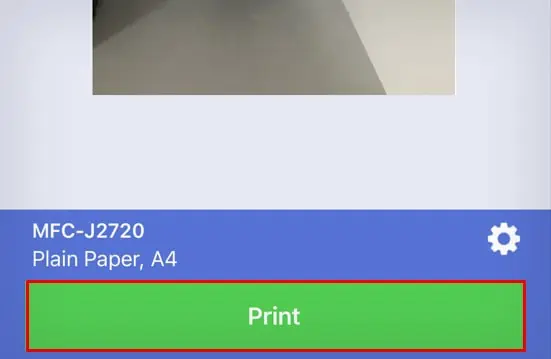
- Click Print.

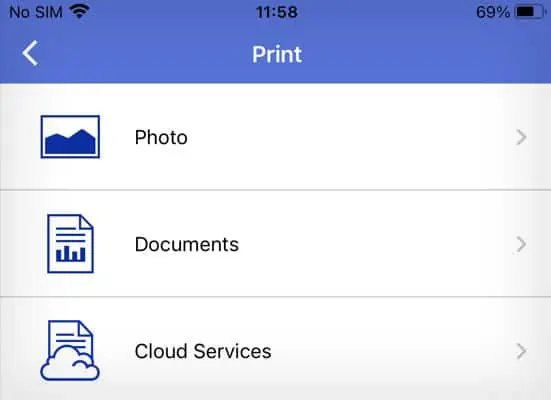
- Choose what you need to print.

- Tap this icon.

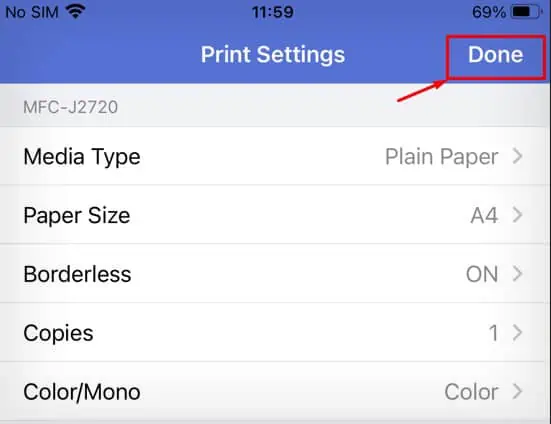
- Adjust these settings correctly. Tap Done.

- Click Print.

Add Canon Printer to iPad
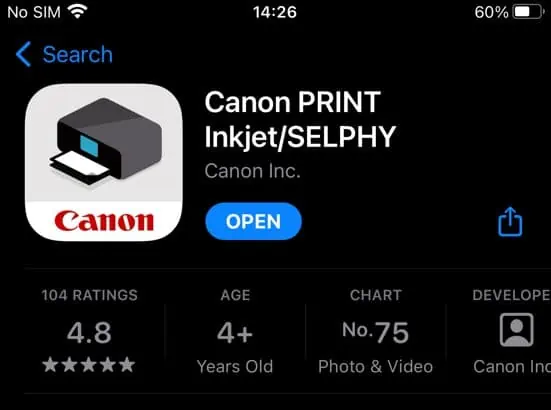
- Install the Canon PRINT Inkjet/SELPHY app and open it.

- Add the printer.
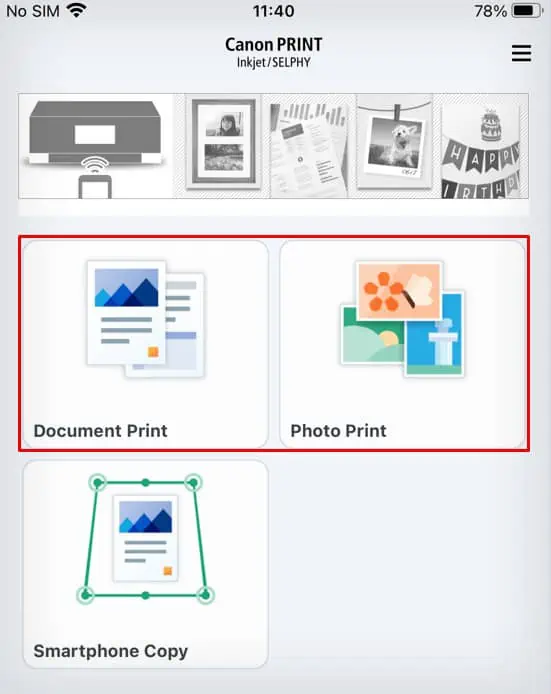
- Click Document Print/Photo Print.

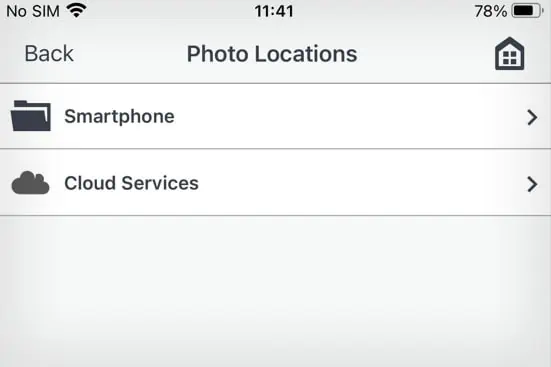
- Choose the document/image and click Next.

- Start printing.
Add Epson Printer to iPad
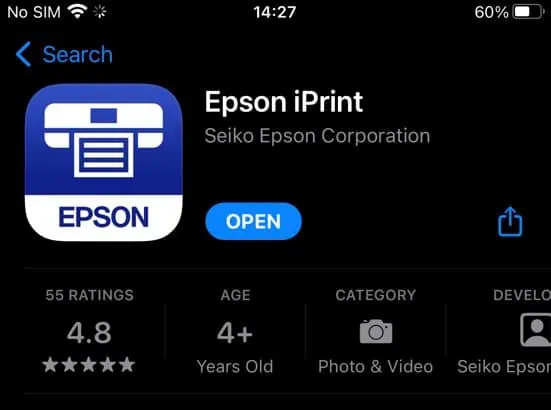
- Install the Epson iPrint app and open the app.

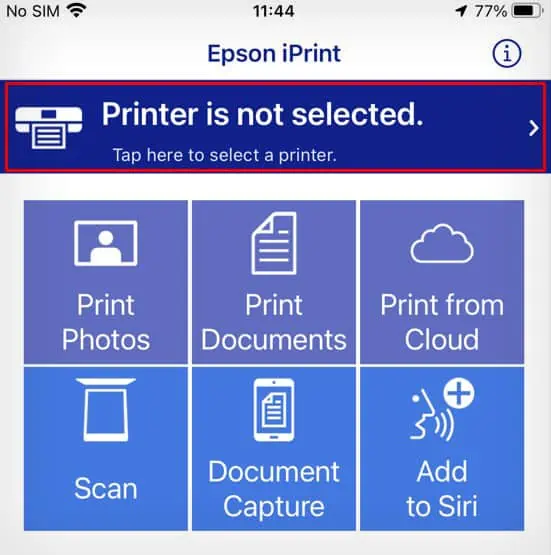
- Tap this area.

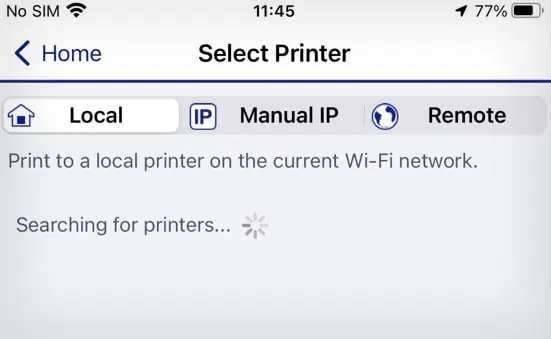
- Add your Epson printer.

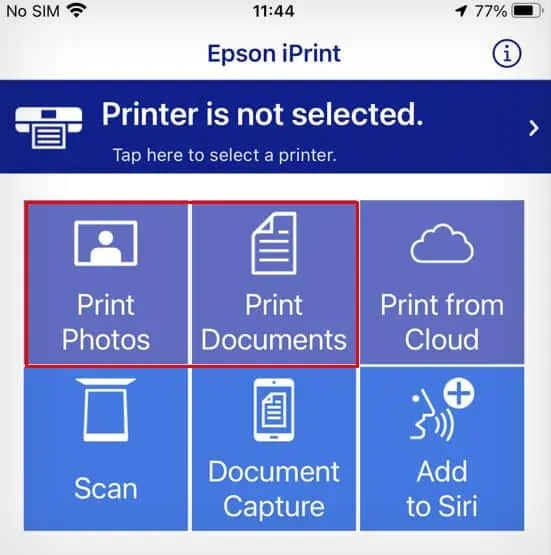
- Choose Print Photos/ Documents.

- Select the file and click Next.

- Tap this icon.

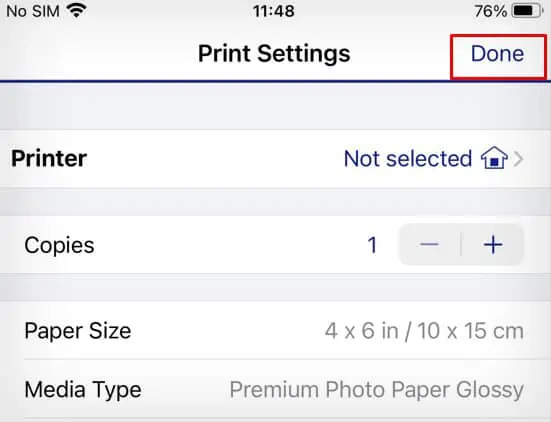
- Make necessary changes and touch Done.

- Click Print.


