One trend we’ve seen with beginner PC builders is that they select motherboards without onboard WiFi modules and forget to include WiFi adapters in their build later on.
The second camp seems to be people who’re currently using Ethernet controllers but would like to add WiFi functionality to their system. After all, Ethernet may be ideal in terms of performance, but it’s not always practical.
Regardless of your exact reasons for doing it, adding WiFi to a desktop is pretty simple. A USB WiFi adapter is great for convenience. If you have some free PCIe slots, though, you’ll find a WiFi card to be a better purchase overall.
Ways to Add WiFi to Desktop
First of all, if you’re still checking out your options, remember that compatibility should be your top priority.
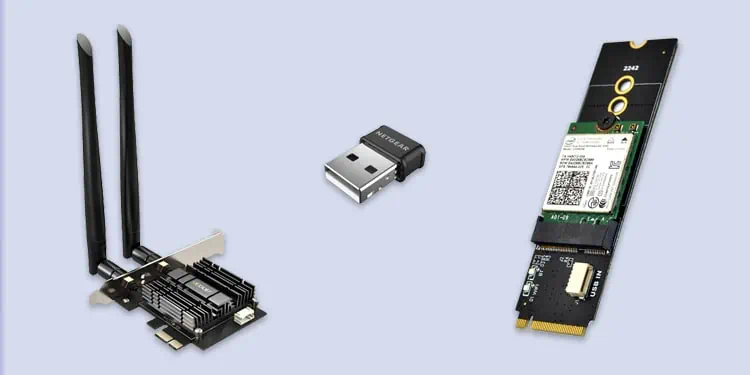
The standard way to add WiFi to a desktop is by connecting a WiFi card to a PCIe slot. But PCIe slots are also used by other components (GPUs, SSDs, Ethernet controllers, etc.). So you should first make sure a PCIe slot is actually available.
Some people prefer USB WiFi adapters. These are very convenient and portable as you simply connect them to a USB port, and you’re good to go. But the lower-end options tend to be unreliable, so make sure you read the reviews and pick a reliable one to purchase.
While PCIex1 and USB adapters are the most common, other options like M.2 cards also exist. Or if you’re building a new PC/upgrading, getting a motherboard with an inbuilt module is also an option.
But as these are very niche, we won’t cover them in this article. Instead, we’ll talk about making your desktop WiFi capable using PCIe and USB adapters.
Hardware Installation
First, you’ll need to install the WiFi card on your system physically. Installing USB adapters is very straightforward, but PCIe adapters are fairly simple too. Here are the necessary steps:
- Power off your PC and unplug all the cables from the back panel.
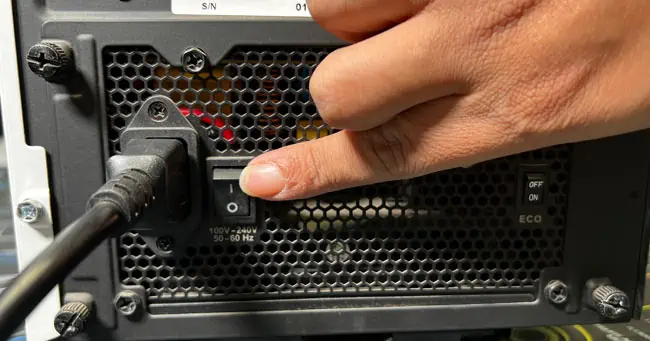
- Turn off the switch on the PSU and hold the power button for around 10 seconds to drain any residual charge.

- Take the case to a clean, open workspace. You can lay it on its side or keep it standing straight as you prefer.
- Going forward, wear an antistatic band or periodically touch a metal surface to discharge static buildup. Taking photos before removing components can also help you remember what goes where later on.
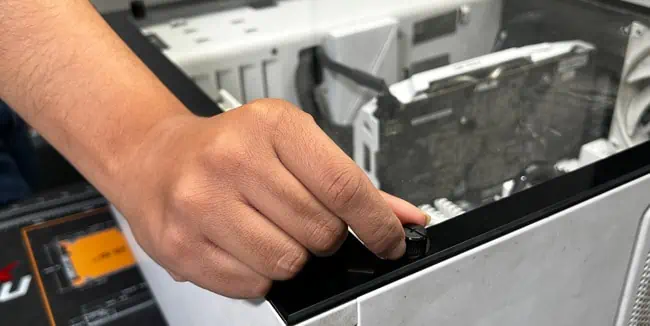
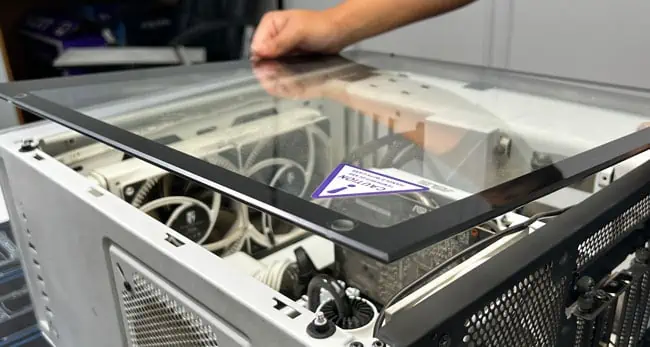
- Unscrew the bolts and slide open the side panel cover facing you.

- Locate the PCIex1 slot (the shortest one) on the motherboard. You can check the label on the motherboard, or refer to the manual for this. If this slot isn’t available, you can use whichever one is available.

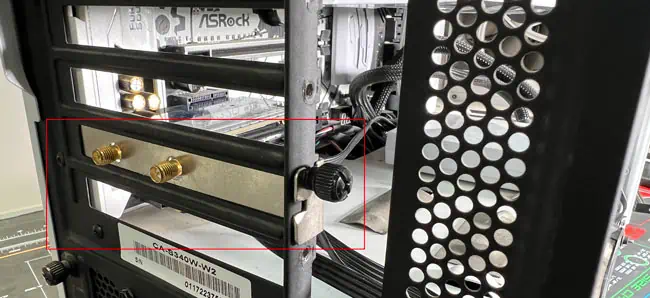
- Unscrew and remove the metal PCIe covers adjacent to the slot you’re going to use.

- Align the connector pins to the PCIe slot. The metal bracket should face the casing so that the antennas protrude out of the chassis.

- Gently push the card in.

- WiFi cards with Bluetooth modules will also have an attached USB connector. In this case, locate the USB header on the motherboard and connect the pins to either the top or bottom row.
- Screw the metal bracket in place. If you have external antennas, you can attach them to the gold connectors at this point.

- Put the side cover back on and screw it in place.

- Reconnect the power cables and turn on your PC to continue with the software-end installation.
Software Configuration
Usually, the OS will automatically install a generic network driver which lets the WiFi adapter start working right away. If this doesn’t happen, you must manually install the drivers.
You can use the driver CD that was included with the adapter to do so. But an even better method would be to get the latest stable drivers directly from the manufacturer.
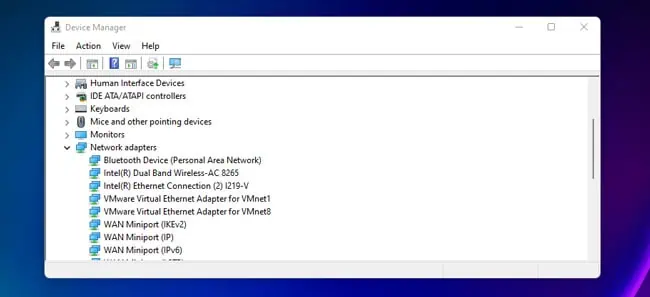
- Press Win + R, type
devmgmt.msc, and press Enter. - Expand the Network adapters section and confirm that the wireless adapter is detected. If it’s not listed here, reseating and trying out different slots can help.

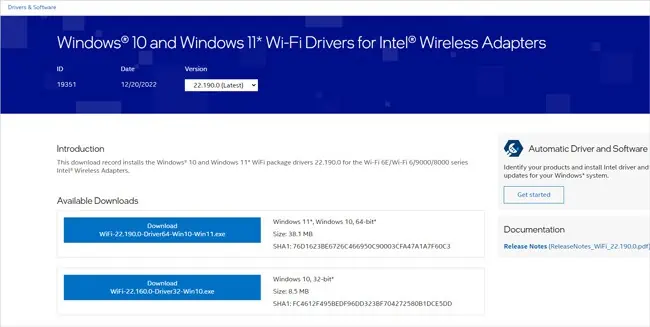
- Go to the adapter manufacturer’s site and search for the adapter model.
- Check the Support, Downloads, Drivers, or similar section and download the file provided here.

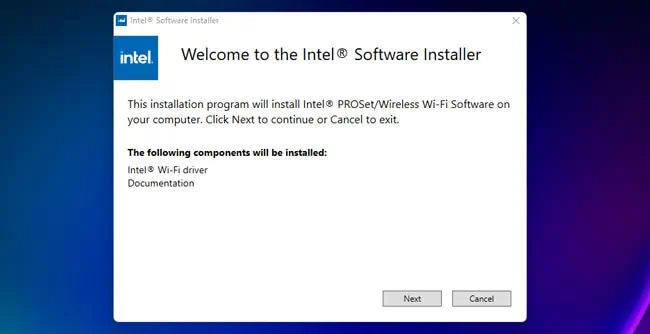
- If the driver file from Step 4 or the CD (whichever one you want to use) is an executable, open it and go through the installation process.

- If it’s a set of
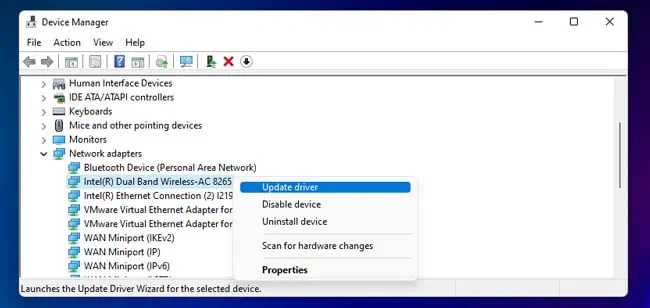
.inffiles, launch the Device Manager once again. - Right-click the wireless adapter and select Update Driver.

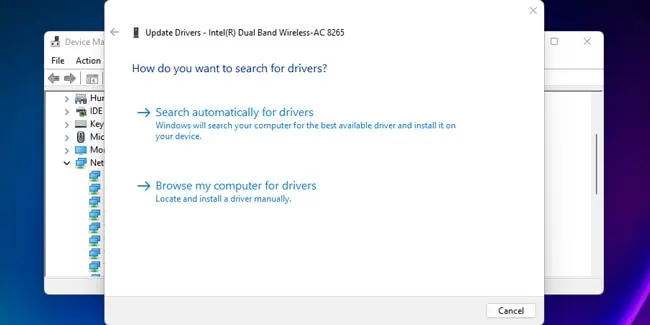
- Select Browse my computer for drivers.

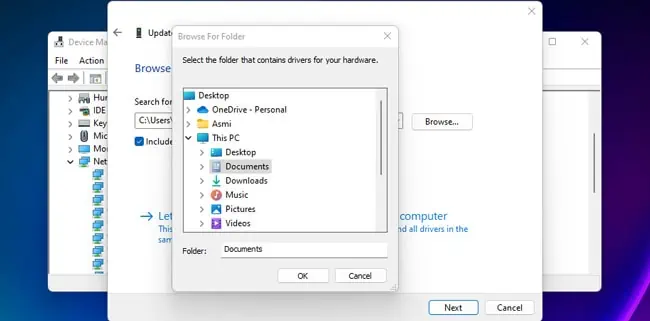
- Select the folder where the driver files are stored and press Next.

- Follow the on-screen instructions to complete the installation.
Troubleshooting Common Problems
If the adapter doesn’t get detected, reseating it, trying different slots, and installing the driver manually will help. If the WiFi doesn’t work despite this, here are some things worth trying:
- Start by restarting the PC. If that doesn’t help, hold the power button for up to 60 seconds.
- If you have any hardware switches or key combinations that disable the WiFi, ensure those aren’t active.
- Press Win + R, type
ncpa.cpl, and press Enter. Disable, then re-enable the wireless adapter here. - Sometimes problems arise due to incompatible drivers. Download a different driver version from the manufacturer, install it, and check if that helps.
- If there’s still no WiFi option on your PC, test the adapter on a different system to ensure it’s not damaged.

