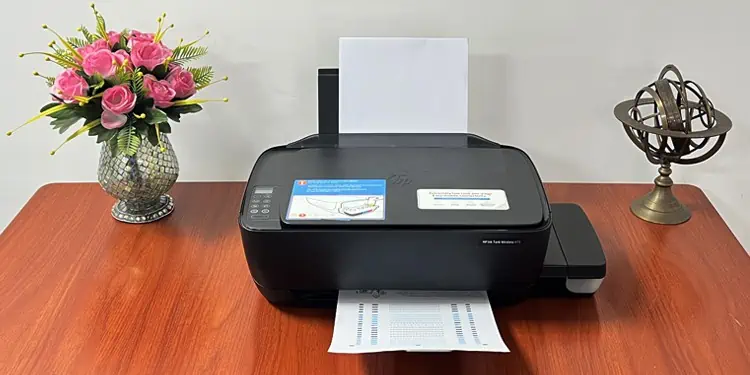
It is normal for your HP printer to print misaligned texts and images over time. This generally happens when the printhead on your printer shifts slightly from its original position after extensive use.
If you are facing alignment issues with text and color, you should consider aligning the printheads, especially if you have recently filled the ink or installed a new ink cartridge on your printer. The printhead alignment process helps adjust the position of the printhead by synchronizing the motion of the printhead with the paper feeder.
Before You Begin
Here are a few things you need to consider before starting the alignment process.
- Load a few papers in the paper tray of your printer. Make sure the papers are unused and clean.
- Ensure the printer has sufficient ink. You can consult this detailed guide on how to check ink levels on HP printers.
- Do not interrupt the alignment process.
Using the Printer’s Control Panel
If your HP printer comes with a touchscreen panel, you can easily navigate to its Maintenance menu and align the printhead.
- Tap the gear icon (Settings) on your printer’s screen.

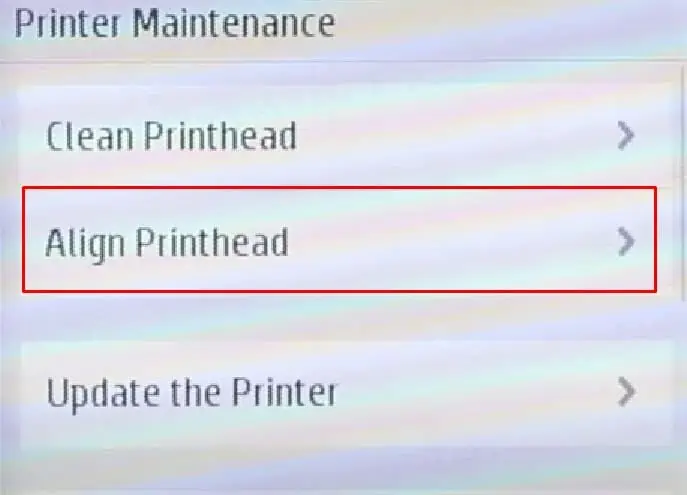
- Choose the Printer Maintenance option.

- Tap Align Printhead.

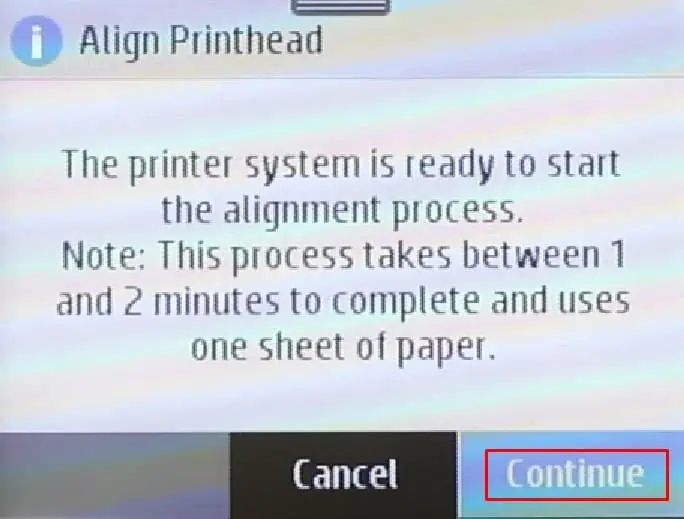
- Tap Continue in the next screen.

- Wait till the printer completes the alignment process.
Using HP Printer Assistant
You can also use HP Printer Assistant to run the head alignment process. This software is automatically installed during the setup of your HP printer and does not require you to download it separately.
- Launch Control Panel on your computer.
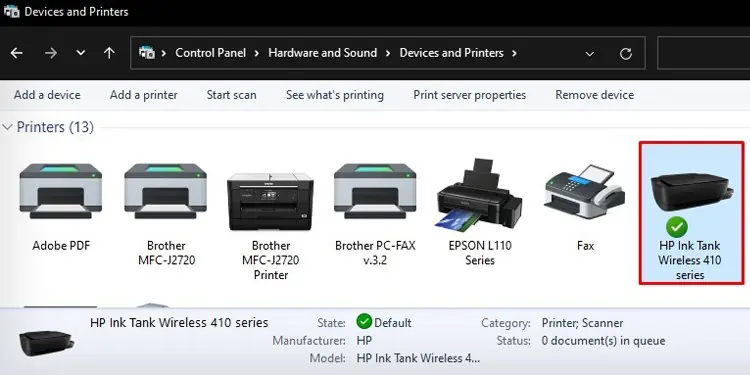
- Select Hardware and Sound > Devices and Printers.
- Double-click your HP printer.

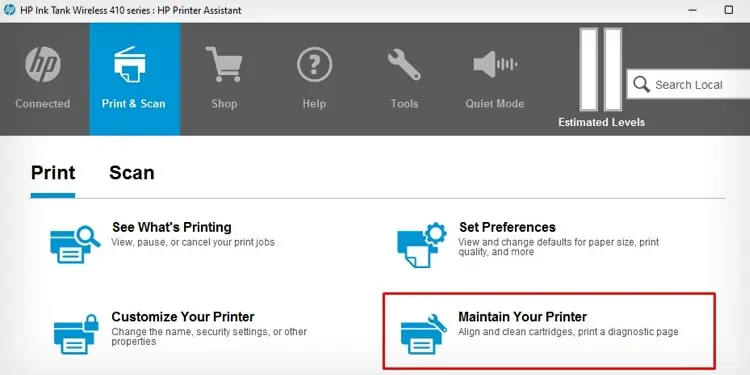
- On the next screen, double-click the HP Printer Assistant menu.

- Once the Assistant window opens, click Maintain Your Printer.

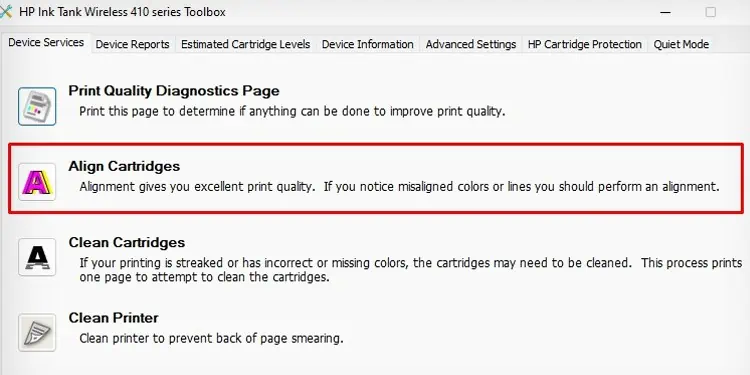
- Click Align Cartridges. A new window will appear.

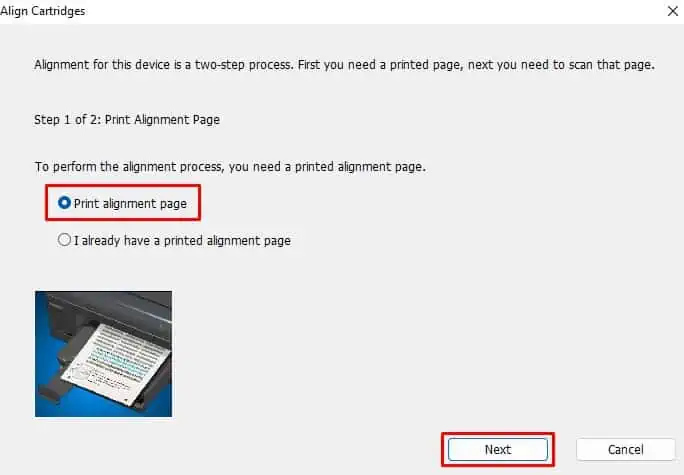
- Check the box next to the Print alignment page and click Next.

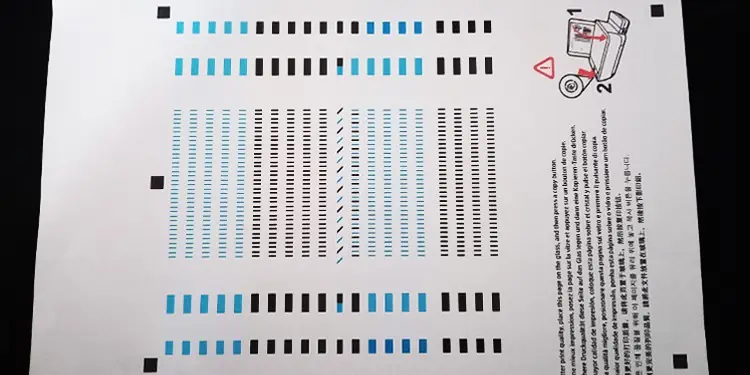
- It will start printing the alignment page. It looks like this.

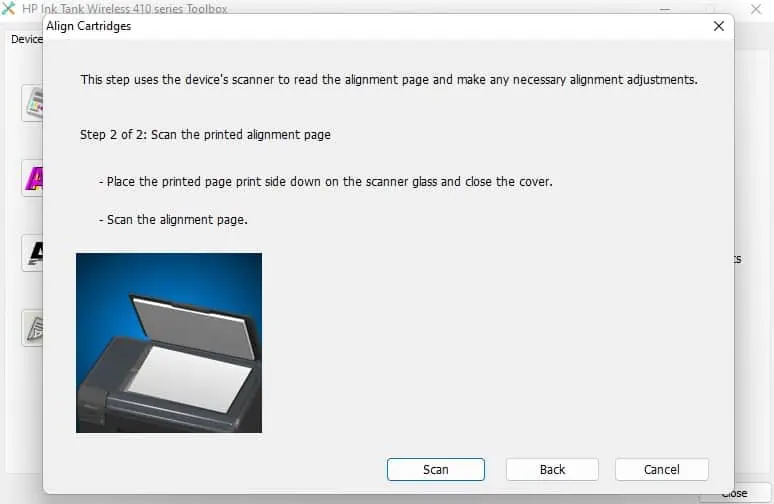
- Once you get the printout, it will prompt you to scan the printed page.
- Remove the page from the printer’s output tray and place it over the printer’s scanner glass such that the printed side faces downwards.
- Click the Scan button.

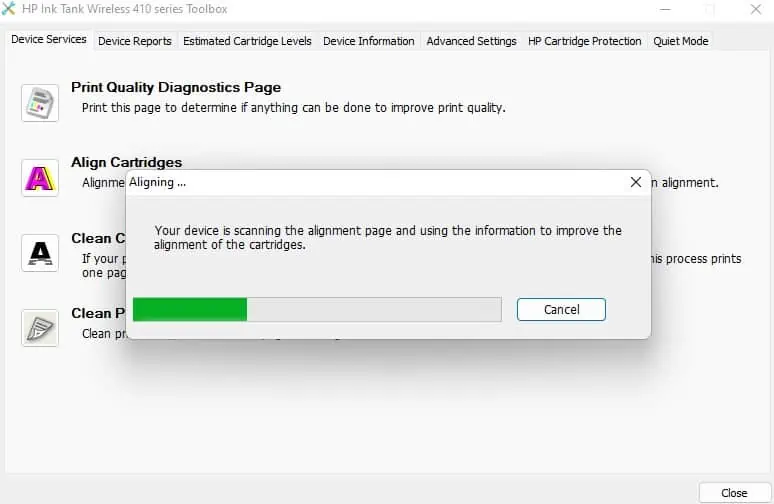
- Wait till the printer completes scanning.

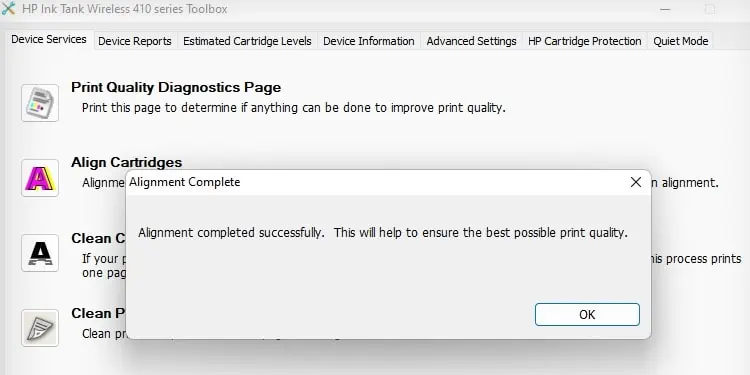
- You will get an alignment completed successfully message on the next screen. You can then close the HP Printer Assistant window.

Using HP Smart
Next, you can also use the HP Smart app to align the printheads. For this, you should first download and install the HP Smart app from the official Microsoft Store. Then, follow these steps.
- Open HP Smart.

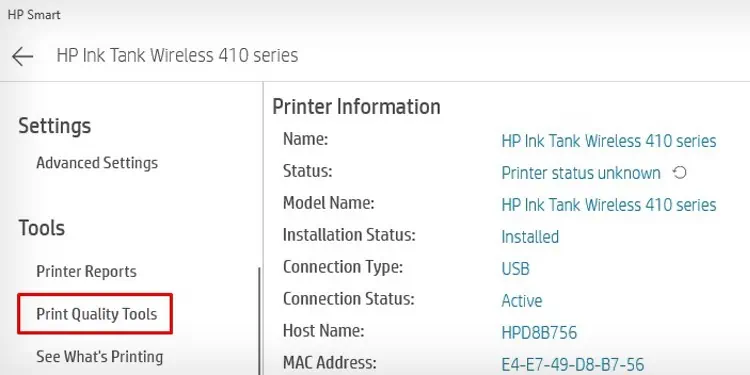
- Click the Printer Settings tab.

- Click Print Quality Tools under the Tools section.

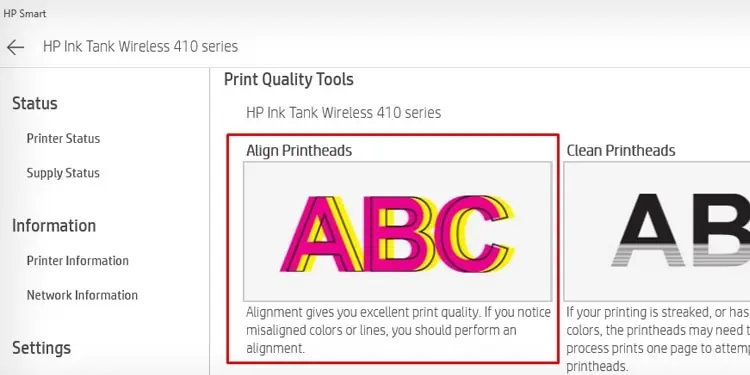
- Choose Align Printheads.

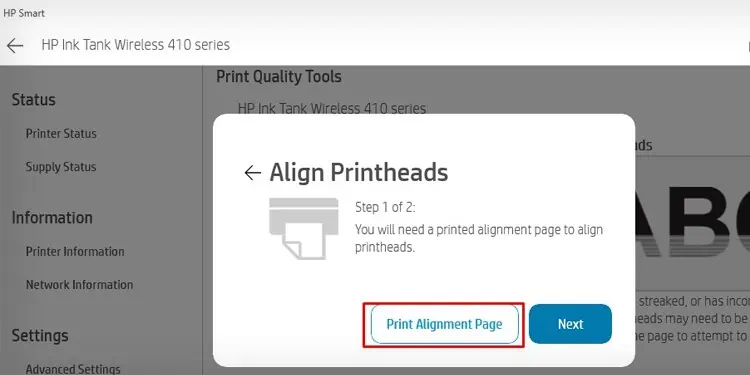
- Click the Print Alignment Page button on the popup.

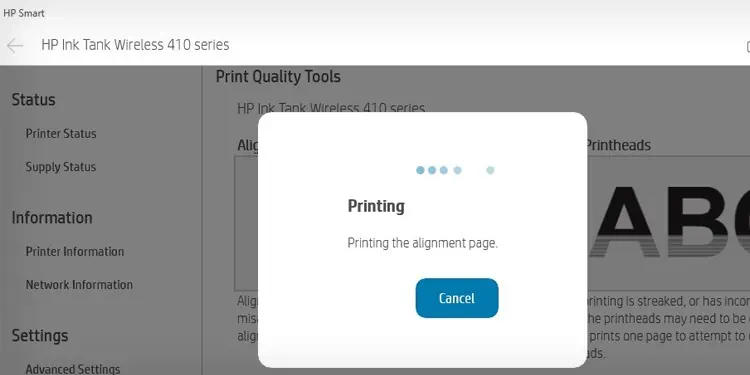
- It will start printing the alignment page.

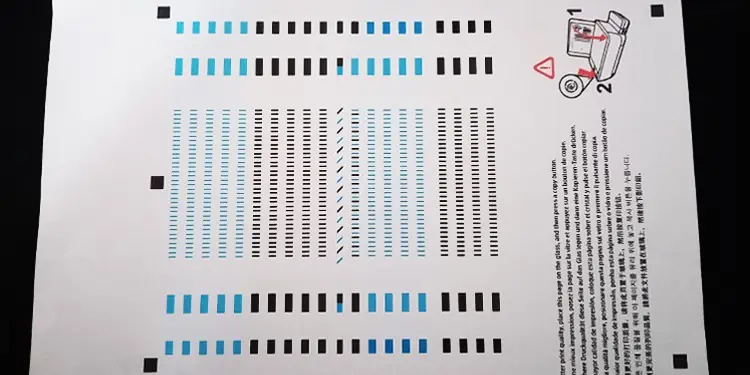
- The alignment page looks like this. There may be slight variation depending upon your printer’s model.

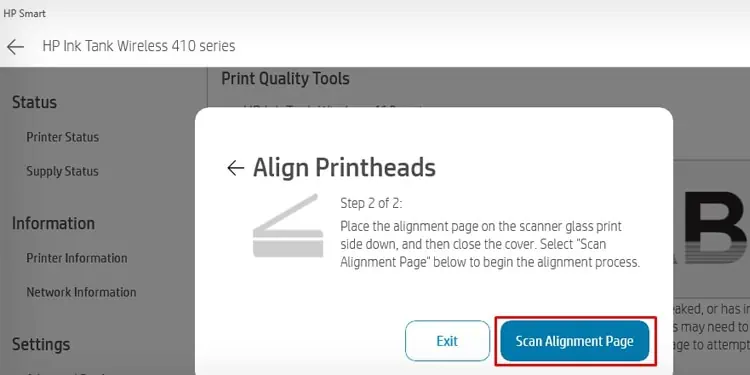
- After the printer ejects an alignment page, place the page over the scanner assembly by facing the printed side downside.
- Click the Scan Alignment Page button.

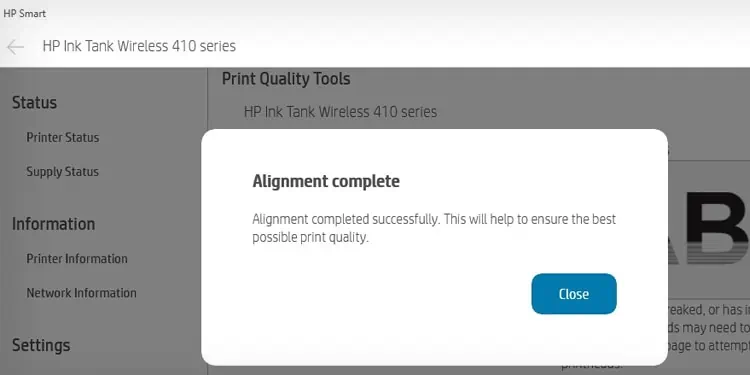
- Wait for a while till you get the Alignment complete message.


