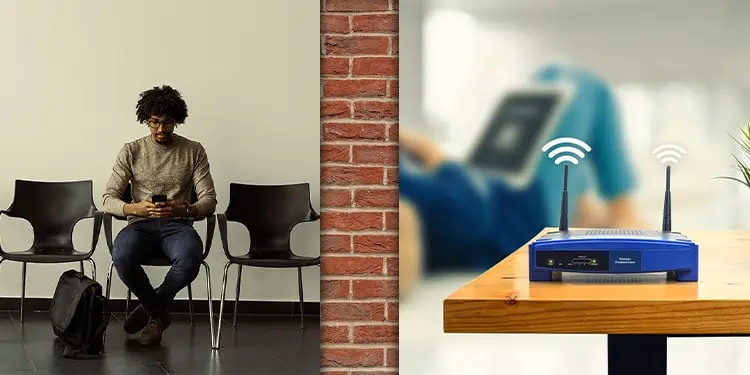
As a radio wave, the Wi-Fi signal transmitted by your router is subject to electromagnetic interference and absorption. The interference comes from appliances that generate radio waves in a similar frequency. This is typically easier to deal with compared to the issue of signal absorption/reflection, which occurs with pretty much most objects.
Walls, or thick concrete/brick walls, to be specific, are the most notorious culprits. Anyone that’s tried to use Wi-Fi in a building with thick walls can attest to this. The more layers of walls between your device and the router, the worse the signal gets.
So, what can you do in such situations? The first thought for people is to try to ‘boost’ the Wi-Fi signal. You’ll commonly hear the same advice online as well. And while this can help, other solutions may be better suited for the actual problem you’re facing. As such, we’ll cover all such possibilities in this article.
How Much Do Walls Affect Wi-Fi Signal?
Wi-Fi signal strength is typically measured with dBm (Decibels in relation to a milliwatt). In real-world cases, you’ll mostly find a network’s signal strength to be between -40 to -80 dBm.
-40 dBm indicates a strong signal, which is excellent for real-world usage. -50, -60, -70, and so on indicate higher and higher signal loss, and beyond -70 dBm, the connection becomes very unreliable.
As for what causes such signal attenuation, there are a few main factors. First, is obviously the distance between the transmitter (router) and receiver (device). Second are the objects in the signal propagation path, which in the current context, are the walls.
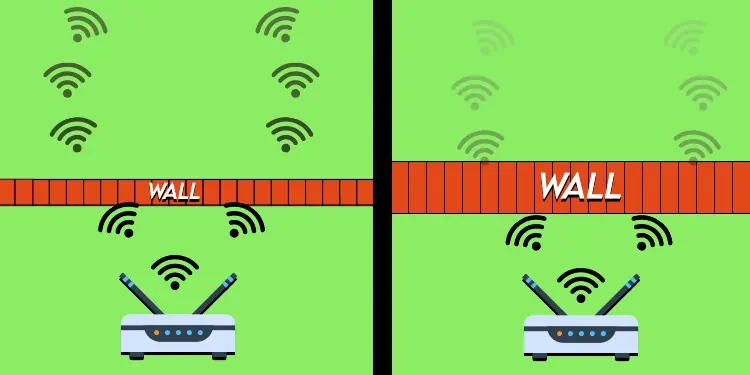
As stated, most objects cause some loss in signal strength, but walls have the most significant impact. It’s not just the number of walls either. The material and the thickness matter a lot as well.
Studies have shown that a 200 mm concrete wall causes between 20-50 dB of loss. A concrete half as thick tends to cause about half the loss as well. Brick walls typically cause between 15-30 dB of loss, while other materials like wood cause only 3-10 dB of loss.
Ways to Boost Wi-Fi Signal Through Walls
We covered just now how walls cause signal attenuation to varying degrees depending on the number of walls, their thickness, and the material used. Thick brick/concrete walls cause the most significant loss in signal strength.
Most people report the same thing when speaking from personal experience, which does not bode well for any of us. After all, we’re practically surrounded by thick brick and concrete walls, and it’s not exactly feasible to go around tearing down walls to improve the Wi-Fi signal.
We’re saying all of this to help you understand that trying to directly boost the Wi-Fi signal may not be the best way to approach the problem. Walls and Wi-Fi signals simply don’t mix well.
Adjusting the router’s positioning or using higher gain antennas can certainly help. But you’ll likely see better results by working around the issue. Wireless Access Points, Extenders, Mesh Systems, Powerline Adapters, MoCA, etc., are all viable options. Ultimately, it’s your decision to pick which solution to go with.
Optimize Router Positioning
We recommend starting by optimizing your router’s positioning, as this tends to be the most applicable and cost-effective solution in most cases.
Obviously, it would be ideal if there were no walls at all between your device and the router. But this is hard to maintain in practice. Even when the line of sight is blocked by a wall, though, minimizing the number of other objects like furniture or appliances still helps.
Considering such factors, we recommend the following best practices when positioning your router:
- Place the router high in a central part of the building. For instance, mounting it high on a wall or the ceiling is generally better than placing it lower towards the floor.
- Try not to keep the router locked away in cabinets. If you’re trying to protect your router, go for something like an ABS enclosure that won’t impact the Wi-Fi signal.
- Try to keep appliances like Bluetooth devices or microwaves away from the router to minimize interference.
- If any particular room or spot in the building is a dead zone and you’re trying to fix that, try to position the router so that the number of walls and objects between the router and that spot is minimal.
Upgrade Router / Antenna
In case you’re using old or lower-end hardware, upgrading your router can provide a substantial improvement to the Wi-Fi signal. When purchasing the router, we recommend looking for stats related to the operating range, as well as going through the reviews to check if it might be a good fit for your specific situation.
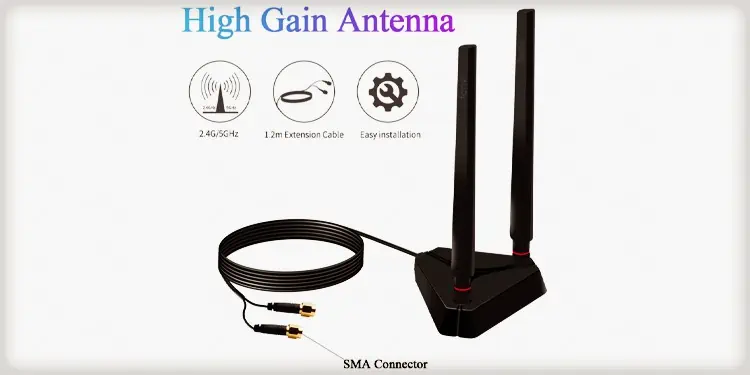
Alternatively, if your current router has detachable antennas, you could also upgrade the antennas specifically. Home routers generally use lower-end antennas with a gain under 5 dBi. So, upgrading the antennas to higher-end ones with 10 dBi or higher gain should give you a noticeable improvement at a much lower cost.
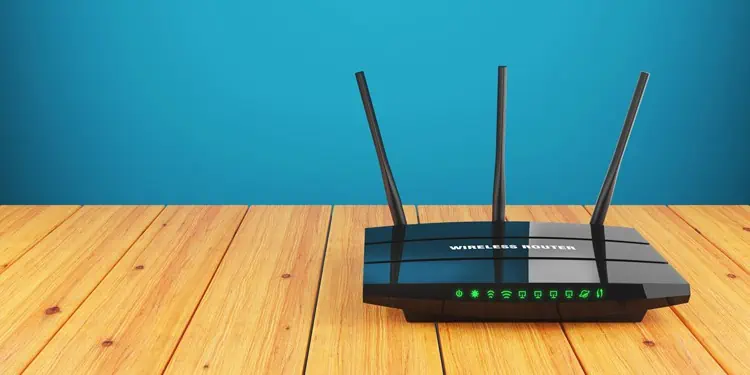
It’s also worth noting that routers typically use omnidirectional antennas. However, a directional antenna is a better option when you need to focus the signal in a specific direction over long distances.
Finally, we should also mention DIY boosters and cantennas. With these, you’re basically trading the omnidirectional radiation for a focused signal in a certain direction, much like directional antennas.
Their effectiveness varies quite a lot. Some people have certainly had great success with such DIY projects, but for consistently good results, we recommend sticking to purpose-built antennas such as these ones from Kaunosta.
Use 2.4 GHz Wi-Fi
Due to wavelength physics, 2.4 GHz waves penetrate and refract around most objects better than 5 GHz waves. In most cases, this makes 2.4 GHz Wi-Fi a better option when you want to prioritize coverage.
You do have to be careful about interference when using 2.4 GHz Wi-Fi, though. Most countries, including the US, designate 11 channels in the 2.4 GHz range. These channels are only spaced 5 MHz apart, but one channel is at least 20 MHz wide, which leads to overlap between the channels.
This means when multiple routers broadcasting 2.4 GHz Wi-Fi or IoT devices connected to this frequency band are located close to each other, there’s a lot of noise. And this is also why it’s recommended to use Channels 1, 6, and 11, as these don’t overlap with each other.
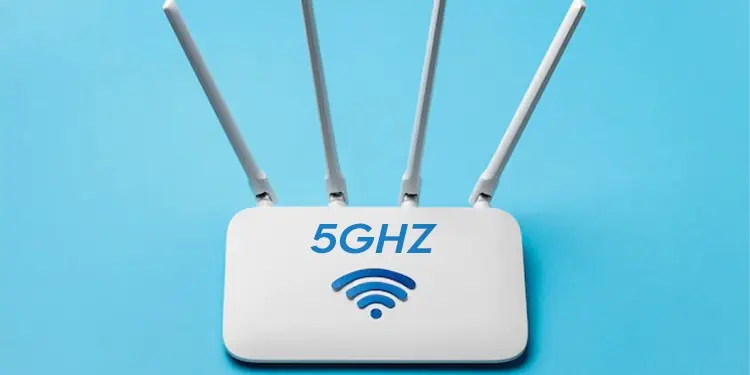
While 5 GHz Wi-Fi’s RF Penetration isn’t as great, it does have other advantages. For starters, 5 GHz Wi-Fi allows for much higher max bandwidths. As the 5 GHz band is much wider, there are way more channels and they’re spaced further apart. This basically means that channel overlapping and interference are rarely a problem compared to 2.4 GHz.
Practically speaking, you should weigh the pros (coverage, better compatibility) and cons (interference, lower max bandwidth) when deciding if 2.4 GHz Wi-Fi is right for your specific situation.
Setup APs / Mesh
As stated earlier, rather than trying to boost the Wi-Fi signal from one router, it’s generally better to improve network coverage by setting up multiple access points (APs). You can buy purpose-built Access Points or use routers in AP mode for this.
In either case, the important detail is that there should be a wired connection from your main router to the APs. Thanks to this, even if an AP is located far from the main router, you’ll still have a good connection at that location.

When a wired connection between the router and AP isn’t possible, people often go for wireless extenders. You’ll see decent results in some cases, but generally speaking, we don’t recommend this.
Instead, we suggest looking into Mesh Systems. Mesh Systems are basically a network of WAP nodes as well, but they use specialized devices that receive, process, and transmit the signal, amplifying it to maintain signal quality across the network.
Powerline Extenders / MoCA
Mesh systems tend to be expensive, wireless extenders generally don’t work well, and installing Ethernet cables won’t always be possible. In such cases, using a building’s existing wiring to extend the Wi-Fi coverage can be a good option.
Powerline Network Adapters work by using one adapter that connects the router and a mains socket via Ethernet. A second adapter plugs into a socket at a different spot and allows you to use an Ethernet connection at that spot. If you need Wi-Fi specifically, powerline Wi-Fi extenders work fine as well.
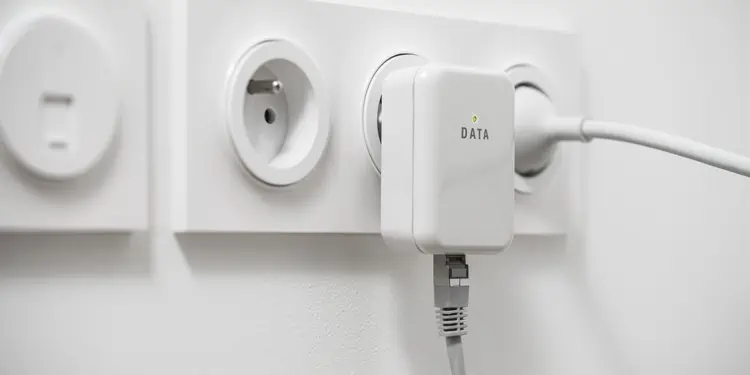
MoCA adapters work similarly as well, except data transfer occurs over coax cables. As coax cables are actually designed to transmit data, MoCA provides excellent throughput and stability with minimal interference.
In contrast to this, users generally report a slow and unstable experience with Powerline. There may be some exceptions, but we’ve found this to be the trend in most cases.

