There comes a time when you need to replace your power supply unit with a new model. Whatever the reason, doing it right will make the process easier and ensure you have a model that will stand the test of time and deliver uninterrupted power to your computer. Before replacing your PSU, ensure you have one compatible with your computer and something to clean the area before slotting the new one in.
Should I Change My PSU?
There are a wide variety of signs when you should swap your PSU. You don’t have to wait until it dies, though that is one of the best reasons to get a new one.
- When your PSU dies, you absolutely need to get a new unit to replace it, or your computer won’t work. It provides power to every piece of equipment in your computer and is an essential component.
- Sometimes you replace your PSU because it doesn’t provide enough power for new components. For example, if you replace your graphics card, the new model might require more power. If your current unit can’t provide it, you’ll have to replace it with a more capable model.
- Many experts recommend replacing the PSU before the end of its life. If your power supply unit dies while it’s active in the computer, the interrupted power or resulting damage can hurt other parts of your PC. Replacing it sooner can help avoid that.
No matter why you want to change your PSU, you should take the time and do it right.
What if the Power Supply Unit Still Works?
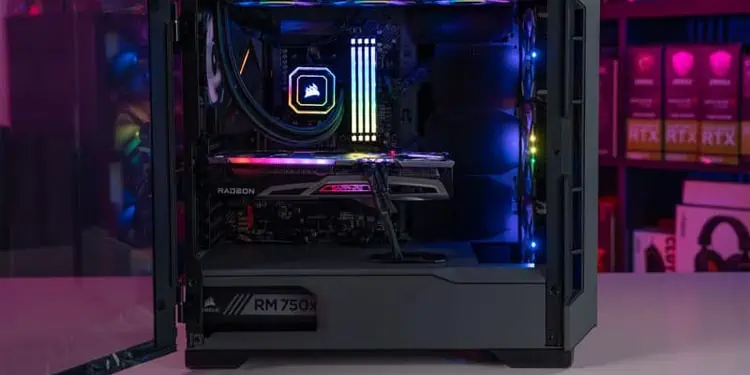
Truthfully, you’re better off replacing a power supply while it still works but when it’s reached the end of its suggested life. Having your power supply go can damage more expensive components, and they don’t need to be replaced that often. If you noted when you purchased the PSU and what type you have, it’d be easier to know when the time to replace it comes.
How Long Does a Power Supply Last?
Your power supply should last at least five years. While some last longer, take it on a case-by-case basis and read the promotional materials. Certain manufacturers may offer more extended guarantees, depending on what model you purchase.
Preparing to Change Your PSU
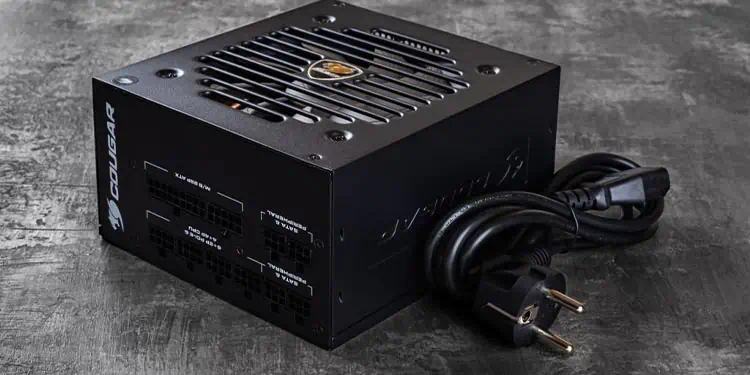
Before you start swapping out your power supply unit, there are a few things to know. Having these questions answered in advance will ensure that things run smoothly and efficiently during the change from one to the next.
Where Should I Install the PSU?
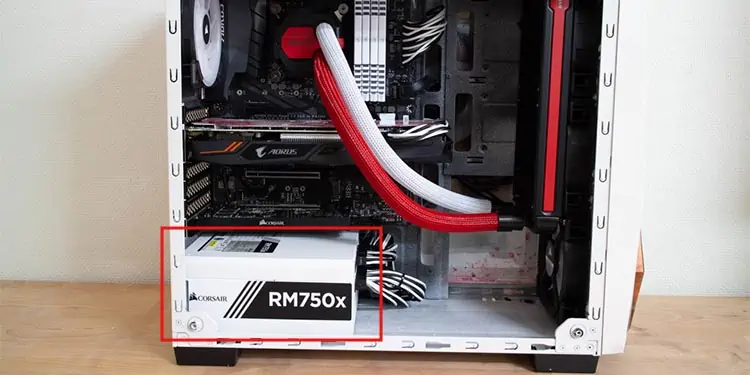
The PSU is usually installed on the bottom of the case at the back. However, there are situations where you should install it at the top instead.
Don’t install the PSU at the bottom of your computer if it sits directly on the carpet. The chance for static from the carpet isn’t worth the risk. You also want more airflow under the case if possible. You can install the PSU near the top of the case by mounting it unless you have another option for where to put your computer.
What Direction Should the PSU Fan Be In?
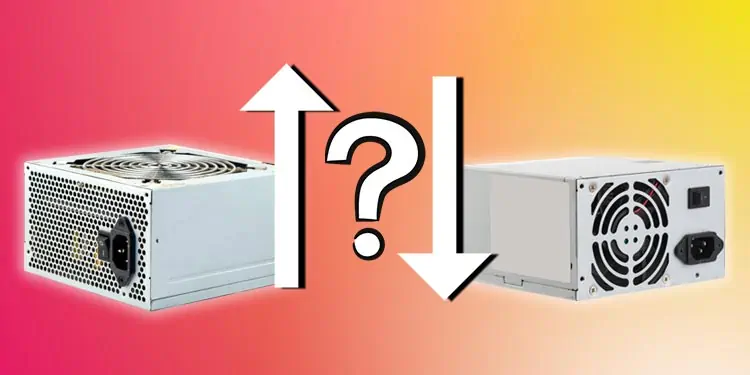
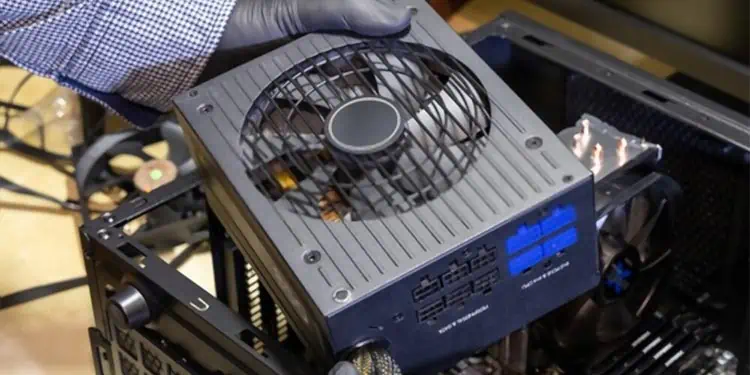
Most of the time, you want to pull air in from the bottom of the case, so you point the intake fan face down. The exhaust fan will always be pointed out at the back of the case.
If you mount the PSU on top of the case, you can pull fresh air in as long as there’s a vent. If there isn’t, you want to point it facing down. You never want the fan positioned so that it’s blocking airflow.
Point the fan up into the case if there’s very little clearance under the PC. It might not be as efficient at cooling your computer, but it’s better in the long run. The fan won’t have to work as hard to get air. Doing so could burn it out over time.
How to Check for PSU Compatibility?
If you were rushing to buy your new PSU, you might not have considered whether it was compatible. Most PSUs will have the connections for whatever you need, but the compatibility issue is whether it provides enough power.
Each of your computer parts needs a certain amount of power, and the PSU must provide all of it. Check the power requirements for each piece and add them to ensure the PSU will provide everything you need. It’s better to go higher than lower on power.
Removing the Old PSU
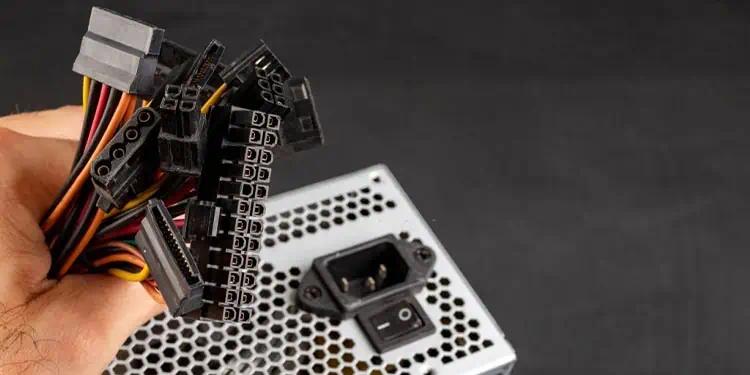
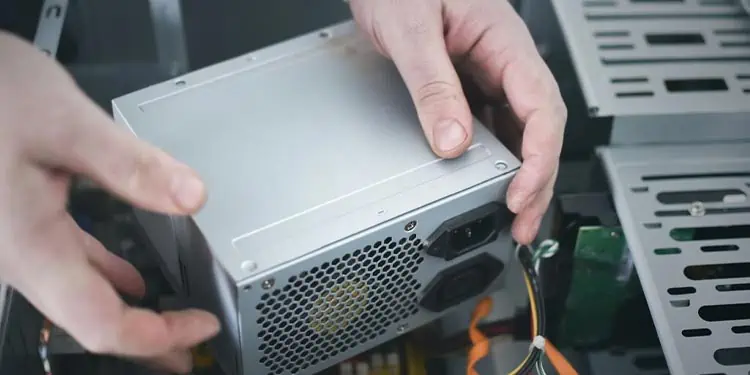
First, you need to remove your old power supply. You don’t want to install the new one until the old one is disconnected and out of the case.
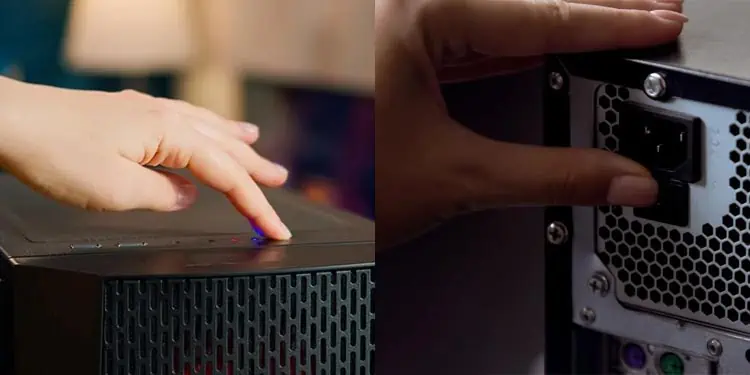
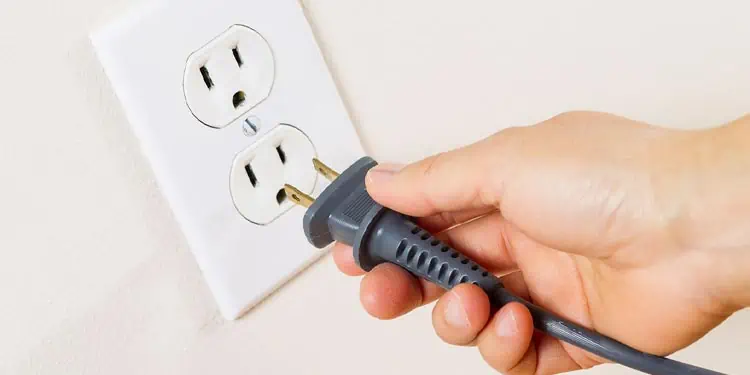
- Power down the computer. Wait a few minutes before switching off the PSU and unplugging it from the wall.

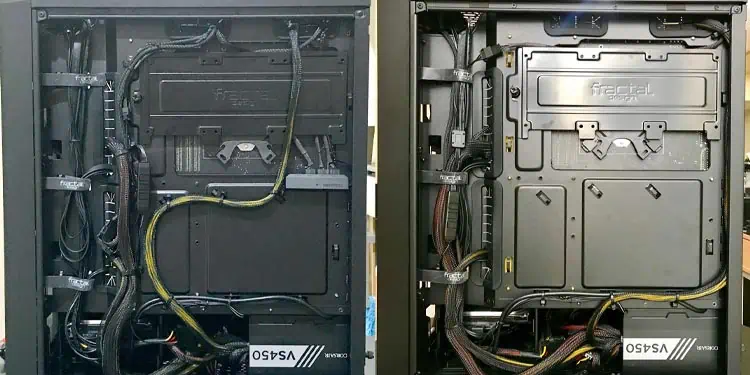
- Open the case and remove anything you need for access to the PSU.

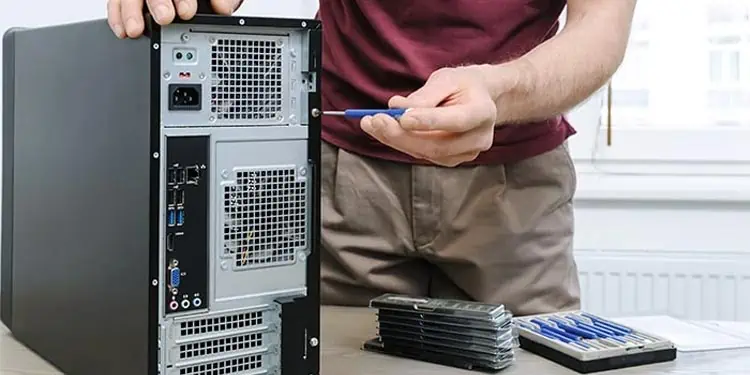
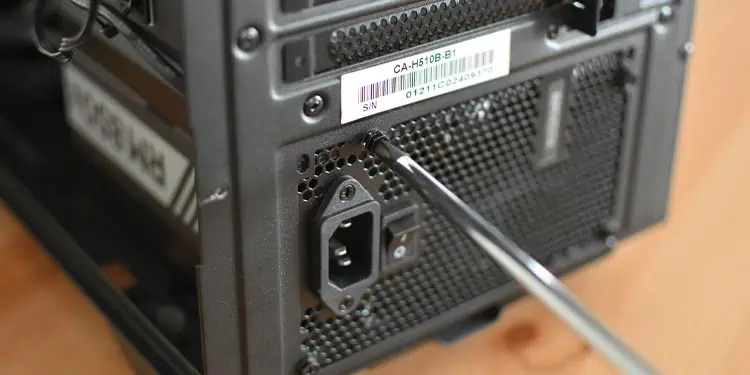
- Use a compatible screwdriver to unscrew the PSU from the case. You unscrew them from the back of the case, not the inside. Set them aside so you can find them again if you plan to reuse the PSU.

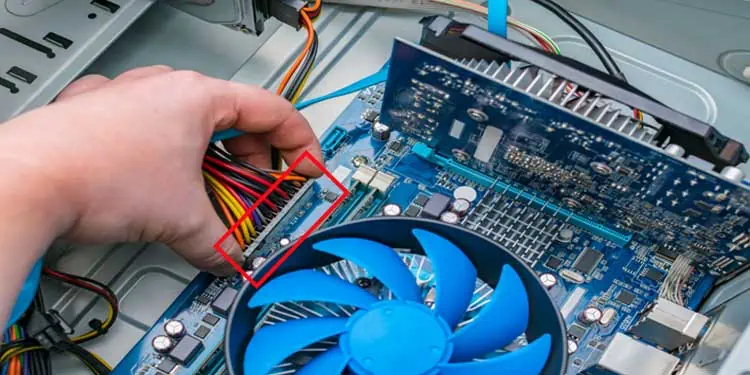
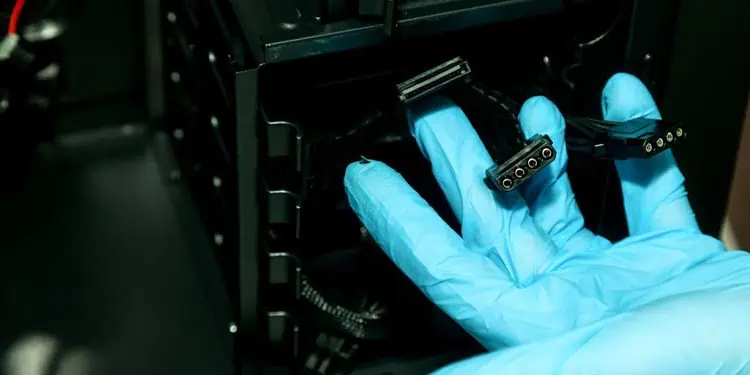
- Disconnect the cables from the various connections in the computer. You need to remove every single connection before pulling the PSU. Pull the loose ends of the cables out of the computer so you can keep track of which are unplugged.

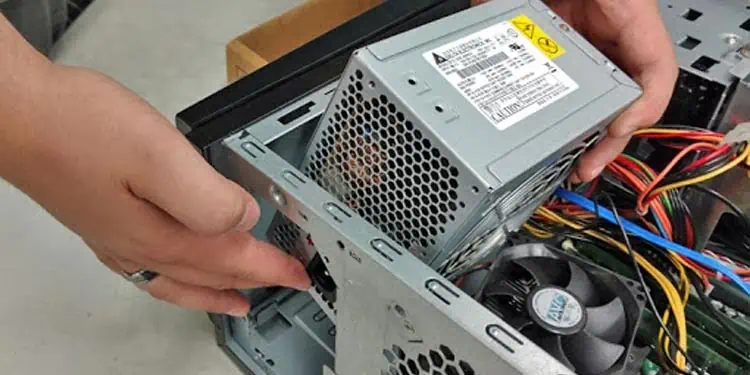
- Lift the PSU out of the tower and set it aside.

Once you’re done, use compressed air to dust the inside of the case, especially the area where the PSU was previously. It’s good to create a clean space to install your new unit so it can start off strong.
Suppose you plan to use the PSU again; clean and dust it before you put it away with its cables and screws. You want each piece available for the future.
Installing the New PSU
Installing the new PSU is as easy as removing the old one. You may need a different screwdriver, depending on the model you purchase. However, many newer PSUs come with screws you can screw in and release by hand.
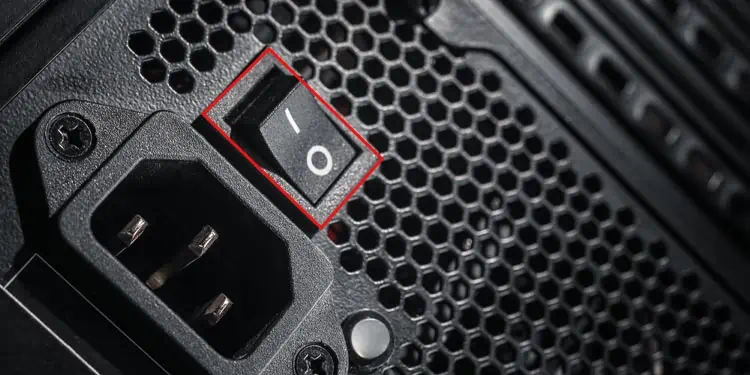
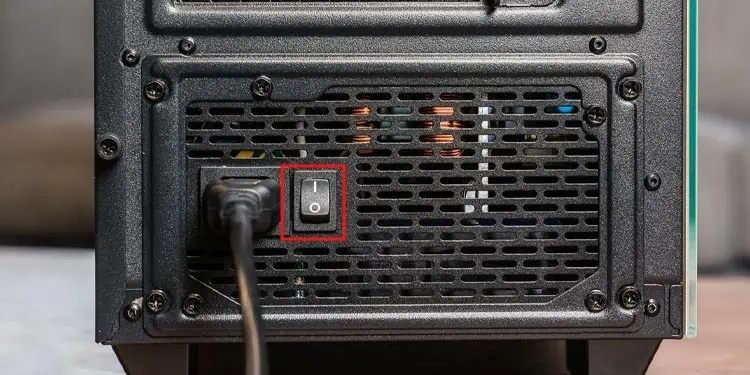
- Check to make sure the power switch on the PSU is turned off. If it isn’t, turn it off.

- Place the PSU in its position in the case. If it’s a modular or semi-modular model, you may want to insert the connections you plan to use before placing the unit in the case.

- Connect the cables to the components they’re supposed to go with. Do not force them in, but you may need to use a little pressure to get them to connect securely. If you aren’t sure which cable is required, check the user manuals for your PSU and the component you’re trying to connect.

- Manage your cables. If you use bundled ties, put them into place now.

- Screw in the PSU to the back of the case. Use the screws that came with it rather than the old ones.

- Close your case and connect the PSU to the wall outlet.

- Switch on the PSU.

- Turn on your computer.
As long as you are comfortable selecting the right cables for the right connections when you plug components into the PSU, this should be very quick and easy. Just make sure you have enough space in the case for the PSU and to direct the cables to their destinations.
Troubleshooting PSU
What Do I Do if My PSU Doesn’t Have the Right Cables?

If you don’t have the right cables on a modular or semi-modular unit, you need to contact the manufacturer and ask where to get replacement cables. You don’t want to use cables from other models or units, even if the same company makes them. It’s imperative to use the proper cables with your PSU.
What if I Can’t Get the Connectors to Fit?
You don’t want to force the connectors together. Double-check whether it’s plugged into the correct port if they don’t feel like they fit. Look for obstructions on either end of the cable or anything blocking the connection.
While you may need to use a little pressure, it shouldn’t feel like you’re forcing it. It’s better to slow down and look for possible reasons why it won’t connect than to force it and possibly break something.
Is It Okay Not to Screw in the PSU?
Some people who place the PSU on the bottom of the case choose not to use screws to secure it. Usually, its position and the placement of the other components will help it stay in place. If you plan to move the case regularly, though, screw it in. It doesn’t take long to screw it in, and it will offer you a bit more security.
Why Doesn’t the Fan Turn on When I Start the PSU?
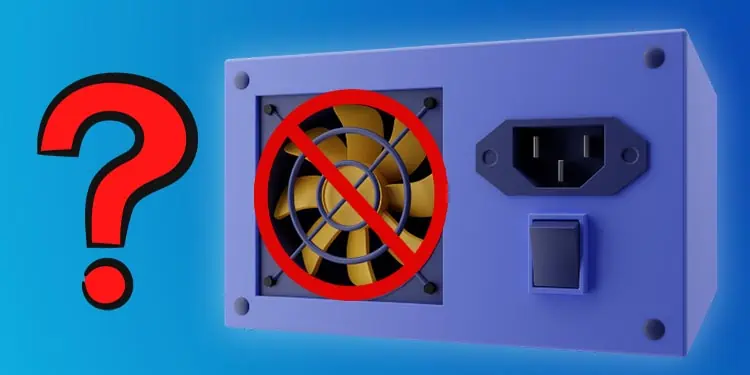
Many PSUs are designed not to use the fan at all times. It might not turn on even when the PSU is getting power. Until a certain amount of energy moves through the unit, the fans will probably stay off or silent. It’s nothing to worry about, as long as your computer isn’t overheating. Many newer power supplies are very efficient and don’t need the extra cooling the fan provides.

