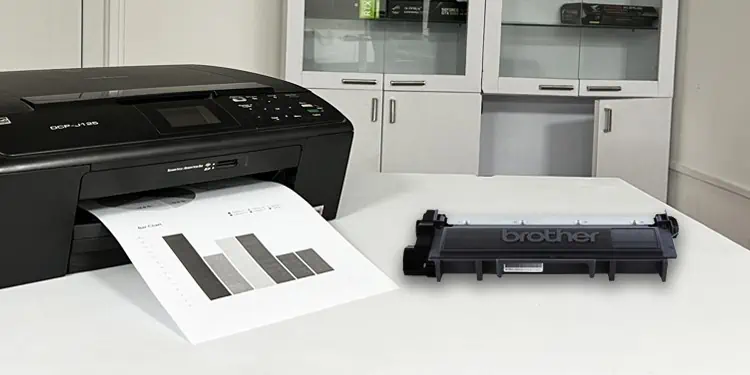
If you are facing low print quality issues like faded and spotty printouts or encountering “Toner Low” warning messages, it might be the time to change the toner on your Brother printer.
Unlike other printers that have an integrated drum-toner assembly, Brother printers have a separate toner and drum assembly. This has made changing the toner on Brother printers a breeze—just detach the toner from the drum unit and replace it with a new one.
Things to Remember Before Changing the Toner
Here’re a few things you should know before changing the toner on your Brother printer:
- Always use genuine toner cartridges from Brother. Using counterfeit or third-party cartridges not only produce low-quality printouts but also voids the warranty of your printer.
- Avoid refilling the toner and always change the toner.
- Do not expose the replacement toner cartridge outside for a long time. Environmental factors like temperature variation and humidity can shorten its lifespan.
- Always change the toner with your printer turned on. The printer can only enter the toner changing mode when powered on.
- Always clean the corona wire after installing a new toner to avoid getting streaky printouts.
Removing the Old Toner
Before installing a new toner, let’s see how to remove the old toner from the printer. The steps to remove the toner are similar whether your printer has a single toner cartridge or multiple toner cartridges.
- Power on your machine.
- Use the button on the front panel of the printer and open the access door. You will see the drum unit of your printer.
- Use the handle on the drum unit and pull it out of your machine. If you have a color printer, remove the color toner you want to change.
- Place the drum unit over a clean surface. You can place it on a paper towel or scrap paper.
- Now it’s time to remove the toner cartridge from the drum unit. Press the lock that fastens the toner to the drum unit. The lock generally lies on the left side of the drum unit.
- Once unlocked, lift the toner cartridge using the handle and place it separately.
Installing a New Toner
Now that you have removed the old toner, you should install the new toner cartridge into the drum unit of your printer.
- Get the new toner cartridge and detach it from the protective cover.
- Shake the toner gently. It will help spread the toner powder uniformly inside the toner cartridge.
- Then install the new toner into the drum unit.
- Push it gently so that it properly gets locked into its place. You will hear a snapping sound once the toner fits properly into the drum.
- Slide the tab that lies just above the roller. You must slide it fully to the left and right a few times. This helps clean the corona wire that is responsible for transferring toner powder from the drum unit to the paper.
- Bring the tab back to its original position.
- Now hold the entire drum assembly and reinstall it to your printer.
- Close the access door.
- Wait some time until the printer shows “Ready” status. You can then start printing again. Do not open the front access door or power off your machine until you see the “Ready” status.

