It’s essential to clean your motherboard at least once every three to six months. Use compressed air to blow dust or a brush to remove the dirt build-up from every corner.
That’s usually enough if you routinely clean your computer. But if you haven’t done this in a long while, I’m pretty sure you’re disgusted to see all the contaminants.
So, that calls for a much deeper cleaning. You need to take the motherboard out of the PC case and wipe every compartment. Use Isopropyl Alcohol to remove the tough stains and residues.
Don’t worry! We’ll do this together step-by-step. Although the process may vary slightly, my demonstration on GIGABYTE B450 AORUS ELITE should give you a basic idea of how it’s done.
Gather Necessary Cleaning Tools
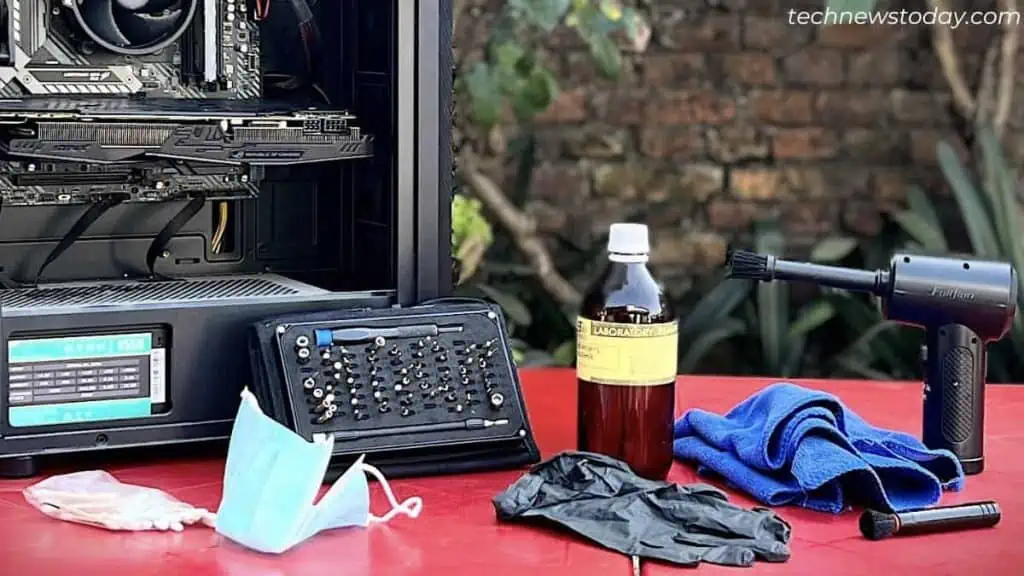
Let’s start by collecting all the items required to clean a motherboard. I’ve listed them down for you:
- A brush (one with soft bristles)
- Isopropyl Alcohol (70% or 99%, meant for cleaning electronics)
- A couple of microfiber clothes (lint-free)
- A pack of Q-Tips (lint-free)
- An anti-static wrist strap for grounding yourself [optional]
- An anti-static glove (for grounding) otherwise, a medical one would do
- A face mask (to not let dust get into your airways)
- An anti-static mat or desk (for motherboard’s safety)
- Compressed Air Can or an Air Duster (meant for cleaning PC components)
- A screwdriver set (for disassembly)
- A tray or bowl to place the screw (magnetic preferred)
While the aforementioned components are more than enough, I’ve used a couple of my favorites – PrimoChill’s Praxis Computer Test Bench and Fulljion’s Compressed Air Duster.
Prepare Your Motherboard For Cleaning
The first step to cleaning any computer part is shutting it down and unplugging all its cables. Once you’ve done that, take your PC outside so that no dust particles accumulate in your working space.
Don’t forget to wear gloves and a mask. I’m using anti-static gloves, so my motherboard is safe from static electricity.
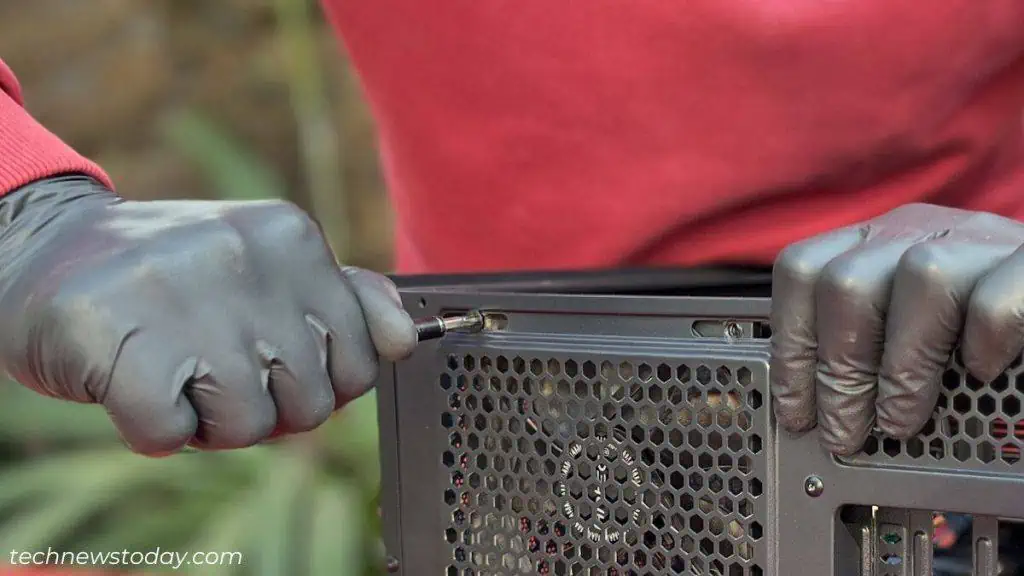
Begin by opening up the side panel. You may utilize a screwdriver with the right bit size if the screws are too tight.
Now, it’s time to take the motherboard out. But wait! Is the case fan blocking its way? Since it happened to me, I recommend removing such components beforehand.
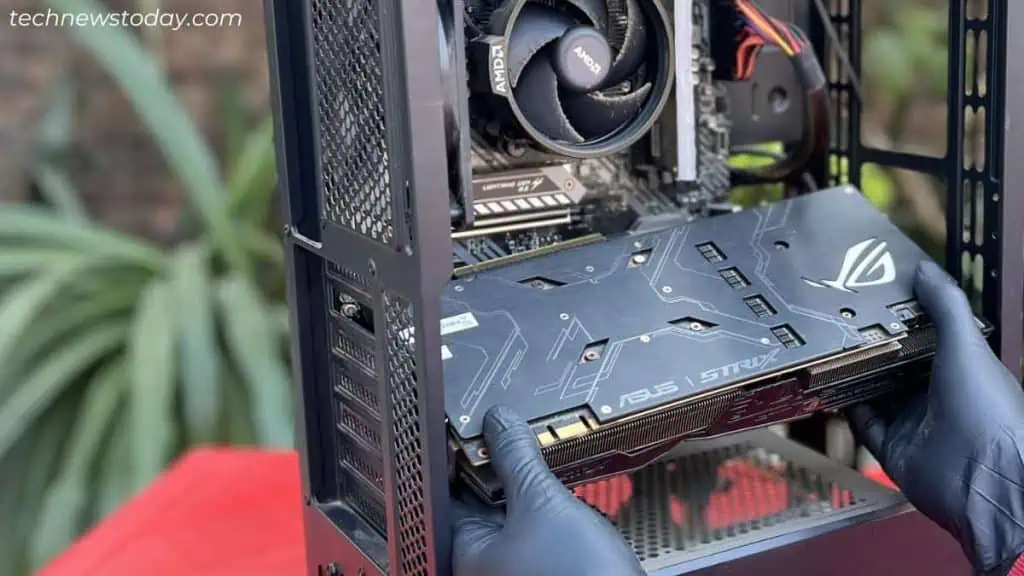
Since my PC is equipped with a dedicated GPU, I’ll remove it as well. Disconnect the PCIe cable and unscrew the bracket. Unclip and pull the graphics card out very gently. I’ve also removed the RAM stick early and kept it safe in an anti-static bag.
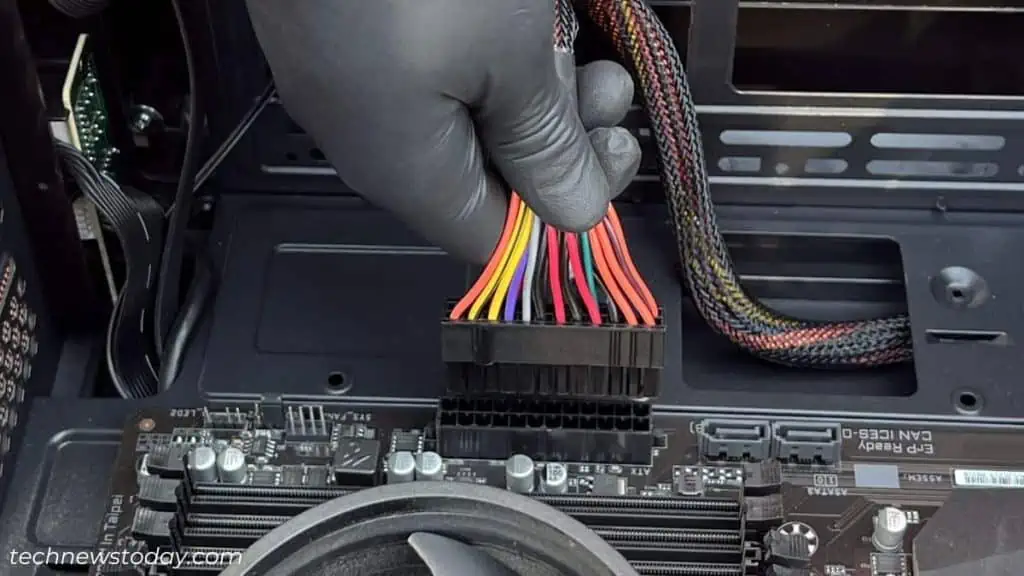
Also, disconnect every motherboard connector from their respective headers. You’ll need extra effort on some of them – so do it with caution or you may damage the pins.
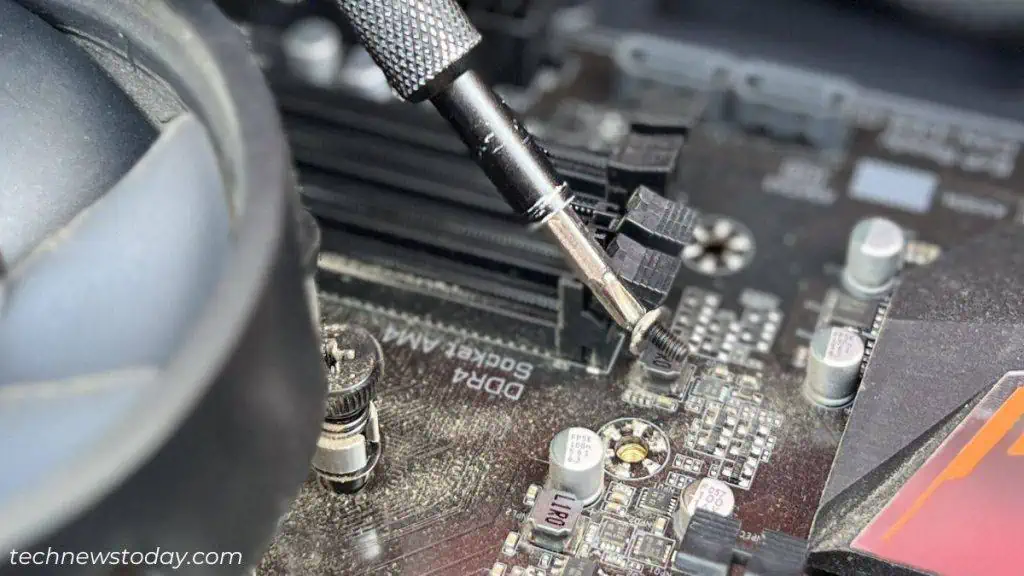
Now, find the motherboard screws, which vary depending on the form factor. Use the appropriate screwdriver bit to untighten and separate them from the standoff.
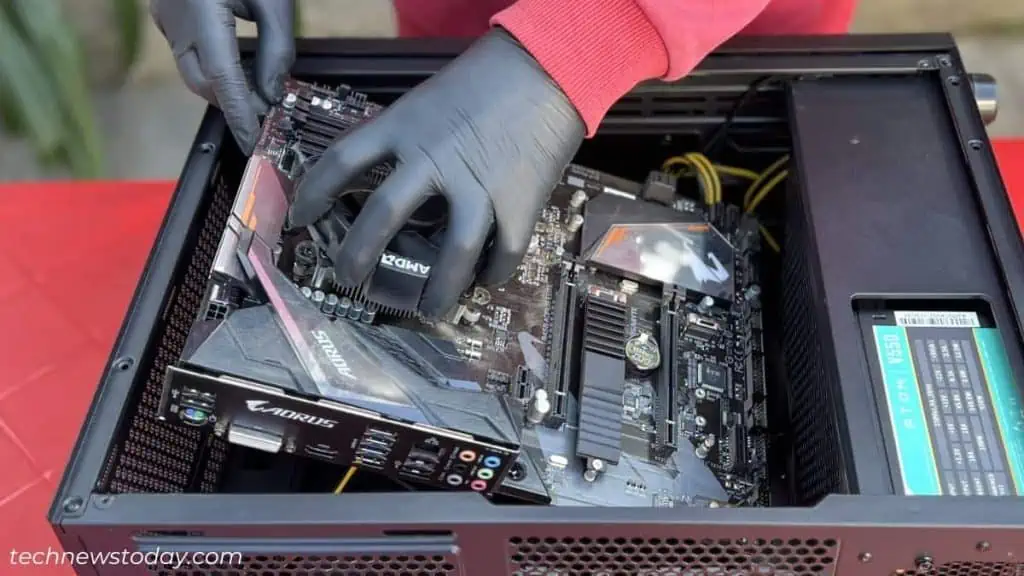
Keep all the screws safe (use a magnetic tray if available). Place the motherboard gently on an anti-static surface. While I’ve firmly screwed it on the Test Bench, you may set it down over a cardboard box too.
Blow Out Dust Particles
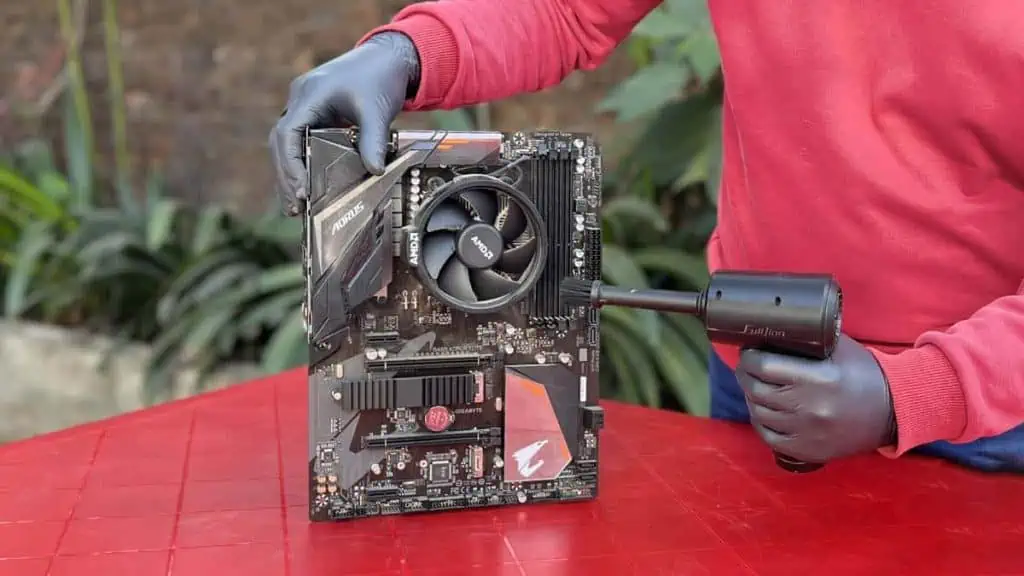
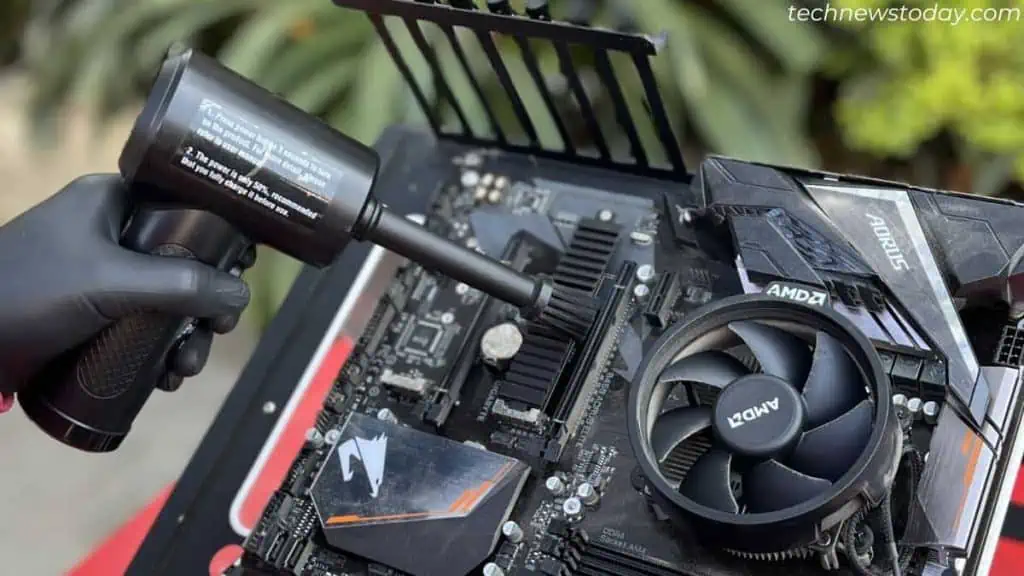
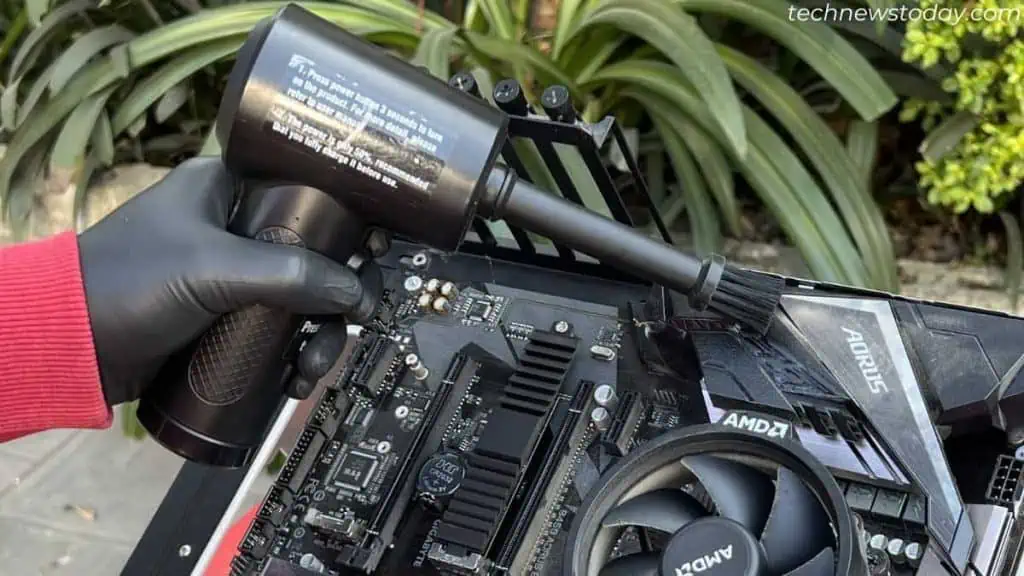
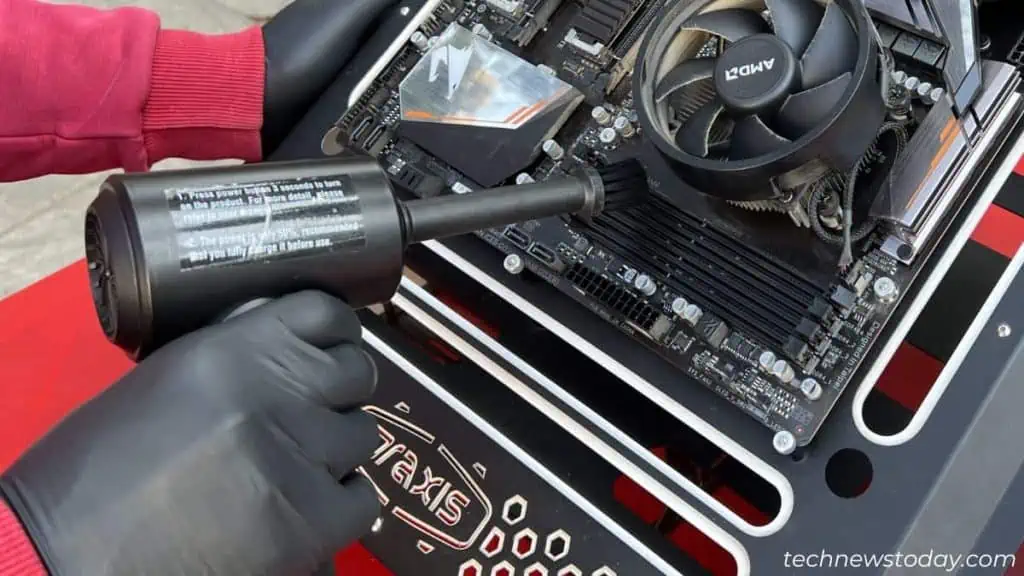
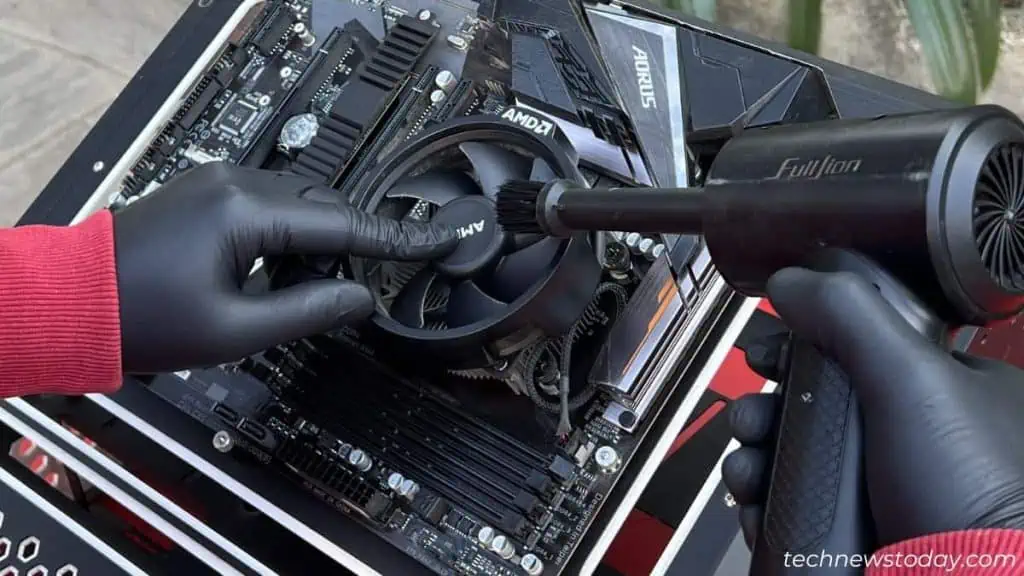
Before removing any component, blow out heavy dust particles and debris from the entire board. I’ve used Air Duster, but if you do not own one, apply short bursts of compressed air.
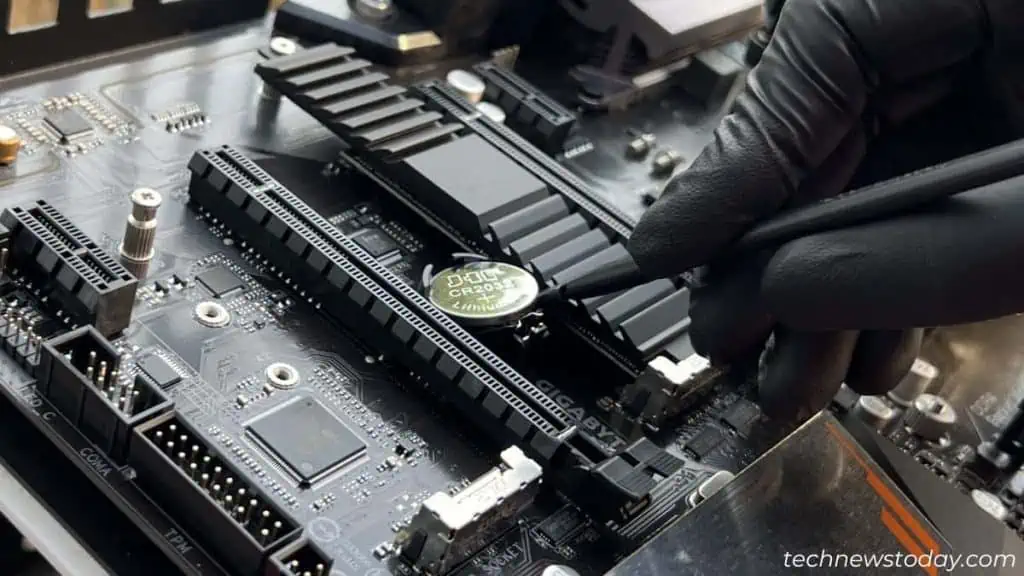
Here are some of the snaps of how I cleaned each section:
Disassemble Motherboard Parts
That’s certainly not enough as additional dirt and dust bunnies can get stuck in the VRM, chipset, or M.2 heatsink. In my case, the AMD Wraith Stealth thermal solution was so dirty that all the dust was falling into the motherboard.
Also, you’ll have to replace the thermal paste or grease from the CPU if it hasn’t been changed for too long. The same goes for thermal pads.
So, we are going to disassemble every part of the system board. Keep in mind that this is a delicate process and you require a lot of patience. Also, the process will vary, so I’ve just mentioned the general steps below:
- First, use a spudger to remove the CMOS battery from its compartment. Do note that this will reset your BIOS.

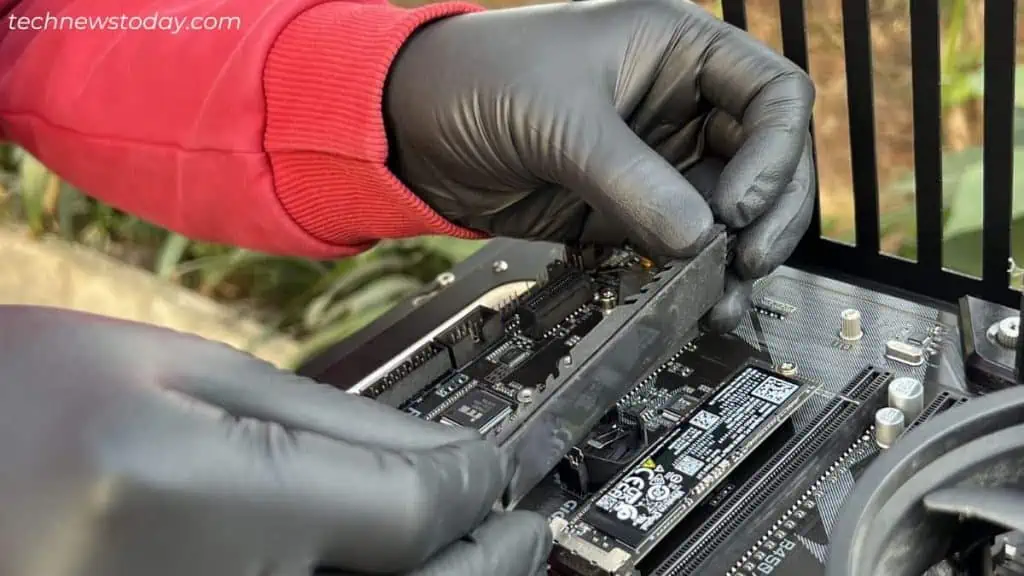
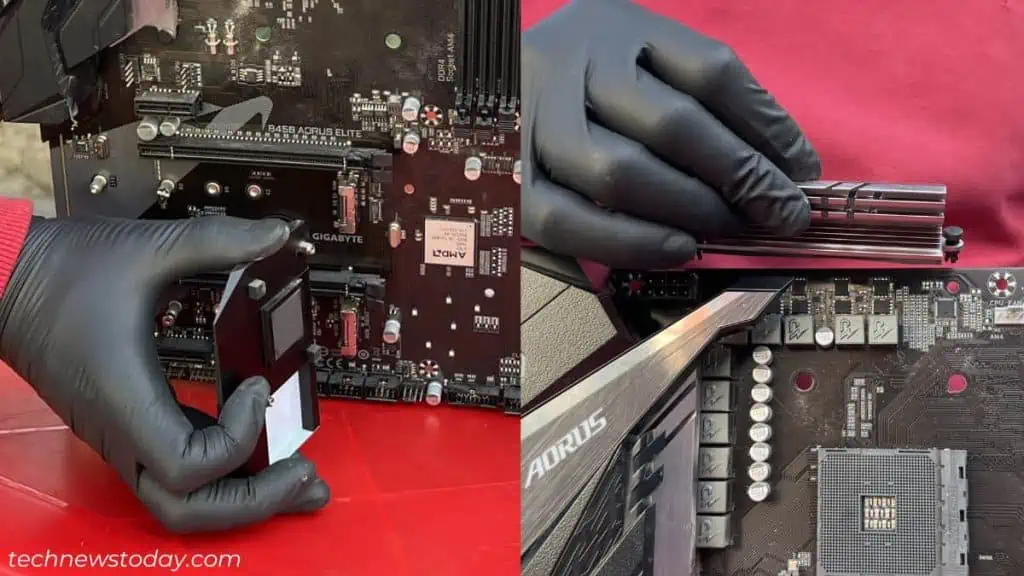
- Also, unscrew the M.2 heatsink (if yours has one). Take a quick peek at how dirty or depleted the thermal pad is. Place it upside down if it doesn’t require replacement.

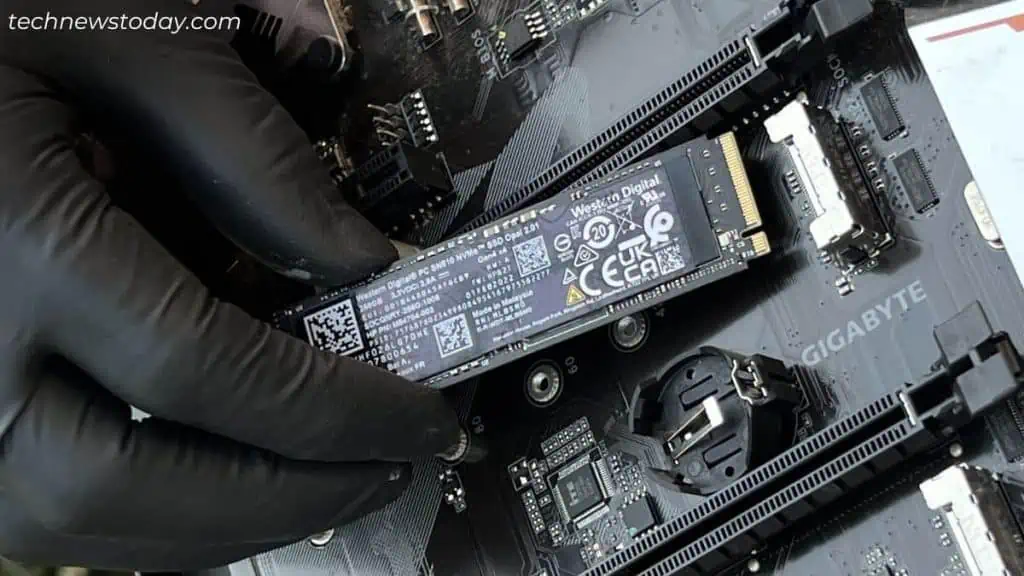
- While you’re at it, carefully remove the NVMe SSD. Repeat the above two processes if you have installed two or more storage drives.

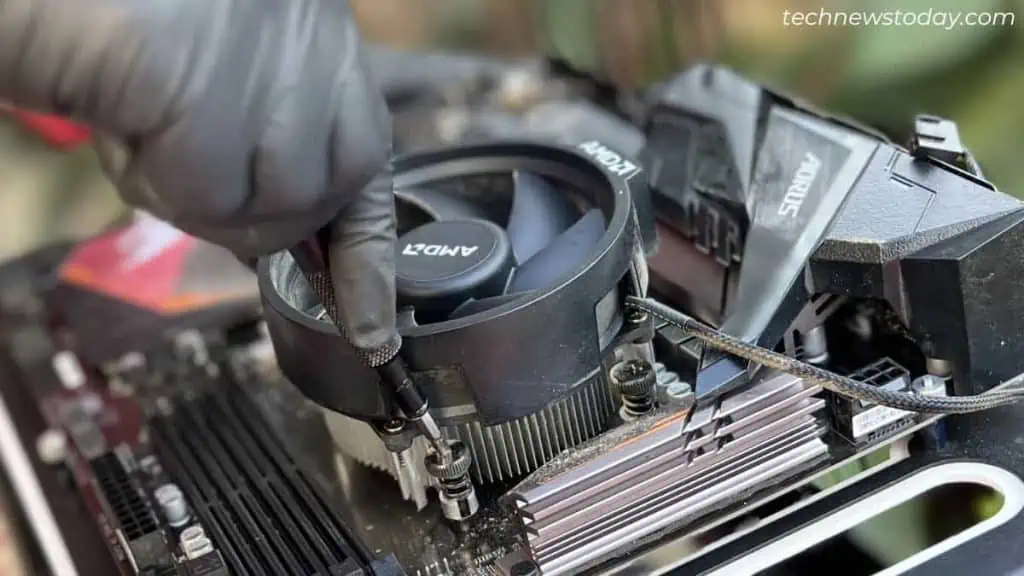
- Next, unscrew all the four screws that hold the CPU cooler in place. This might be a little different for liquid coolers that come with a pump. Some motherboards have back plates underneath – remove that as well.

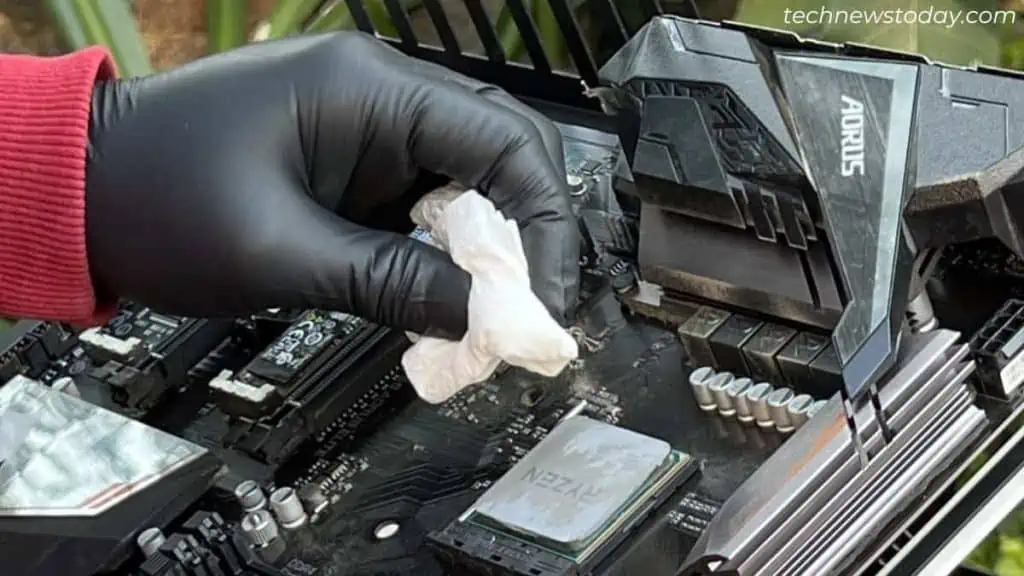
- Once the CPU cooler is removed, you’ll need to clean the thermal paste immediately. Do the same on the CPU IHS. Use a lint-free cloth or a paper towel dipped in Isopropyl Alcohol to do the needful.

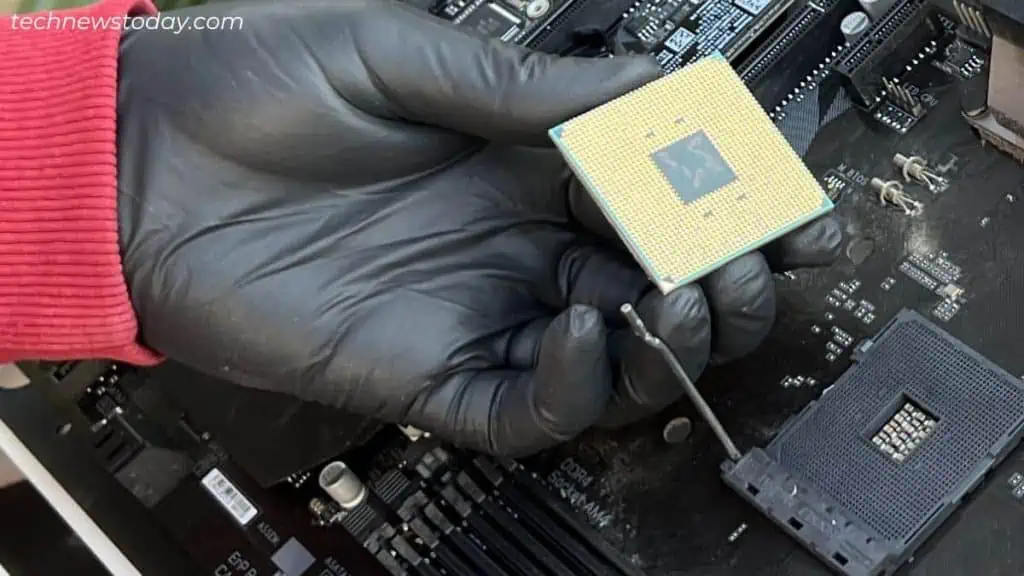
- Now, unlock the CPU socket lever and carefully pull the processor out. If it’s an LGA socket, place a dedicated cover over it (should be in your motherboard’s packaging). And if it’s a PGA CPU (as in my case), keep the CPU upside down in a safe place, without damaging/bending the pins.

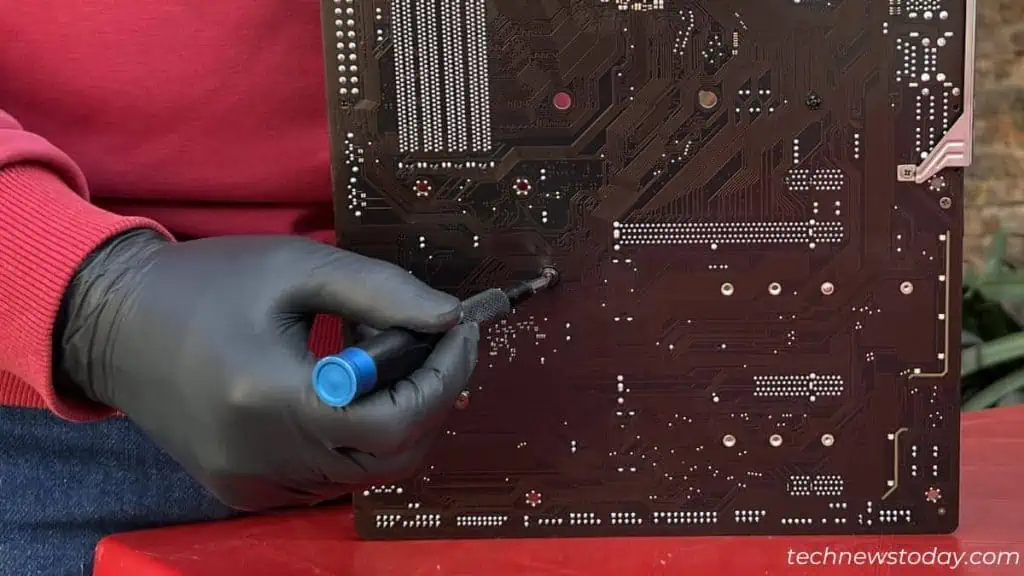
- Hold the motherboard upright and remove all the screws from the back. Some motherboards have complex structures – so I advise taking a picture so that you know where they go.

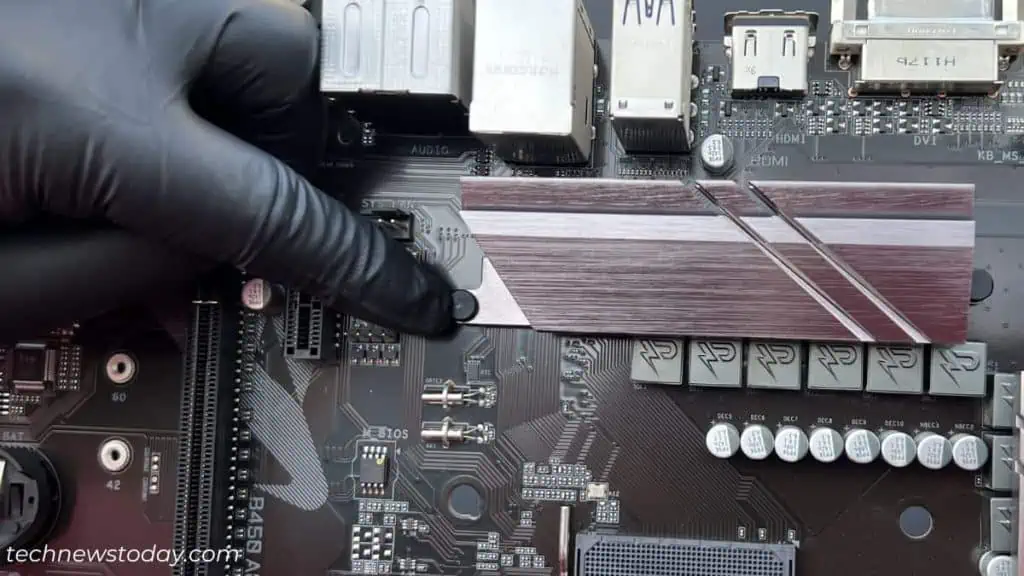
- When doing so, the chipset heatsink might come off – make sure it doesn’t fall in the ground and get damaged. And if there are no screws, you should find plastic clips. Just use the screwdriver to push it inward and the heatsink should come off easily.

- Also, remove other blocks from your motherboard. On my B450 AORUS ELITE, the I/O shield was directly attached instead of coming separately in the packaging box. So, I took that out as well.
Remove Dust From the Mainboard
Now, you may place the naked motherboard back on the anti-static surface. Start blowing off dust from each section using compressed air or air duster.
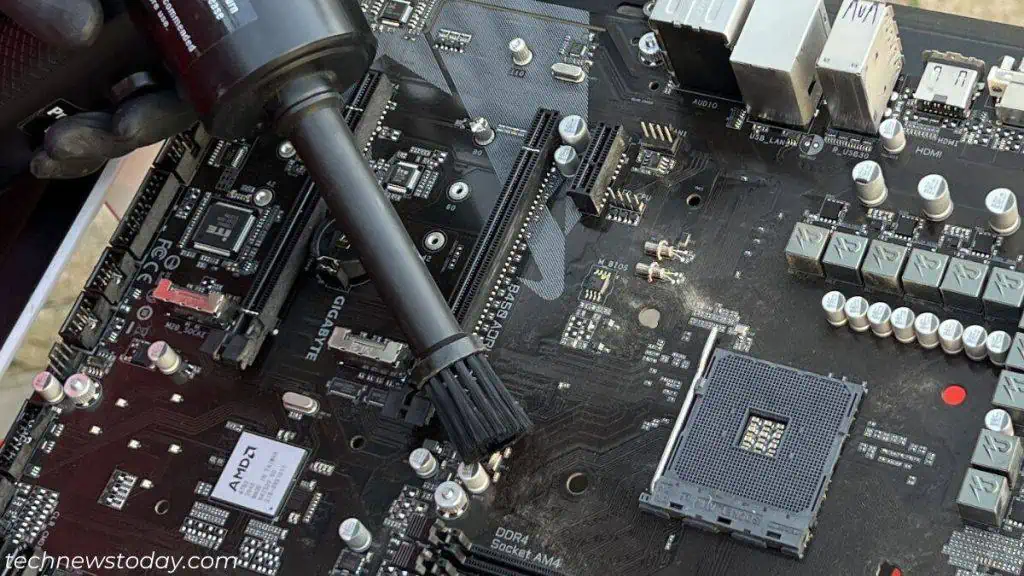
While this will clear out all the dust bunnies and debris, the motherboard may still appear dusty. So, we’re now going to clean every corner and edge:
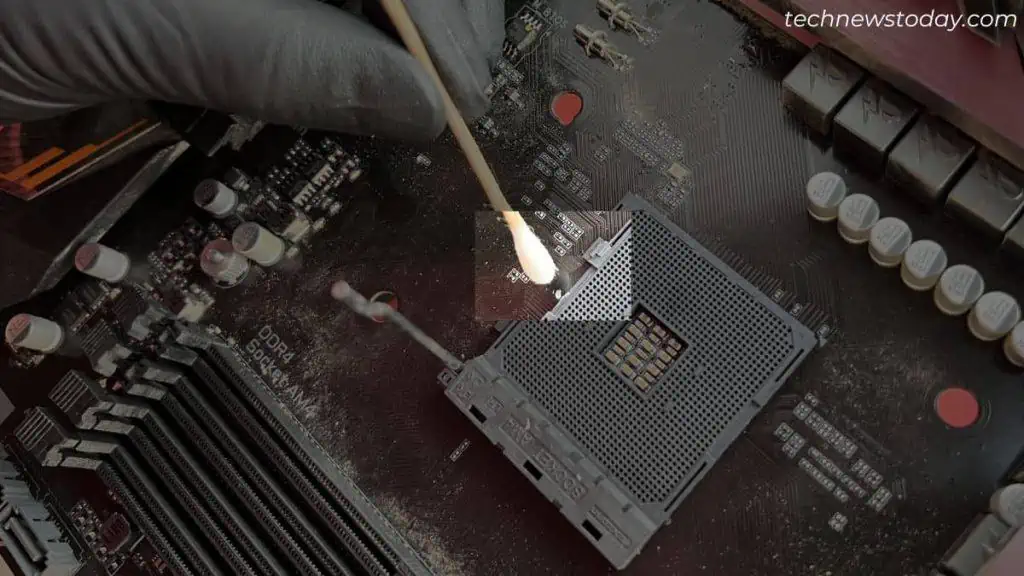
- Let’s start by inspecting thermal paste residues in and around the CPU socket. You can dip a Q-tip in Isopropyl Alcohol and clean the stains.

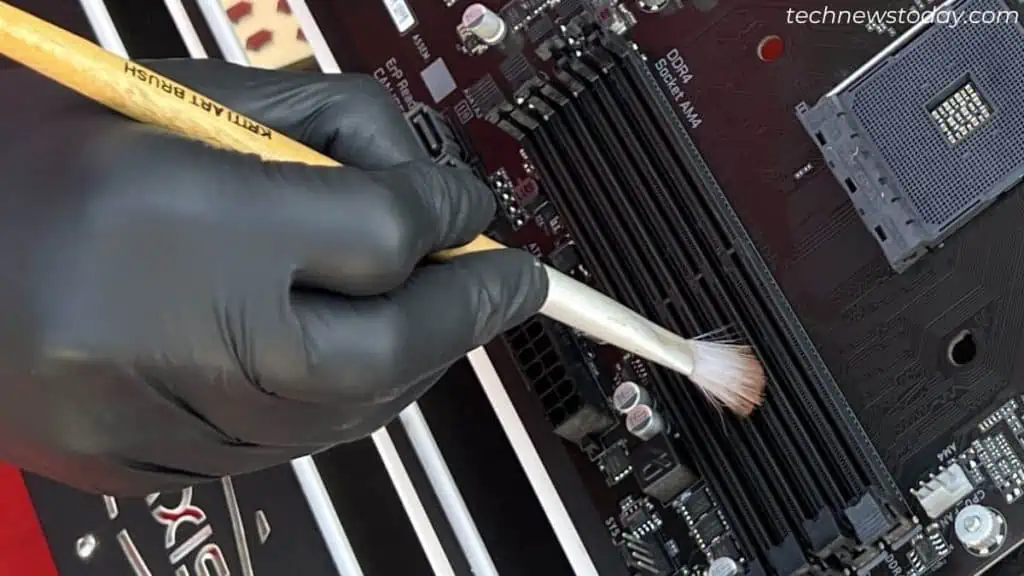
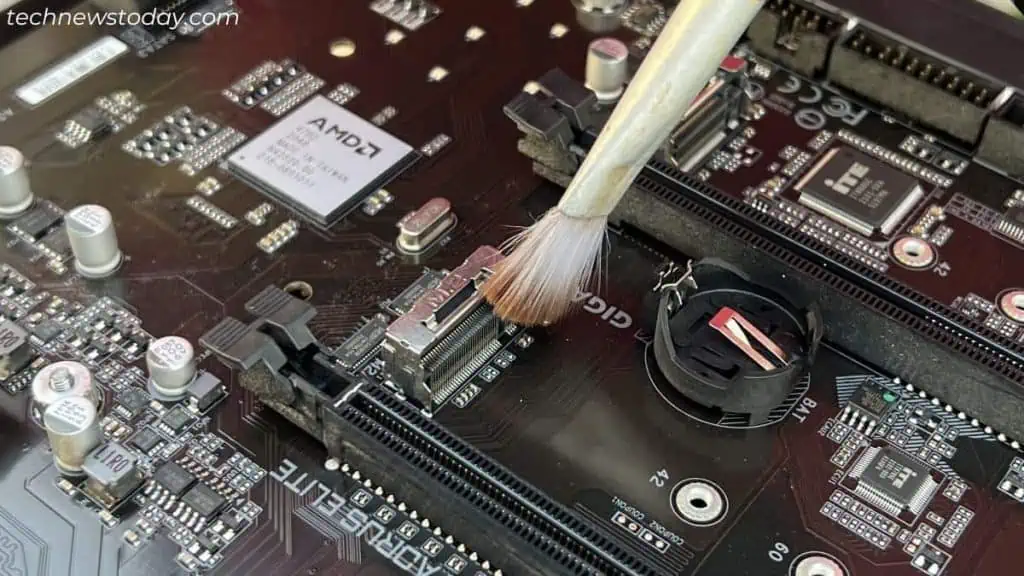
- Take a brush and start wiping the DIMM slots.

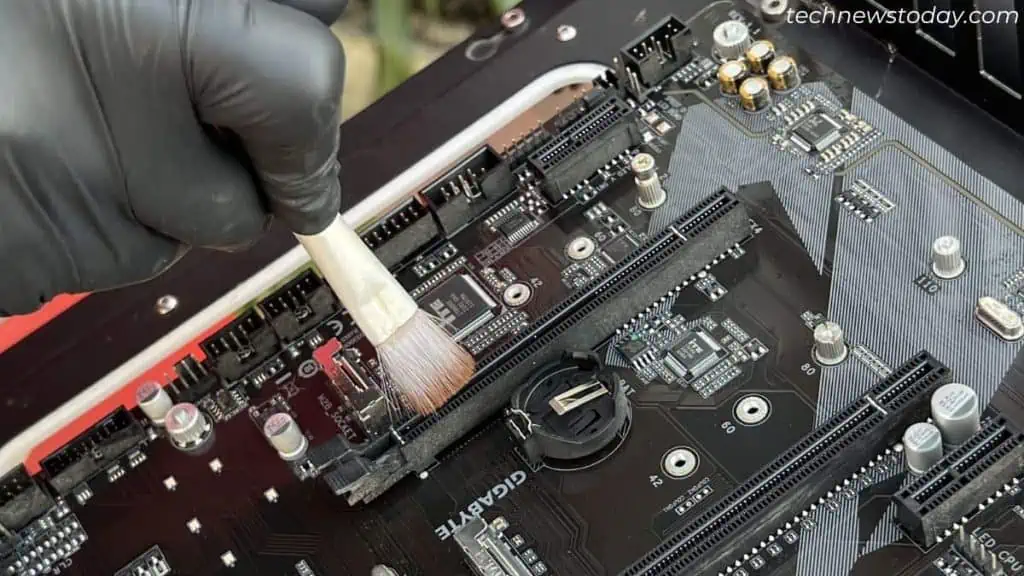
- Repeat the same process with all the PCIe slots.

- Next, I’m going to clean the M.2 pins in the exact same way.

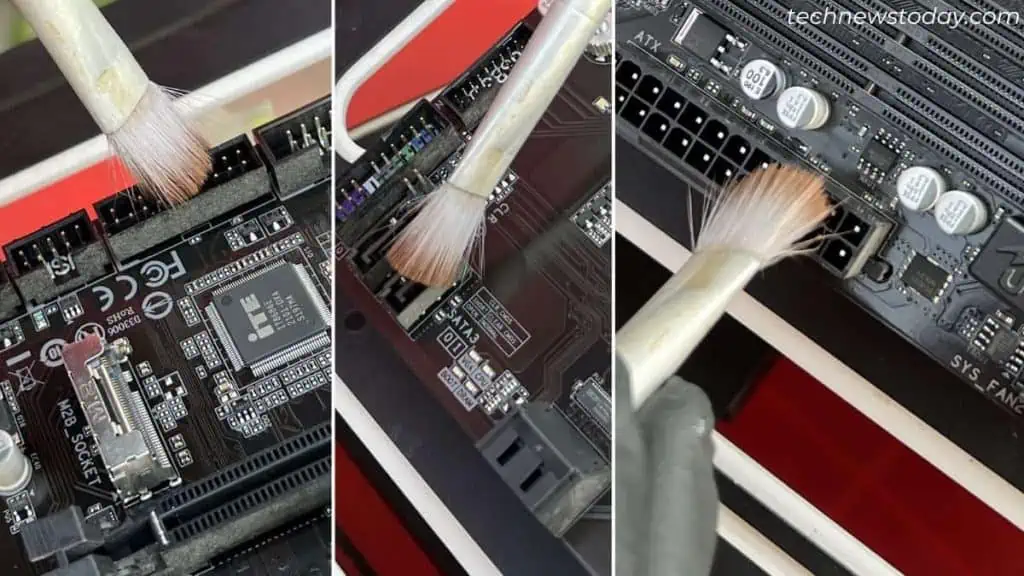
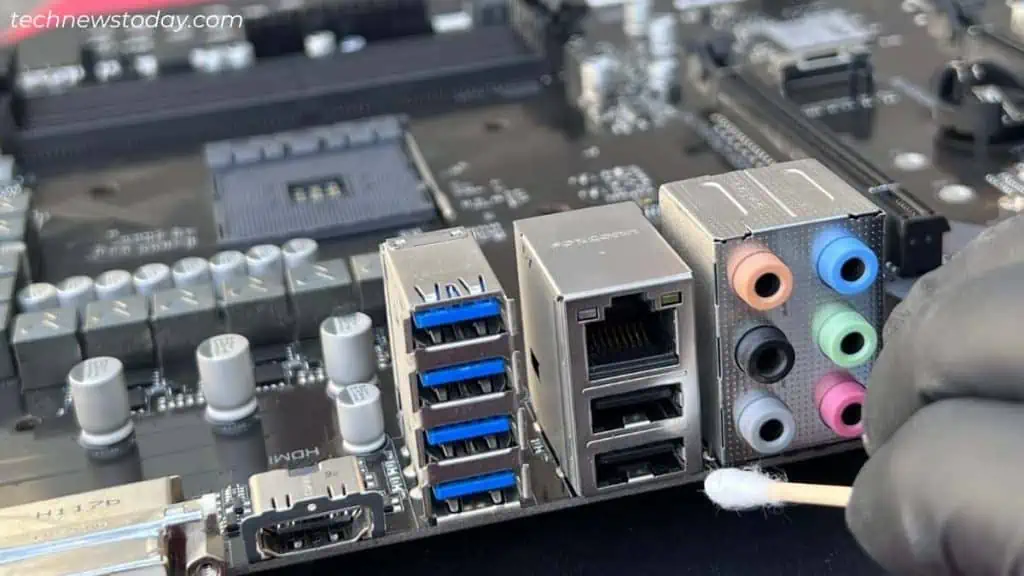
- Continue this process in each header, port, and connector.

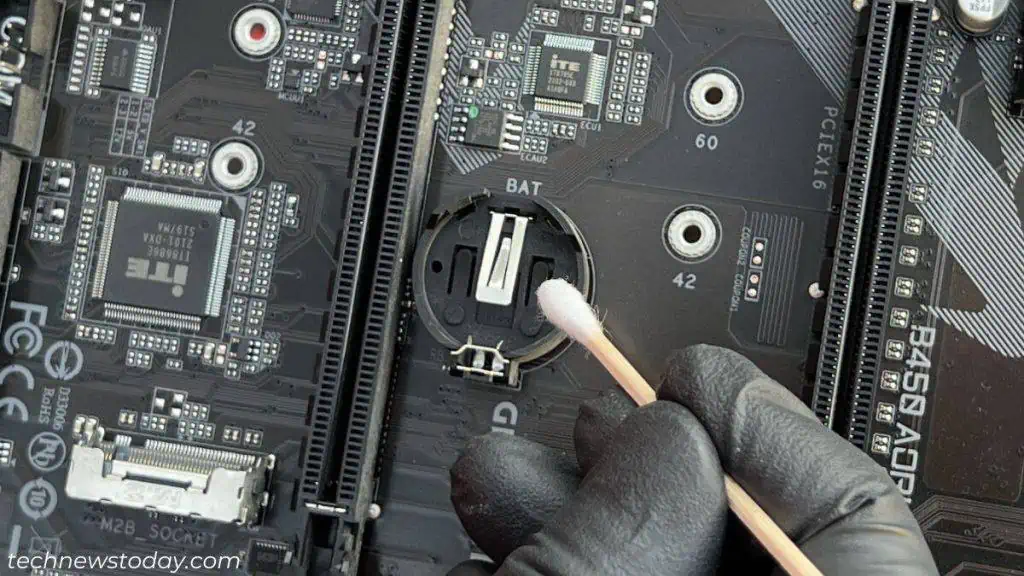
- Don’t forget the CMOS slot. You may use a Q-tip for this purpose.

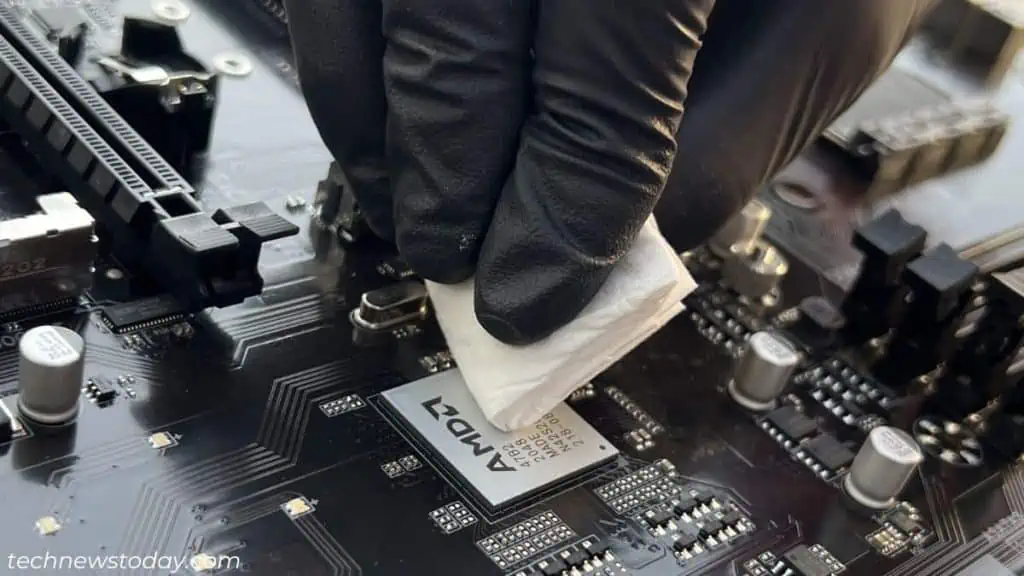
- In my case, the motherboard chipset’s heatsink uses a thermal pad. But if yours utilizes thermal paste, residue can remain on the chip. Use a paper towel dipped in Isopropyl Alcohol and rub it well (as demonstrated below).

- Now, get to the motherboard ports and remove dust from each of them. You can even check out my guide on cleaning the USB ports.

Can I clean the motherboard with water?
This is a common curiosity and my answer is a straight NO! This can permanently damage your motherboard.
I know you’ll find YouTube videos on the same subject where the PC is turned on even after rinsing well with soap and water. However, those are for experimental purposes.
Most parts of the motherboard are not rated for water cleaning. It’s even not recommended to apply rubbing alcohol directly. You’ll need to take extra caution when performing such a delicate task.
Clean Each Component and Reinstall
Now that your motherboard is neat and tidy, it’s time to dust off each disassembled part. Follow the below instructions to do it the right way. I’ve even linked dedicated guides if you want a detailed walk-through on each:
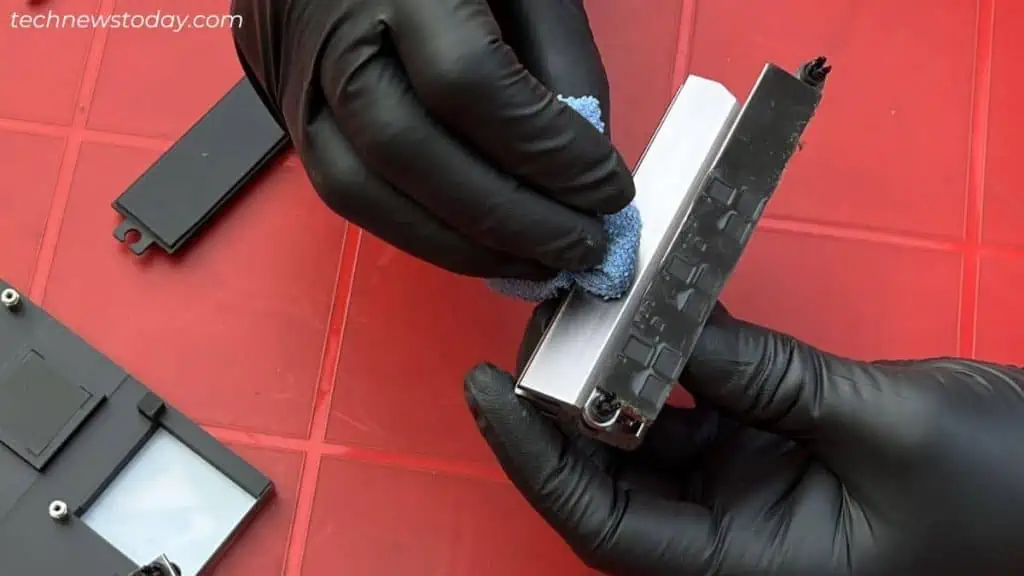
- Start the process by cleaning the chipset and voltage regulator module heatsinks using Q-tips or a dry microfiber cloth.

- Replace the thermal pads with the right thickness if necessary.
- Carefully fit each heatsink to the motherboard and secure them with screws or plastic clips, as per their configuration.

- Don’t forget to wipe the I/O shield, whether it’s attached to the case or motherboard.
- It’s time to clean the CPU. While this shouldn’t be that dirty, the remains of the thermal paste may get to the pins which are difficult to remove. Do it very carefully before reinstalling it back to the socket.
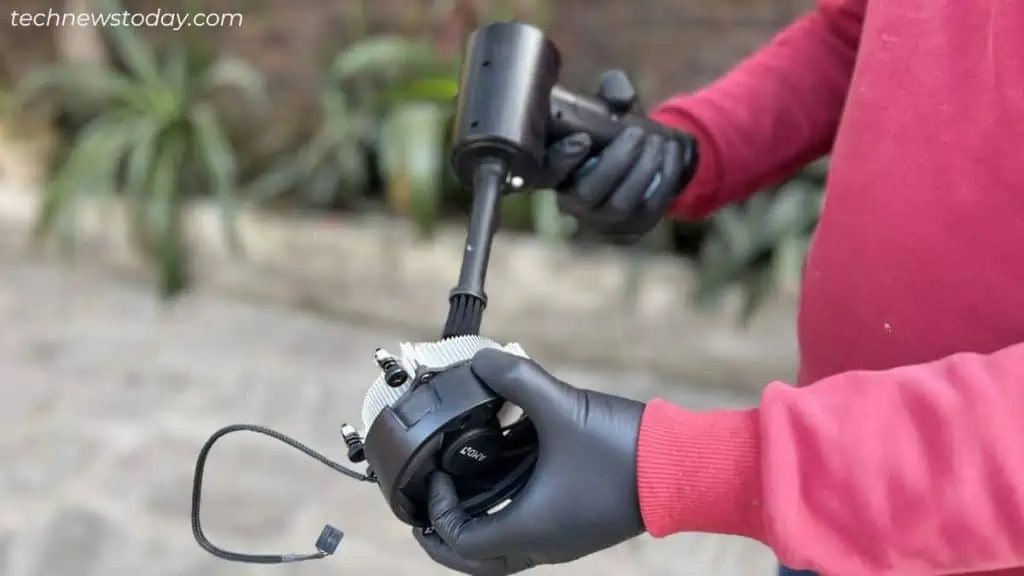
- Use the air duster or compressed air to clean the heatsink. Also, you may check our dedicated guides on cleaning the CPU cooler and AIO radiators.

- When dusting the stock fans, make sure you hold onto each blade.
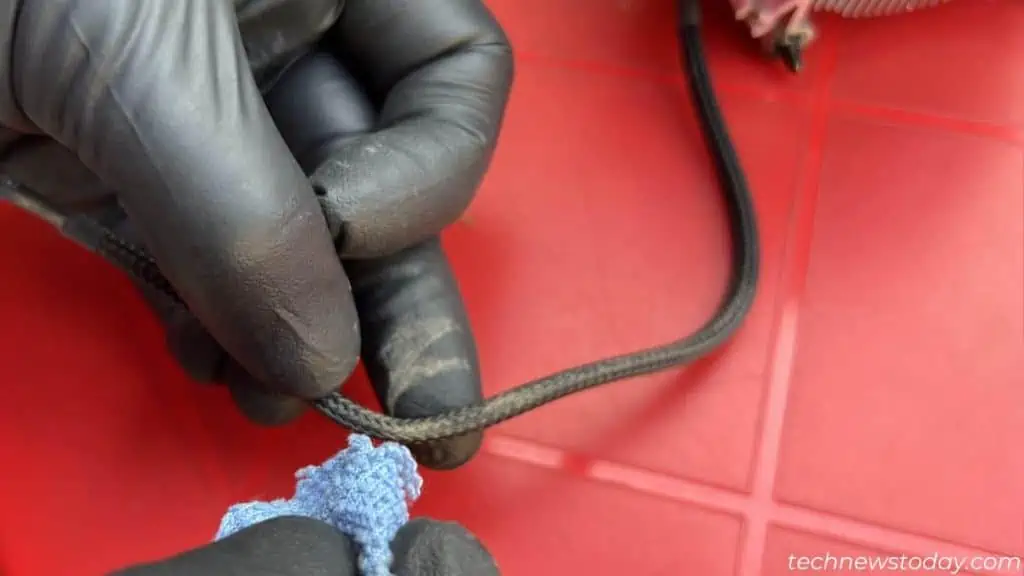
- In my case, the fan cable was also quite dusty. Gently wiping it with a microfiber cloth was enough.

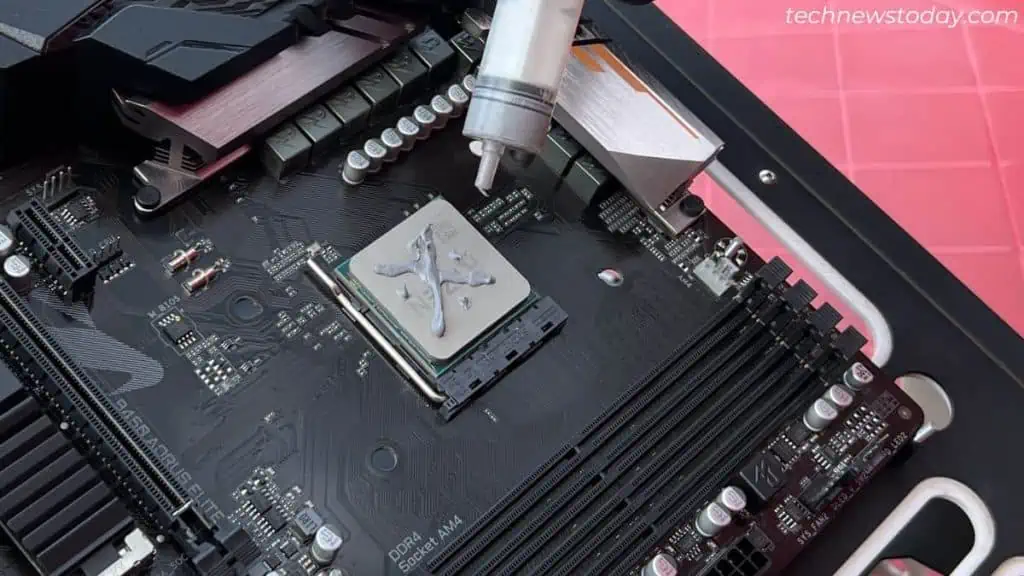
- Next, apply the right amount of thermal paste. There are different patterns and the linked article should help you choose the best one.

- Now, reinstall the CPU fan/cooler, tighten all the screws, and join the cable to the CPU Fan header.
- Use a microfiber cloth to wipe the M.2 SSD and CMOS battery as well. Once done, clean and fit the M.2 heatsink with its dedicated screw.
Finalize Cleaning Before Fitting Back the Motherboard
We are not done just yet! After deep cleaning the motherboard this well, we can certainly put a little more effort and time into cleaning the other components.
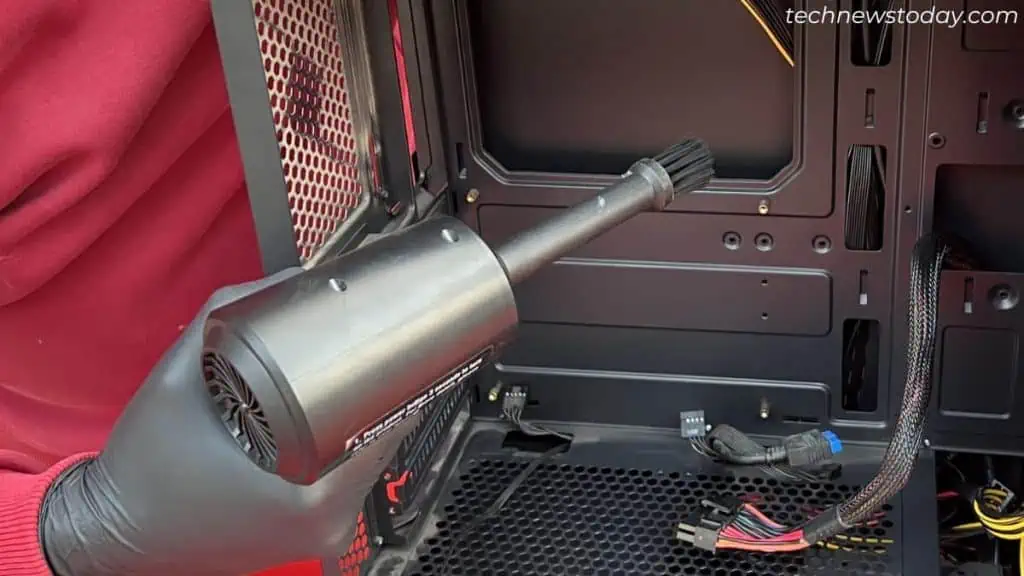
Use the Air Duster or Compressed Air to remove dust from the PC case first. Get into each corner and edge. Make use of a dampened microfiber cloth to remove tough stains.
Also, you may take the PSU out and wipe it. Also, clean each case fan and reinstall them. Don’t forget to remove dust from the filters (some PC cases come with two).
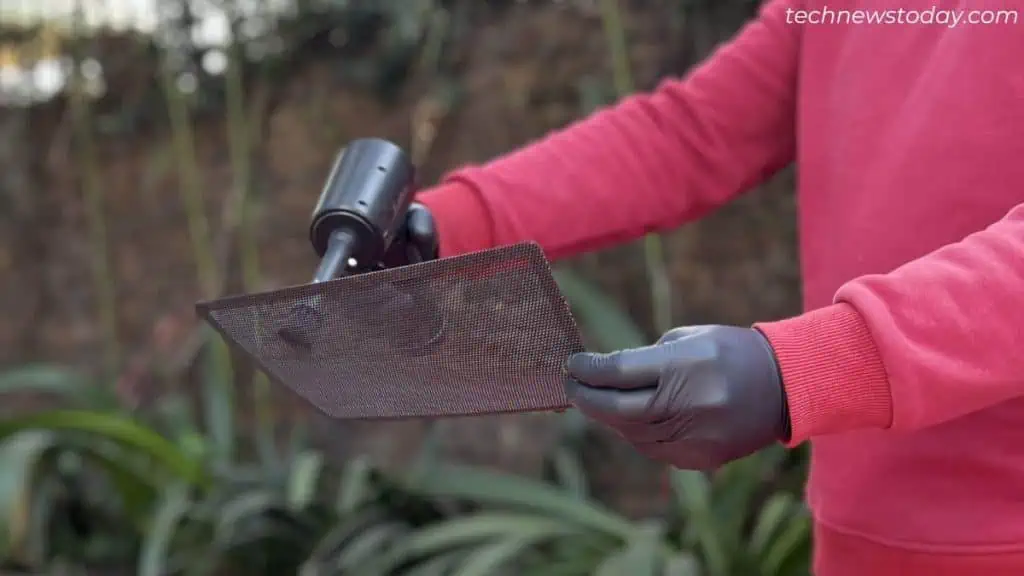
We’re yet to reach the rear side of the PCB. For that, you can use a brush and clean dust from the dirtiest sections.
Now, take note of the standoffs and fit the motherboard. Since even the screws can accumulate dirt and dust, I recommend wiping each of them using a microfiber cloth before screwing them into the respective holes.
Finally, clean your GPU and RAM sticks before reinstalling them.
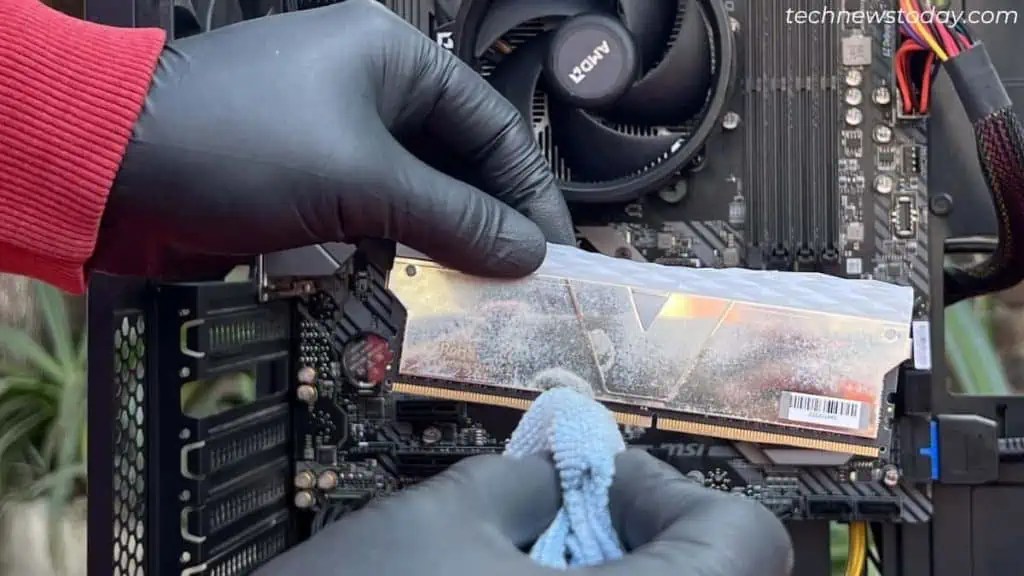
Once everything is done and dusted, clean the panel, put it back, reconnect everything, and check if your PC boots up.
Since we had removed the CMOS battery earlier, it’s essential to load the optimized defaults in BIOS too.
That’s it! You have successfully cleaned your motherboard as well as the PC. Before taking it back, clean your workspace as well. And this time, place the computer where there’s proper airflow with less dust.

