If your printer has been lying around the corner for a long time, it may have gathered dust and debris. Not only does this degrade the print quality of your printer, but it can also render the device completely non-functional.
If your printer is dirty, you may encounter stains on the printouts or even experience paper jams. Therefore, it is always best to keep your printer neat and clean.
Cleaning a printer—especially a Laser printer—can be tricky due to its sophisticated internal build. However, here’s a detailed guide on how you can clean both Inkjet and Laser printers.
Don’ts of Cleaning a Printer
Here are some things you must know before cleaning your printer.
- Do not spray any kind of liquid directly into the printer’s body.
- Do not use compressed air to clean the internals of the printer. The air pressure can further stuck the dust and debris into inaccessible corners of the printer.
- Avoid using Isopropyl alcohol to clean the internal components of the printer. It is highly flammable and may cause fire hazards.
- Avoid using products with Ammonia or bleaching agents. It can corrode the color and texture of the printer’s body.
- The warranty of your printer voids if you damage it during the cleaning process.
- Be extra careful when you are cleaning a Laser printer. The drum gets hot after a long use, so let it cool down for a while before cleaning.
Cleaning the Exterior of the Printer
Cleaning the exterior of your printer is similar to cleaning any other electrical appliance at your home. It means you will mostly be dealing with dust, dirt, debris, smudges, and finger stains.
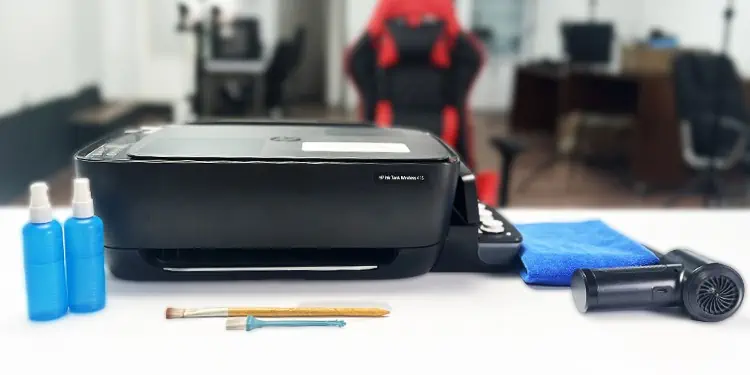
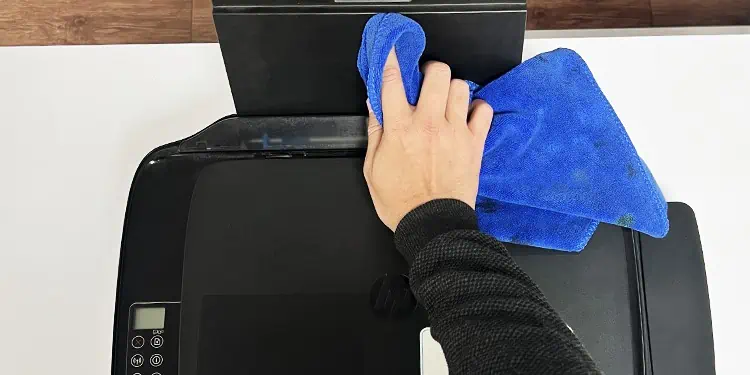
Here, I am cleaning the exterior of the HP Ink Tank Wireless 415 series printer. You can follow similar steps for other printer models.
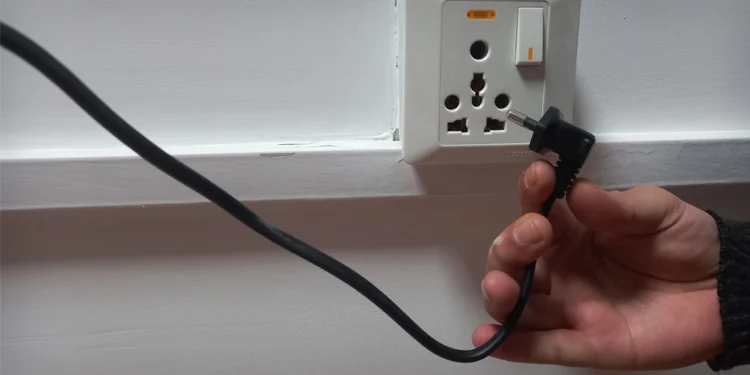
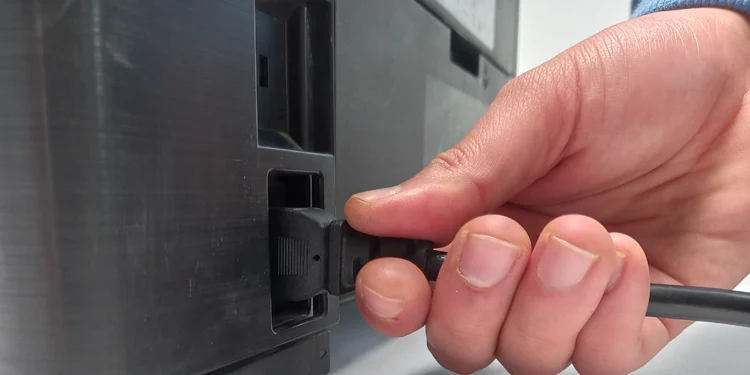
- Cut off the power supply of the printer and remove the cables.

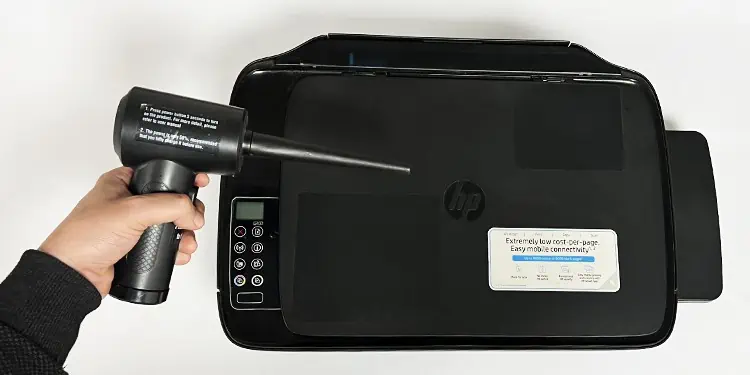
- Take a blower and blow all the dust out of your printer. Try to blow the air to every corner of the printer.

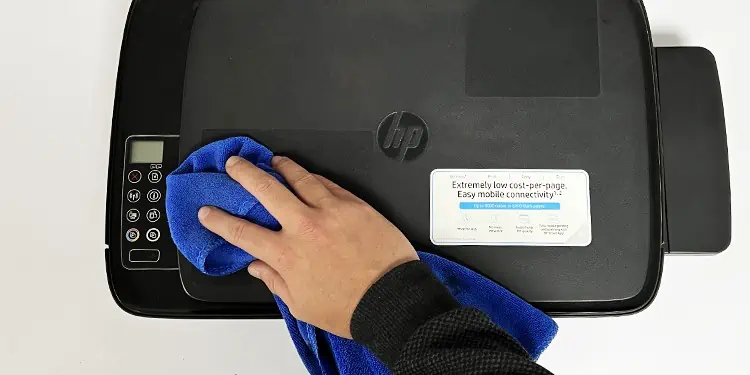
- Then take a lint-free cloth dipped into distilled water or Isopropyl alcohol and wipe the printer’s body. Only use a slightly damped cloth.

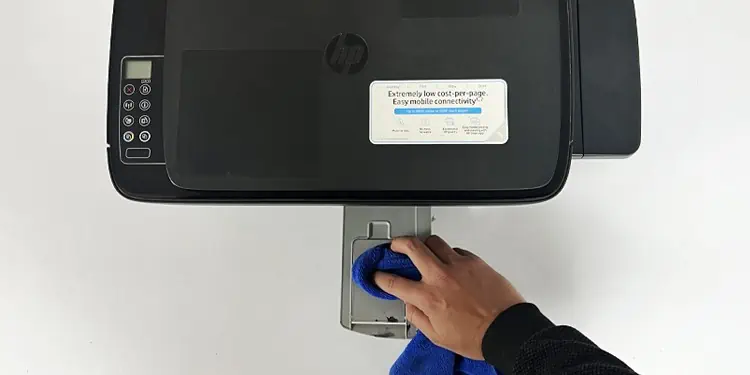
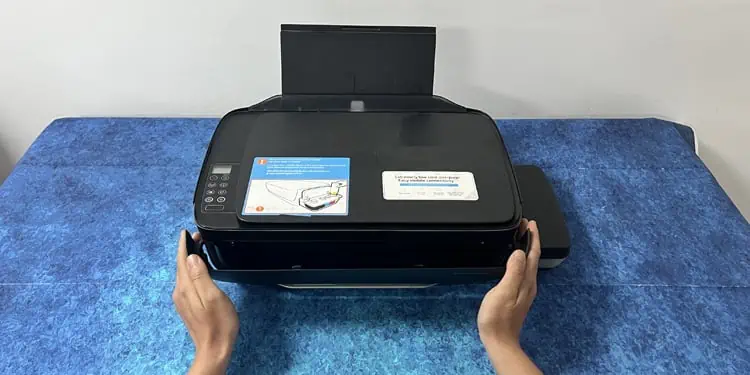
- Extend the input tray and clean it.

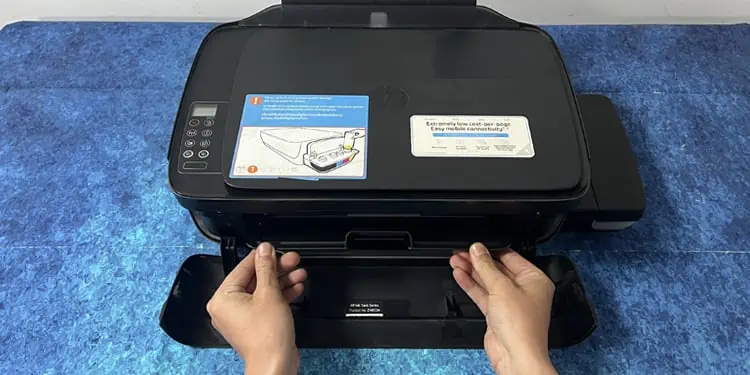
- Next, clean the output tray.

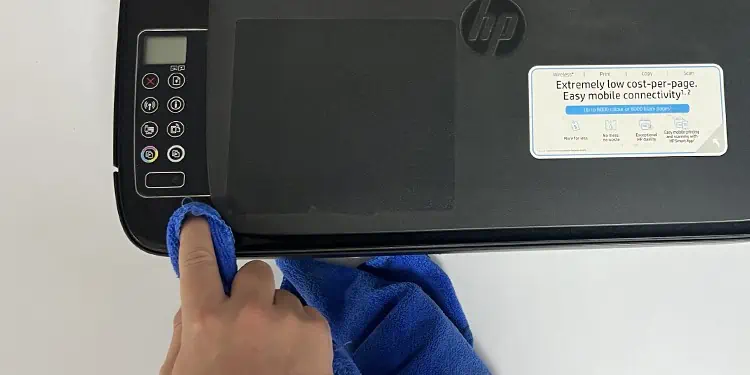
- To get rid of the tough stains gently rub the area.

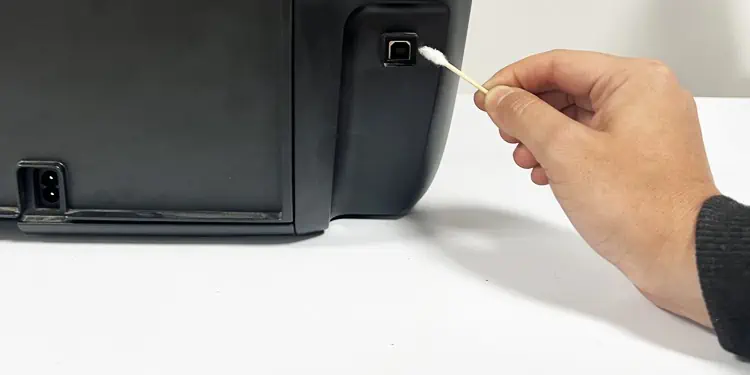
- Clean the USB ports, LAN ports and power cable connector using a Q-tip.

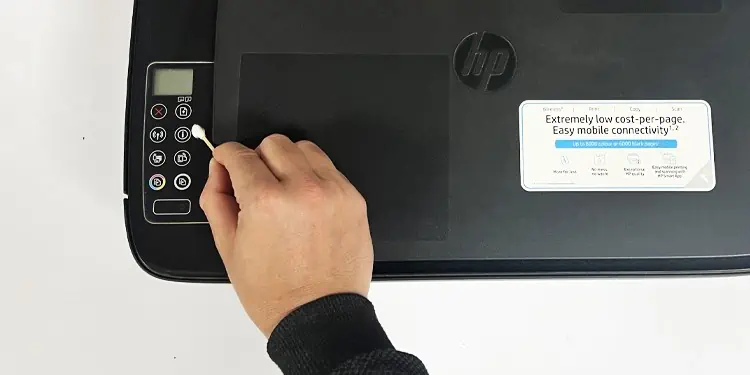
- Clean the buttons of the printer using the Q-tip and a soft cloth.

- If your printer has an LCD screen, you can use glass cleaner and a lint-free cloth to clean it.
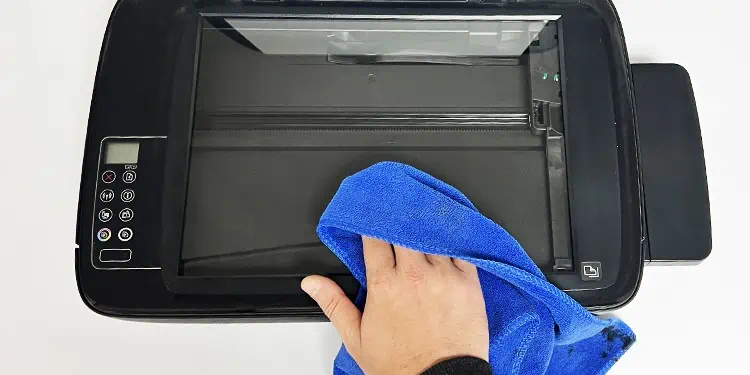
- Now open the scanner lid of the printer and wipe all the dust out of it using a soft lint-free cloth. Make sure you do not scratch the scanner glass.

Cleaning the Carriage Area
The carriage area is most prone to paper jams on your printer. The cartridge assembly can not move properly if foreign bodies or papers are stuck in this area. So, it is essential to keep the carriage area neat and clean.
Here, I am cleaning the carriage area of the HP Ink Tank Wireless 415 series printer.
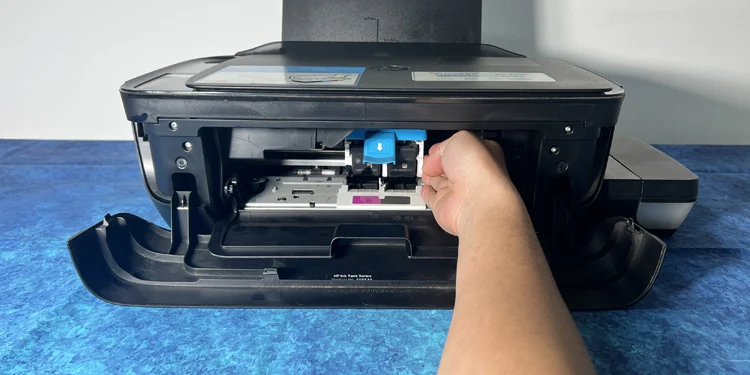
- Power off the printer and open its front door.

- Open the carriage area access door.

- Slide the cartridge assembly to one side of the carriage area—either left or right.

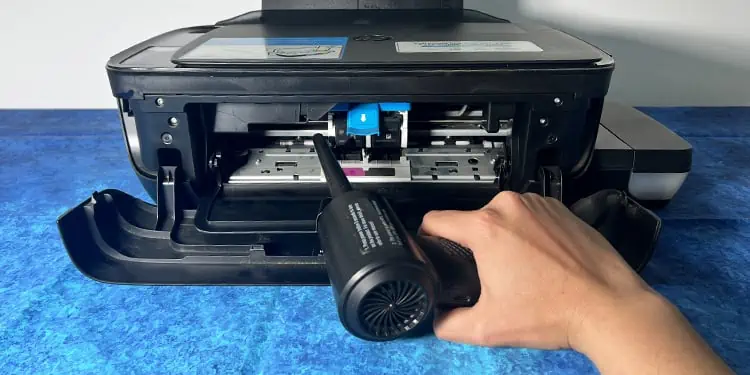
- First, with the help of a blower, blow dust and foreign bodies out of the area.

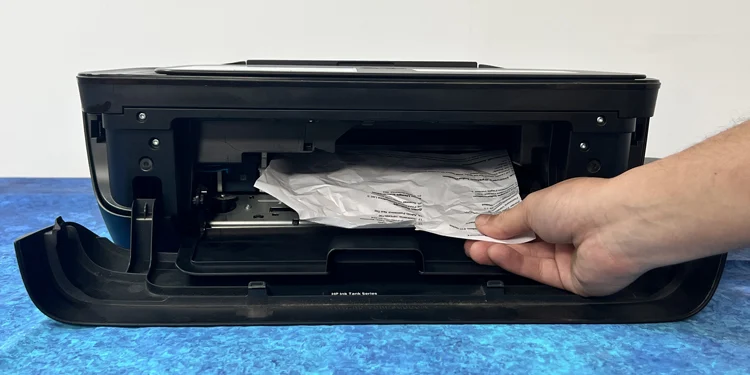
- Inspect and remove if there are any paper pieces stuck in the path.

- Check if the cartridge assembly moves properly by sliding it gently to the left and right.
After cleaning the carriage area, you should also clean the encoder strip. The encoder strip holds the cartridge assembly and guides it to spray inks correctly during the printing process.
This strip can get dirty after cleaning the carriage area. You should always clean this strip to avoid issues like printer printing blurry pages.
- Locate the strip. It is a transparent plastic film that extends horizontally across the printer.
- Move the cartridge assembly aside.
- Lightly soak a lint-free cloth in distilled water.
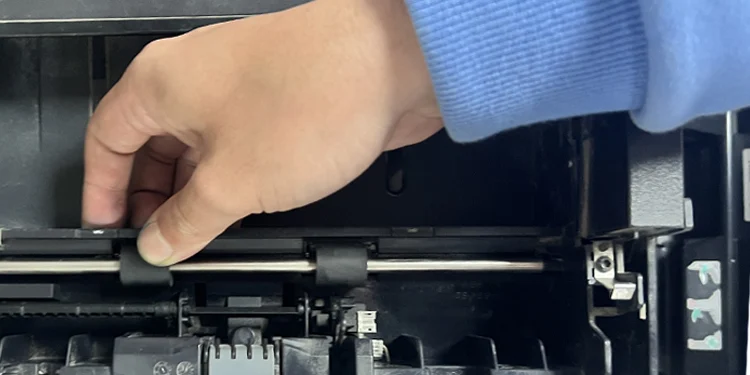
- Using your index finger and thumb, clean the strip. Finish off the cleaning with a Q-tip.
- Close the front doors.
Cleaning the Rollers
Rollers are tiny wheels that help papers get in and out of the printer. If any foreign bodies get attached to these rollers, it can cause unwanted stains and smears on the printouts.
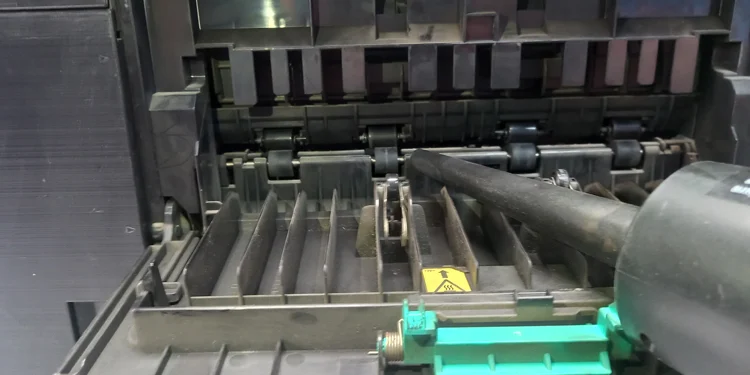
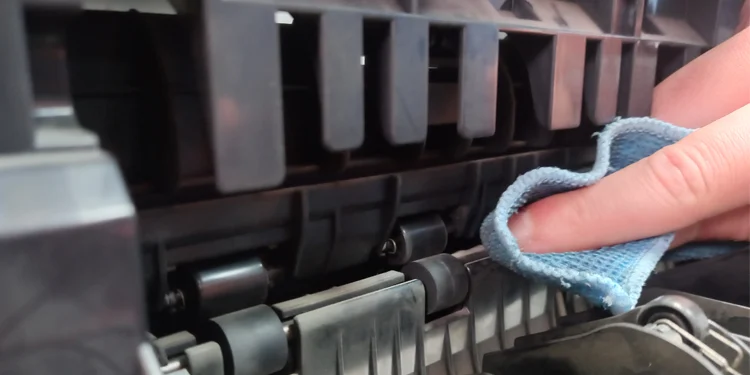
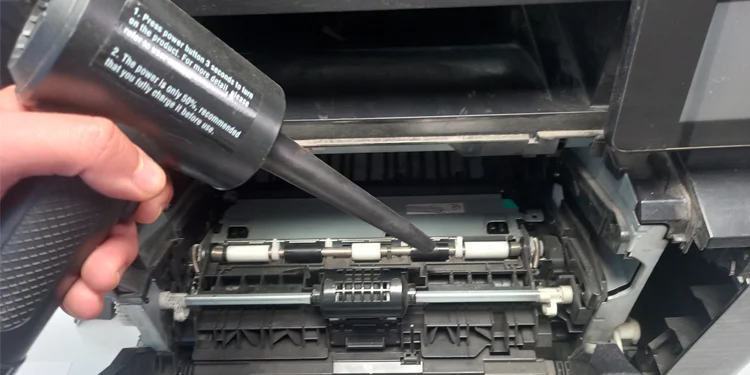
Here, I am cleaning rollers of the HP LaserJet Pro 400 MFP M425dn printer.
- Isolate your printer from the electrical supply and remove other connected cables too.

- If there is an Automatic Document Feeder (ADF) at the top of your printer, start by cleaning the ADF rollers.
- Remove the ADF cover.
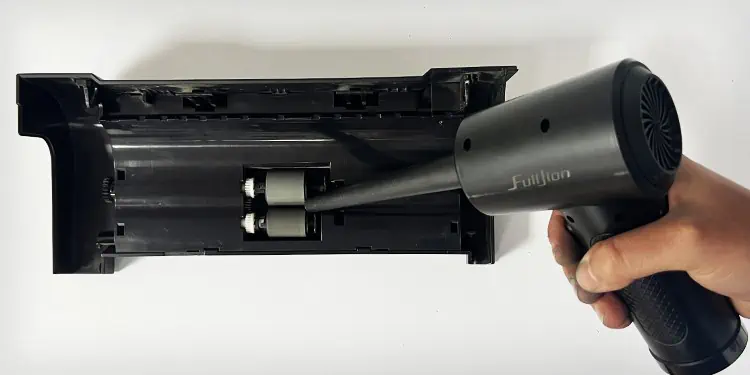
- Take a blower and blow the ADF rollers.

- Use a Q-tip, toothpick, or blower to remove the debris from the wheels.

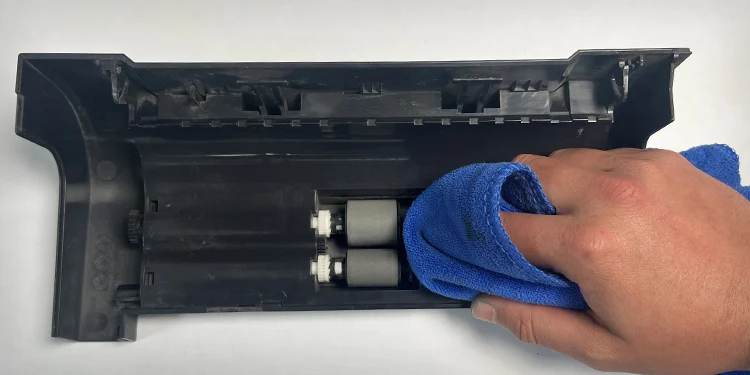
- Dip a lint-free cloth in distilled water and clean the rollers.

- Rotate the rollers with your hands to see if they rotate freely.
- Close the ADF cover.
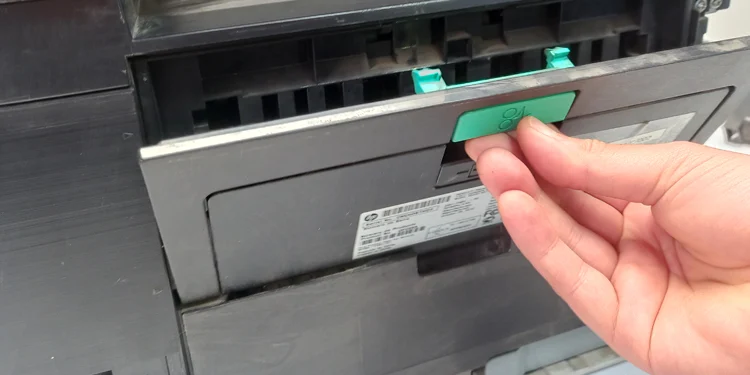
- Now unlock the rear access door of your printer.

- Blow the input rollers using a blower.

- Use the lint-free cloth to remove any dust or foreign objects.

- Lock the rear access door.
- Then open the toner access door and remove the drum and toner unit from the printer.
- Clean the output rollers as well.

- Close the toner access door.
Cleaning the Printheads
Printhead is the main component on your inkjet printer that sprays ink onto the paper to generate text and images.
A dirty and clogged printhead can cause issues like printer printing blank pages, printer not printing in a particular color, streaky printouts, and many more. So, you should always consider cleaning it to avoid such errors.
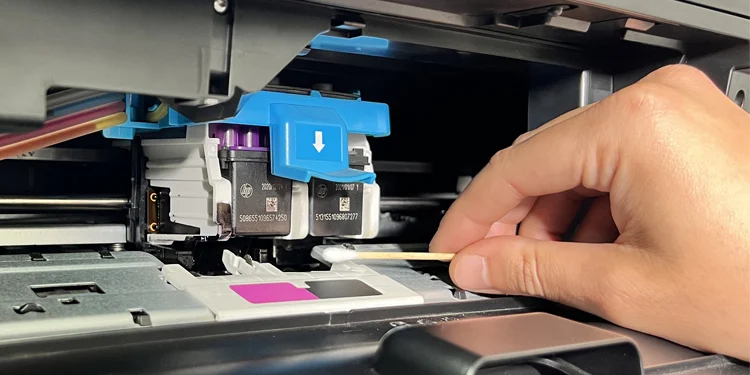
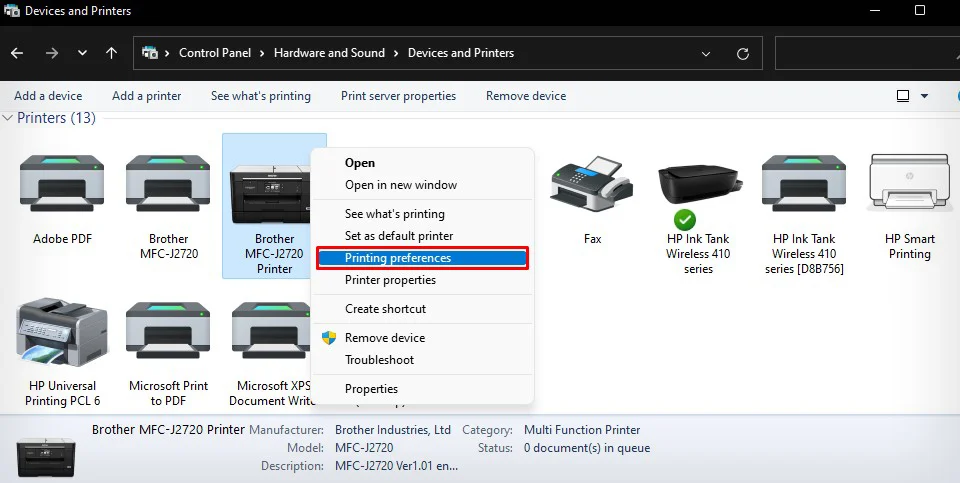
Nowadays, printer manufacturers provide a dedicated printhead cleaning tool integrated into their printer driver to clean the printheads. You can easily run the cleaning cycle from the printing preference of your printer.
On HP Printers
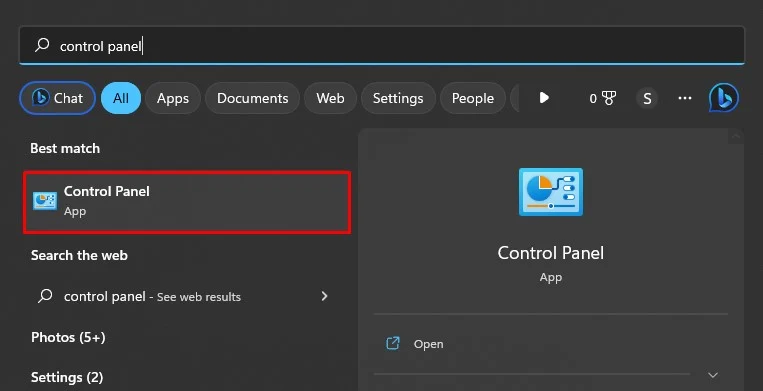
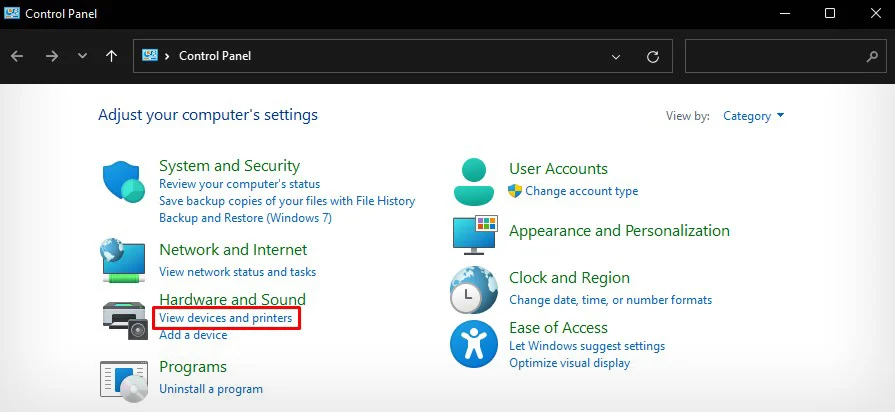
- Search Control Panel in the Windows search box and open it.

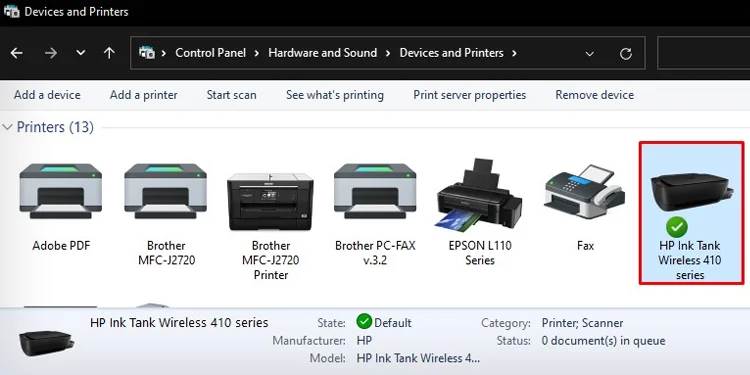
- Tap View devices and printers.

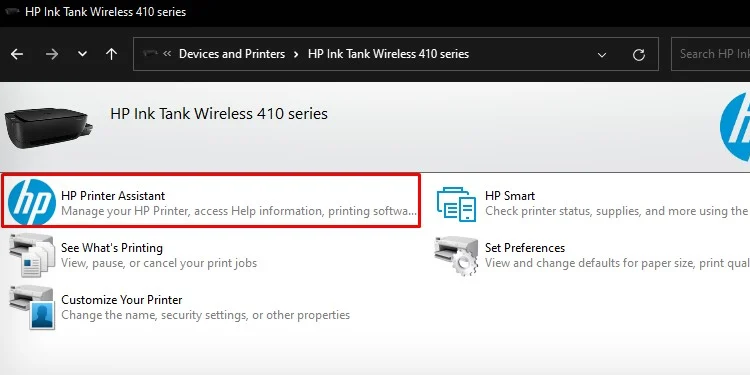
- Double-click HP printer.

- Launch HP Printer Assistant.

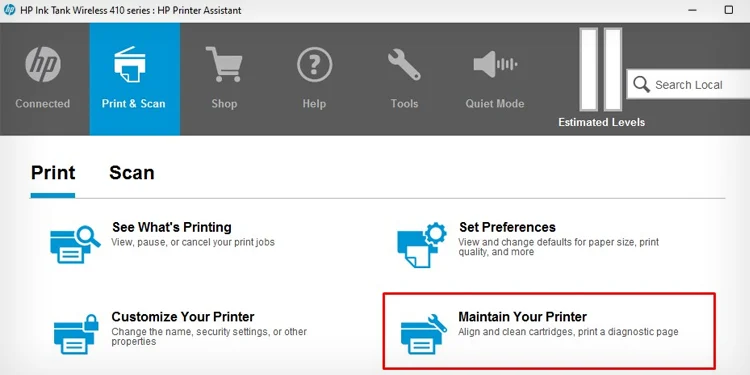
- Select Maintain Your Printer.

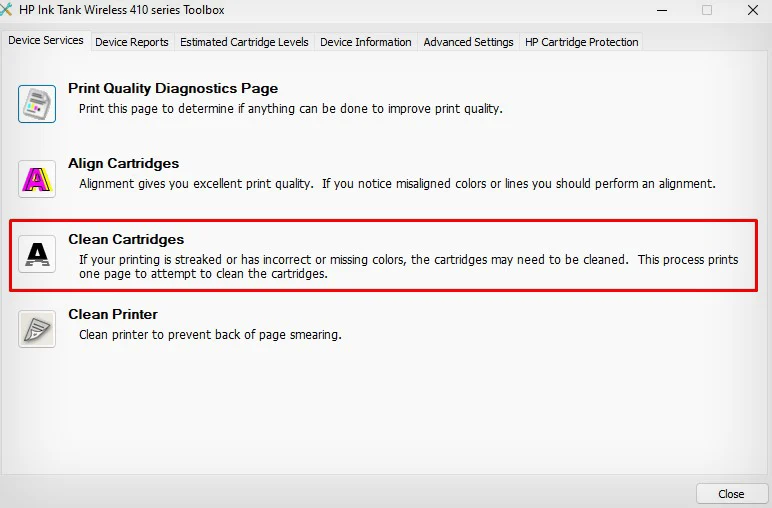
- Click Device Services.
- Tap Clean Cartridges and follow the on-screen instructions. You may also run the Clean Printer utility to solve the ink-smearing issues.

On Canon Printers
- Open Control Panel.
- Tap View devices and printers.
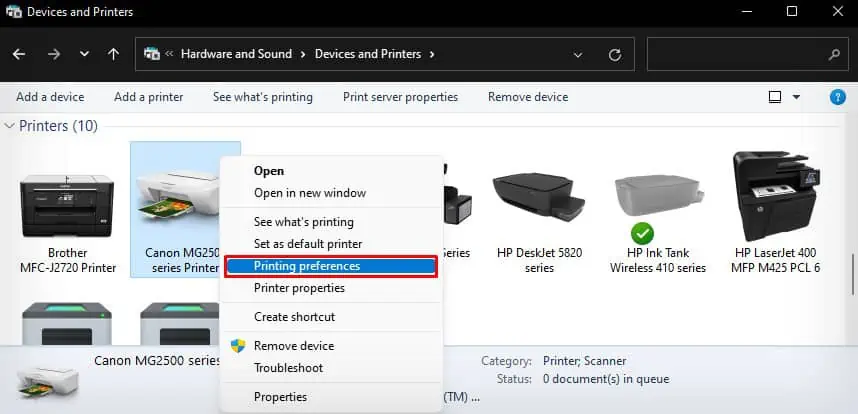
- Right-click Canon printer and select Printing preferences.

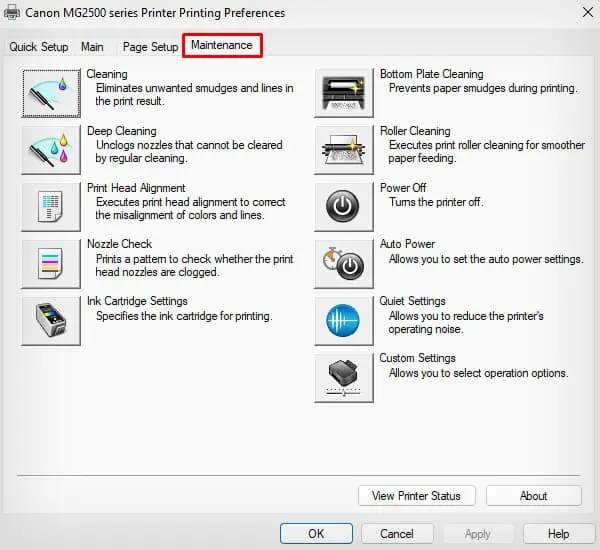
- Go to Maintenance.
- You can run a variety of cleaning cycles on your Canon printer like normal cleaning, deep cleaning, roller cleaning and bottom plate cleaning.

- Run these cleaning cycles one by one for better print results.
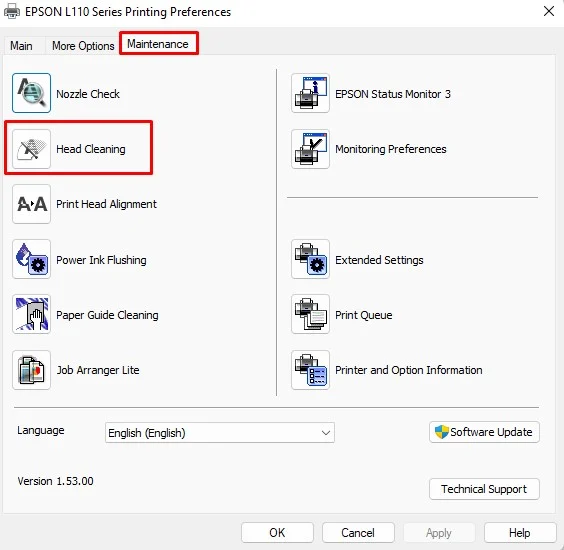
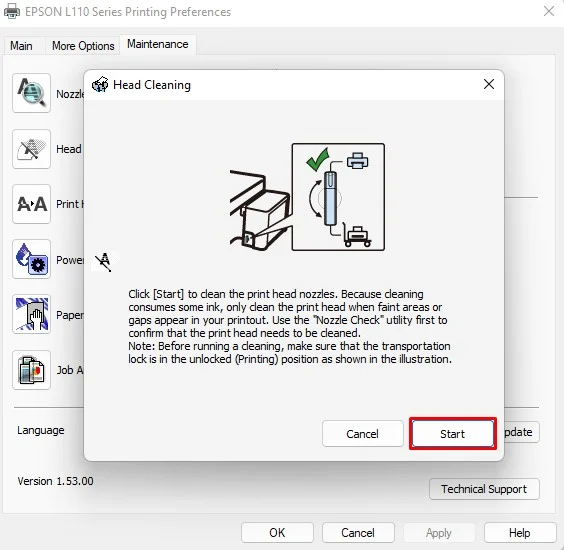
On Epson Printers
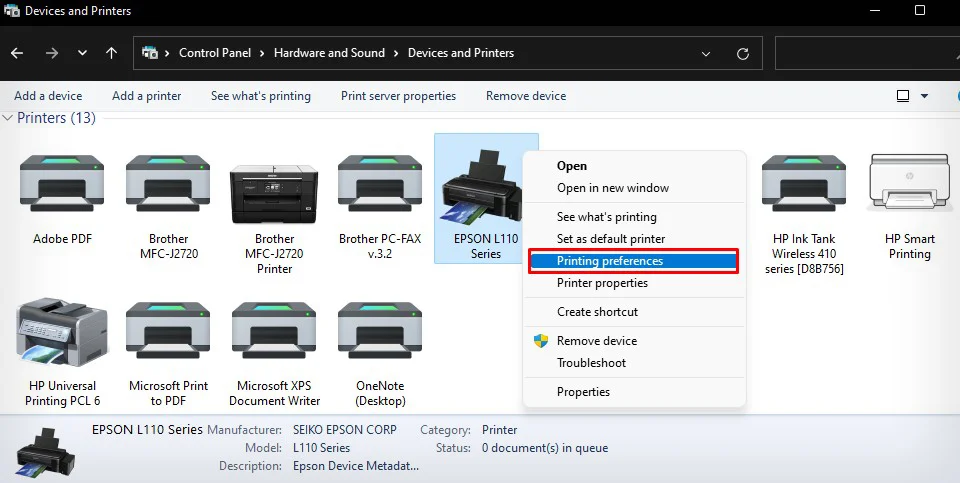
- Launch Printing preferences.

- Click Maintenance.
- Tap Head Cleaning.

- Follow on-screen instructions.

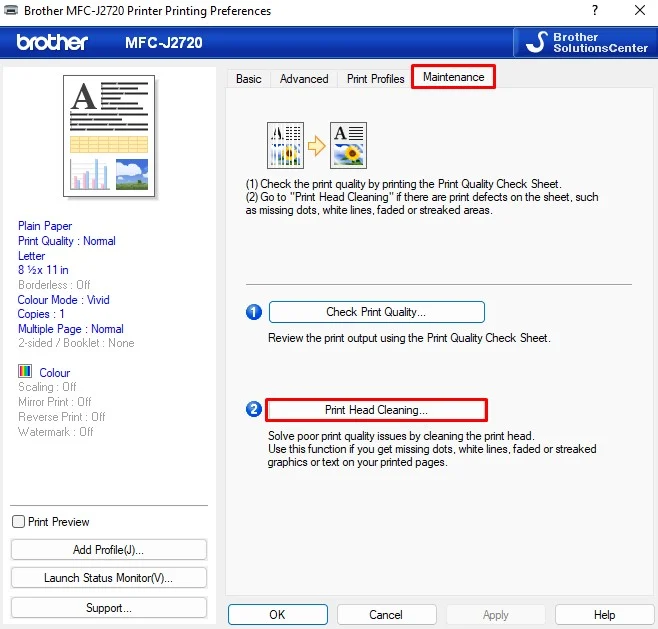
On Brother Printers
- Launch Brother printer’s Printing preferences.

- Tap Maintenance.
- Select Print Head Cleaning.

However, if it does not work, you need to proceed with the manual cleaning process. Consult this detailed guide for further information.

