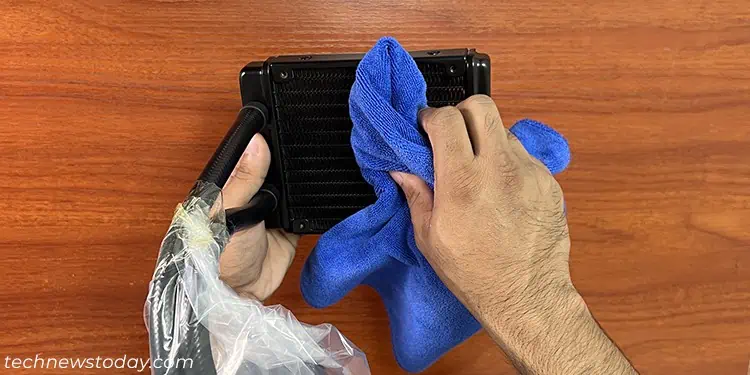
AIOs come as closed loop units, so you don’t need to maintain its pump and coolant. However, dust can quickly build up in the radiator and the fans. So you need to clean them routinely to prevent any heat-trapping issues.
You can generally spray the radiator with compressed air or use running water to clear all the dust and debris. But if you are using water, make sure the water does not get inside the pump or your PC.
Since I clean my radiator and fans every month or so, I usually blow them with a compressed air can without dismounting them. But it doesn’t take care of all the dust, so I remove the AIO every six months and clean the radiator using a water spray nozzle.
How to Clean AIO Radiator without Dismounting
If only a small amount of dust has built up inside the radiators, you can likely clean it up without dismounting the AIO.
You won’t usually see any overheating or performance drop issues with less dust build-up. But it’s still a good idea to clean it now rather than wait for the radiator to be caked in dust.
You need to go slow and careful while cleaning the radiator this way, but it saves a lot of time as you don’t have to remove and reinstall the cooler.
- Shutdown your PC and disconnect all the cables. Press and hold the power button for a few seconds to drain any remaining charge inside.

- Then, take the PC case to a clean table in another location, preferably outside for the cleaning.
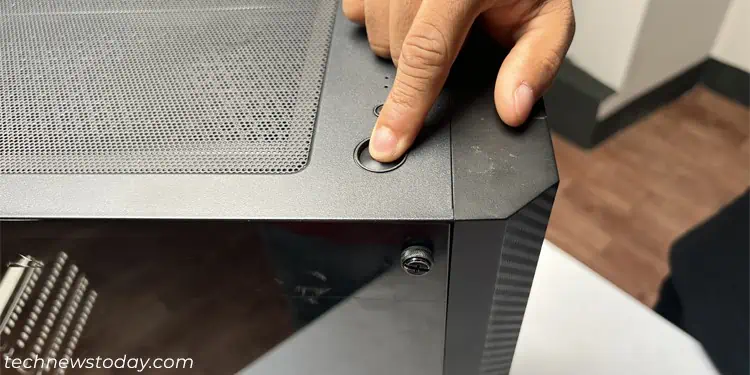
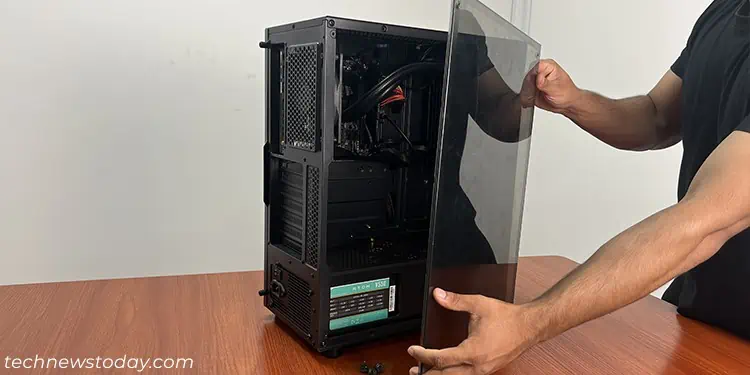
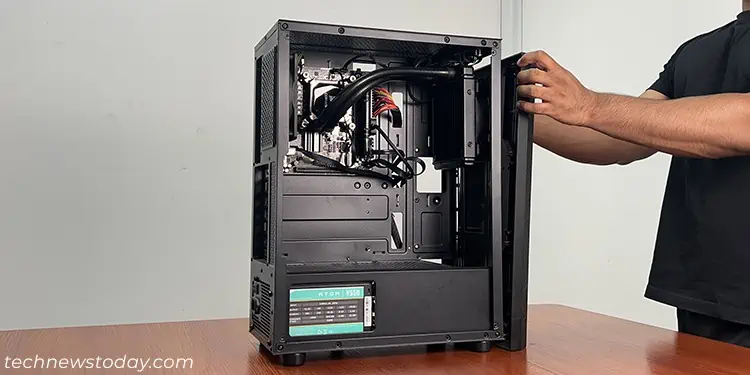
- Remove the left side panel to expose the internal components. You need to unscrew the panel and slide it out for most PC cases.

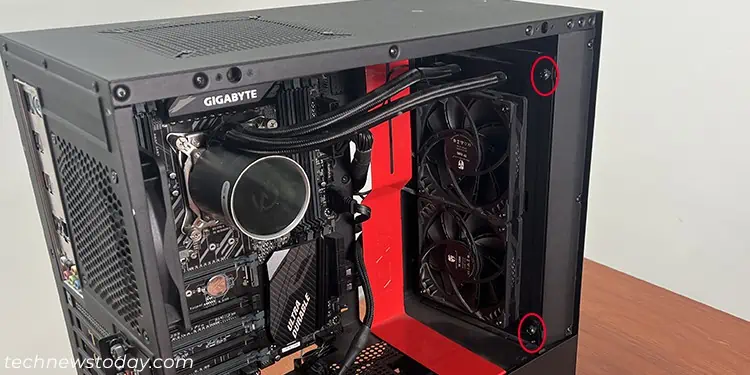
- If you have mounted the radiator on the front panel, you must also remove the panel.
- This panel generally uses pressure clips to lock itself to the case.

- You need to check where the clips are, squeeze them, and then pull the front panel out to remove it.
- It’s better to start by pulling out on one side, like the top and the bottom, first.

- On some PC cases, like NZXT H510, the front panel is not easily removable. Removing the fan’s mounting panel from the inside after unscrewing it is possible.
But I recommend dismounting the AIO altogether (next method) and then cleaning the radiator in this case.
- This panel generally uses pressure clips to lock itself to the case.
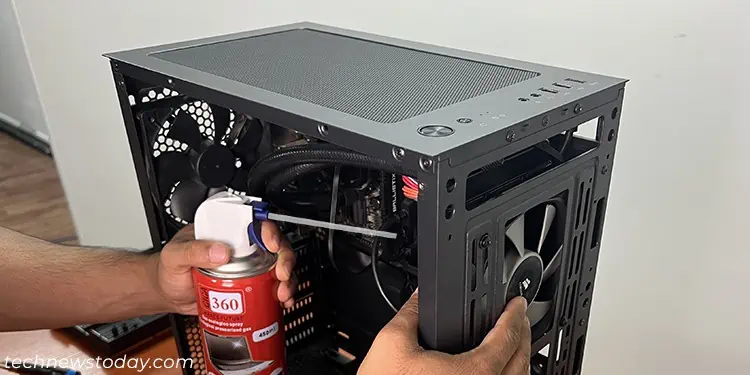
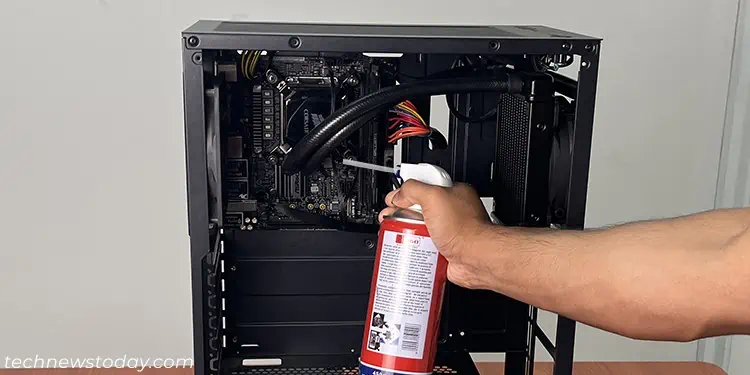
- Orient or tilt the case such that you will be able to keep the air can duster upright while spraying the air. Such cans contain a cold liquid refrigerant and you are actually spraying its vapor.
If you tilt the can too much or shake it while spraying, it can spray the liquid instead of the vapor and damage your PC. - Now, use the air spray to blow the dust on the radiator away from the inside of the case to the outside.
- Make sure to hold the fans while spraying. Having the fans rotate due to compressed air can damage their bearings.

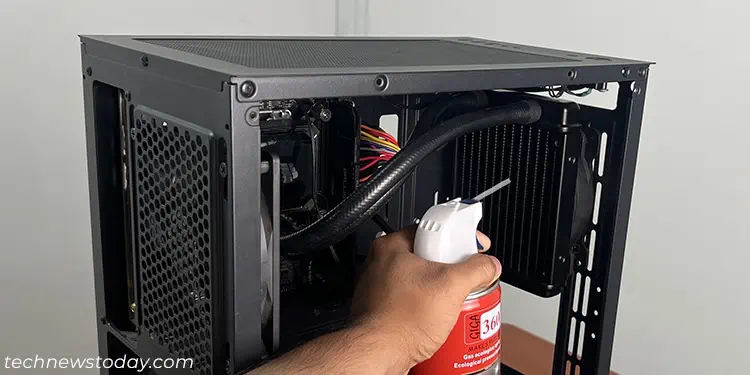
- Use different possible angles while keeping the can upright to spray the air. The radiator contains a lot of fins and you want to get the air inside all the openings.

- Don’t hurry the process and try limiting the amount of dust that gets back inside the case.
- Make sure to hold the fans while spraying. Having the fans rotate due to compressed air can damage their bearings.
- After cleaning the radiator, give the inside of your case a spray or two to clean it up as well.

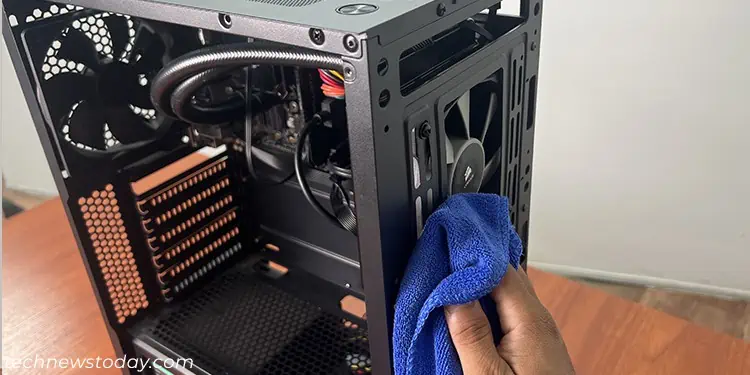
- Then, wipe the areas on the PC case that contain any dust, including the fan slots containing the radiator, with a dry and lint-free cloth. You should also use the air spray to clean any dust filter on the front panel if you had removed it.

- Put the panels back to place the same way you removed them.
How to Clean AIO Radiator after Dismounting
If the radiator is very dusty, cleaning it from within the case is not a good idea. You won’t be able to clean it properly and the dust will get into all other components.
You need to dismount the AIO and clean the radiator using compressed air or water in such cases.
Remove the AIO
- Shut down your PC and remove any necessary panels to expose the radiator. You can use steps 1-4 from the above method to do so.
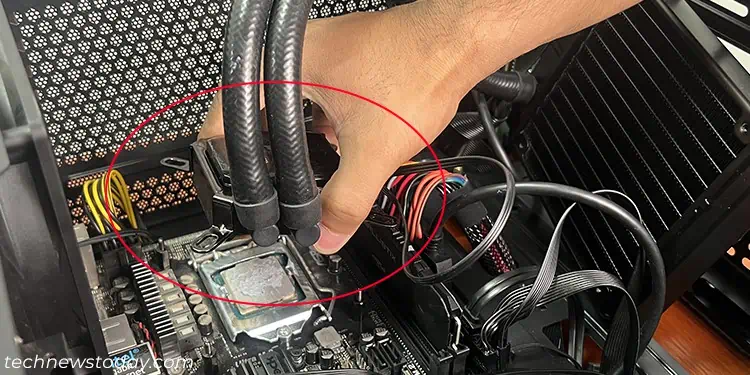
- Disconnect the fans and the pumps from the motherboard headers. If the AIO has any other cables, disconnect them as well.

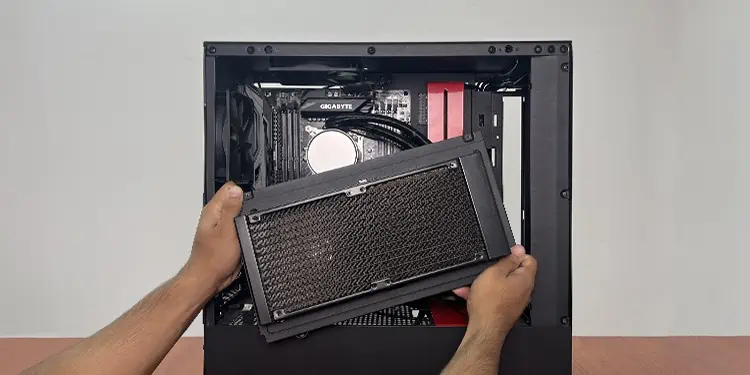
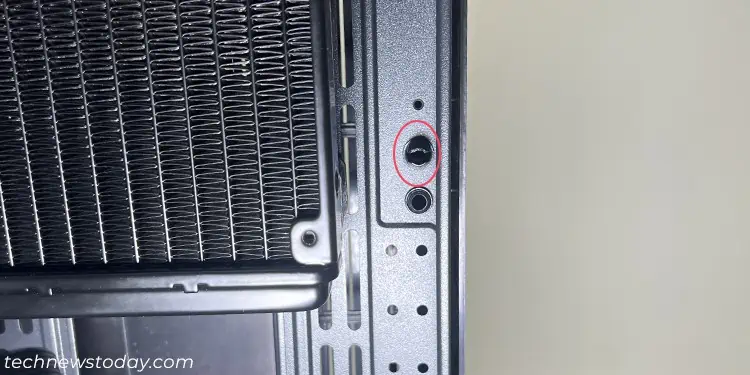
- Then, you need to remove the AIO cooler and the radiator from the PC. You can usually unscrew the radiator and the pump’s bracket and then remove these parts.

- Now, unscrew the fans from the radiator if necessary. It’s better to clean them separately.
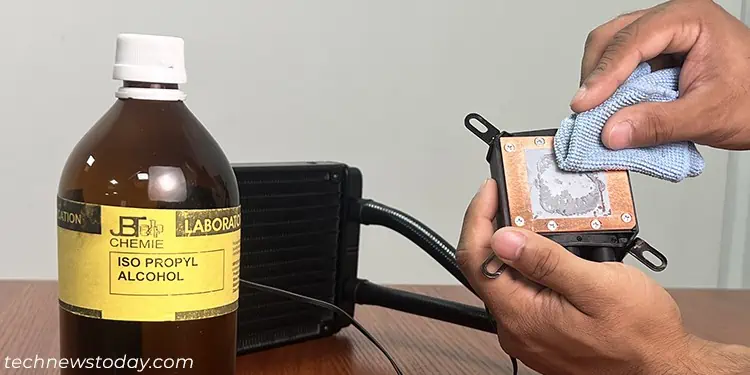
- You should also clean the thermal paste on the pump and CPU using microfiber cloth and isopropyl alcohol. Make sure not to use an excess amount of the alcohol or you run the risk of damaging the plastic parts.

Clean Radiator using Compressed Air or Brush
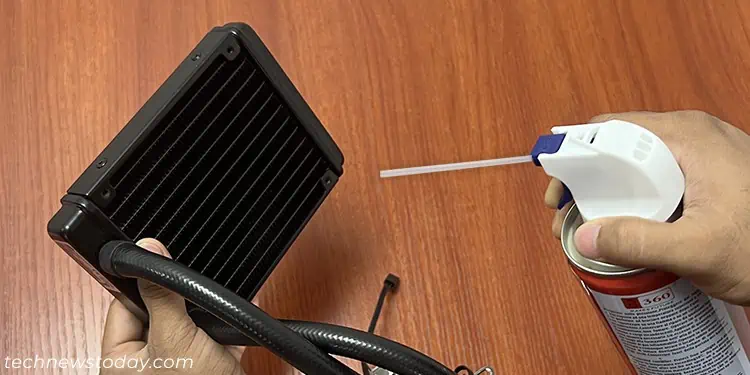
Using compressed air spray cans is a good way to clean the radiator. It will send highly pressurized air on all the gaps inside the device and remove any clogged dust.
If you don’t have such air spray, you can use a vacuum cleaner as an alternative. If you do, I recommend using one with a long and flexible suction hose. The motor on these cleaners can create static charge and damage electronic components. So it’s best to keep them far from the AIO pump that contains an electronic circuit.
However, keep in mind that the vacuum cleaner won’t provide as much air pressure as the air can. You can also use a brush to dust off the radiator but it will be even less efficient.
I highly recommend having good quality aerosol spray on your home or workplace to clean any computer and electronic components.
- Place your case and fans in another location while you are cleaning the radiator.
- After that, use an air spray can to clean all the dust off the radiator.
- Don’t tilt the can too much or shake it while spraying the air. The can contains a liquid propellant and the spray is actually its vapor. So tilting the can make you spray the propellant instead.
- Use different possible angles while keeping the can upright to spray the air.

- If you still see dust inside the radiator’s fins, try using a flat Q-tip from both directions to clean them. Don’t use anything else and don’t apply a lot of force with the Q-tip as it can bend the fins.
- You can also use isopropyl alcohol along with the Q-tips for better cleaning. You should especially do so if you used a vacuum cleaner or a brush earlier instead of compressed air cans.
- If you have any bent fins, you can get radiator fin combs or straighteners in the market to fix them. Use one that is of appropriate size for your radiator by comparing with the space between the fins.
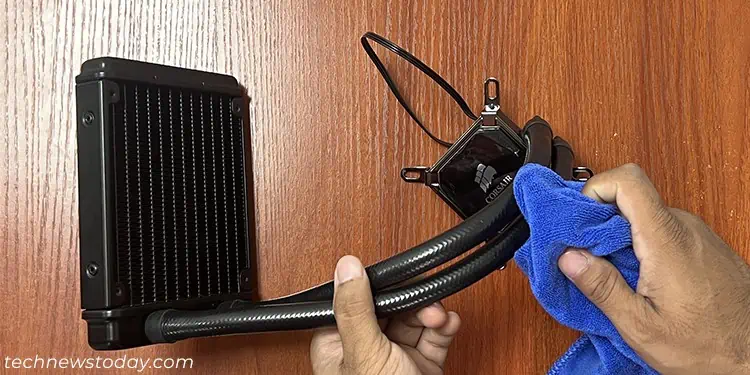
- After that gently wipe your tubes and the pump water block using a dry and lint-free cloth.

Clean Radiator with Water
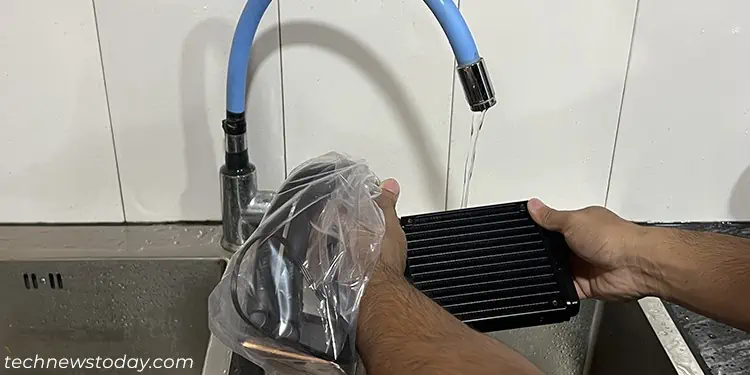
You can also use running water or water mixed with dish soap to clean the radiator. The AIO radiator does not contain any electronic parts and won’t be affected by the water.
Since water is a good solvent and has high surface tension, it will take away all the dust particles and thoroughly clean the radiator. You just need to make sure that all the water dries off before you reinstall the AIO into the PC.
Note: If any portion of the metal on the radiator is exposed due to cracks or scraped paint, cleaning it with tap water can lead to rusting. So you need to dry them as quickly as possible.
If it is not possible to do so, I recommend using compressed air instead of water to clean the radiator.
- If there’s a large cake of dust on the radiator, brush it off or use a compressed air spray can to clean the majority of it.
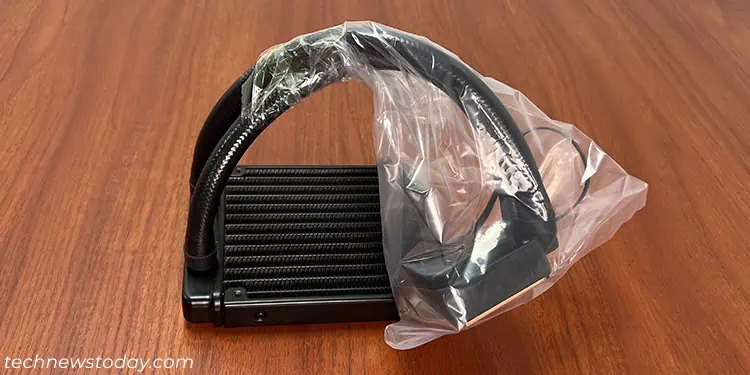
- Wipe your pump and tubes close to the pump and then tie them inside a plastic bag to prevent water from getting it. You can also use waterproof tapes to make it airtight.

- Use a water spray nozzle to run pressurized cold water through the radiator. You can also use a steady source of running water, like a faucet, as an alternative if you don’t have such equipments.

- If there’s some stuck grime inside, you can also use an old toothbrush or any other brush to get to it while cleaning with the water.
- After removing all the dust, lightly tap on the radiator a few times to get rid of as much water as possible from the gaps between the fins. Then wipe the water from the radiator’s exterior and tubes using a dry towel.

- Let the radiator dry out in a cool and dry location until not a single drop of water remains. You should not leave it under the sun.
- You can use a hairdryer to speed up the drying process. However, it can also generate static charge that may damage AIO’s circuit components. So it’s better to let it dry naturally.
- Untie the plastic bag and make sure the pump is properly dry. You may need to wipe the pump head with a dry cloth and leave the AIO for some time in the same area if some water has seeped inside the plastic bag.
Clean Fans and PC Case
Now you need to clean your radiator fans. You can use compressed air or a soft-bristle brush to clean the fan blades. Then, wipe the housing and wires with a dry lint-free cloth. You can also use Q-tips on the nooks and corners where the brush and cloth don’t reach.
Before you reinstall the AIO, you should also clean the PC as much as possible. You should also clean the fan slots where you will be mounting the radiator and the front panel. If you leave them as is, dust will get back inside the radiator. You can use a brush, an air spray can, or a cloth for this cleaning.
Reassemble the PC
After cleaning everything, you need to re-mount the AIO pump and radiators. Make sure to use a suitable amount of thermal paste on the CPU in a proper pattern before installing the pump.
Then you have to connect their cables to the motherboard headers and then reassemble your PC. You can reverse the disassembly process to get your cooler and panels in their proper place.
Then, you can monitor the temperature of your CPU, graphics processor, or the motherboard to look for any differences.
