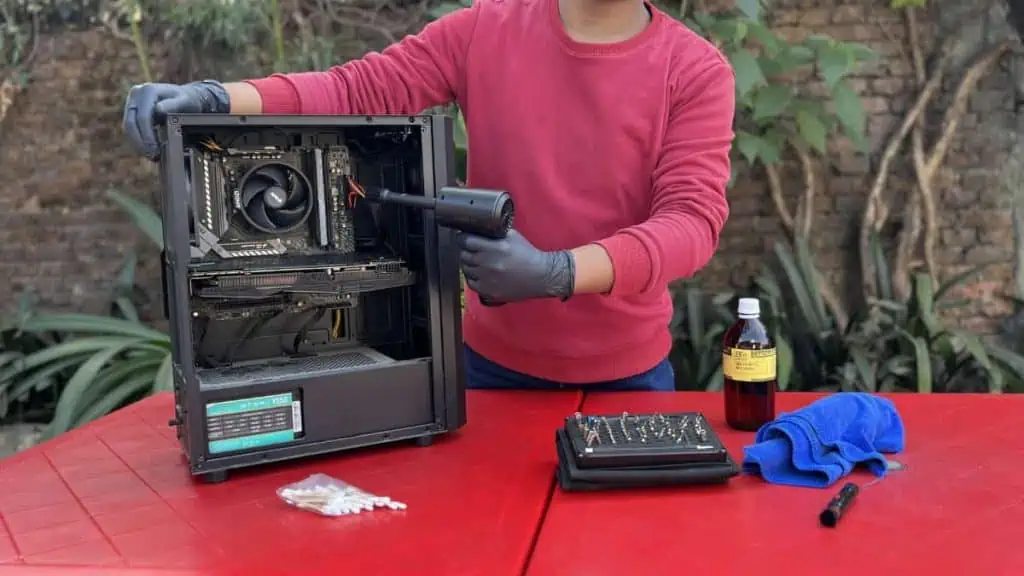
To clean dust from your PC, first turn it off, remove all connections, and take it outside. Use a compressed air can or air duster to blow out debris and dust bunnies from each component.
You may even utilize a brush with soft bristles and microfiber towels to do the needful. I often use Q-tips dipped in Isopropyl Alcohol to get rid of the tough stains.
There certainly isn’t one standard way to clean your PC. But there are a few delicate things to keep in mind. My demonstration will give you a precise understanding of what to do.
Gather Necessary Tools
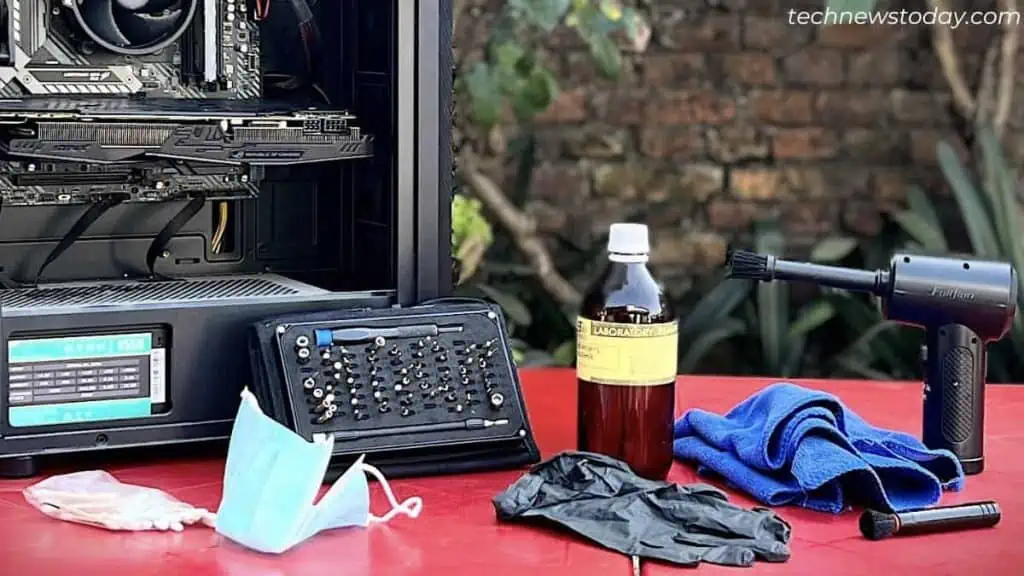
As I said earlier, you need to first grab a can of compressed air or an air duster.
I understand that not everybody owns this. However, these are the best bets when cleaning any PC component. So, I highly recommend purchasing one.
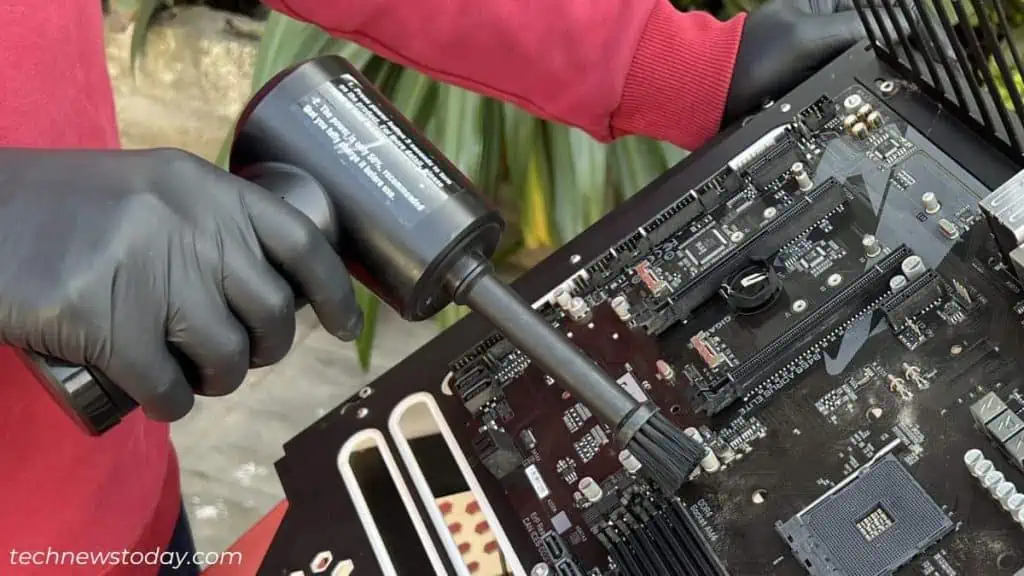
I’ll be using Fulljion’s Compressed Air Duster to demonstrate the cleaning process today. But if you want a cheaper option, a compressed air can (specialized for cleaning PCs) or even a Silicon Air Blower should suffice.
Besides, here are some other tools I recommend as I’ve always preferred them for cleaning my PC parts:
- Isopropyl Alcohol (70%, one that’s recommended for cleaning electronics)
- Microfiber clothes/towels (of varying sizes)
- Soft-bristle brush (a paintbrush will work)
- A pack of Q-tips
- Cleaning gloves (anti-static preferred)
- A face mask
- A screwdriver set (for disassembly)
Prepare Yourself
Before you begin, take your PC outside and place it on a tidy surface. Do not clean t inside your home as the process can lead to dust storms, eventually increasing the burden.
Tip: While PC damage due to static electricity is quite rare, it’s wise to ground yourself to be super-safe. Use an anti-static wrist band or if you’re already wearing anti-static gloves, that should be enough.
Now, start by taking out all the PC panels– both the side and the one on the front. The exact process varies depending on your PC case.
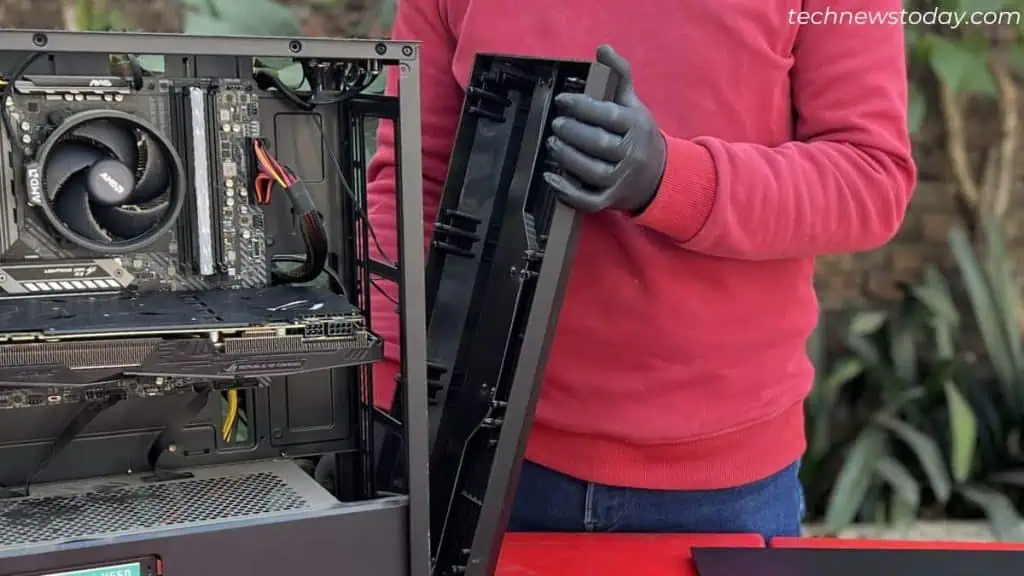
If yours are tightened with thumb screws, you may unscrew them using bare fingers. But if it’s an older PC case, you’ll need a screwdriver.
Take extra care when removing the front panel. Apply force but not too much – or you may end up breaking the pressure clips/tabs.
Also, some come with a dedicated cable and button for RGB, which needs to be unplugged accordingly.
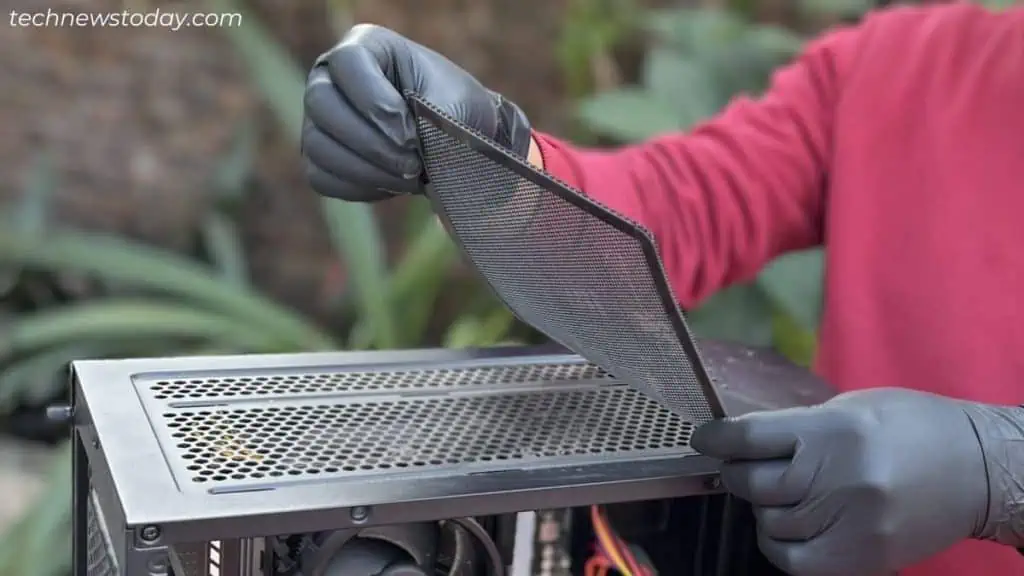
Some best airflow PC cases come with dust filters at the top and bottom. These accumulate a significant amount of dust, so kindly take them off.
Note that cleaning the inner section can accumulate dust over your graphics card. So, I recommend removing it as well.
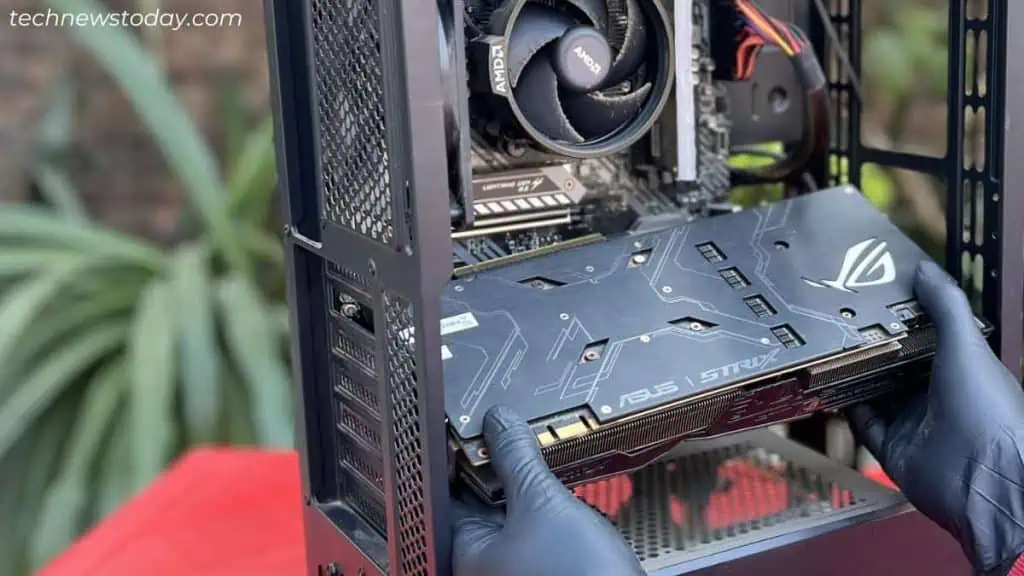
Start With Air Duster to Clean the PC Case
Caution: Avoid using vacuum cleaners or hair dryers. These can lead to static discharge and some can even be too powerful, which may damage the PC components.
Now that you’re ready, use short bursts of compressed air to blow dust from the PC parts. Start from the top section (where filters used to sit), as demonstrated below.
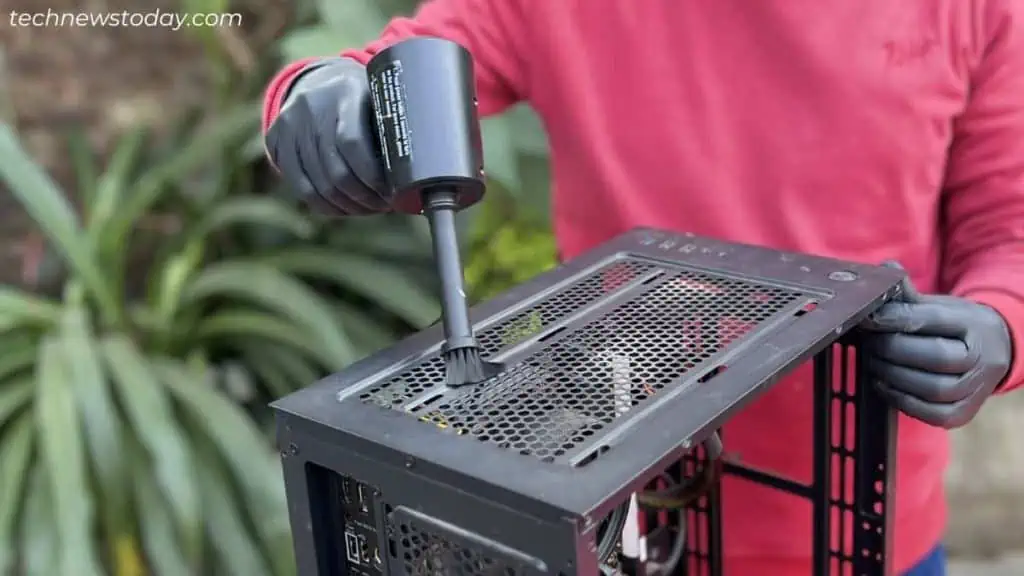
Once that’s done and dusted, repeat the process in the back part as well as the side. Make sure you remove dust from every section. The gaps between the cables might be dirty – blow off the particles from there as well.
Lay the PC case flat and use the same air blower to remove dust from the bottom section. This part is a little tricky.
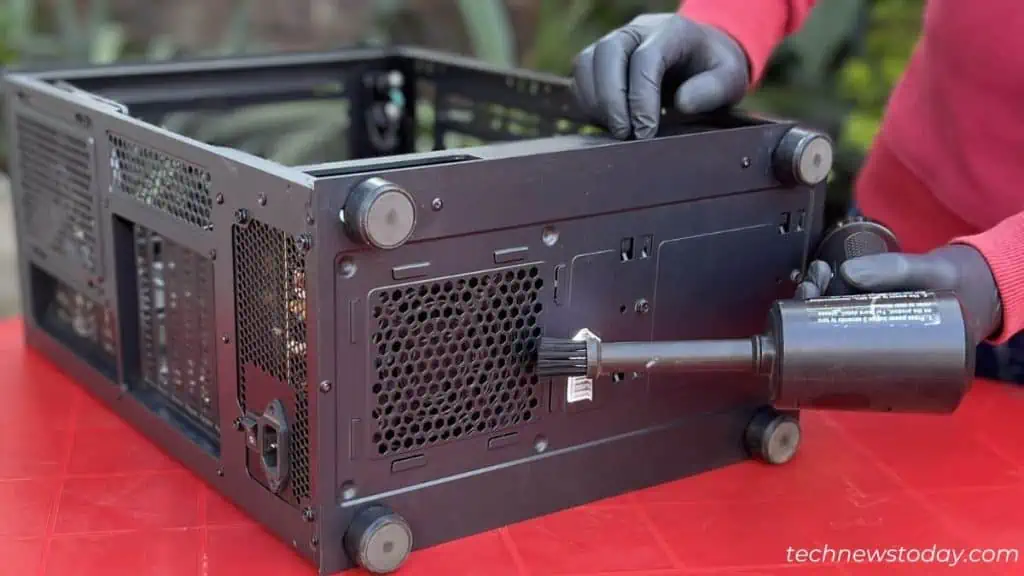
Choose the proper direction such that all the dust comes off from the side, otherwise, dust may accumulate over the motherboard.
It’s now time to clean the PSU enclosure/shroud. As you can see, the top of this section has accumulated the most dust in my scenario. So, I’ve blown air in and out to ensure the surface is tidy.
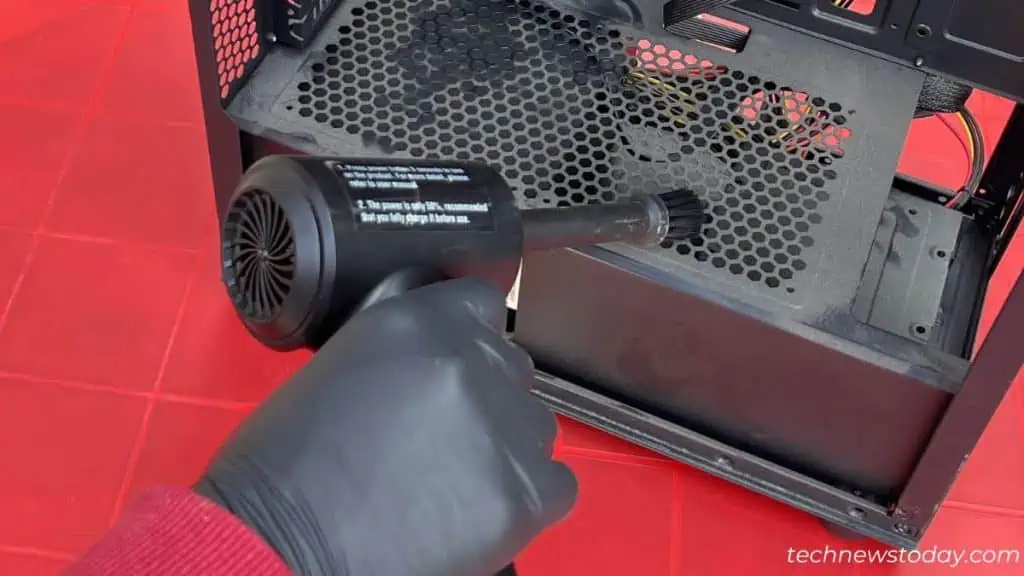
Dust Removal From Fans and Motherboard
The case and CPU fans are some other important parts that accumulate the most dust. If not cleaned well, they can produce loud and irritating noise.
Start with the case fans – clean it from both inside and outside. Hold on to one of the blades before blowing air.
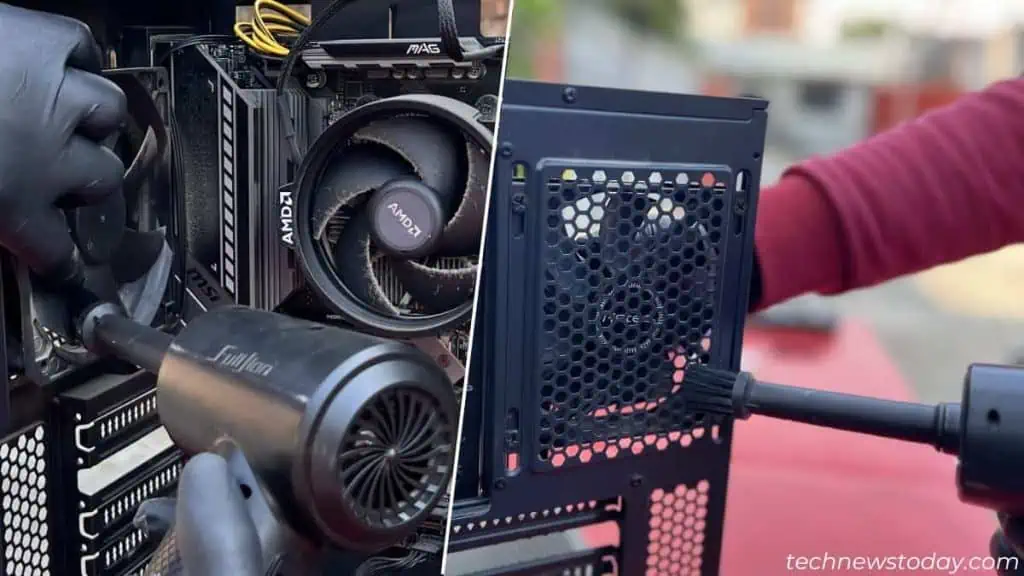
Let’s move on with the CPU fan. I’ve applied the same technique for cleaning the AMD’s Wraith Stealth here. While at it, clean the heatsink by pointing the air duster sideways.
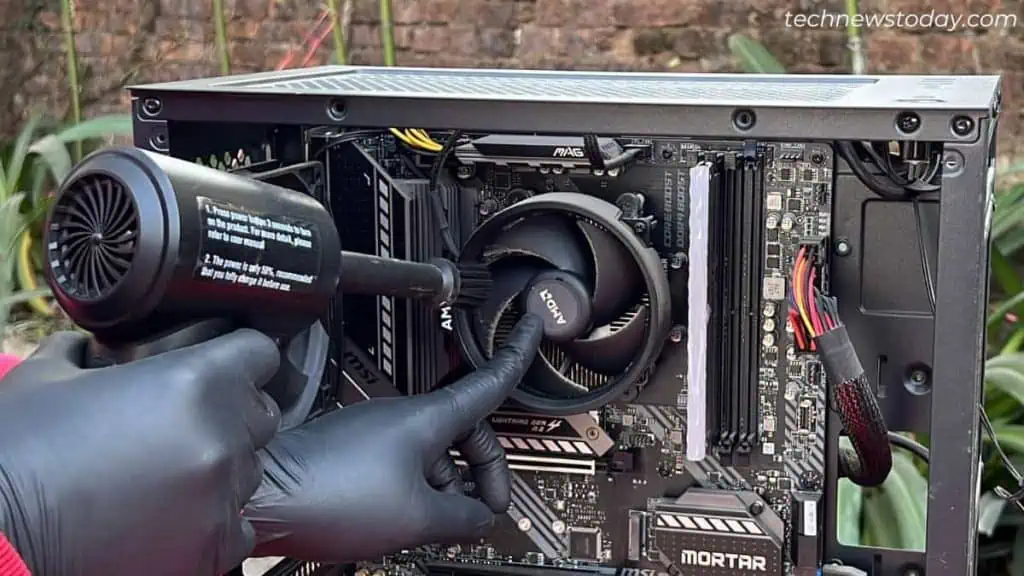
A common mistake most users make is they just let the fans spin during the cleaning process, which is not the right thing to do!
You may damage its bearing (especially, if the fan is of low quality). The worst-case scenario is it may even harm the fan header if the air duster is too strong.
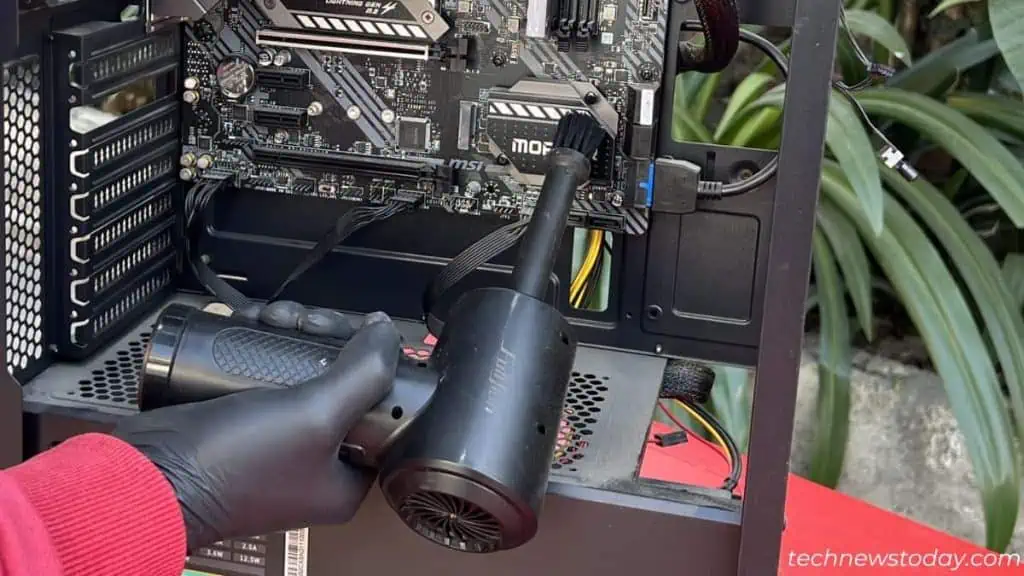
After blowing air from all the compartments, most dust will likely accumulate in the motherboard. So, start blowing away the dust bunnies from each compartment.
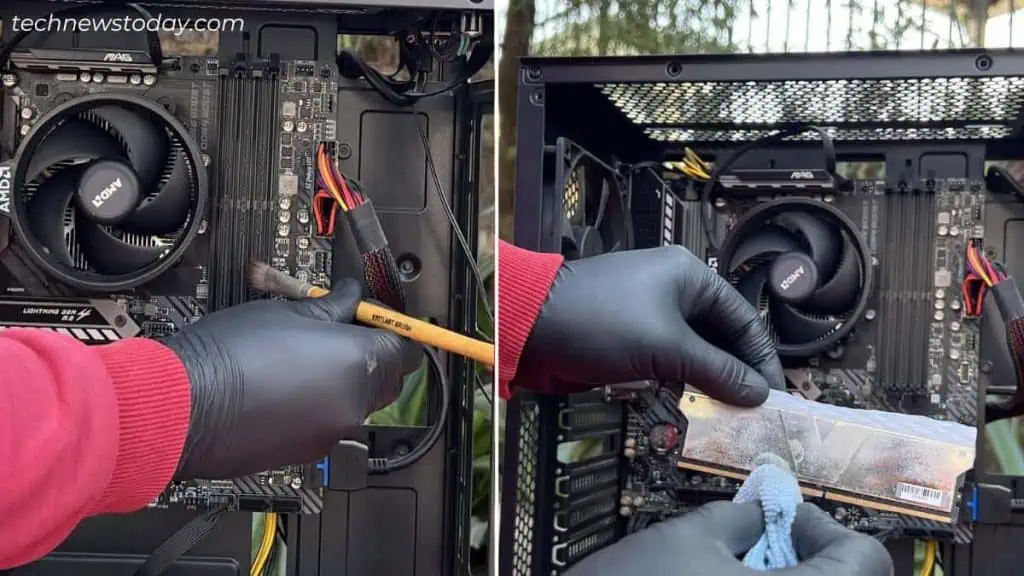
You can even remove the RAM stick(s) and clean the DIMM slots using a brush. Repeat the process with PCIe and other motherboard headers.
Wipe Hard-To-Reach Sections
Air dusters and compressed air cans are great for removing dust and debris that accumulate or stick around the components. But for a much more thorough cleaning, you’ll need to inspect each section and wipe them accordingly.
Get back to all the areas where you had previously used compressed air, and start wiping the ones that are dusty. It will take time – so you require patience!
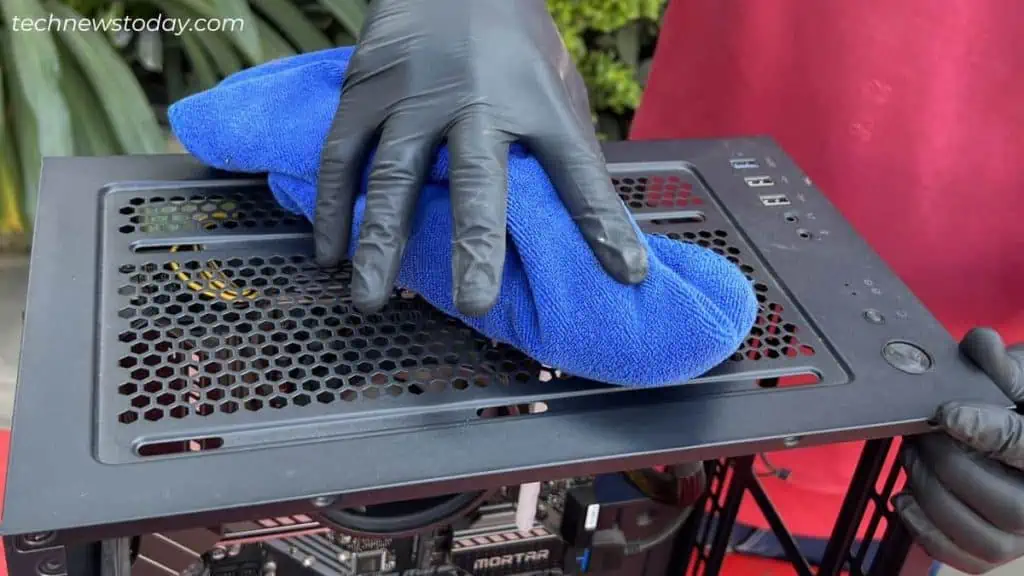
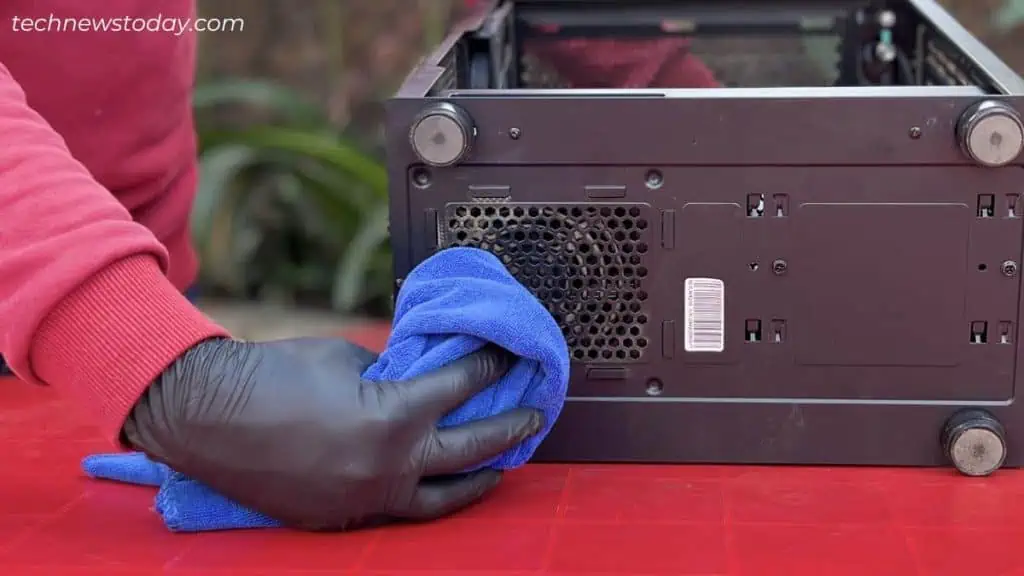
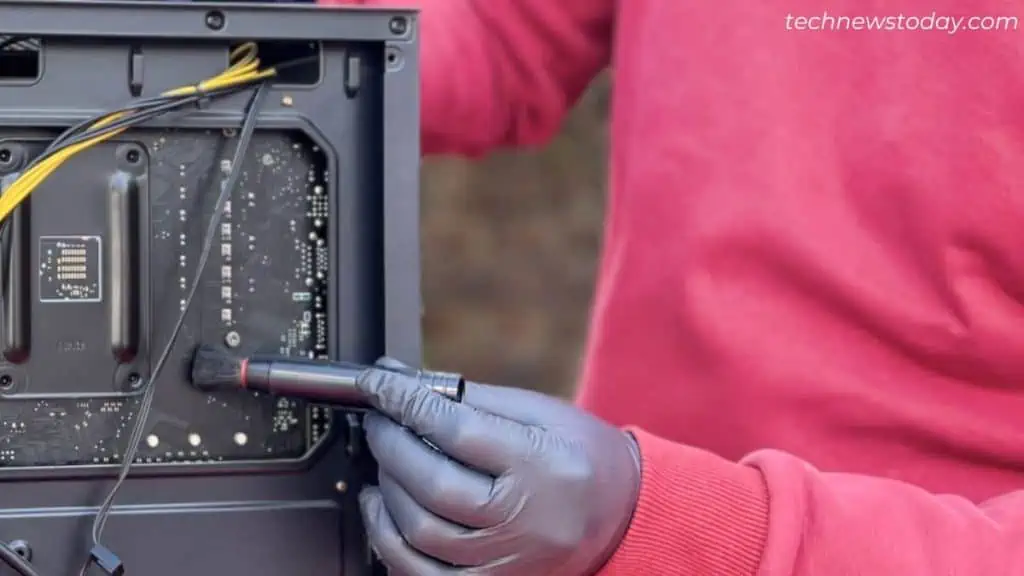
Wipe every cable and connector. Once you’re in the rear section, brush off dust particles that might have accumulated over the PCB. Do this very carefully or you may end up damaging the conductive pins.
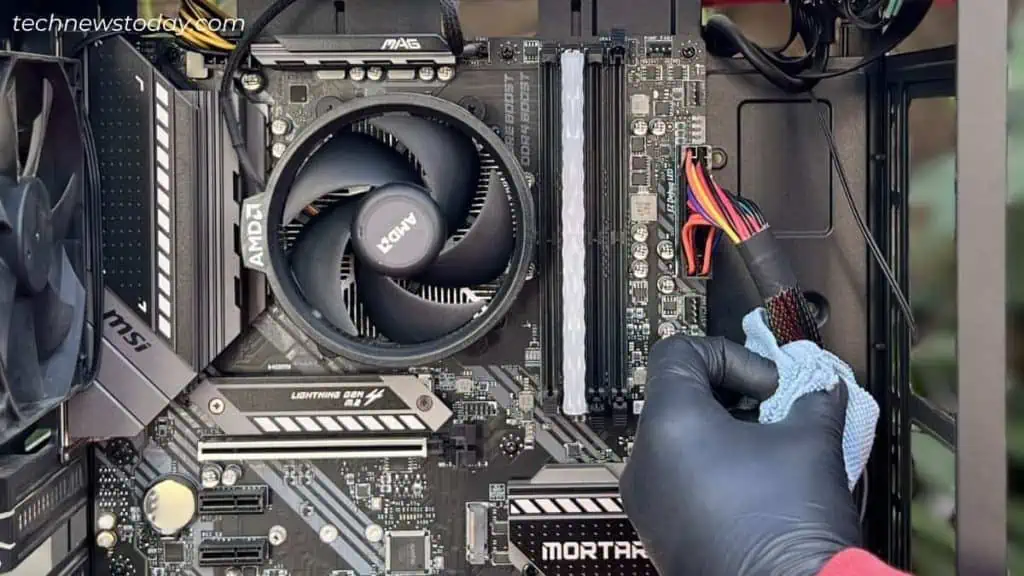
Repeat the process on all the previous parts – case fans, PSU shroud, CPU cooler, etc. Once you’ve reached the motherboard, clean the VRM (Voltage Regulatory Module) and chipset heatsinks.
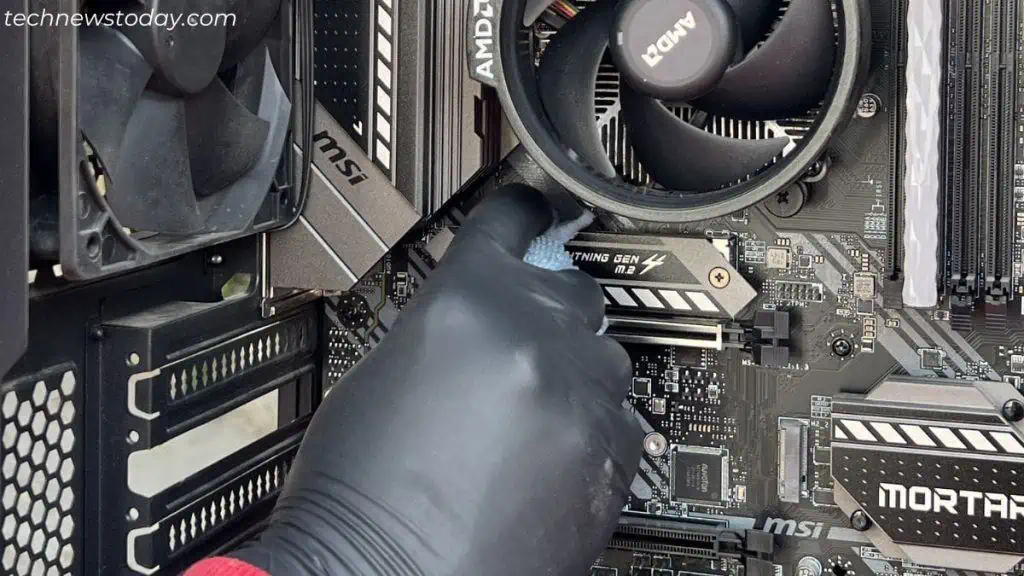
As you can see above, some dirt and debris sat right above the M.2 heatsink. So, I’ve wiped it well using a microfiber towel.
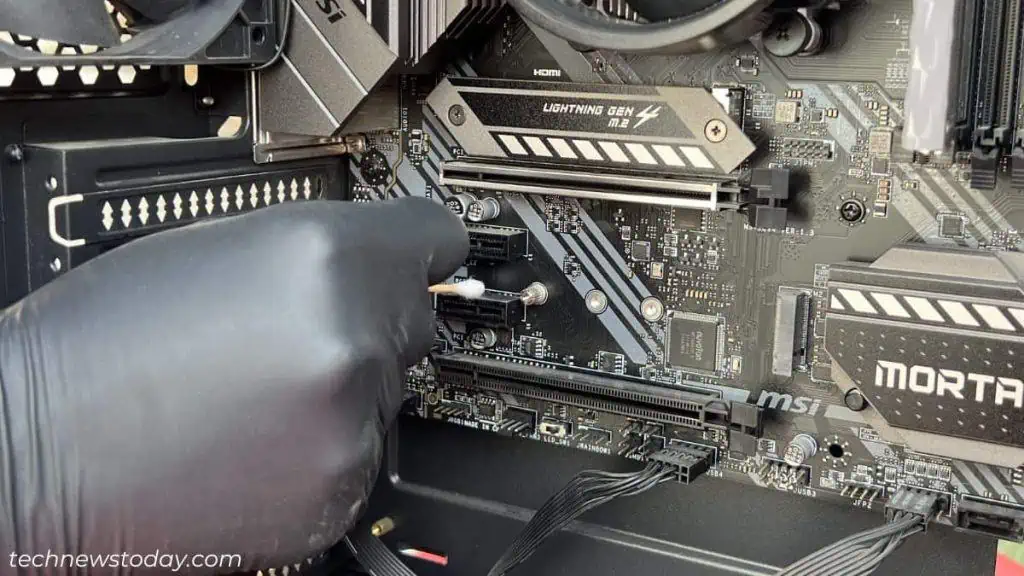
Examine every part – including the motherboard slots and headers to ensure no dust remains. You can even dip the cloth or a Q-tip in Isopropyl alcohol to get rid of the tough stains.
Caution:
Never clean your motherboard with household cleaning products or alcohol wipes. Even a few drops of water can make the system board useless.
Do not blindly trust tutorials even if they show you that the computer POSTs after washing the motherboard with water. Those are done for experiment purposes and you certainly do not want to do so with your working PC.
Clean the Ports and Buttons
We have cleaned most parts of the chassis and motherboard. But if you inspect closely, you’ll notice dust accumulation inside the ports too.
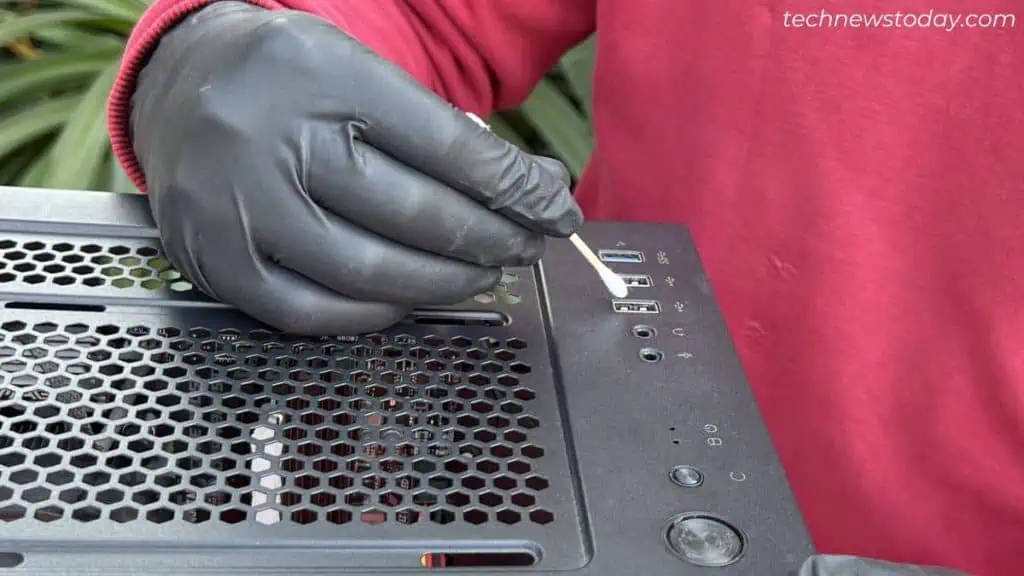
Reach out to each of them and use Q-tips to take off the debris stuck inside. You can even use a pair of tweezers to pluck out hairs. Follow the same steps for both the case and motherboard ports.
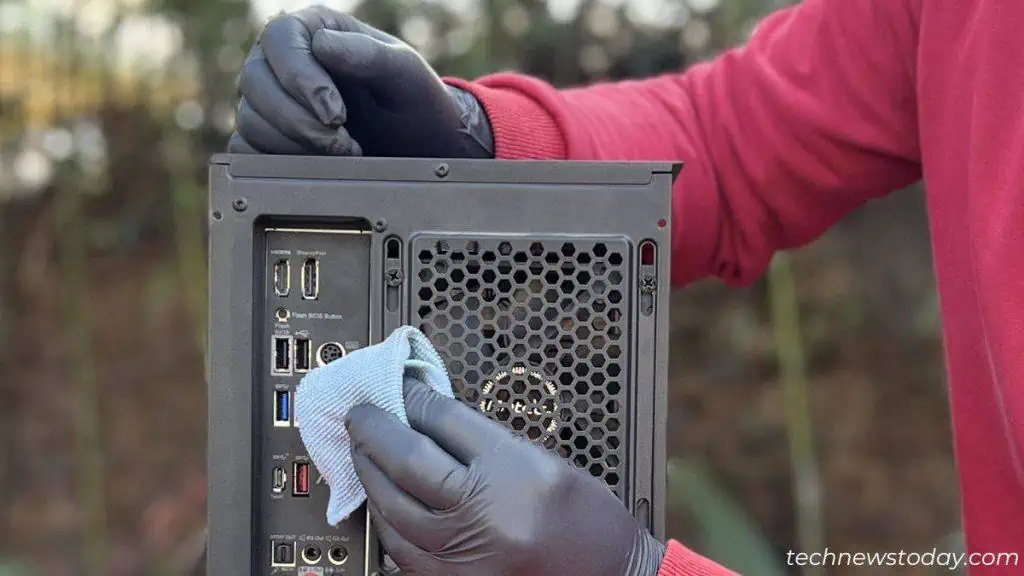
Also, wipe the I/O shield using a clean microfiber cloth. Make sure there’s no stain in and around the ports.
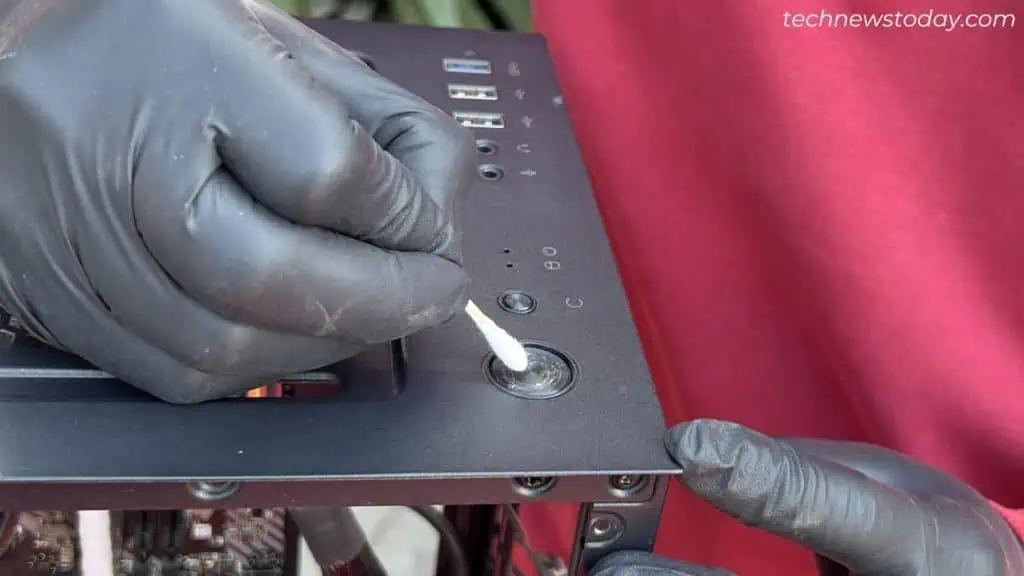
Let’s move on with the power/restart button. While it’s rare to accumulate dust here, they might get sticky. This is exactly what happened to me. In such a scenario, use the dampened microfiber and rub it well.
Clean the Panels and Dust Filters
Now, keep the PC on a dust-free surface and bring the dust filters and panels to the working area.
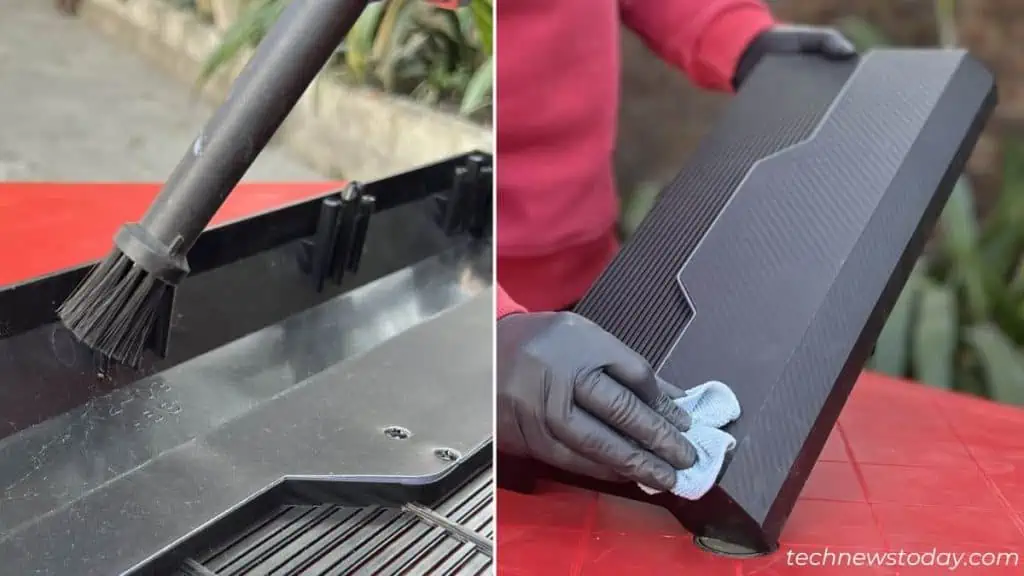
I’m going to start with the front panel. Surprisingly, there were even cobwebs, which clearly show how dirty PCs can get.
Make sure you clean each compartment. I’m going to adopt the same above technique – first blowing off the webs using the compressed air duster followed by wiping it with a microfiber towel.
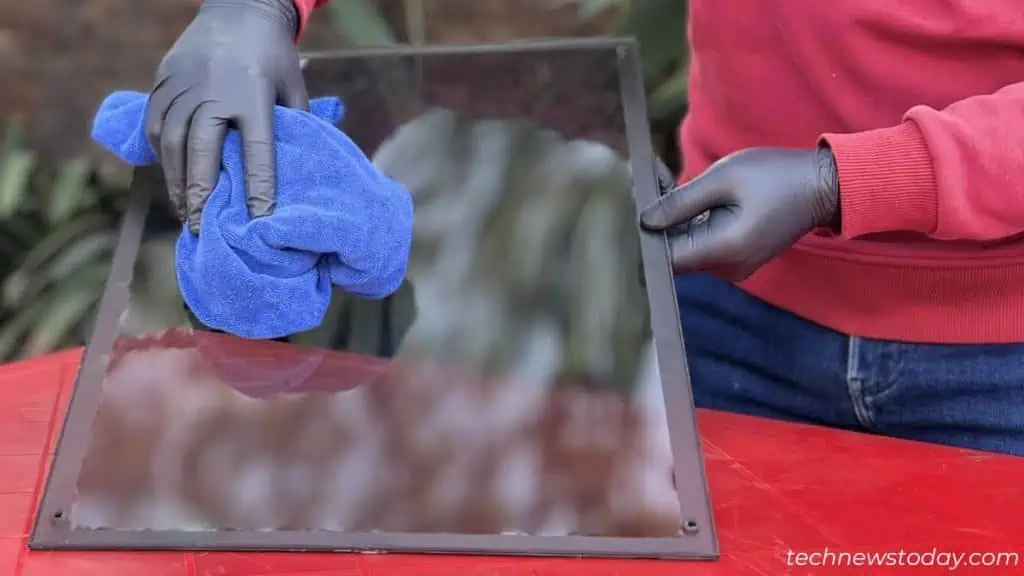
Next, clean the side panels. For this, you can even rinse it with water. But make sure it’s 100% dry before fitting it back.
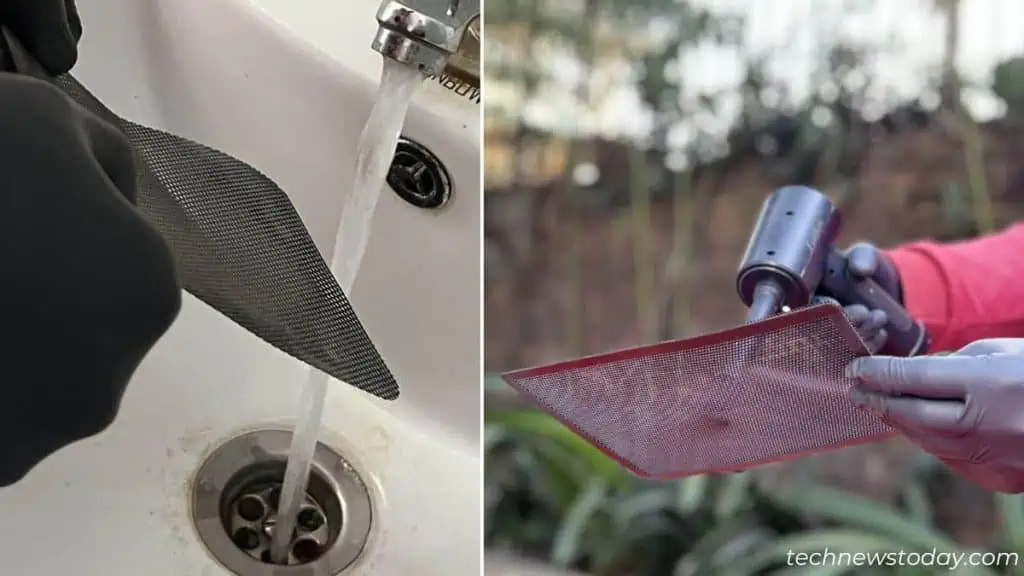
The same is the case for dust filters (if they are too filthy). Clean them in the running water and dry them overnight. Or, you may simply use the compressed air duster like we have done here.
Final Inspection Before Reassembly
Dust accumulation is a natural process. So, don’t be surprised if some sections become dusty again!
Before placing back the panels, inspect each section. Then, wipe down all the parts from top to bottom.
Also, clean your graphics card before reinstalling it and connecting it to the power supply.
Once everything looks neat and tidy, you may attach the PC cases and screw them accordingly. But before placing it back, make sure you clean your work desk too.
PC Too Dusty? Deep Clean Your PC
If you follow my approach once every 3 to 4 months, you shouldn’t be worried about dust accumulation anymore. Some professionals claim that cleaning a PC once every 6 months should be more than enough.
Actually, this completely depends on how you have positioned your case and the environment you’re in. If you’ve placed it in the corner, it’s likely going to attract more dust. The same is the case for users whose rooms get dusted often.
In case you haven’t opened your PC for years or have stored it somewhere, I believe you’re suffering from clogged fans, dirt in the motherboard slots, depleted thermal paste/pads, and overheating issues.
The best approach in this scenario is deep cleaning the computer. This involves removing and cleaning every component and reassembling the PC from scratch.
I’m talking about full PC servicing here. While I’ll come up with a detailed guide on this subject very soon, here are some basic steps you can try on your own:
- Start by unscrewing all the case fans and cleaning them individually.
- Also, unplug all the connectors and remove the motherboard from the case. Take note of the standoffs and screws here.
- Once that’s done, you’ll get to clean the PC chassis even better. Wipe all sections, along with the ports. Here’s my guide on how to properly clean the USB ports.
- You can even remove the PSU and clean it individually.
- Place the motherboard on an anti-static surface. Take out the CPU cooler, RAM sticks, and VRM / chipset heatsink.
- Remove dust from each component properly. For the CPU cooler, follow my colleague, Abhishek’s in-depth guides on cleaning stock fans and AIO radiators.
- In case the heatsink has been clogged with dust, you may wash it.
- You can even clean the CPU without damaging it if it feels too filthy.
- It’s essential to clean and reapply the thermal paste. Along with that, you may require replacing the thermal pads from VRM, M.2, or chipset heatsinks if it has been used for too long.
- Finally, clean the motherboard well before fitting it back into the PC case.
- Reassemble everything before fitting back the PC panels. Then, check whether your computer boots into BIOS or not.

