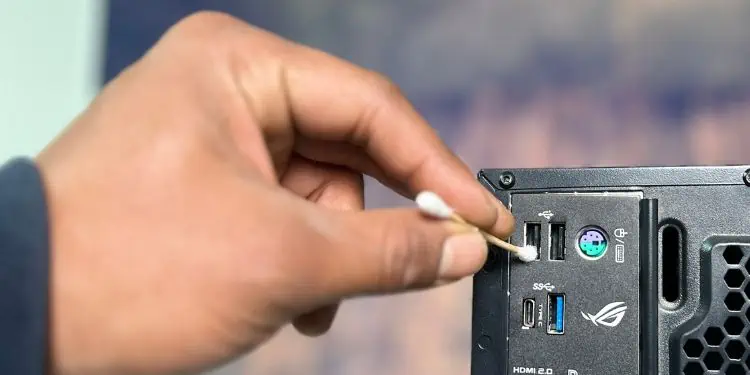
Over time, our PC gets exposed to dust, hair, and debris, which can easily clog the USB ports and other components. Such issues may even lead the peripherals to be loosely seated, and they may not function properly.
When cleaning, we definitely wipe the outer parts of the PC but often forget the inside of the ports. If you fail to clean a congested USB, they become prone to overheating and in the long run, may get damaged.
As a precaution, we recommend cleaning them at least once a month. But only a few of us are aware of the right tools required for this purpose. Regarding the same, this article focuses on a detailed guide to cleaning USB ports, along with the do’s and don’ts.
Step 1: Get the Tools Ready
There are already specialized cleaning kits available in the market. However, you wouldn’t want to waste your money just on the USB ports.
We have seen users insert random pieces of clothing in the PC ports. However, not all objects are appropriate for cleaning purposes. Moreover, applying too much pressure may even bend or break your USB.
In this section, you will learn about handy tools recommended for cleaning USB ports. Also, we will guide you through the things you need to avoid. Below is a table summarizing all the points we will discuss ahead.
| Do’s | Don’ts |
| Tweezers to pull out hairs and food crumbles | Do not insert fingers and nails inside the USB ports |
| Toothpicks, cotton buds, or microfiber swaps to remove dust and grime | Avoid rags and old clothes |
| Small brushes with soft bristles | Avoid large-sized brushes with hard bristles |
| Blast short bursts of compressed air with a nozzle | Avoid any compressed air cans with more than 30 psi pressure and do not invert when using it |
| Apply Isopropyl alcohols (up to 99%) in cotton buds and microfiber swabs to remove tough stains | Do not apply Isopropyl alcohol directly to the USB ports |
| A portable vacuum cleaner (meant for cleaning PC components) is only recommended as this is much more favorable than blowing away the dust | Do not use a vacuum cleaner with high-suction power to suck in dirt |
| Use a bright source of light to inspect USB ports | Avoid dusty and dark environment |
| Turn off the PC and remove power connections before cleaning | Avoid water and liquid cleaners |
| Use a silicon air blower as an alternative to compressed air | Do not blow air from your mouth to dust off particles |
| Clean in the same direction to avoid scratches | Avoid rough cleaning and applying too much pressure |
Note: We recommend getting a torch or bright source of light so that you can identify how dirty your USB ports are. You may even utilize a smartphone’s flashlight for this purpose.
Things to Use
Cleaning USB ports is an easy task and should take no longer than 5 to 10 minutes. You may utilize tools already available at home, like tweezers, cotton buds, etc. For deep cleaning, we recommend compressed air, contact cleaners (Isopropyl Alcohol, WD-40. etc.), or a portable vacuum cleaner.
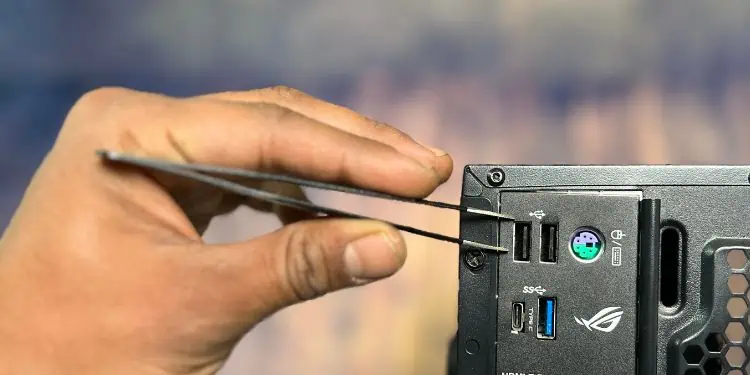
Tweezers
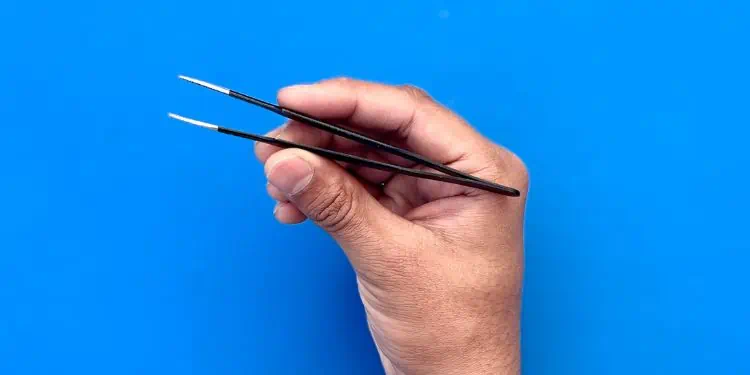
Tweezers are an excellent instrument for pulling out hairs, food crumbles, and other solid dust particles that get stuck in USB ports. You may utilize any type of tweezer (precision sharp tips or flat ones) available at your home or workplace.
Well, these tools are pretty easy to use. Hold the bottom end with your thumb and press the other end using the index finger to pluck out fine particles stuck inside the USB ports.
Caution: Pulling out any USB parts from a port can accidentally break the power pins and cause permanent damage. So, proceed with care.
Cotton or Microfiber Swabs

Cotton buds are easily accessible and are also used in our day-to-day life. While they are great for cleaning purposes, some avoid them as they may leave behind small lumps.
An alternative to cotton buds is microfiber swabs. These are non-abrasive materials and will not cause any scratches inside the USB ports.
Whether you use a cotton or microfiber swab, they are both great for removing dust and debris. The latter one might be comparatively costly but better for cleaning.
Small Brush With Soft Bristles
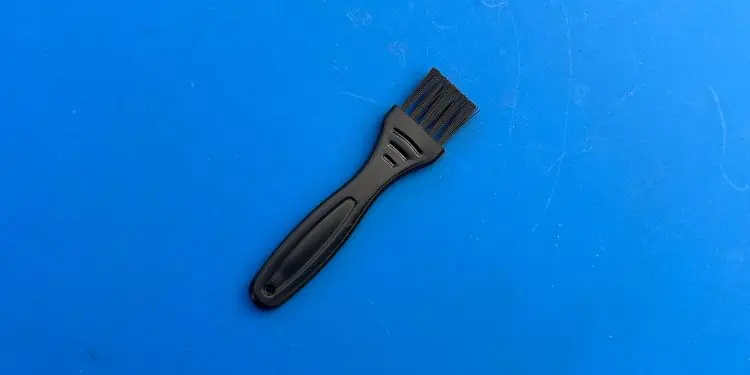
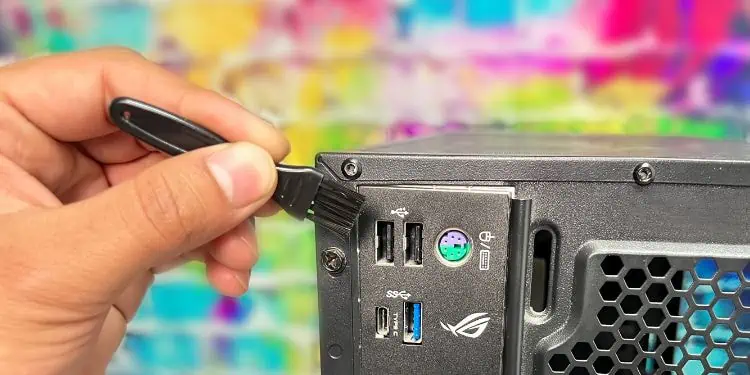
A small cleaning brush is another useful tool to clean the tough areas of your USB port. However, note that you should only use those having soft bristles.
If you do not have a dedicated cleaning brush, it’s completely fine. You may utilize a small-sized (0 to 10 mm) artist paintbrush. Also, if you have a similar brush in the figure above, you’re good to go!
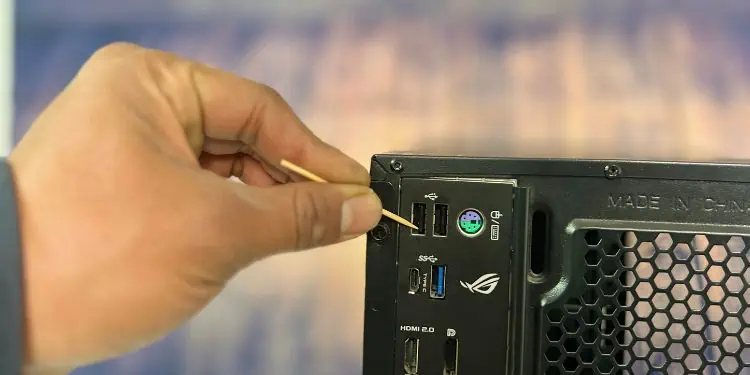
Toothpick

You may even opt for a plastic, wooden, or metal toothpick. This small tool can get inside any USB port, even the smallest UBS-C or mini-USBs. Hence, removing the finest dust particles becomes much easier in comparison to the above tools.
It can also come in handy if you do not possess a cotton or microfiber swab. You can wrap a small cotton or a piece of microfiber cloth and gently clean the inner areas of the USB ports.
Caution: Applying too much pressure while cleaning can break the toothpick. Also, there’s a chance for broken pieces to get stuck inside the ports.
Compressed Air Can or Silicon Air Blower
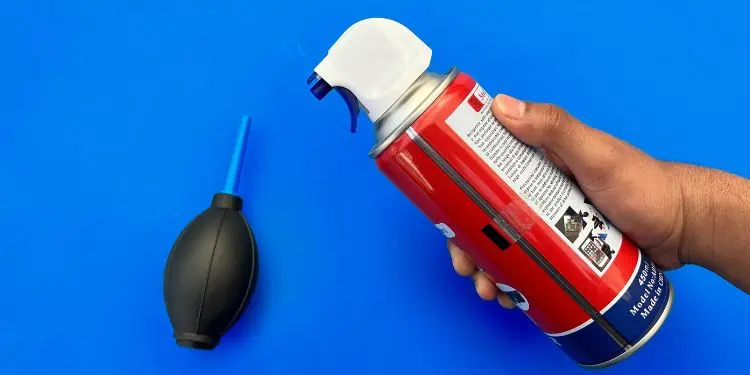
You can find different compressed air cans specialized for cleaning your PC. Just like any other component, the product is ideal for removing dust and debris from USB ports.
- Ensure the product you’re using doesn’t exceed 30 psi.
- Only use it after inserting the nozzle.
- Apply short bursts of air as longer ones may damage the ports.
- Do not invert or shake the can when applying it to the USB ports or other components.
- Never apply compressed air directly to your or anyone’s body parts. Also, do not use them for cleaning your clothes.
An alternative to compressed air is a silicon air blower. Just like the former, it can blow away dust from USB ports with a powerful stream of air. All you have to do is squeeze the blower to apply small bursts of air in succession.
Contact Cleaners

These are the solutions of different chemicals intended for removing oxides and keeping the electronic components clean. A popular example is Isopropyl Alcohol, which has a rapid rate of evaporation and is safe for cleaning USB ports.
While it’s completely safe to use Isopropyl Alcohol, you should never apply it directly. Instead, apply it first on a small cleaning brush or cotton buds before starting to clean the ports.
If you’re going to spend a little more bucks, you may even try the WD-40 contact cleaner. You can directly apply this product to your USB port and the active properties will remove all the dust and grime in no time.
Mini Computer Vacuum Cleaners
While the compressed air blows off the dust, portable vacuum cleaners (meant for cleaning PC components) suck in all the dirt particles from the USB ports. By far, this seems to be the best option as it keeps the components neat, without any fear of damage. But never consider a vacuum cleaner with high suction power.
Also, getting your hands on such a device can cost you a fortune. So, if you’re not ready for that, kindly proceed with any feasible option from above.
Things to Avoid
Now that you’ve learned about the different tools for cleaning a PC’s USB ports, it’s also equally important to know what things you should avoid. Without further delay, let’s jump right into them.
Dusty & Dark Environment
First and foremost, a dusty environment is a big no! While you’re cleaning the PC, it’s important that you place it on a clean table with no dust around.
Also, you need to examine the USB ports during the process. Since you may not see the internal pins clearly in the dark, we highly discourage cleaning in a dark room. Instead, opt for direct sunlight or a bright source of light. As mentioned earlier, we also recommend getting a torch or using your phone’s flashlight.
Rags or Old Clothes
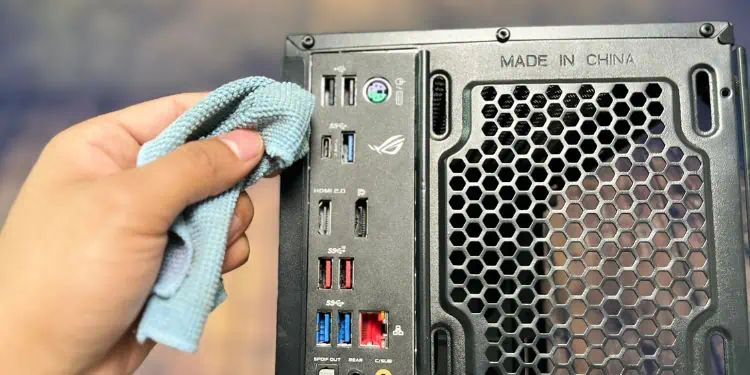
Although rags are common and inexpensive, we highly discourage them when cleaning your PC components. Along with rags, you should also avoid paper towels and old clothes, especially those having a rough surface.
Utilizing such items may cause scratches in and around the USB ports. Moreover, a dirty rag could further cause stains and would be difficult to remove.
Water & Other Liquid Solutions
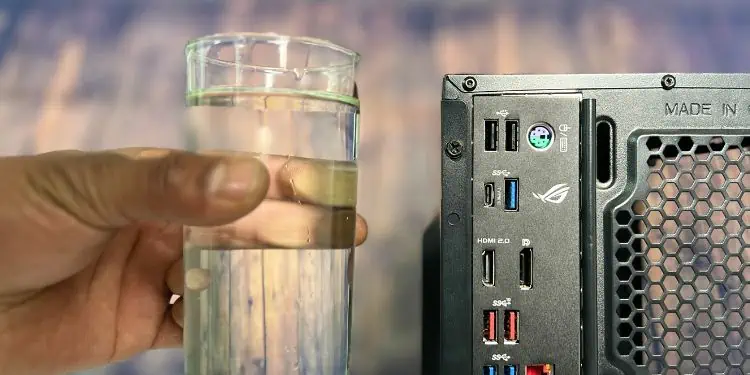
Even using small amounts of water may damage the USB ports on your PC. If you used to clean the internal components with any liquid cleaners, we advise you to stop it right away.
Unlike contact cleaners, water does not dry off easily and if stayed for a long time can cause permanent damage. Along with that, we also discourage using bleach, ammonia, or other chemicals for cleaning USB ports and other hardware.
Brushes With Hard Bristles
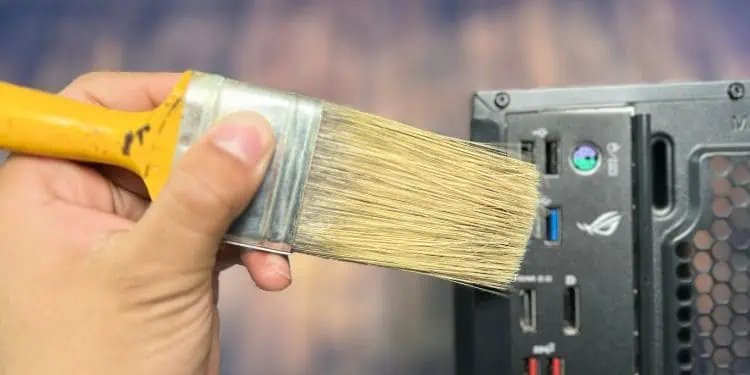
Any brush with hard bristles can cause scratches when you clean the ports roughly. Also, the bristles can come off and get stuck inside, making them hard to remove.
We do not recommend large-sized brushes because they will likely not get inside the ports. Therefore, it’s best not to consider a hard-bristle toothbrush or wall paintbrush.
Fingers and Nails
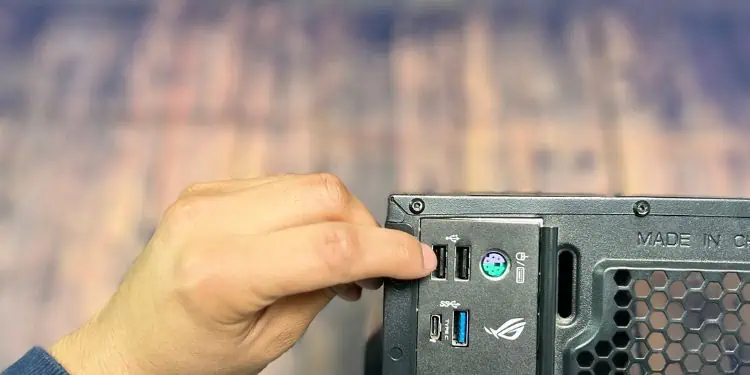
Some of us have a habit of using our bare fingers to wipe out dust particles. We’ve also seen people inserting their nails inside the ports to remove the crumbles and debris. If you do so, you’ll likely be exposed to germs and bacteria.
Blowing Air From Mouth
Blowing a quick stream of air to dust off particles is something we’ve all tried. However, this is completely wrong. When you blow air from your mouth, water vapor might enter the USB ports, and could damage them.
Furthermore, the dust particles might revert and contaminate your nose, mouth, or other sensitive areas. This may lead to allergies and other health issues.
Too Much Pressure When Cleaning
When cleaning the internal parts of the USB ports, you need to be extra careful. Depending on the USB type, there are a certain number of pins. If you apply too much pressure, you may break or bend them. This may cause USBs to keep disconnecting or the ports to stop working.
Leaving PC Turned On
USB ports carry a maximum of 5V electricity and 0.5 A current. Hence, there’s a minimal to no chance of getting electrical injuries when operating USB ports.
Nonetheless, it’s always a good idea to shut down your computer and remove the power connections. If you’re going to use flammable contact cleaners, even a few of its drops may cause harm to the PC components when left turned on.
Step 2: Shut Down PC & Remove Connections
Now that you’re aware of the do’s and don’ts, it’s time to initiate the cleaning process. As mentioned earlier, start by shutting down your PC and removing all the connections. Here’s a detailed step-by-step guide on what you should do:
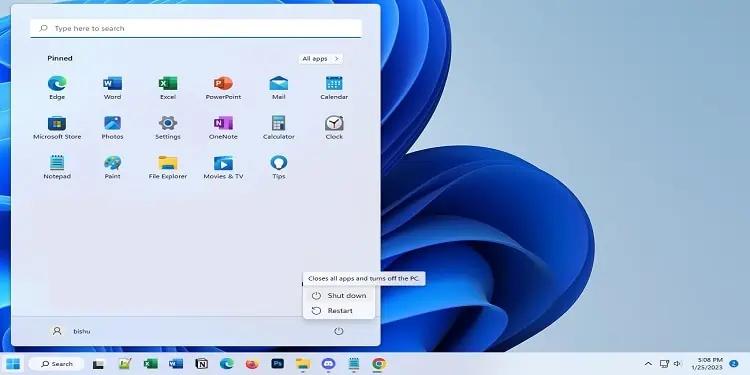
- Navigate to the Start menu and click the power icon.
- Choose Shut down and wait for your PC to power off.

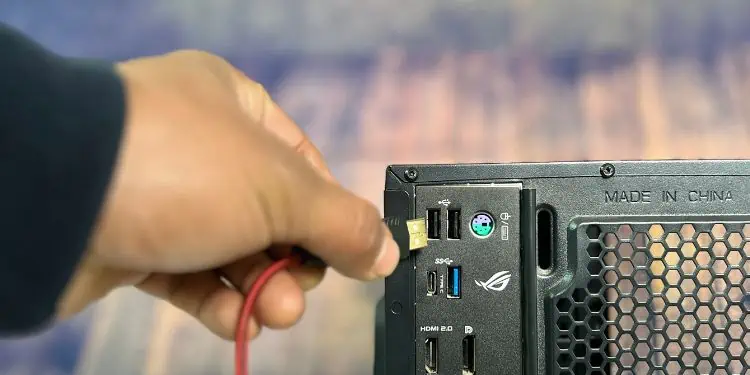
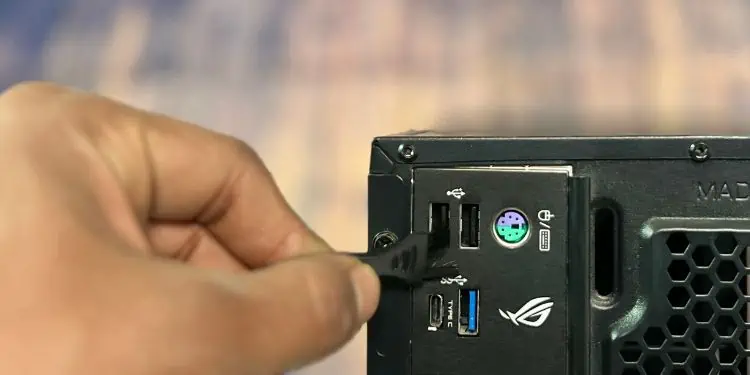
- Next, unplug all the USB peripherals from their respective ports.

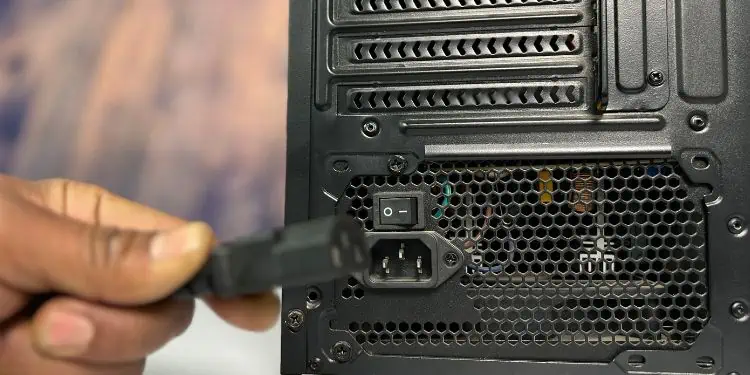
- Now, switch off the PSU to cut the power connection. You may also proceed to remove the power cable.

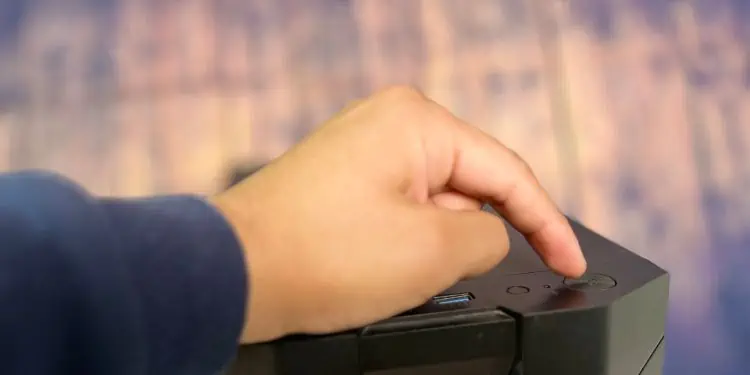
- Then, press and hold the power button for at least 10 seconds to discharge the capacitors.

Step 3: Inspect the USB Ports
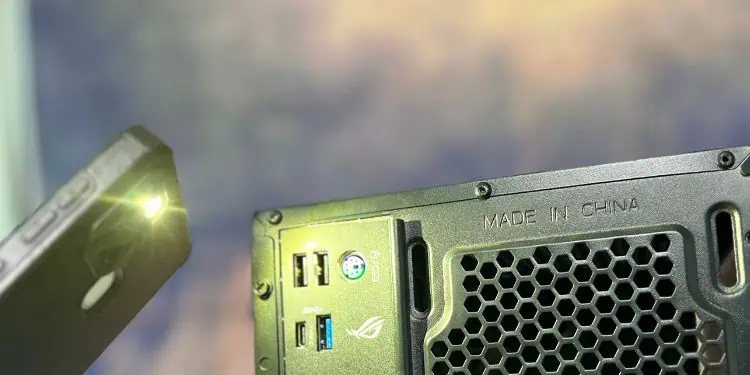
The next step is to determine filths inside your PC’s USB ports. For this, kindly take a bright source of light (torch or smartphone flashlight) and inspect the internal parts of the interface.
Talking about the standard USB A and B ports (gen 1 & 2), they have a 4-pin configuration. On the other hand, you’ll find nine pins inside the newer generations (USB 3 and higher). If you’re cleaning the USB-C, they are way smaller but have a 24-pin configuration.
Noting the pins is important as there may be extra dirt stuck around them. You need to be extra careful when cleaning this area. Even a slight mistake may bend them, leading to loose connections or even causing permanent damage.
Basically, your major task here is to determine the type of cleaning you’re going to do. If your ports are clogged, you’ll need to deep clean the ports. Otherwise, blasting compressed air or dusting off using a brush would be enough.
Step 4: Clean the USB Ports
Once you’ve inspected the USB ports, it’s finally time to clean them. Assemble all the tools we had discussed earlier and follow the below guide:
- Start by plucking out all the hairs, food crumbles, and other coarse particles using a tweezer. Remove everything that’s easy to pull out from each USB port.

- Next, take a toothpick and pull out the tough residues that lie near the pins. While you’re at it, ensure you apply less pressure and they do not bend.

- Then, blow out the remaining dust using compressed air or a silicon air blower.

If you have a portable vacuum cleaner, use this tool to directly suck in all the particles. - Next, brush off sticky dirt particles from the ports. Kindly use the brush in a single direction.

- Now, dip a cotton/microfiber swab in 99% Isopropyl Alcohol and clean any sticky residue.

- We also recommend thoroughly cleaning the outer areas of the ports.
- Wait for at least 30 seconds for the USB ports to dry.
Step 5: Test Your USB Ports
After cleaning the ports, the final step is to test whether they are working fine. This is to confirm that you haven’t damaged them while cleaning.
First, ensure the isopropyl alcohol has dried completely before connecting the power cable and switching on the PSU. Then, start your computer and plug in a USB peripheral on the port you’re trying to test. If it responds properly and there’s no loose connection, know that there are no issues with the USB ports.

