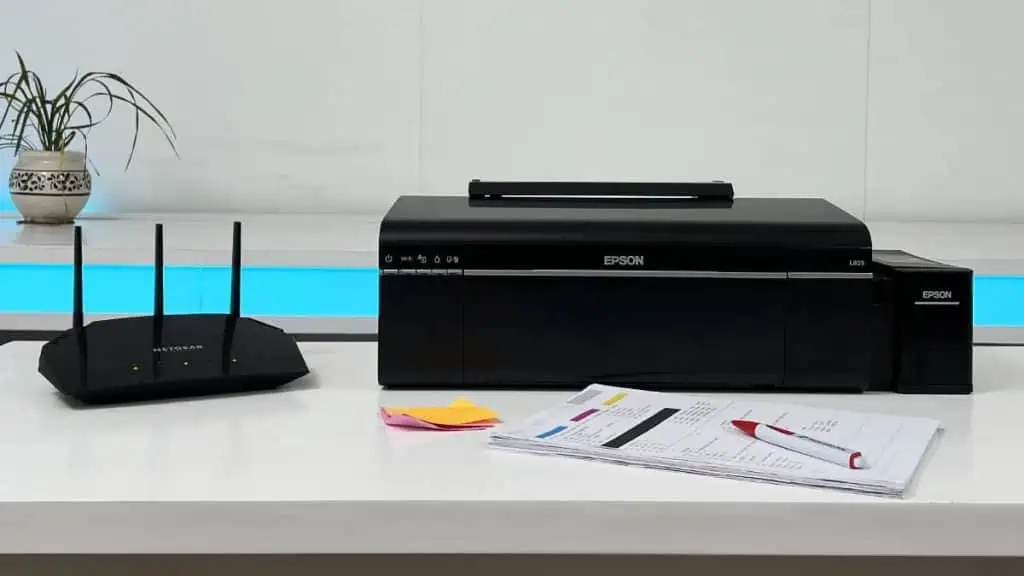
To connect your Epson printer to Wi-Fi, use any of these four methods,
- Utilize the touchscreen to navigate to Network Settings. Then, run the Wi-Fi Setup Wizard.
- Press the WPS Push button on your Wi-Fi router.
- Connect your printer and computer through a USB cable.
- Or, use the Epson Smart Panel mobile app.
Now let’s see how each of them works.
Using Printer’s Screen
If your printer comes with a touchscreen, that’s great! Simply navigate to the Wi-Fi Setup Wizard menu. Then, connect it to your preferred wireless network.
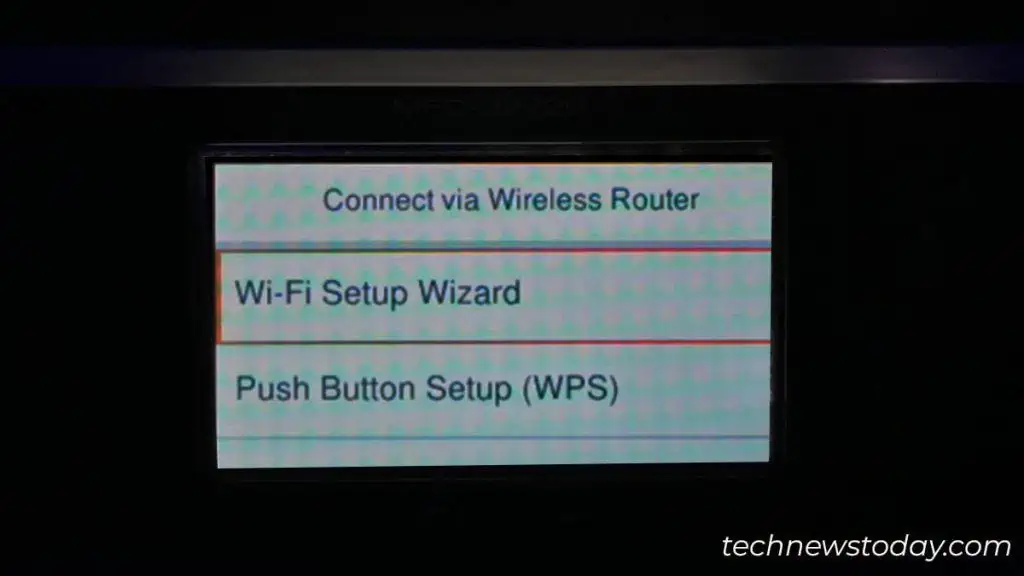
I have an Epson ET 3850 model, and this menu is located inside Settings > General Settings > Network Settings > Wi-Fi Setup. Similarly, find yours and do the needful.
Use the WPS Push Button
This method is especially helpful for those who have non-touchscreen printers. In fact, it works for most of the Epson printers available today.
What’s more is, that setting up Wi-Fi this way does not even require a password. The only thing is you should have access to the Wi-Fi router. Let’s go through the details.
- First, make sure the printer and router are all together. Bring them as close as possible.
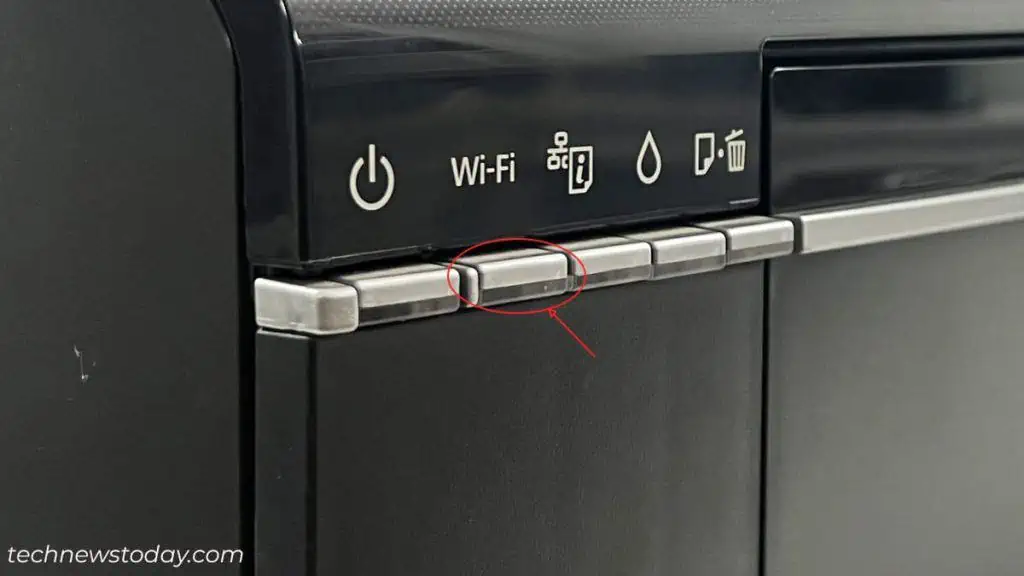
- Keep pressing the Wi-Fi button on your printer until its indicator starts flashing. 5 to 10 seconds is usually enough.

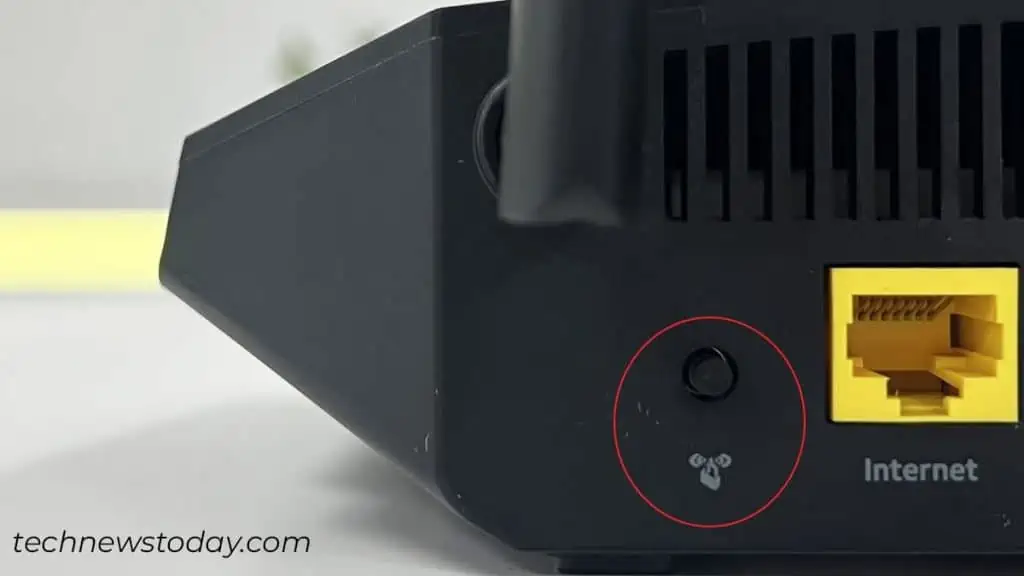
- Now go to the router and press-hold the WPS button. Release it once the WPS indicator starts blinking.

- Keep calm and wait until the indicators on both devices stop flashing. It indicates a successful connection.
Connect to Wi-Fi Using a USB Cable
You’re probably thinking why is this guy even talking about USB cable when I just want to make my printer wireless, right? Let me explain.
You don’t need to connect your printer and PC forever. It’s only for a while. Once you set up the Wi-Fi, you can let go of the USB cable and enjoy wireless printing. To do it,
- First, power on the printer and connect it to your computer through the USB cable.
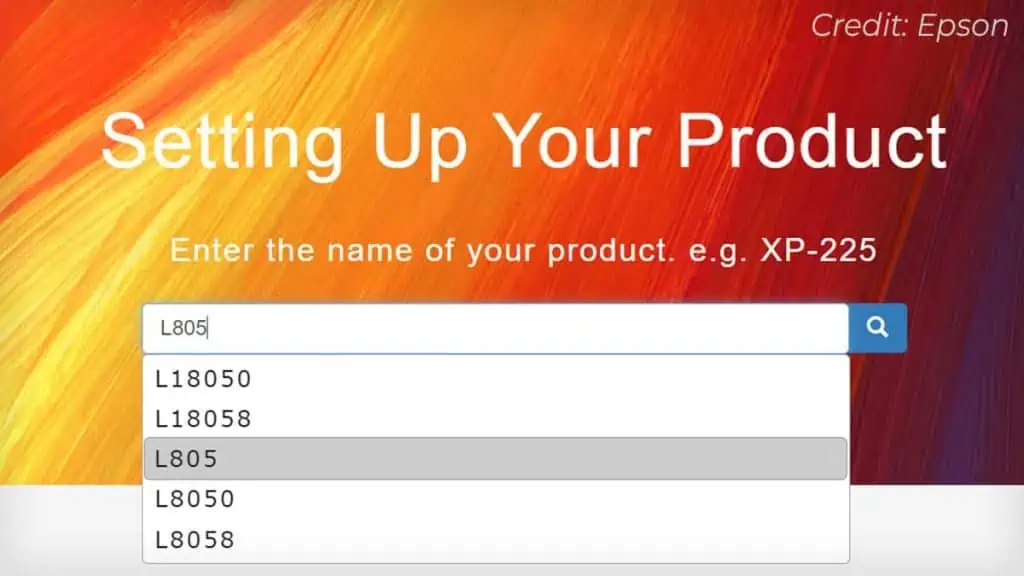
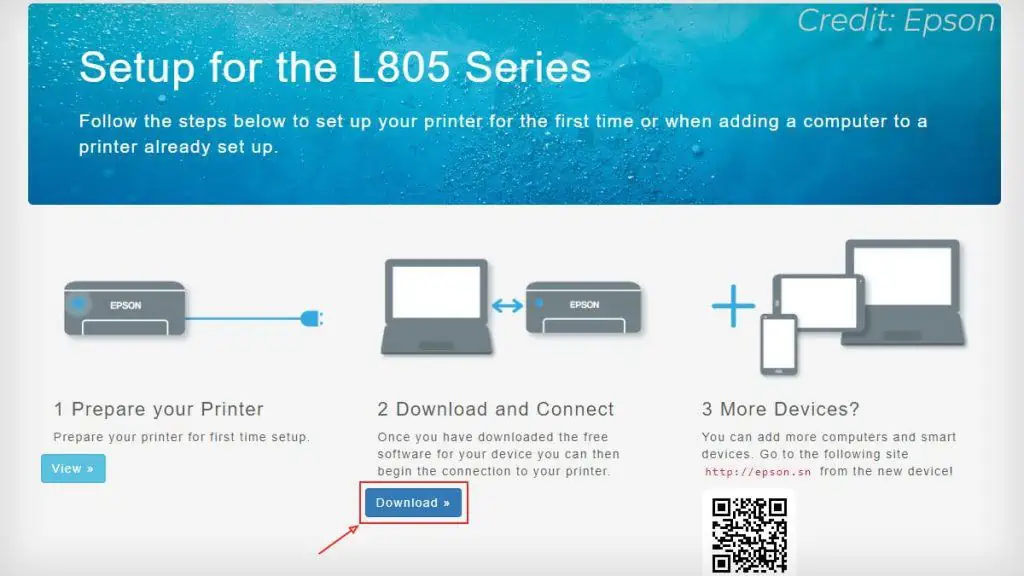
- Next, go to the official Epson Setup Navi website.
- Search your product model. Since I have an Epson L805 printer, I’ll search for L805.

- Download the Navi software and launch it.

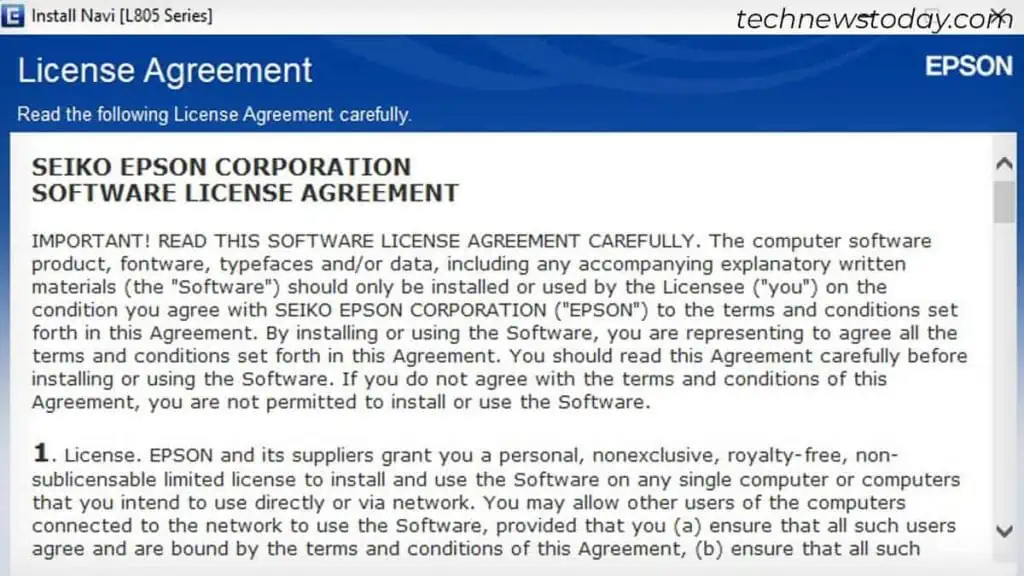
- You’ll be presented with the license agreement. Accept it and proceed.

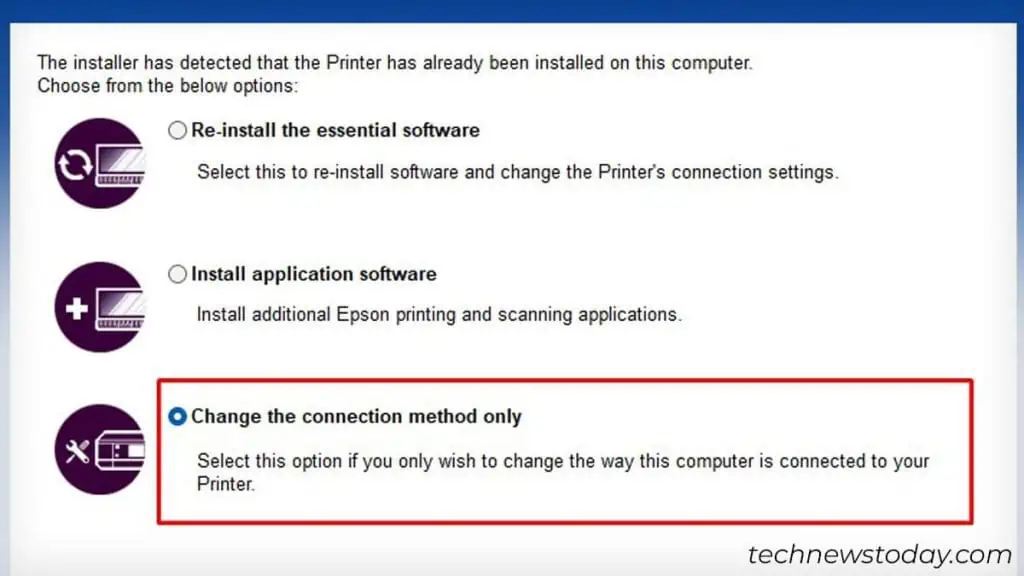
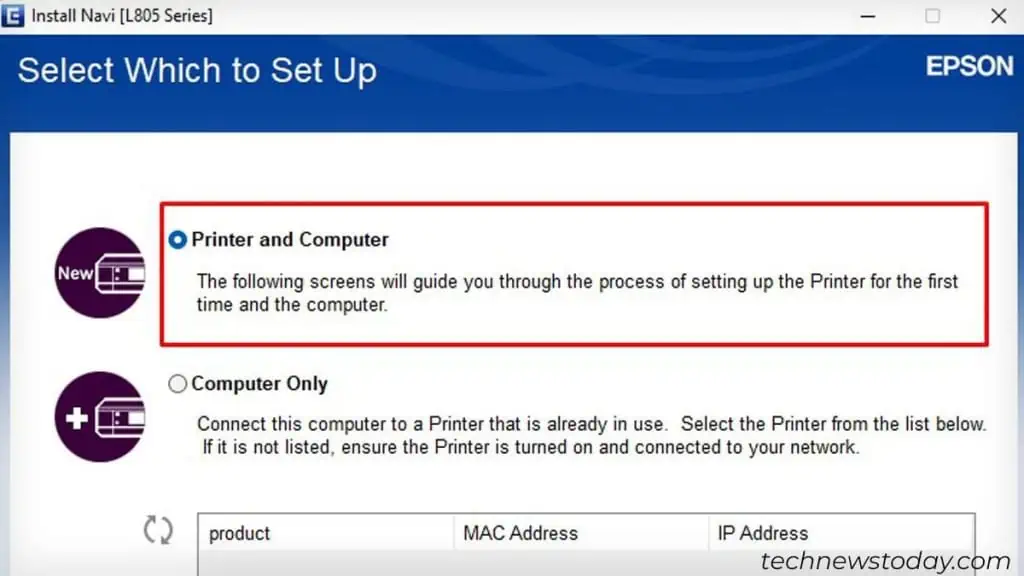
- Once you are at this window, choose this option.

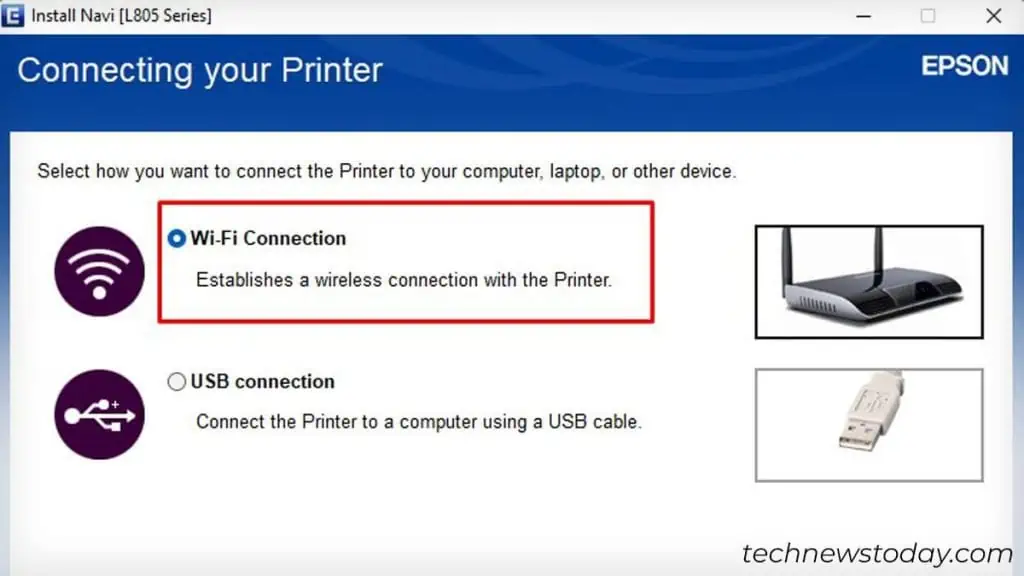
- Check the box next to the Wi-Fi connection.

- Select the first option.

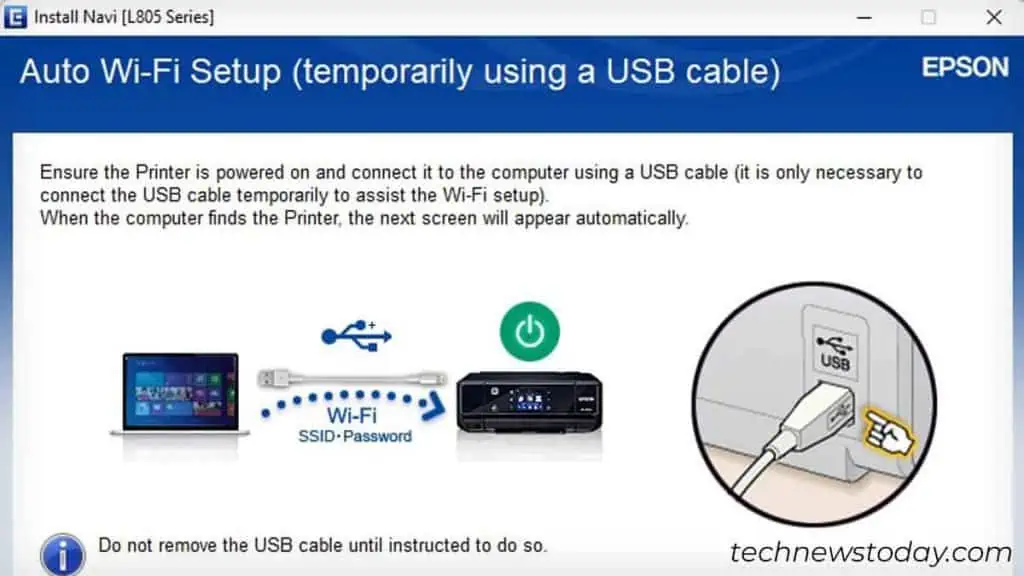
- You’ll then see this window. Please wait till the setup wizard finds your printer and connects it to the same Wi-Fi network your PC is connected to.

- Once the setup is complete, you will be instructed to remove the USB cable. Congrats! Now you have successfully connected your printer to Wi-Fi.
Via Epson Smart Panel
Interestingly, you can also use your smartphone to connect Epson printers to Wi-Fi.
For that, first, you have to download the “Epson Smart Panel” app on your phone. Then, launch the app and follow the in-app instructions.
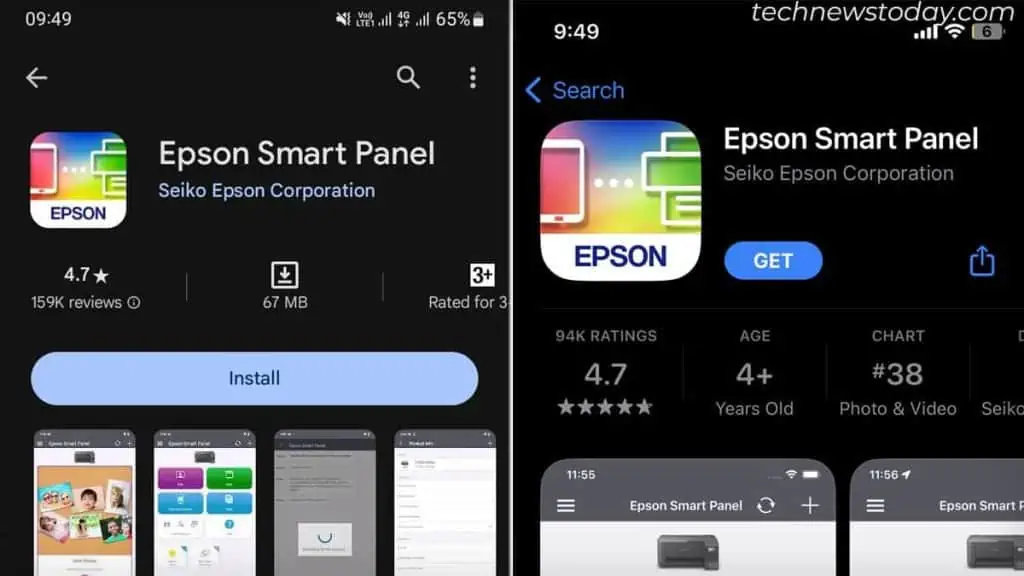
Before you kick off, let me clarify to you that there are only some specific printer models that support the use of this app. Even my Epson L805 is not compatible with it.
You can quickly go through the list of Smart Panel-supported printers and check it. Should your printer name be listed there, you should have no problems using it.

