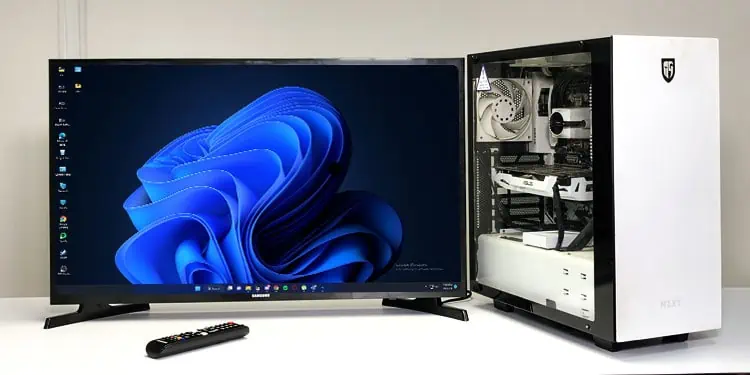
Connecting the PC to your TV is relatively easy. Insert one end of the display cable into your TV’s video input port and the other into your PC.
But before that, you need a suitable display cable that matches the port on both TV and PC. Then, once you have the right cables, connect the display cables to specific ports on your PC. And even after connecting the PC and TV, you may not get video output on the screen if you have not set the correct TV configurations.
So there are several things you need to do before you get the desired output from your TV.
Choosing the Correct Display Cable
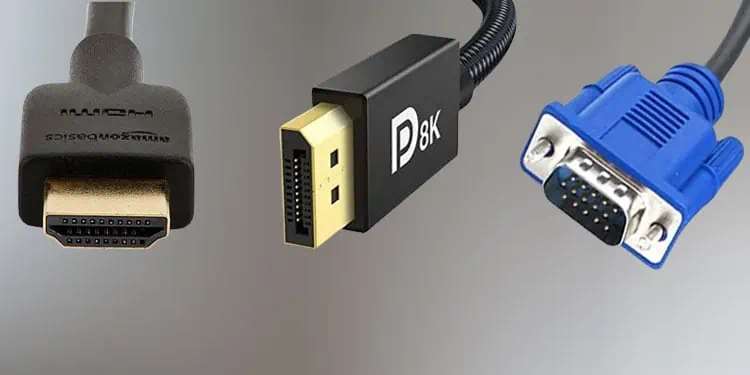
Depending on the video input/output port available on your devices, you need to select the correct display cable. Video port on TVs and PCs are located on the back of each device. If you are using a laptop, its video ports are on its sides.
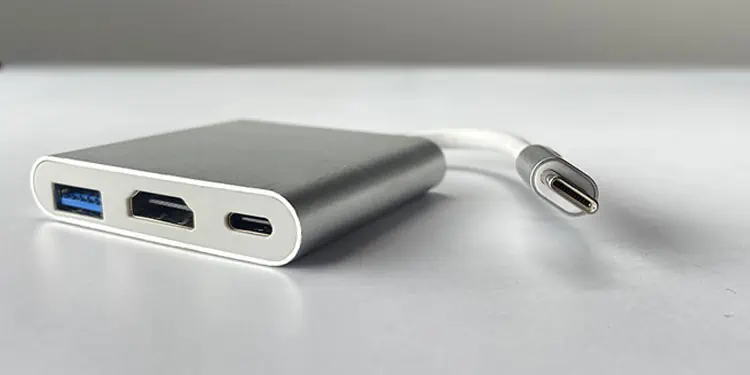
Ultra-portable or 360 laptops may not have a dedicated video port. If that’s the case for you, we recommend that you get a hub with video port that connects to your laptop.
Some common video input/output port you see on most television and computers are HDMI, VGA, DVI, and DP.
HDMI
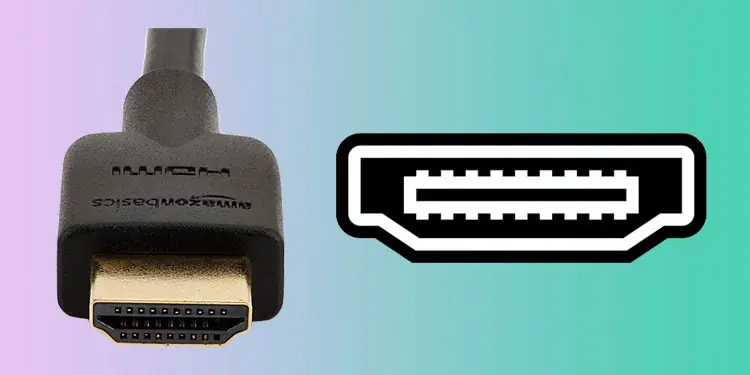
HDMI cable is very popular when it comes to connecting display devices. HDMI has been around for quite some time. So there’s a high chance that your PC and TV use this port. If both devices have an HDMI port, we recommend getting an HDMI cable to connect the two.
DisplayPort
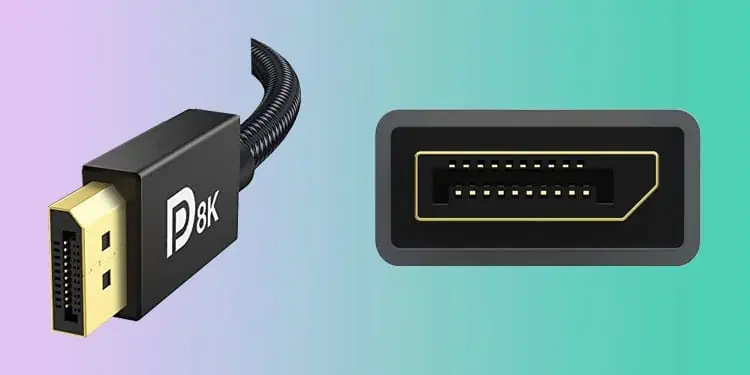
DisplayPort (DP) is a newer version of the video port and supports a faster data transfer rate. This means higher resolution and FPS. Newer TVs and PCs will likely have a DisplayPort as well. If both your devices have female DisplayPort, it is ideal that you get a DisplayPort cable.
VGA and DVI ports
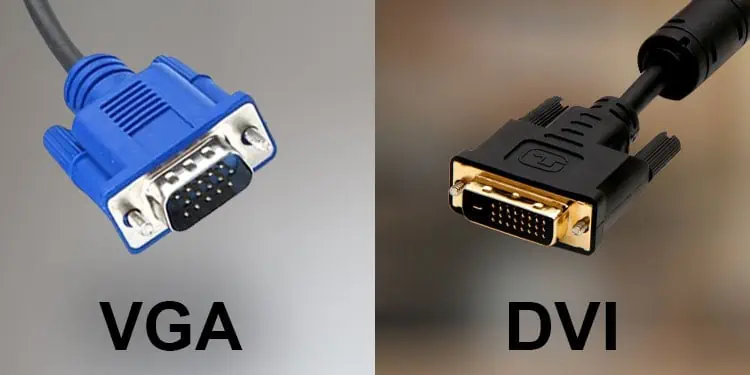
Both DVI and VGA are older-generation ports but are still available on some TV and PCs. DVI, being slightly newer, uses a digital signal to transfer video data, while VGA uses an analog signal and has a low data transfer rate.
These ports do not support audio data transfer, so we recommend using either HDMI or DisplayPort cable to connect your PC to the TV.
Connect PC to TV
Before connecting the TV and PC, clean the ports on both devices. Dust and debris stuck on the ports could obstruct the data transfer process, resulting in your TV to give a black screen or a flickering screen. So make sure that you clean the ports on both devices.
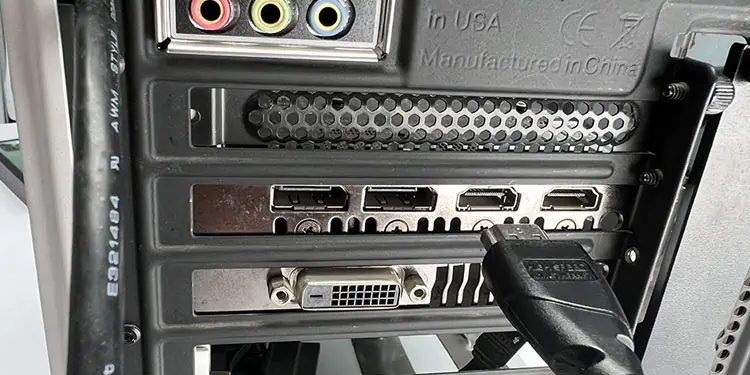
You will have several video ports on the rear side of your CPU case. And you need to connect the display cable to the right port to get the optimal output.
If your desktop has a dedicated graphics card,
- Insert one end of the display cable to the video port in the graphics card.

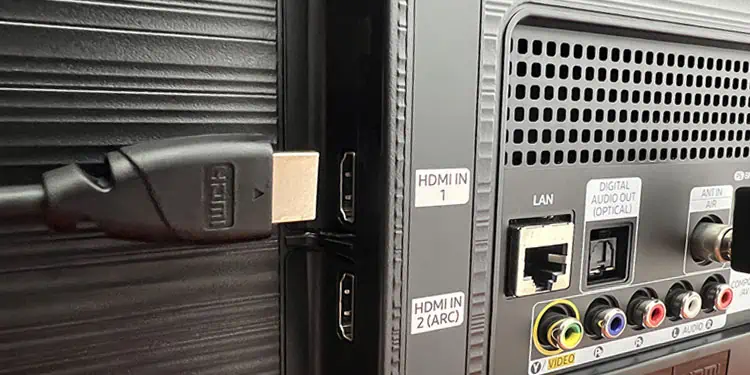
- Insert the other end of the cable on your TV.

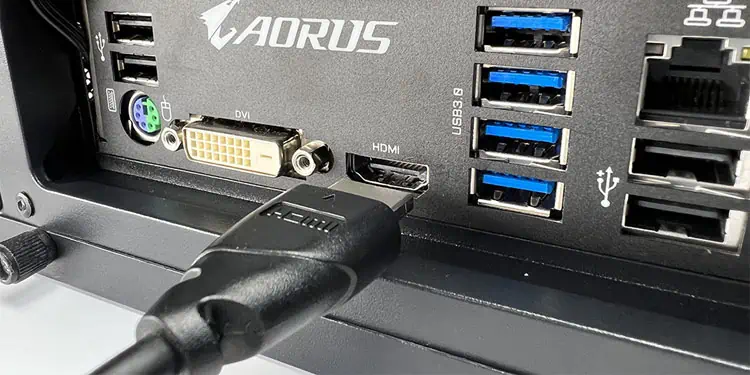
If your desktop PC uses an integrated graphics card,
- Connect one end of the cable to the video port in the I/O panel of your motherboard.

- Connect the other end to the video port on your TV.

When connecting the display cable to the TV, note the port name. It is usually represented as HDMI 1, HDMI 2, DP1, or DP2. In most cases, the port name will be written on the side of the port. Using this port name, you need to set it as the input source on your TV.
Set the Correct Input Source
Since you can connect your TV to more than one device at a time, you also need to select a input source on your TV. Input source allows your TV to select the port from which it takes input data.
Say you’ve selected the input source as HDMI 1, but your PC is connected to HDMI 2. In this case, the TV will suggest you choose a different input source.
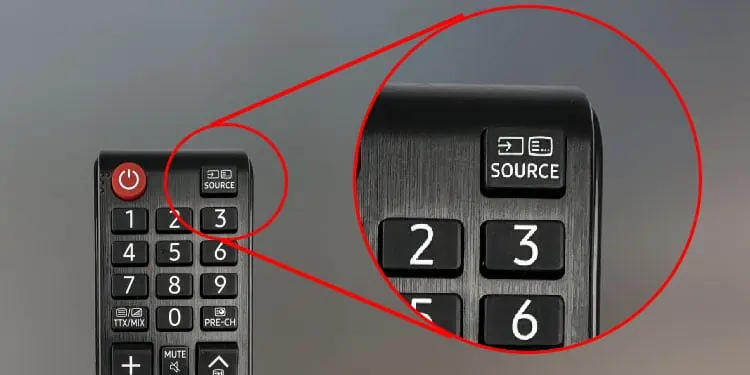
- Using the TV remote, press Source to get the list of all input ports.

- Select the port to which your PC connects.
Once you set the correct input source, the TV should display the video output from your PC. If your TV gets no display, try connecting the display cable to a different port.
Set Projection Mode
If you are connecting a laptop to your TV, you need to set a projection mode. Projection mode allows you to choose how the laptop displays its screen to the TV/monitor. It provides users to extend and duplicate the screen. Besides this, you can also enable one screen at a time.
- Press Windows + P key simultaneously to open the Project mode window.
- Select the projection mode that you want to use.

- Wait for the screens to calibrate.

