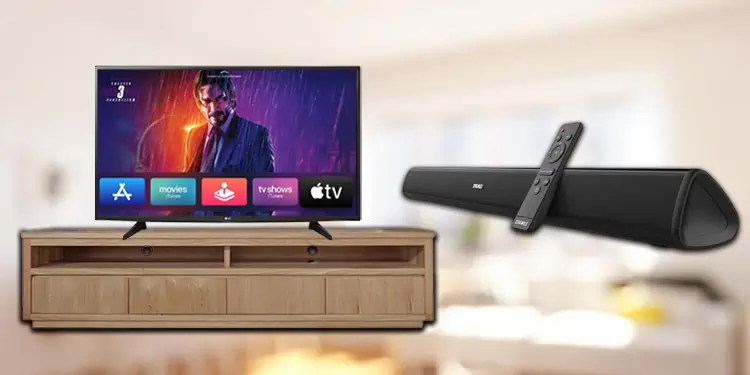
You can substantially boost your TV audio with the help of a soundbar. But if you are having a problem connecting it to a TV, don’t worry. It’s not that difficult process.
Depending upon your TV and soundbar’s model, you get various connection modes. You don’t need any extra equipment to connect your soundbar and TV if you have a soundbar compatible with your TV. Otherwise, you may need a signal converter to establish the connection.
In this article, we will find out different connection methods and help you choose the finest connection mode to get the best out of your soundbar.
How to Connect Soundbar to TV?
Connecting the soundbar to your TV is not a head-scratching problem. Simply connecting the cables and changing a few settings on your TV will make your soundbar ready to boost the sound from your TV.
Let’s discuss in-depth about them below.
Using HDMI (ARC)
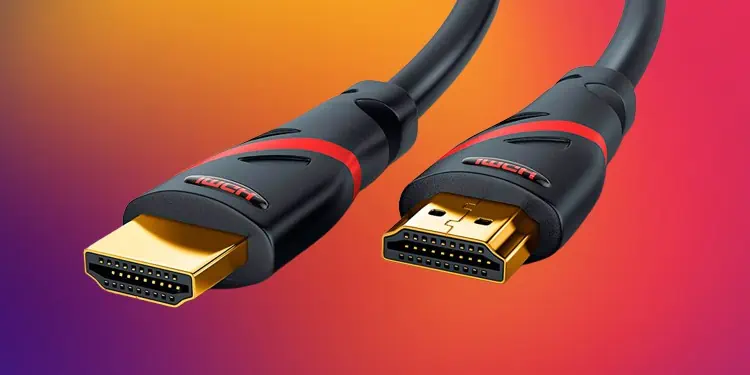
If your TV has an HDMI (ARC) port available, it is the best and easiest method to connect the soundbar with your TV. It provides maximum audio bandwidth and a reliable connection while connecting to the soundbar.
ARC (Audio Return Channel) feature in HDMI helps transmit video as well as audio with a single cable. It also helps transmit signals in a bidirectional manner, thus reducing the latency.

However, it does not require any additional cable for transmitting sounds to use with a soundbar. Just connect one cable, and you are all set to use the soundbar. Moreover, if you want to enjoy the Dolby Atmos experience, it is also possible with the HDMI (ARC) connection.
You may also use the HDMI eARC port on your TV to connect to the soundbar if available. It is an advanced form of HDMI ARC that has a higher bit rate and provides enhanced Dolby Digital experience.
Follow these steps to connect the soundbar to your TV using HDMI (ARC) port:
- Power off your TV and the soundbar.
- Take an HDMI cable and connect its one end to HDMI (ARC) port at your TV’s back or side panel.

- Then go to TV OUT (ARC) port on the rear panel of your soundbar and connect the other end of the HDMI cable.

- After you successfully connect the HDMI cable, now power on your TV and the soundbar.
- After that, from your TV settings, navigate to the audio output settings and set the output mode to the soundbar instead of the built-in speakers. The name for the soundbar on your audio settings may differ depending upon the manufacturer of your TV.

Remember that you must enable the CEC feature on your TV before you can use the HDMI cable to connect to the soundbar. The Consumer Electronics Control feature allows HDMI devices to communicate with the TV. Without this feature, you may experience issues establishing a connection between your soundbar and TV.
Your TV might have different names for HDMI-CEC depending upon the TV manufacturer. For example, Anynet+ for Samsung TVs, Bravia Sync for Sony Bravia series, and Simplink for LG TVs.
Note: Some soundbars also require changing the input mode as TV on its settings. Please consult the user manual of your soundbar.
Using Optical Cables

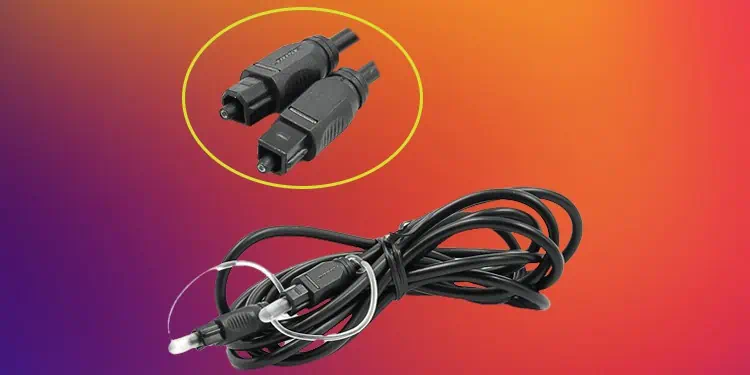
Another method to connect the soundbar and your TV is through optical cables. Optical cables make use of optical light to transmit the audio signals from the TV to the soundbar, thus shielding the sound signals from any kind of interference.
Most of the TVs today still come with optical ports, so using them would be better if you do not have an HDMI – ARC port. However, they do not support as many formats as HDMI.
Here’s how to connect the soundbar using an optical cable:
- Turn off your TV as well as the soundbar.
- Take an optical cable.
- Connect its one end to OPTICAL OUT jack on back panel of your TV.
- Plug next end to OPTICAL IN jack in the rear panel of your sound bar.

- Power on your TV and soundbar and change the audio settings on your TV to Optical.
Note: Using an optical cable alone may or may not allow you to control the soundbar’s volume using a TV remote. TV manufacturers like Samsung allow you to control the volume of Soundbar using the TV remote while using optical cable only, but Sony does not. It would help if you used HDMI as well as optical cable to use the volume control feature in case you don’t have an HDMI – ARC port on your soundbar.
Using Analog Audio Cable (RCA Connectors)
If you have an older model of the TV, it may neither have an HDMI (ARC) nor an OPTICAL OUT port. But it may still have RCA ports embedded in it. RCA cables are used for connection in RCA ports that normally have one red and another white connector.
The sound quality you get through the RCA cables is comparatively lower compared to HDMI and Optical cables. But, you won’t experience any issues while using them.
Follow these steps to use RCA cables with your soundbars:
- Power off your soundbar and TV.
- Take an RCA cable and match white end of the cable connector to white colored audio port on your TV.

- Connect another white end to the white audio port on your soundbar.
- Do the same for the red connector.
- Now turn on the TV and select Analog as the audio output type.
Using Bluetooth
A wireless connection is the last method you can use to connect the soundbar with your TV. It will somehow reduce the number of cables running through your TV and looks aesthetically good.
We don’t recommend using Bluetooth to connect the soundbars as the sound quality comparatively degrades compared to HDMI ARC. The lip sync on your video and audio may not be proper while using Bluetooth.
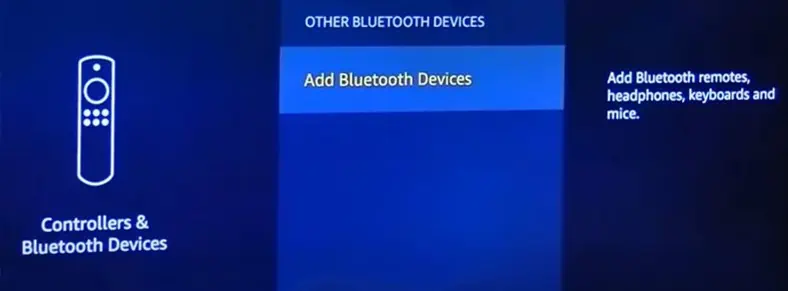
However, if you want to use it, you can easily set up the connection from the controller settings on your TV. The steps to set up a wireless connection are quite similar for Smart TVs.
- Make sure you have turned on the Bluetooth mode on your soundbar. You will see a specific button to turn on Bluetooth on the button panel. Please press the button to make it visible to nearby devices.
- On your TV, navigate to Settings > Controller & Bluetooth Devices.
- Then select Other Bluetooth Devices > Add Bluetooth Devices.

- Select your soundbar from the list of available devices shown.
- Wait until your TV pairs with the soundbar. You will hear a notification sound from the soundbar once the connection is established. You may need to press some extra buttons before establishing a connection.
- Follow the on-screen instructions.


