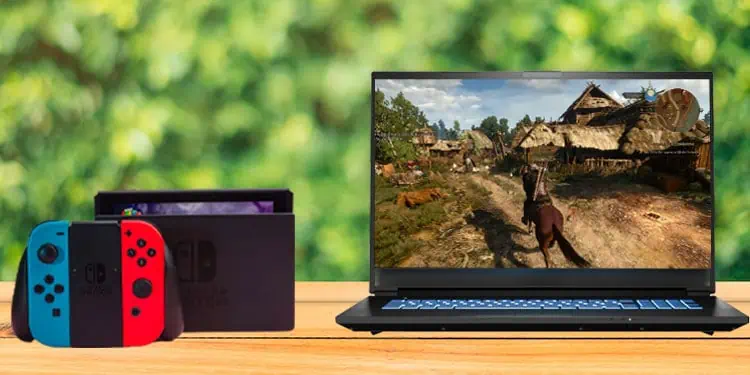
Nintendo Switch is an excellent portable gaming console not only for hardcore gamers but also for casual users who want to have some fun. It also offers a feature to connect Switch to a bigger screen for users that may have problems with a smaller screen size.
Nintendo comes with a Nintendo Switch Dock that lets you connect Switch to a bigger screen, say a monitor, TV, or even a laptop. Although most users use a monitor or a TV with ease to play games, recording or streaming can be quite complicated. When you connect Switch to a computer, you can even record or stream your Switch gameplays with ease.
Since laptops are not built to receive signals from HDMI, it is little tricky to connect HDMI devices to laptop. It requires expensive capture devices such as the Elgato or any other capture card to project the display on laptop’s screen.
This article explains everything you need to know about connecting your Nintendo Switch to a laptop.
How to Connect Switch to Laptop?
Nintendo Switch comes with a Nintendo Dock. Using the Nintendo Switch Dock, you will connect Switch to any screen. Connecting Switch to a monitor or TV is pretty simple, and you can connect the two using an HDMI cable.
If you are connecting Switch to a laptop, you will also require a few other components and an application.
Components and Application Required
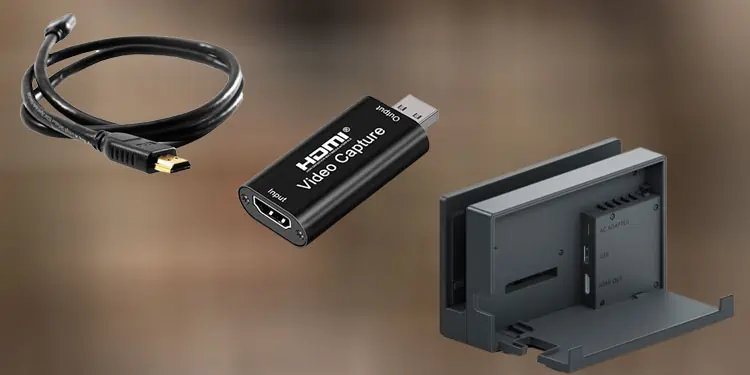
HDMI on one device, Switch, acts as HDMI-out and the other device, monitor or TV, acts as HDMI-in. However, that is not the case when you connect Switch to the laptop by using an HDMI cable. The HDMI port on your computer acts as HDMI-out, and so does the HDMI port on Switch.
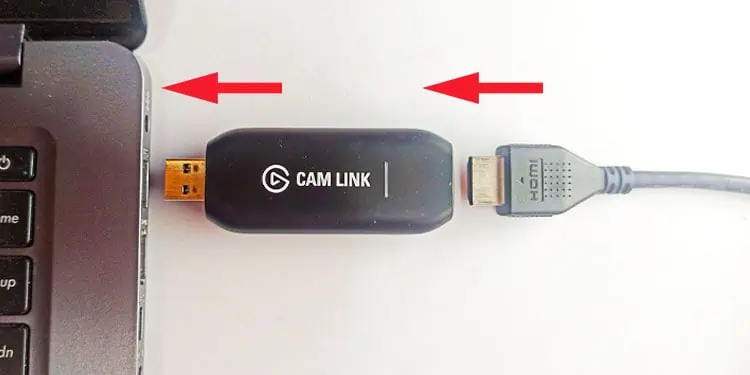
You will need a USB to HDMI video capture card to get around this issue. Once you have connected everything, you will also require OBS studio installed on your laptop.
- Nintendo Switch Dock
- USB to HDMI Video Capture Card
- HDMI cable
- OBS Studio
Connecting Switch to the Laptop
Now that you know the things required, let us first start by connecting all the physical components.
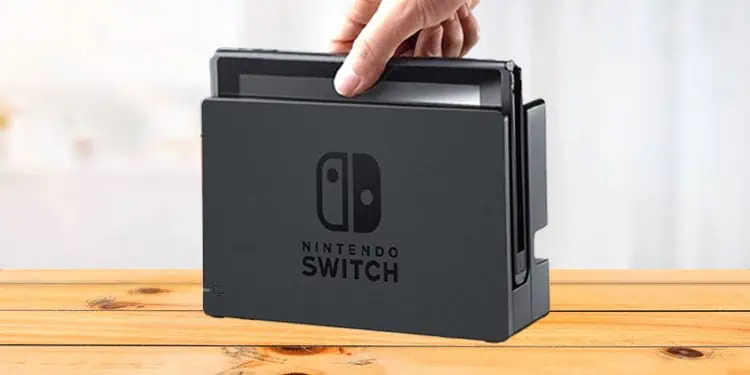
- Place Nintendo Switch on Nintendo Switch Dock.

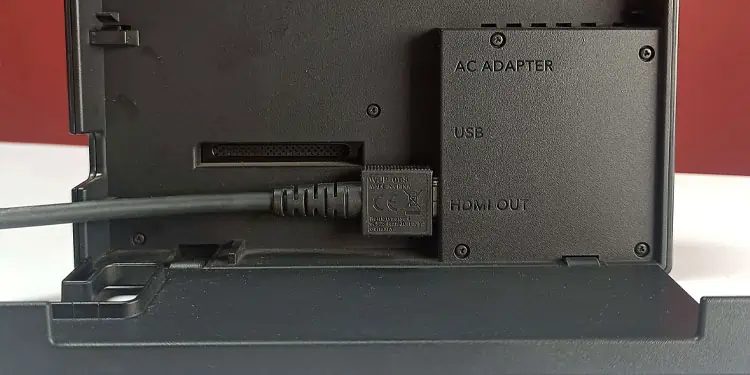
- Open the back cover of the dock and connect the one end of HDMI to Nintendo Switch.

- Connect other end of HDMI to the video capture card and insert the USB side of the Video Capture card into the Laptop.

Using OBS Studio
OBS Studio is an application that lets you record or stream from your computer. You can use the application to get the screen from Nintendo Switch to display on the OBS Studio window on your laptop. The OBS studio will display 1080p resolution with 60FPS.
However, this number entirely depends on the video capture card and the resolution on which you play your game. If you are using a video capture card with USB 3.0, it can record video with a resolution of 1080P and 60FPS frame rate.
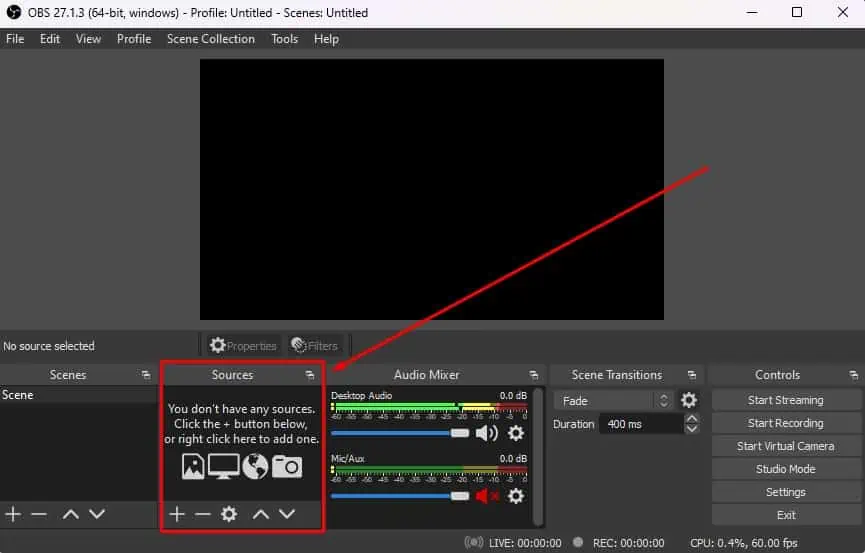
To set up OBS to display data from the video capture card to the laptop screen,
- Download OBS Studio from the internet.

- Install and run the application.
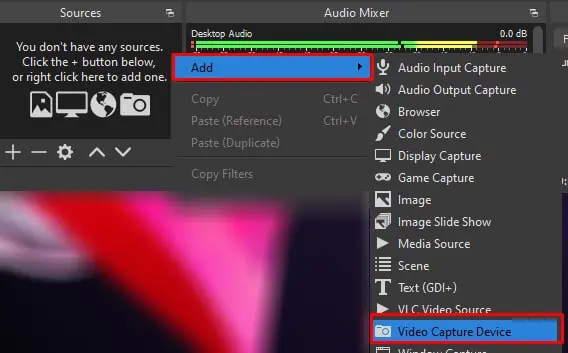
- Right-click on the empty area under Sources.

- Click on Add.
- Select Video Capture Device.

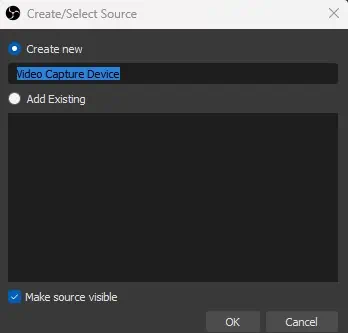
- Check Create new to create a new source and give any name to this source.

- Set the Device as USB video and Audio Output mode as Digital Audio Interface.

The OBS setup process is now complete. Now, turn on the Nintendo Switch Dock. The green light should turn on, indicating that the Dock is connected to a display source. You should see the Nintendo Switch screen on OBS Studio.
You can now use Switch Controller to navigate Switch within OBS studio.
OBS Studio will display a black screen if there are any connection issues between the laptop, video capture, and Nintendo Switch.

