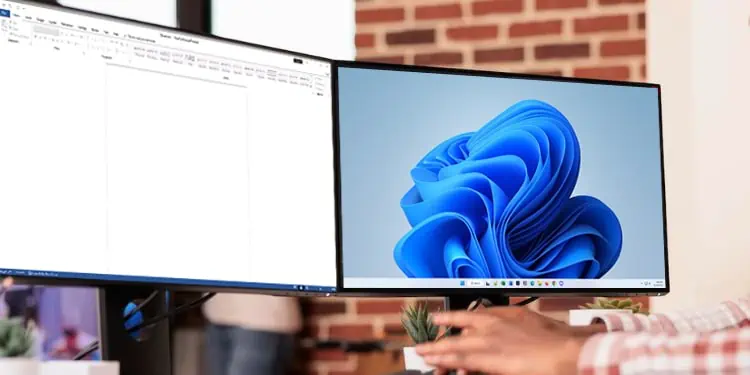
A multi-monitor setup is excellent for multitasking purposes. While most users prefer connecting all the screens directly to the computer ports, it’s much more advantageous to hook them in a daisy chain fashion.
Daisy chaining simply means wiring all your monitors in a sequence similar to the garland of daisy flowers (monitor-to-monitor connection). This way, you do not require additional computer ports, all the cables stay organized, and additionally improve the screen space.
However, daisy chaining is only possible on monitors having DisplayPort 1.2 or Thunderbolt ports. Also, the DisplayPort should support Multi-Stream Transport (MST) which is responsible for transporting multiple video signals through a single cable.
- The graphic drivers should be updated
- Your GPU and monitors should have DisplayPort 1.2 or thunderbolt ports
- Your monitors should have both input and output ports (the last in the chain can have only the input port)
- Your monitors and graphics card should support the DisplayPort 1.2 MST feature (except the last one in the chain)
- Adapters or converters do not support daisy chaining
Gather Necessary Tools
First of all, ensure you have gathered all the necessary tools. As mentioned earlier, you’ll need monitors with both input and output DisplayPort 1.2 or Thunderbolt ports that support the MST feature.
Next, you need to know it’s possible to daisy chain only a certain number of monitors, depending on your GPU’s highest supported display resolution. Below is the complete chart that should give you an idea of the number of screens you can connect.
| Display Resolution (at 60 fps) | No. of monitors that can be daisy-chained |
| 3840 x 2160 and higher | 1 |
| 2560 x 1600 | 2 |
| 1920 x 1080 | 4 |
| 1680 x 1050 | 5 |
| Below 1680 x 1050 | 6 |
Now, kindly gather the same number of DisplayPort or Thunderbolt cables as the monitors you’re going to daisy chain. Note that the latter one provides a higher bandwidth (4K@60Hz for two and 1080p@60Hz for six displays).
Enable MST Settings
Once you’ve gathered all the necessary items, you need to now configure MST settings on all your screens (except the last one). For example, in a quad-monitor, the first three in the chain require MST settings to be enabled while the fourth one doesn’t necessarily need to support the feature.
Here’s a quick demonstration of how to turn on MST settings on any monitor:
- Find and press the dedicated button to open the On-Screen Display (OSD) menu. It is located in the bezel but can be distinct for different models and brands.
- Navigate to the System option.
- Next, select MST and move to the right pane.
- Here, choose the Enabled or ON option and exit the OSD menu.
- In some monitors, you may need to select the Yes option if a confirmation prompt pops up.
- Repeat the process on all your monitors.
Enable DisplayPort 1.2 [Optional]
While most modern monitors automatically adapt to the DisplayPort 1.2 settings, some still require it to be enabled from the On-Screen Display menu. Here’s a simple guide on how you can do just that:
- Use the dedicated button to launch the OSD menu.
- Move to the Display or Input Source section, whichever is available on your monitor.
- Here, select DisplayPort 1.2 and click Enable.
- In some models, you’ll need to press Yes to save the settings.
- Now, repeat this on all your screens.
Position Your Monitors
The next step is to position the monitors based on your workspace and preference. Also, you need to consider how far you’re sitting from the monitor and the number of screens you’re setting up.
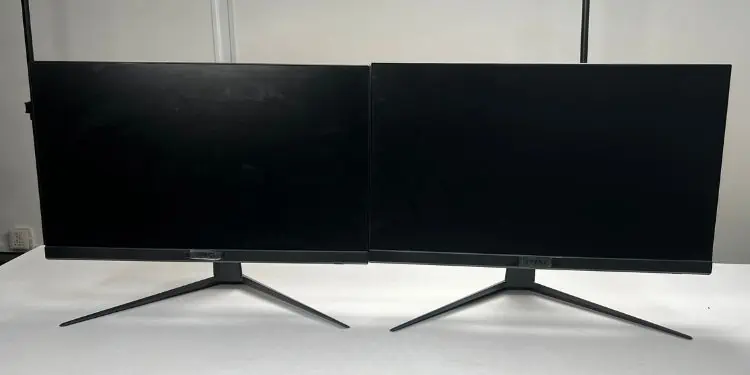
If you’re setting up dual monitors of identical sizes, place them both right in front of you. The inner edges should coincide, forming a semi-circle. However, if one of the displays is bigger than the other, place the primary one in front of you, and the smaller one on your side.
For a triple-monitor setup, the best ergonomic method is placing the primary screen in front of you, and the two on the sides (half of a semi-circle). You can also rotate the mounted displays vertically to save desk space or view content efficiently.
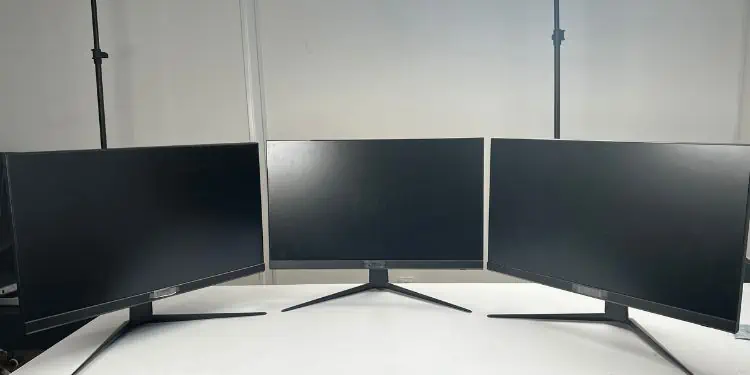
Well, we’ve also prepared a dedicated article that should help you create dual, triple, and multi-monitor setups and learn more about how to position them the right way.
Daisy Chain Monitors
Once you’ve positioned the screens based on your preference and ergonomics, it’s time to start connecting one to the other. With all the necessary cables (DisplayPort or Thunderbolt) you’ve gathered, go through the following steps on how to daisy chain monitors:
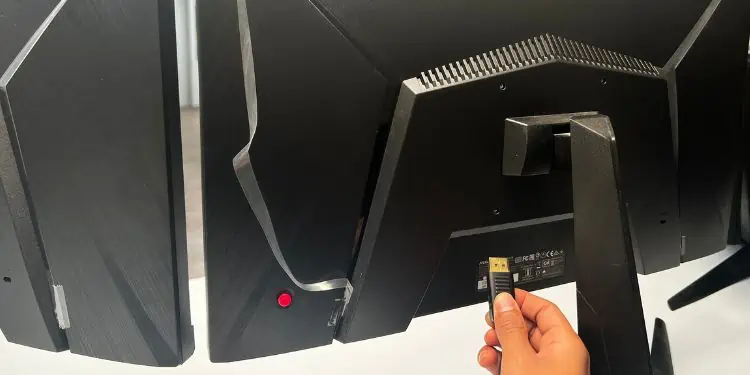
- Firstly, connect a DisplayPort or Thunderbolt cable to the output port of your PC or laptop.
- Plug the other end into your primary display’s input port.

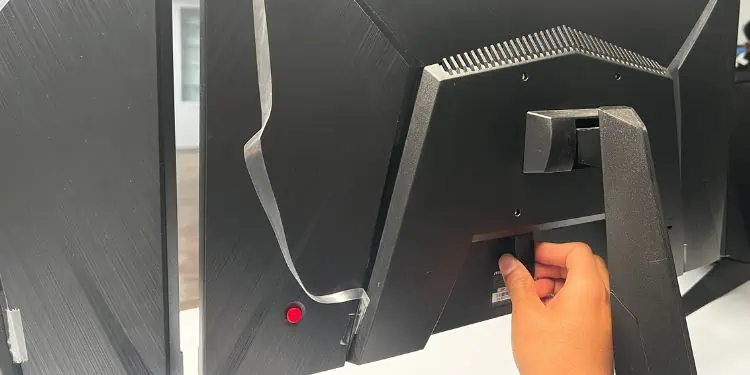
- Next, connect another DisplayPort or Thunderbolt cable to the same monitor’s output port.
- Plug the other end into the secondary display’s DP or Thunderbolt input port. This completes the dual monitor setup.

- Now, follow the same steps to daisy chain triple or more monitors.

