The Clipboard is a buffer that lets you temporarily store data like text or image files. Whenever you copy a text or image file, it gets temporarily stored in the Clipboard, and you can retrieve it later.
However, the Clipboard feature only lets you store one file by default. So, if you copy another item to your clipboard, the previous file gets overwritten. It can massively hamper productivity and can significantly slow down your work.
Nonetheless, you can avoid this by enabling the Clipboard History feature. This lets you store up to 25 files in your clipboard, and you can browse through them to choose whichever file you want to retrieve.
Enable Clipboard History
The Clipboard History feature is disabled by default in all Windows computers. So, if you want to store and browse through the files in your clipboard, you will have to enable Clipboard History.
- Launch Settings by pressing Windows + I shortcut key.
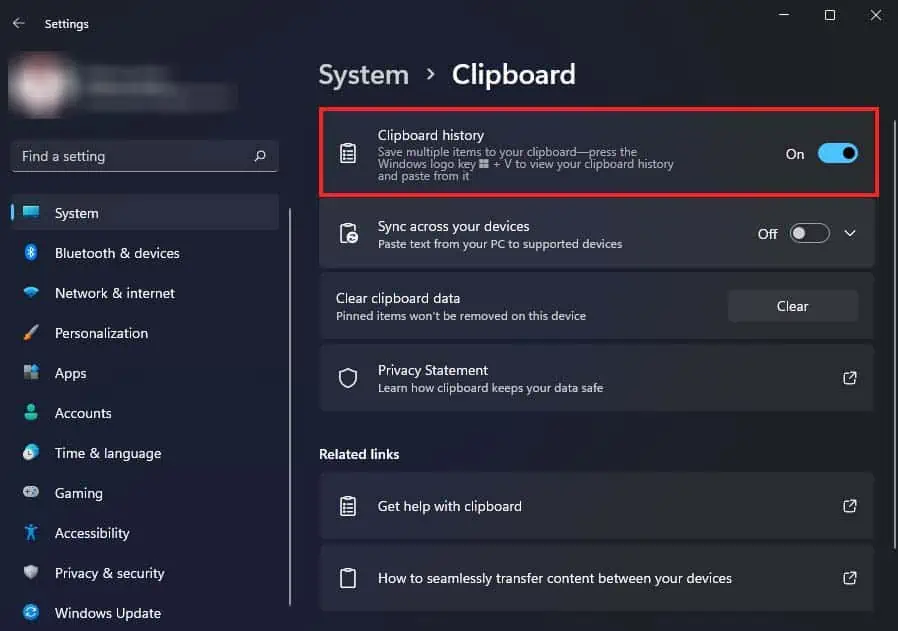
- Navigate to System > Clipboard.

- Toggle on the Clipboard history option.
You can also choose to sync your clipboard history with any other windows computer that is logged in using the same Microsoft account.
- Go to the Clipboard settings like above.
- Besides the Share across devices option, click on Get started. (Make sure you are logged in with a Microsoft account. If you’re not, this option will lead you to Account settings.)

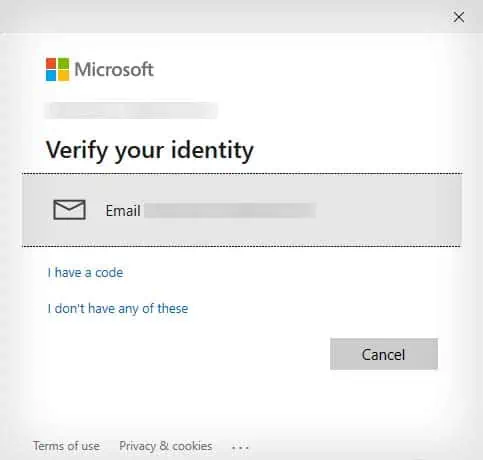
- Click on your Microsoft account under Verify your identity. (You may need to enter your password.)

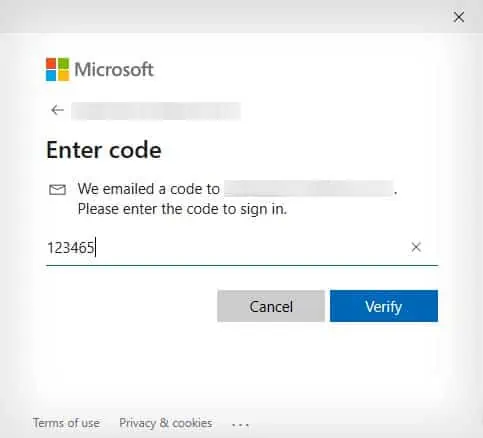
- Enter the code emailed to your account and click on Verify.

- After verifying your Microsoft account, the Sync across your device option should appear. It will be toggled on by default.

- You can also choose to manually or automatically sync your clipboard history under Sync across your device option.
Accessing Clipboard History
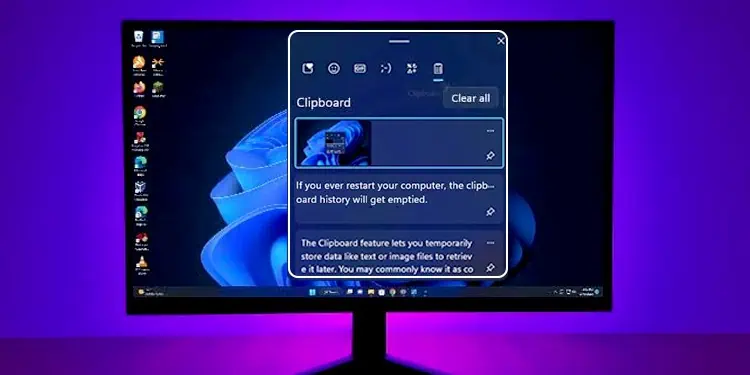
You can easily access your clipboard history by using the Windows + V shortcut key. This will bring up a small pop-up window that shows all the items copied to your clipboard. If you haven’t enabled Clipboard History, this shortcut key will ask you to enable it by showing a Turn on button.
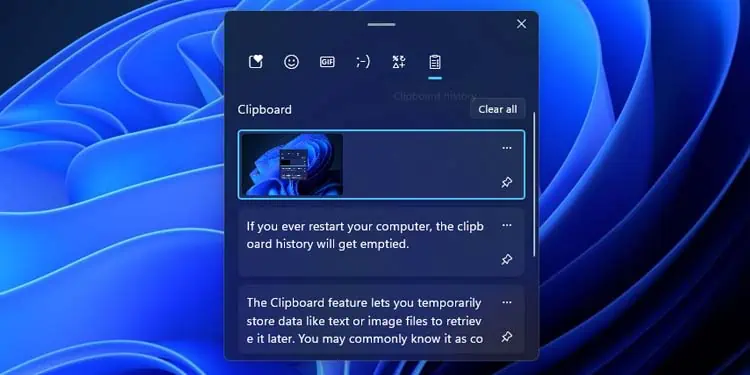
The clipboard can store exactly 25 items, and the latest copied item will be displayed at the top. To retrieve a specific clipboard item, you can simply use the Windows + V shortcut and select the needed item to paste it in any location of your choosing.
If you ever restart your computer, the clipboard history will get emptied.
Managing Clipboard History
There are two more things you can do in Clipboard History. You can either pin frequently used items so they won’t be lost or clear unnecessary items that are taking up clipboard space. Furthermore, you can use the two in conjunction to filter your clipboard.
To clear unnecessary items from your clipboard, you can click on the ellipses icon beside that item and select the trash icon to delete it. If you want to clear your whole clipboard, you can click on the Clear all button to directly empty your clipboard.
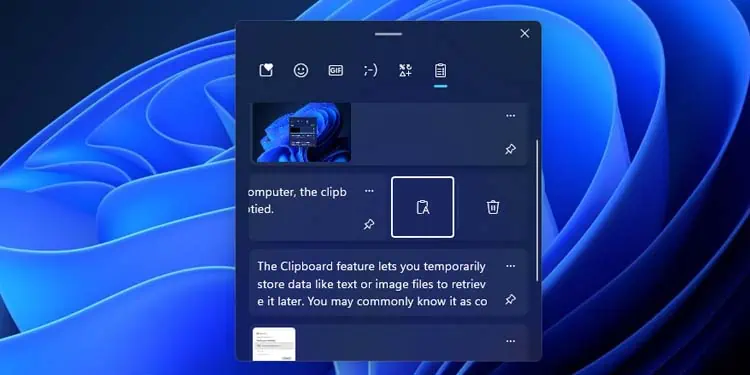
To pin frequently used items, click on the pushpin icon beside the item that you want to pin. This will make sure your pinned file will not get lost even in a computer restart or when clearing your whole clipboard at once.

