The serial number of a laptop identifies the individual laptops from one another. Usually, manufacturers assign incremental serial numbers to the HP laptops. This way, they can keep records of the laptop information and warranty status after selling them.
So, if you ever lose your laptop, it is possible to use the serial number to identify the device if it is discovered. Other than that, you can also use this ID to check whether the laptop’s warranty is still valid.
Using the Sticker on the Laptop or Packaging
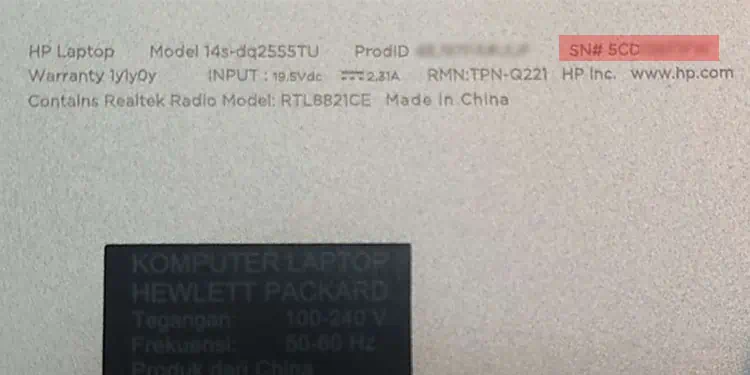
The easiest way to find the serial number on your HP laptop is by looking at the stickers on the back of the laptop or its packaging. You will usually find the serial number under the labels: S/N, SN, Serial, or Serial No near the bar/QR code. Some devices may also contain this information inside the external battery compartment.

From HP System Information
HP also provides an app, the HP System Information, which contains the laptop’s basic system and device information. To check the serial number from this app,
- Open HP System Information on the laptop. You may be able to use the Fn + Esc shortcut to do so.
- If the app doesn’t open, install it from the Microsoft store and then open it.
- Locate the Serial number.

Through HP Support Assistant
You can use HP’s dedicated configuration application, the HP Support Assistant, to find the product details like the serial number. In addition to it, you can also troubleshoot your system as well as check the warranty status through this app.
- Download and install HP Support Assistant on your laptop. Then, open the application.
- Go to the Dashboard or the My devices tab.
- Look for the Serial number under or next to your laptop icon.

Using Command Prompt
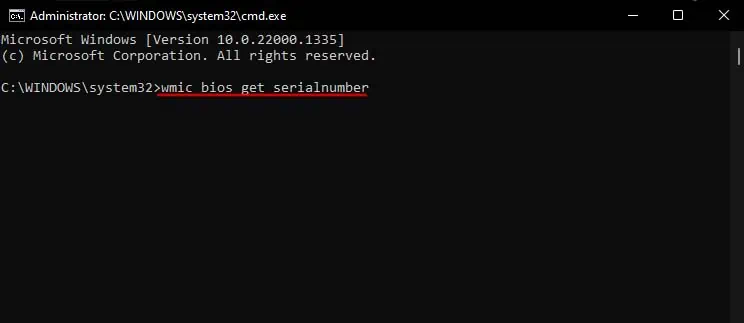
It is also possible to get this information on your laptop using a command-line interface like Command Prompt. You need to use the Windows Management Instrumentation (WMI) service that accesses and manages your device and other hardware information. And to do so, you can use the WMI command-line (WMIC) command from the Command Prompt.
- Open Run by pressing Windows + R.
- Type
cmdand press Enter to open the Command Prompt. - Type
wmic bios get serialnumberand press Enter to check the serial number.
Using PowerShell
While you can use the wmic command on PowerShell as well, it also provides its cmdlet to get the serial number, which is the Get-CimInstance cmdlet.
- Open Run.
- Type
powershelland press Enter to open Windows PowerShell. If you want to run PowerShell core, use the commandpwsh. - Type
Get-CimInstance -ClassName Win32_BIOS | Format-List SerialNumberand press Enter to obtain the serial number.
Through BIOS Setup
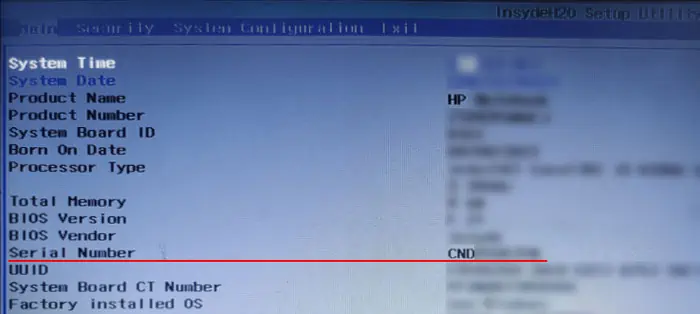
You can also find your device details—including the serial number on the laptop’s BIOS setup utility.
- Restart your PC. Then, as soon as you see the manufacturer’s logo, press the BIOS key repeatedly to access the BIOS setup. If you don’t know which key to press, we recommend searching for this info on the manufacturer’s website.
- Look for the Serial Number on the Main tab or Advanced Options.


