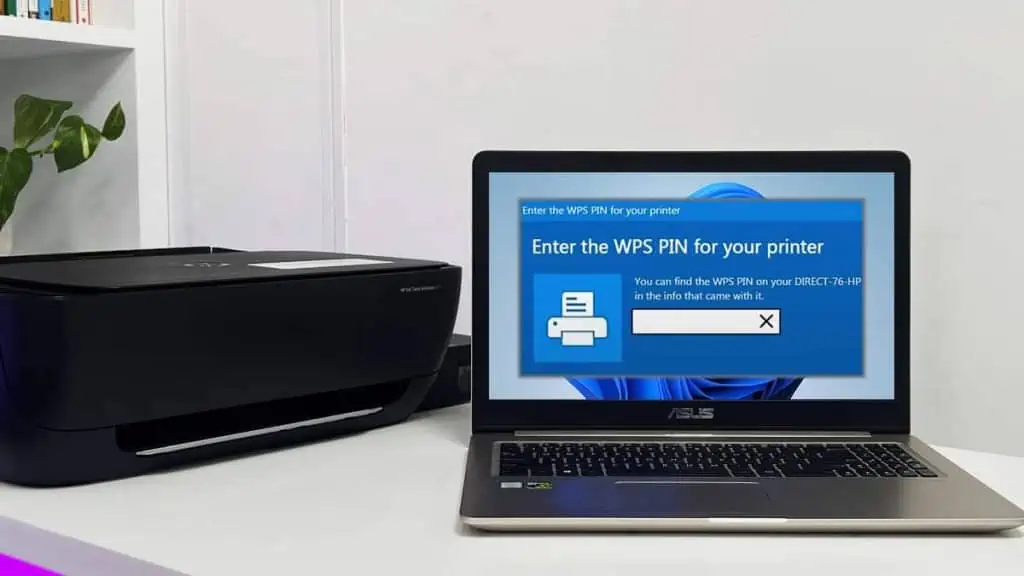
There are two major ways to find the WPS PIN for your printer.
- For printers with a display panel: Use the touchscreen to go to the Wi-Fi Protected Setup menu. Then, choose PIN Setup. It will display the PIN.
- For printers without a display panel: Print the network configuration page. You’ll get the PIN.
You can also bypass the “Enter WPS PIN” screen on your computer and continue to install the printer.
I’ll discuss it at the end of the article. For now, let’s start with those two methods in detail.
Find WPS PIN Through Printer Screen
You may not have noticed it, but the WPS PIN is briefly shown on your printer screen when the computer prompts you to enter it.
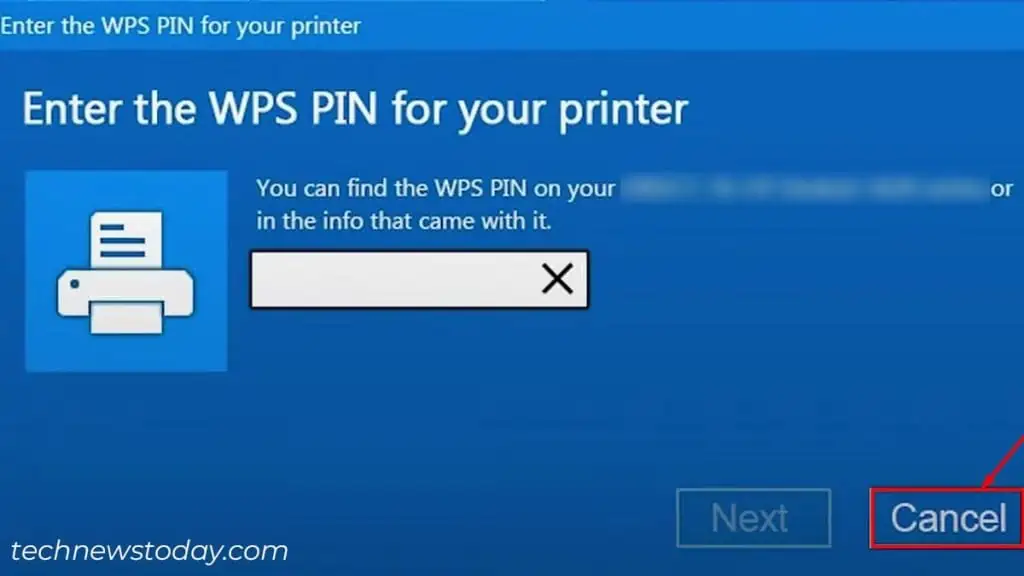
If you missed it, click Cancel and try adding the printer again. This time, be quick and note the PIN. Then, enter it into your computer.
Alternatively, open the Network/Wireless settings on your printer. Then select the WPS (Wi-Fi Protected Setup) option to see the PIN.
For instance, below is the WPS PIN as seen in my Epson XP-7100 printer.
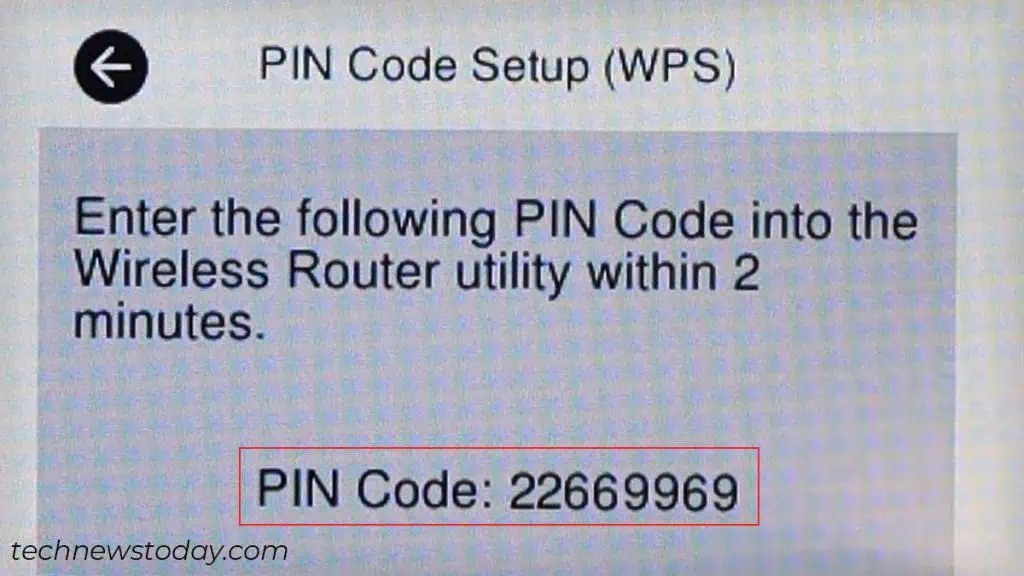
It’s 22669969, and I have to enter it into my computer within 2 minutes. Similarly, find yours and enter it within the specified time.
Check for WPS PIN on the Network Configuration Page
To find the WPS PIN with this method, you should first know how to print the network configuration page.
For that, go to the official website of your printer manufacturer. Then, download the user guide for your corresponding printer model.
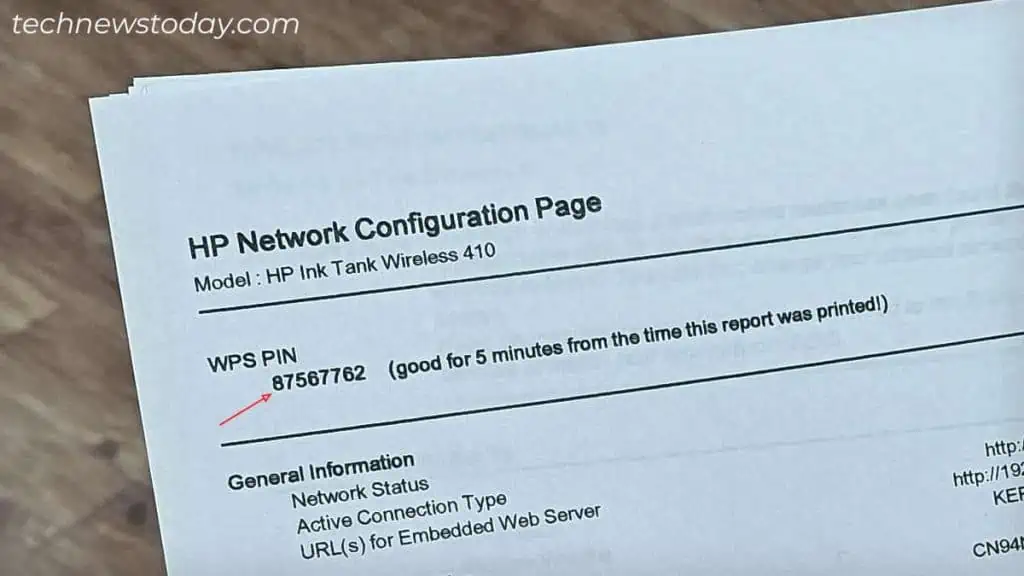
For instance, I am currently using the HP Ink Tank Wireless 410 printer. As such, I have to go to the HP official support page and download the user manual for this particular model.
This is the information I found about printing the network configuration page.
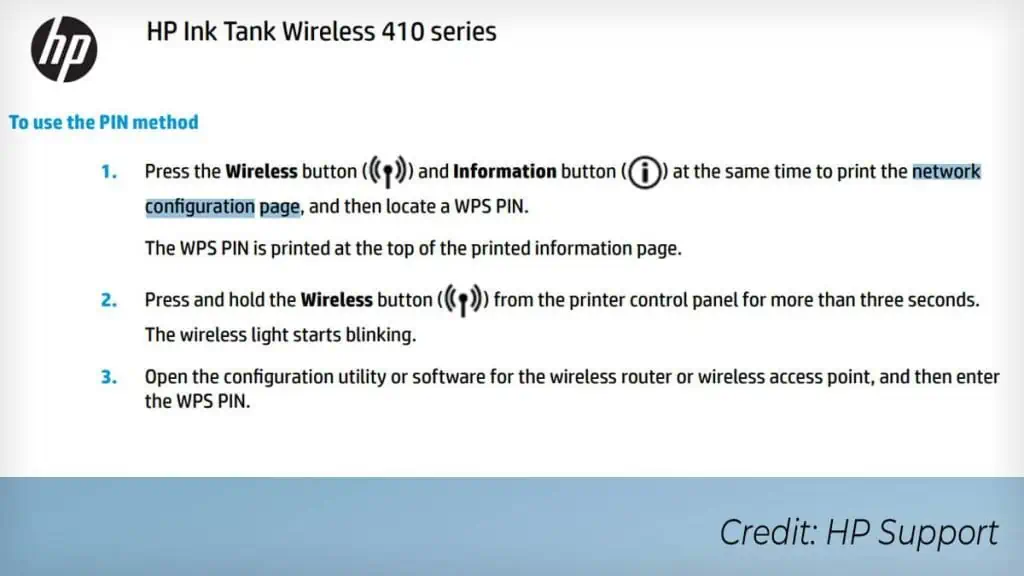
I followed the steps, and as you can see, here’s the WPS PIN in the printout.
Bypass the WPS PIN Screen on Your Computer
If either of the methods mentioned above does not work for you, you can even bypass the WPS screen.
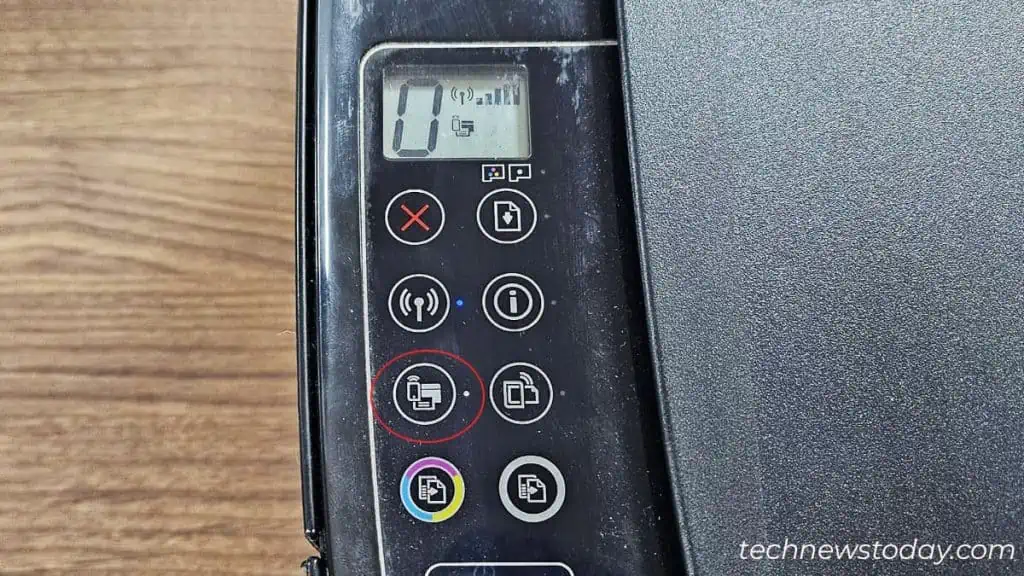
Windows computers generally ask for the WPS PIN whenever you try to add the wireless printer with Wi-Fi Direct turned on. So, to bypass this, start by turning off the Wi-Fi Direct on your printer.
Most of the printers have a dedicated button to do it. Here’s what it looks like on my HP Ink Tank Wireless 410 printer.
Again, you can learn about the buttons from the user manual.
Once you turn off the Wi-Fi Direct, connect your printer to a Wi-Fi network. And then add the printer to your computer the same way you were adding it earlier. You may either do it from the Windows Settings or the Control Panel.
We have dedicated guides to help you connect HP, Brother, Canon, and Epson printers to Wi-Fi.
Other than that, you can also connect the printer to your computer using a USB cable. Then install the official printer driver to set it up. This WPS stuff will no longer bother you.

