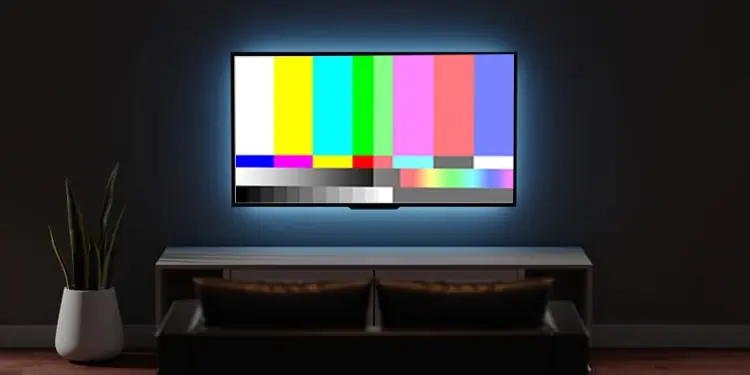
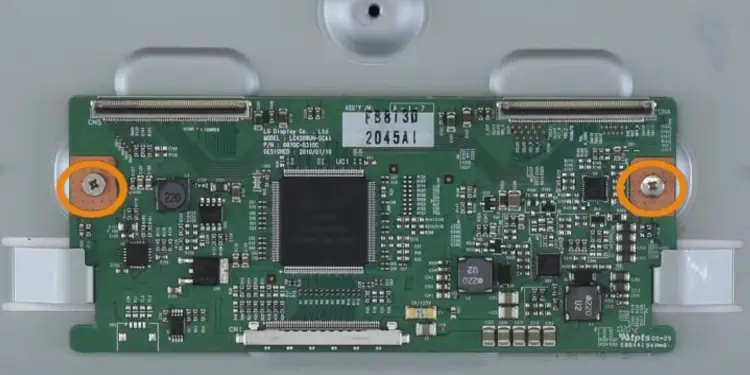
If your TV recently started showing distorted color patterns, it might be because of a display component failure. The colors can distort in full screen, or only a part of the display panel runs into a problem.
While there are many reasons behind the issue, it often arises when a TV has a fried-up LVDS cable or a bad T-Con board. Meanwhile, improper color saturation levels and outdated TV firmware can also lead to color distortion.
How to Fix Color Distortion on TV?
Fixing color distortion on your TV is not a head-scratching problem unless there is a hardware failure. The problem can sometimes be easily fixed by performing a picture test and adjusting the saturation.
Below are some fixes you can apply before concluding your TV has a hardware failure.
Remove the Magnetic Effect
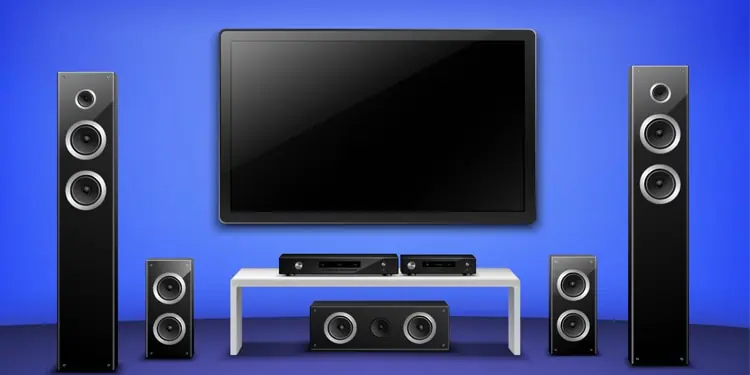
This fix is for you if you own a CRT TV. You first need to check if you have any magnetic devices around your TV. Most people place the speakers or sound system near the TV. The magnets embedded in the speakers can distort the images on TV with their magnetic field. So make sure the speakers are placed at a distance from the TV.
Check Connections and Signal Quality
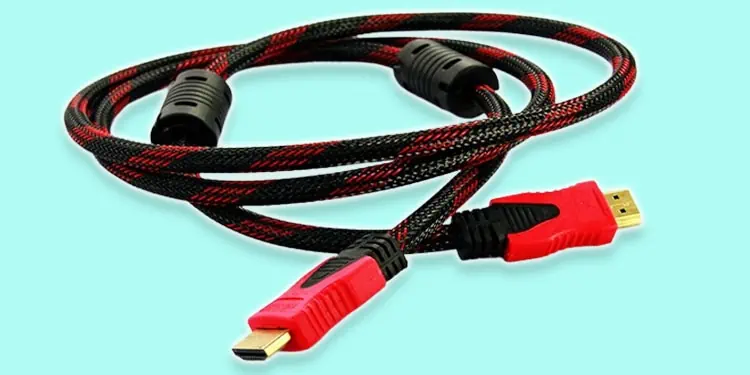
You can next check the cable that connects the source device to your TV, generally an HDMI cable. A faulty HDMI cable can lead to a distorted color in your TV. If possible, get a new HDMI cable and connect through it.
If you are streaming through a cable box, weak TV signals might be the culprit of color distortion. You can check the signal strength on your TV to verify if you are receiving the signals correctly. If not, you can contact the cable operator and ask them to look into the issue.
Follow these steps to check the signal strength if you own a Smart TV from Samsung.
- Open your Samsung TV Settings.
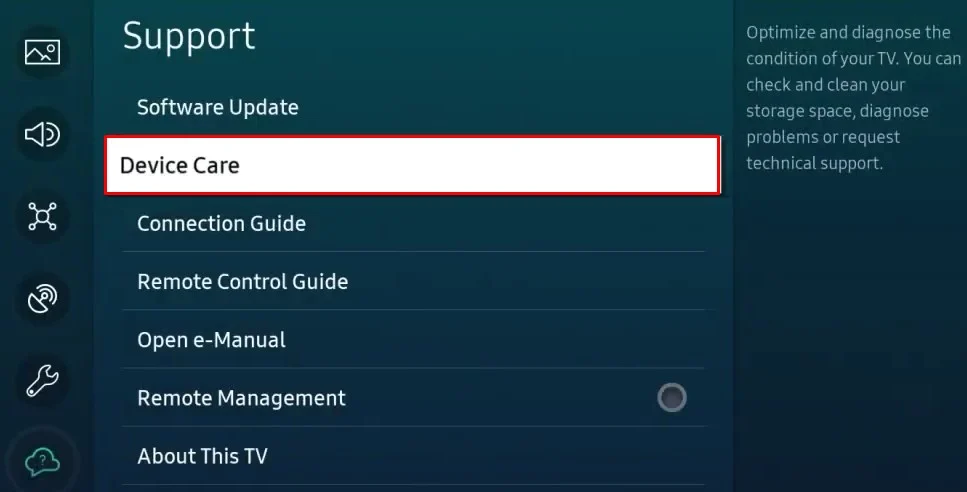
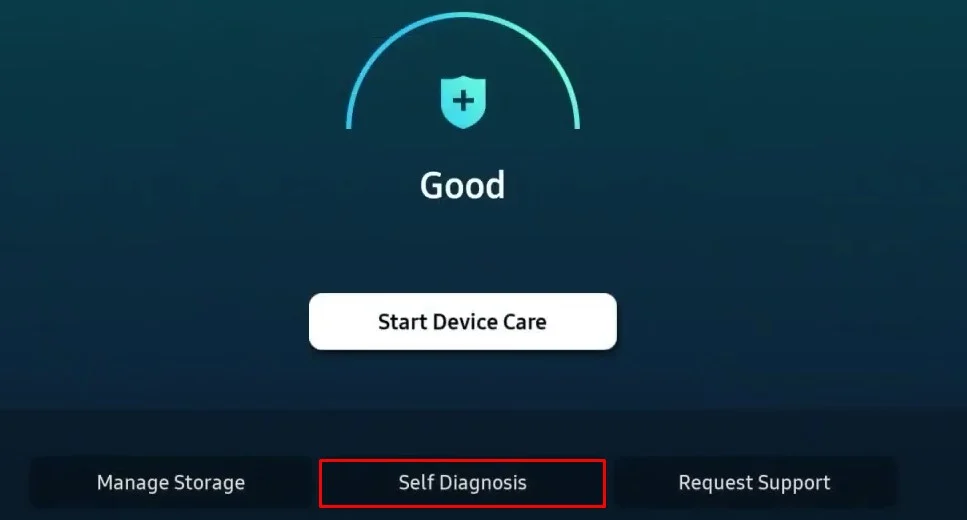
- Select Support tab and tap Device Care on the right.

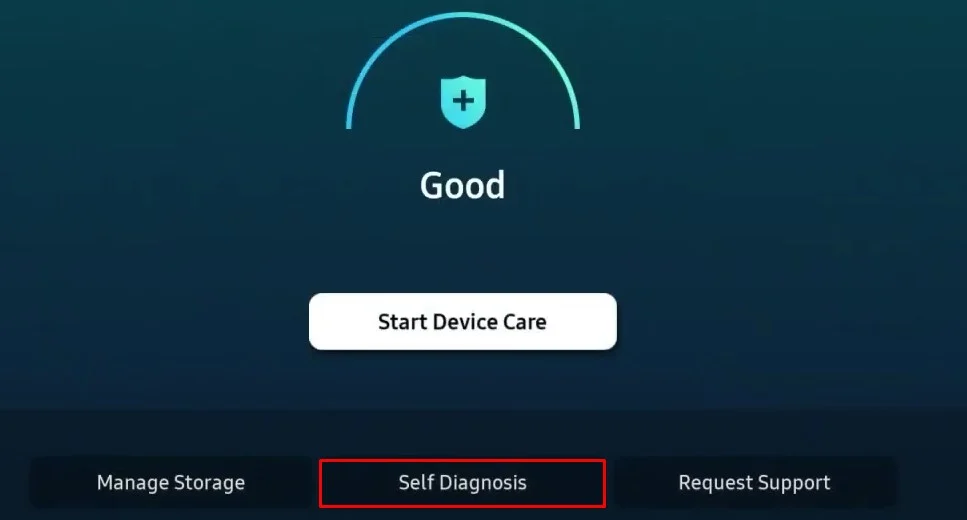
- Choose Self Diagnosis.

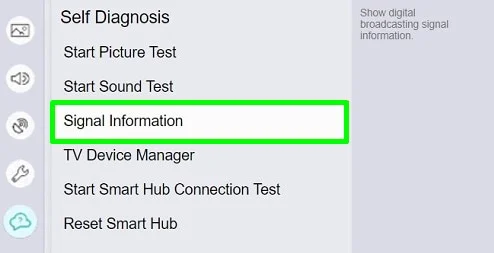
- Under the Self Diagnosis menu, select Signal Information. If the signal quality is too low, please contact your cable operator.

Tip: Please note that streaming a Standard Definition (SD) channel on High Definition (HD) TV can also cause color distortion. Please check if the problem exists with other TV channels as well.
Check the Power Supply
Another reason for color distortion is an inappropriate power supply to the TV. The TV needs a constant voltage supply between 100-240V to operate correctly. If the voltage is too low or too high, it prevents the LCD or LED panel from generating color patterns effectively, resulting in color distortion.
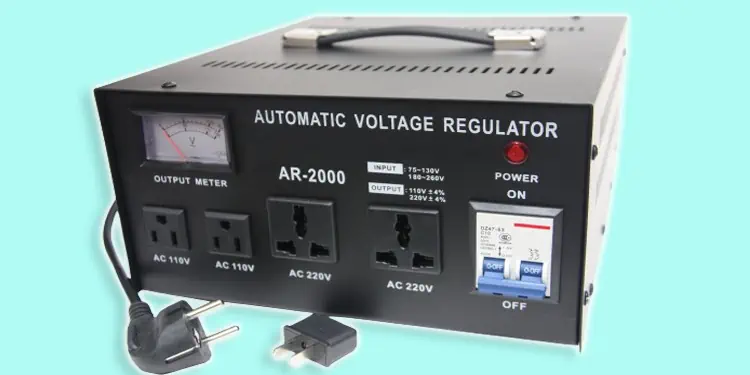
Please check if the TV is getting the correct voltage. You can look after the voltage regulator devices or power distribution panels in your house to check the voltage levels.
Perform Picture Test
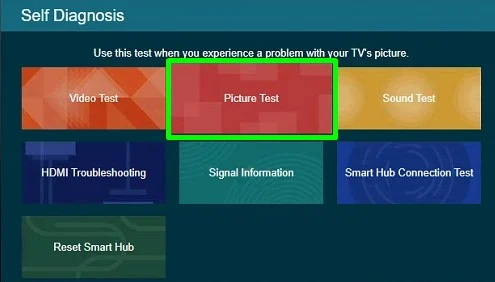
TV manufacturers like Samsung provide a feature to perform a Picture test. The test lets you quickly know if the TV has a problem or if the signals you are receiving are weak.
- Go to the lower left corner of your TV’s home screen and select Settings.

- Move down to Support and select Self Diagnosis from the Support window.

- Tap Start Picture Test.

Fix the Color Saturation
The color settings on your TV must be configured appropriately. Brightness, contrast, and sharpness should not create a problem, but if the color configuration, like backlight, tint, and temperature tone, is set incorrectly, it can lead to color distortion. Please bear in mind that these color configurations are subject to availability depending upon your TV manufacturers.
You can enter the picture settings on your TV and set the color to the levels where the distortion is neutralized. Here, we are referencing Samsung TV to elucidate the steps to change color preferences.
- Open Settings.
- Select Picture menu.
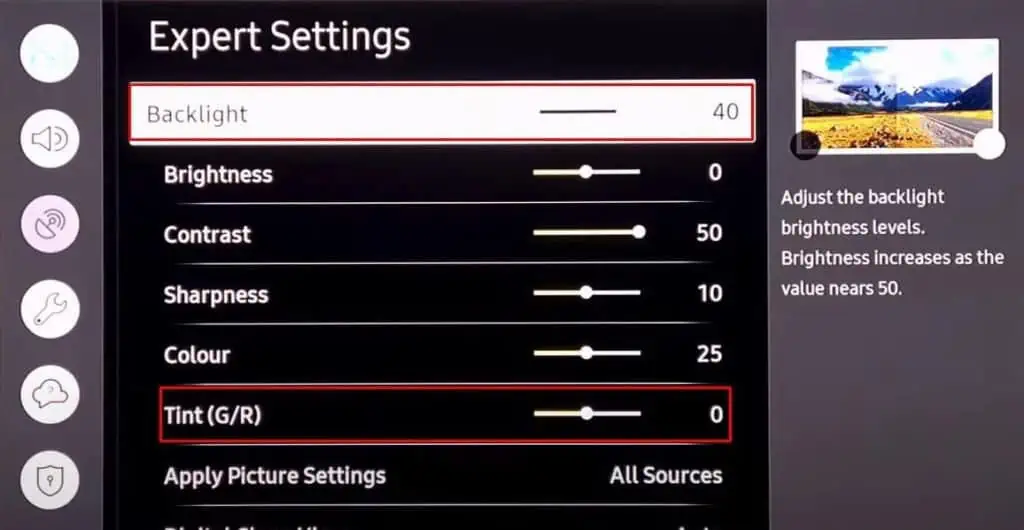
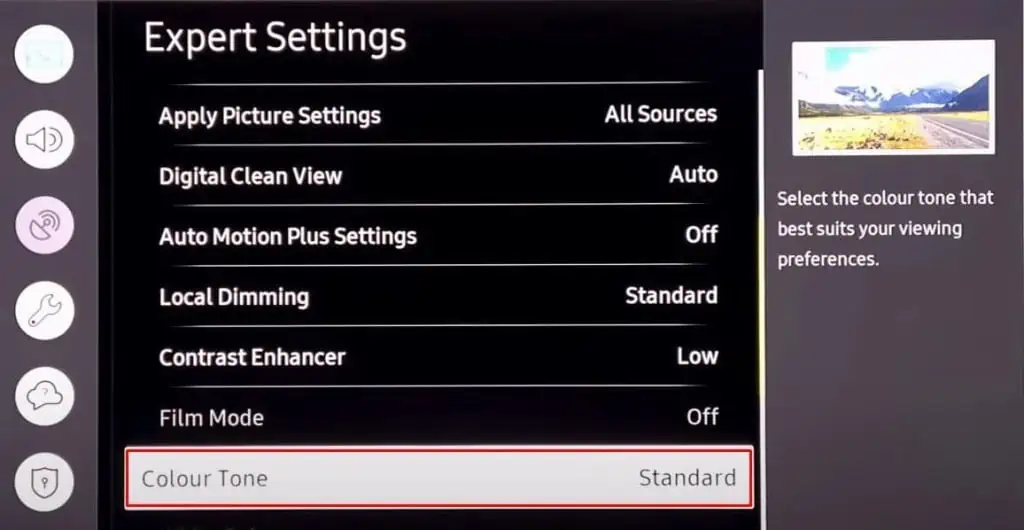
- Move to the right and tap Expert Settings. You will see different color configurations there.

- To fix color distortion, you should first change the intensity levels of Backlight and Tint. We recommend you keep the Tint at zero (0) and set the backlight according to your color preference.

- Set Digital Clean View to Auto.

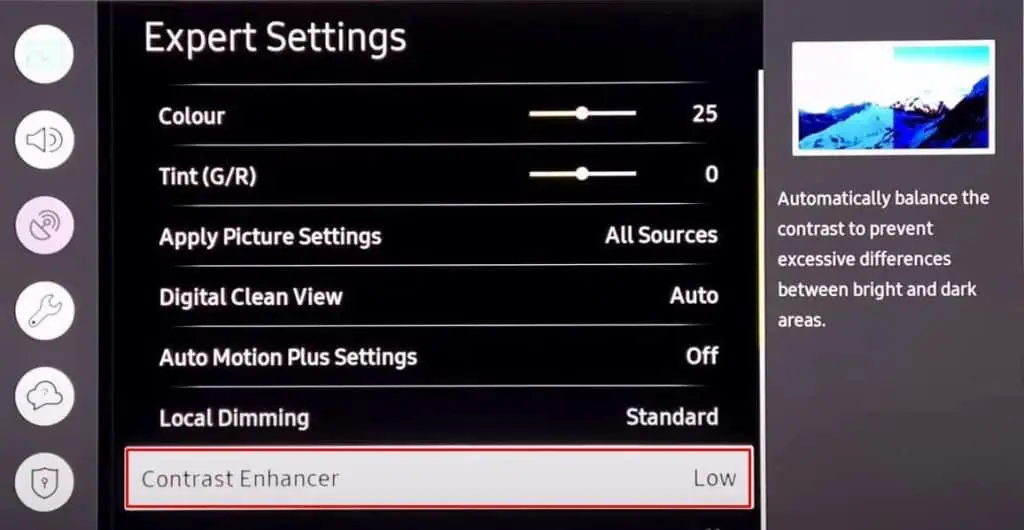
- Set Contrast Enhancer to Low or Off, as turning this feature on can lead to high color saturation.

- Next, change the Color Tone to Standard.

- Set all other color settings to Auto.
Note: If you find problems choosing the correct color preferences or end up messing with the color settings, you can also reset them. It will revert every color setting to factory defaults, and you should no longer face a problem. To reset the color preferences, tap the Reset Picture option under Expert Settings.
Turn off Eco Sensor
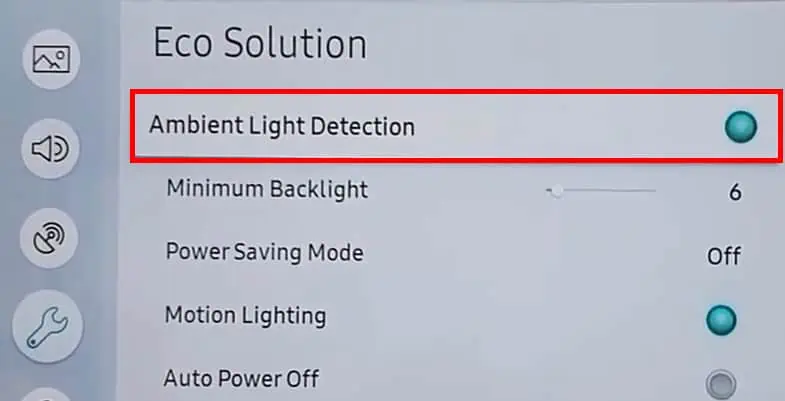
Eco sensor is an intelligent feature available in TVs that helps them adapt to the suitable picture and color quality in accordance with the color ambiance of your room. The sensor might sometimes operate incorrectly and show distorted colors. So, if your TV has this feature available, it would be helpful if you disable it.
Let’s see how to turn off this feature on Samsung Smart TVs.
- Open up TV Settings.
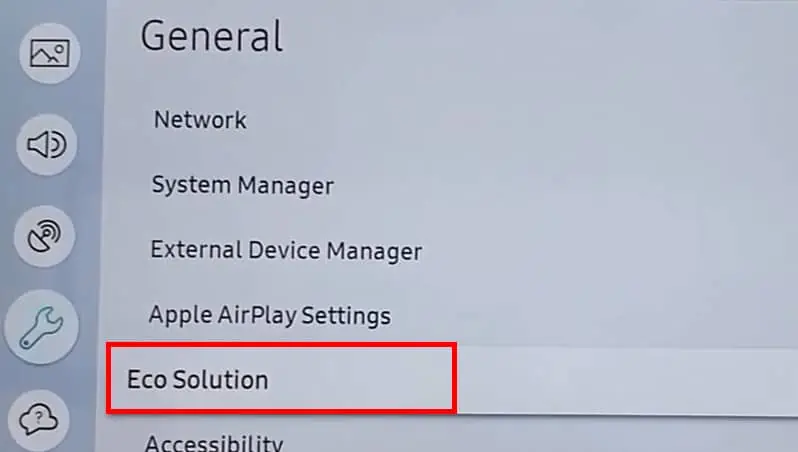
- Get down to General tab.
- Select Eco Solution on the right.

- Turn off Ambient Light detection.

Update Your TV Firmware
Color distortion can also arise if your TV has outdated firmware. The display drivers may be corrupted or outdated, resulting in distortion. Updating the firmware helps update the display drivers as well thus fixing the issue. You can update the TV firmware with a few taps on the remote. Please consult this article on how to update your TV firmware.
Troubleshooting Hardware Issues
The fixes we discussed in the above section should sort out your problem. However, if there is a significant hardware failure on the TV, you must dig further into the issue.
Fixing General Display Problems
As we already mentioned in the introduction section, most of the time, a bad T-Con board or LVDS cable is the culprit behind color distortion. However, there are a few general hardware problems that you need to look into beforehand.
The HDMI port you use to connect the source cable can go bad, and you may encounter color distortion. If the HDMI port on your TV is loose or broken, please consult this detailed guide on how to fix the HDMI port on your TV.
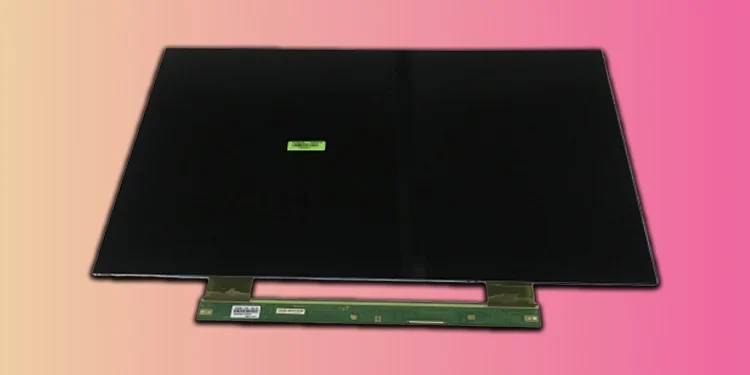
Moreover, the entire display panel can also get damaged. If you started facing color distortion after an accident with your TV, it probably needs a replacement. Please refer to this comprehensive guide on how to fix a broken TV screen.
Replacing an LVDS Cable
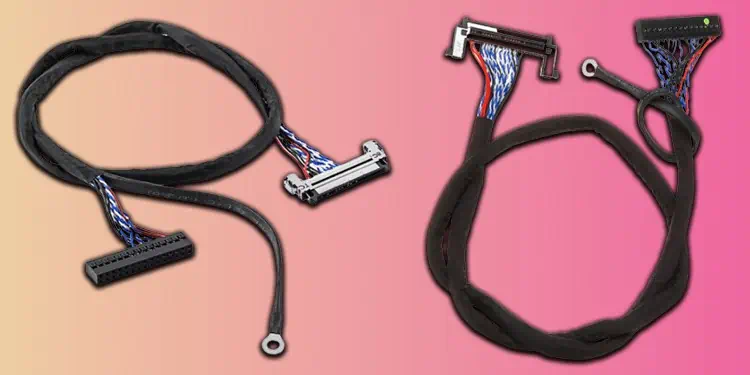
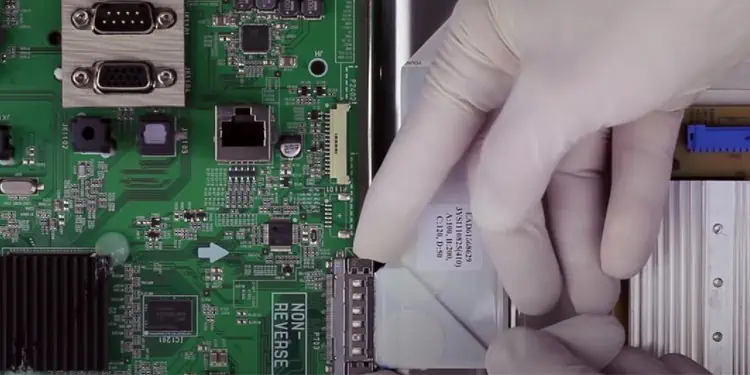
LVDS cables are one of the most fragile display components on your TV that helps pass the display signal from main board to T-Con board. When this cable is damaged, normally, you see a red solarization effect on your TV. This cable can get loose or fried up due to voltage fluctuations that need replacement. You can also inspect if the connection is loose and tighten it.
- Get a suitable LVDS cable from the market that matches your TV specifications.
- Lay down your TV on a uniform surface and remove the back panel. You can use a screwdriver to unfasten the screws.
- Once you dismantle the TV, you need to locate the LVDS cable. Please note that LVDS cable is not visible until you remove the panel that covers the T-Con board. So, remove the T-Con board cover panel with the help of screws.
- You will see a cable that is entering the T-Con board from the main board of your TV. Please see if it is loose. If it is, unplug and replug the cable. Or you can also use strong tape to fix the LVDS cable in the position.
- But if you see it is broken, you need a replacement. For this, gently pull the LVDS cable out of the connection port on the T-Con board.
- Also, remove the cable from the main board.
- Connect the replacement LVDS cable on the respective ends of main board and T-Con board.
- Cover up the T-Con board with its cover.
- Put back the rear panel of your TV and turn it on. If LVDS cable was causing the issue, it should be fixed now.
Replacing a T-Con Board
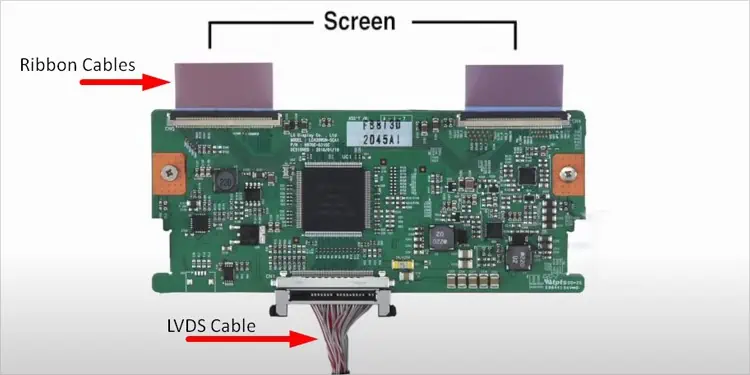
Another display component that can get damaged is the T-Con board. The main function of the T-Con board is to transmit display signals from main board to display panel with the help of ribbon cables.
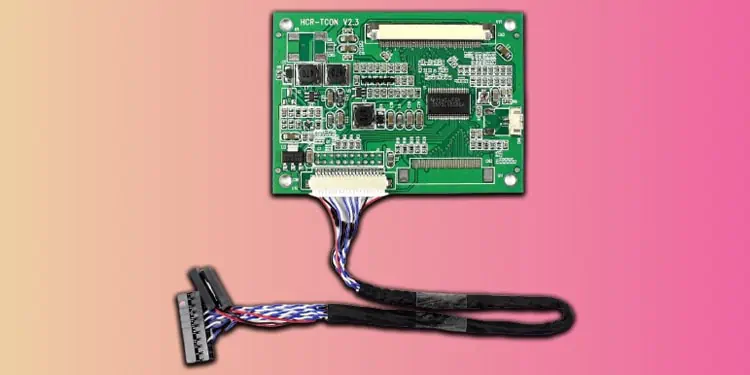
It is the main component subjected to damage due to power surges. When it fails, the irregular timing signal pattern generated causes color distortion. Mainly, the display issues like horizontal lines on screen, double display, white display, and ghosting images are seen when T-Con board has failed.
Moreover, you may also see one side of the screen quite darker than the other side. The issue will be solved completely once you replace the faulty T-Con board.
- Purchase a new T-Con board from an authorized TV store. Make sure you get your TV’s model number and specifications before purchasing the board.
- Once you get the T-Con board, dismantle the TV. Remove the rear panel of your TV as well as the panel that covers the T-Con board.
- Unplug the LVDS cable and ribbon cables from the T-Con board.

- Unscrew the board from the chassis and remove it.

- Install and fit the new T-con board and plug back the ribbon cable and LVDS cable.

- Put back the T-Con board panel and tighten it.
- Screw the rear panel back to your TV.
Now that you have come to the end of the article, you should have learned software as well as hardware fixes to eliminate color distortion on your TV. However, if you are still unable to sort out the problem, there is probably a problem with the main board or some other issues. Please get in touch with a professional and get it repaired.

