Generally, GUI components like File Explorer or Disk Management are easy-to-use and sufficient to format a hard drive in Windows. However, for certain scenarios, such as when you need to convert a drive’s partitioning scheme, mark a partition as active, or simply format the boot drive, command line tools become necessary.
Even in a general context, the formatting process can be confusing if you’re unfamiliar with things like partitions, partitioning flavor, and filesystems. As such, we’ve included all such necessary details and listed the full steps to format a hard drive using CMD.
Formatting Options
Let’s talk about the options you’ll need to specify when formatting a hard drive, starting with MBR and GPT. A hard drive is partitioned into blocks or sectors, and the layout of such partitions on the HDD depends on the partitioning scheme used.
We have an in-depth article on the differences between MBR and GPT, but the key takeaway for practical reasons is that GPT is recommended in most cases as it addresses and improves on many of MBR’s limitations. In certain cases, such as when you need to install Windows 11 on the drive, GPT is actually a necessity as it’s a core requirement for Windows 11.
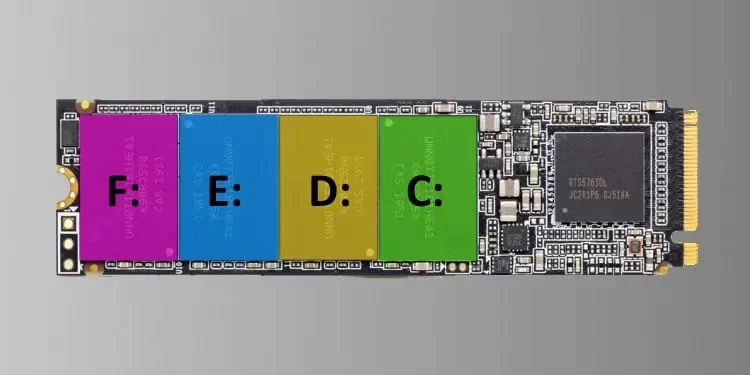
Similarly, a file system is how the OS manages and names groups of data. In the case of Windows, FAT32, NTFS, and exFAT are the relevant file systems. FAT32 drives have excellent compatibility and will work on other systems like Mac and Linux as well. But it’s limited by the fact that it can only support a max of 4 GB files and 32 GB partitions.
NTFS is the default file system in Windows. As it’s designed for Windows, it offers the best performance and the most features. But by the same token, NTFS drives have terrible compatibility with other platforms. exFAT, to put it simply, is the best of both worlds, with a mix of compatibility and performance.
How to Format Hard Drive From CMD?
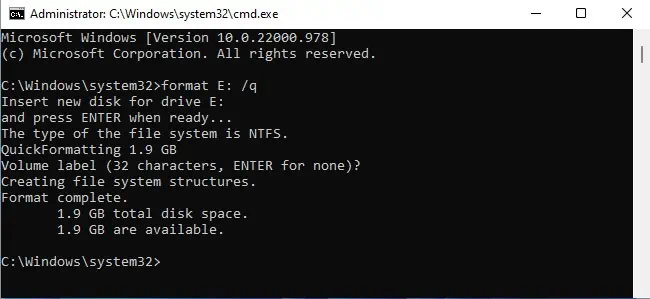
If the hard drive has a single partition, you can simply use the format command (e.g., format E:) to format the drive entirely. You can use additional parameters to modify its functionality, as shown below:
- The format command by itself performs a thorough sector-by-sector scan during the format, while using the /Q option performs a quick format (e.g.,
format E: /q).
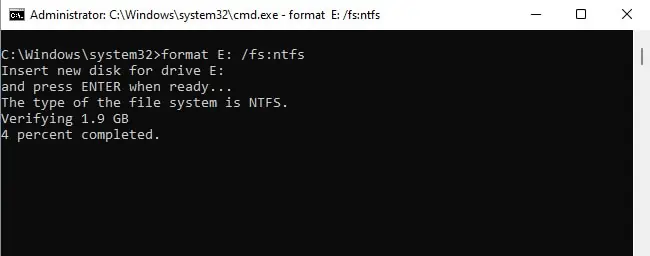
- To format the disk with a specific filesystem, you can use the /FS option (e.g.,
format E: /fs:ntfs), replacing NTFS with exFAT or FAT32 as you prefer.
- The /P option lets you zero-fill every sector on the disk. After that’s done, you can also set the count for how many times random numbers are used to overwrite the sectors (e.g.,
format E: /P:2). This is important if you’re trying to completely wipe the drive so that the data can’t be recovered later.
- These are the important parameters, but there are various others that can be useful sometimes (like /V to specify the volume label). For the full list of such options, we recommend referring to Microsoft’s documentation.
When you need to perform tasks like formatting specific partitions only or cleaning all filesystems and partitions, you can use diskpart with the steps listed below:
- Press Win + R, type
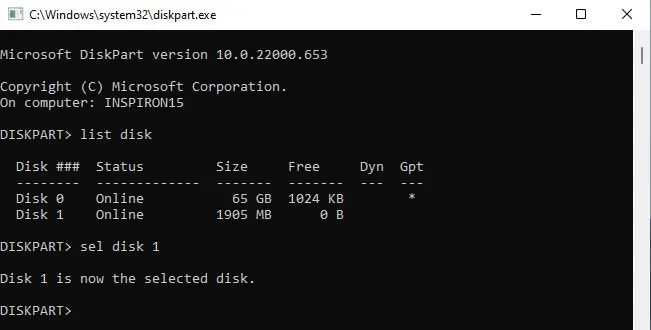
diskpart, and press Enter. - Enter
list diskand note the disk # you’re trying to format.
- Use
select disk #to select the disk.
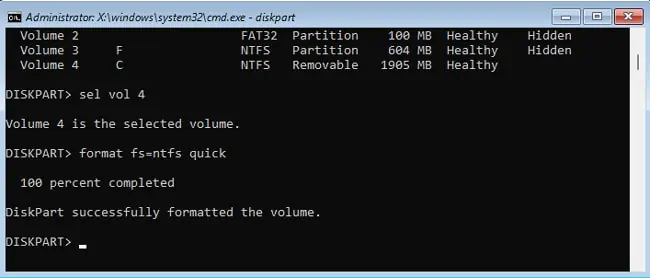
After selecting the disk, you can do a couple of things. First, to format certain partitions only, you can follow the steps listed below:
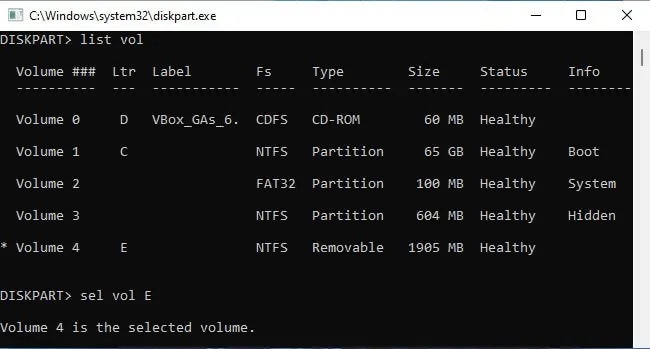
- Enter
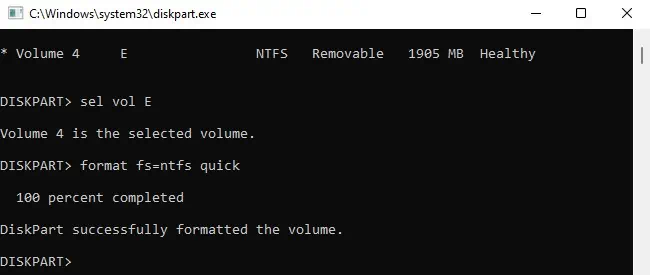
list vol, identify the volume you want to format and note its volume # or letter.
- Select the volume with
sel vol #. - Type
format fs=ntfs quickand press Enter.
Second, to completely format the drive and remove all the partitioning information, you can select the disk as shown above and use the clean command as such:
- Assuming the disk is selected, enter
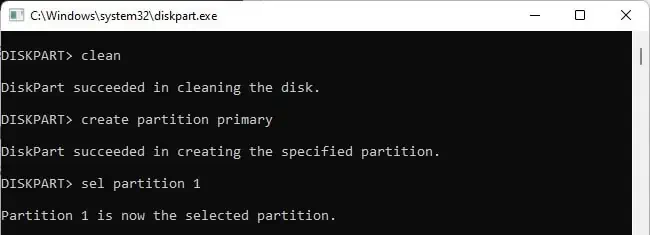
cleanto clear all formatting information first. - (Optional) At this stage, you can convert the disk to MBR (
convert MBR) or GPT (convert GPT) if you want.
- As there are currently no partitions on the drive, you can use the
create partition primarycommand to create a primary partition. - Now, you can format the partition with your preferred file system (e.g.,
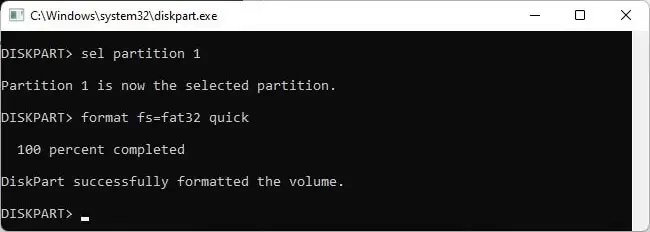
format fs=fat32 quick).
- Then, you can assign it a drive letter if it doesn’t already have one (e.g., E, with
assign letter=E). With this, the drive should be formatted and accessible.
How to Format Boot Drive?
If you attempt to format the boot drive from a live Windows environment, you’ll encounter the Volume is in use by another process error. Instead, you must boot to the Windows Recovery Environment (WinRE) first.
Here’s how you can do this:
- Hold Shift and restart your PC to boot into WinRE. Alternatively, you can force-restart the PC 3 times in a row to do the same.
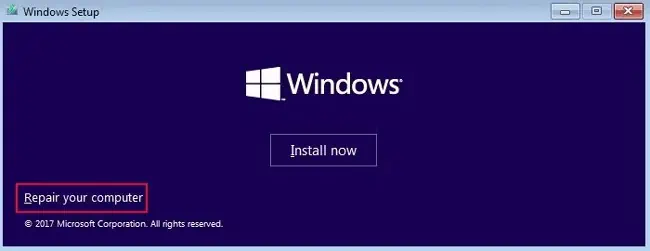
- If these methods don’t work, you can also insert an installation media and boot to it. Then, you can use the Repair your computer option to boot into the recovery environment.

- In WinRE, select Troubleshoot > Advanced Options > Command Prompt.
- In CMD, execute the following commands:
DiskpartList vol
- Note the drive letter of the boot volume. Double-check at this stage, as the volume letters may be different from that in the live Windows environment.
- Now, select the boot drive and the format it as shown in the example below:
Sel vol #Format fs=ntfs quick
- Enter
exittwice to exit diskpart and command prompt.

