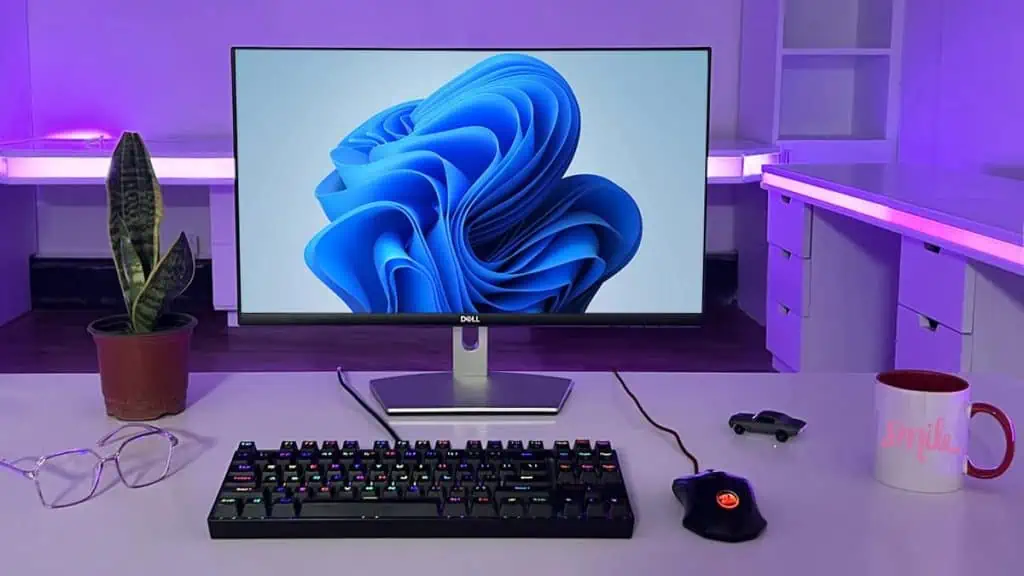
Hiding keyboard and mouse cables proves challenging for many PC enthusiasts, even after they’ve tidied up other cords.
While some suggest wireless alternatives, I understand they aren’t the solution for everyone.
Rest assured, I’ve compiled the six best methods to manage these cables, ensuring your setup remains aesthetically pleasing.
Tie Both the Cables and Run Them Straight
This method doesn’t actually hide the cables. But yes, you will only have one cable running over your table instead of two. Seems organized, right?
To do it, grab both cables and use zip ties or Velcro to fasten them. Once roped together, pass the single cable to the back of your desk or the grommet hole on the tabletop.
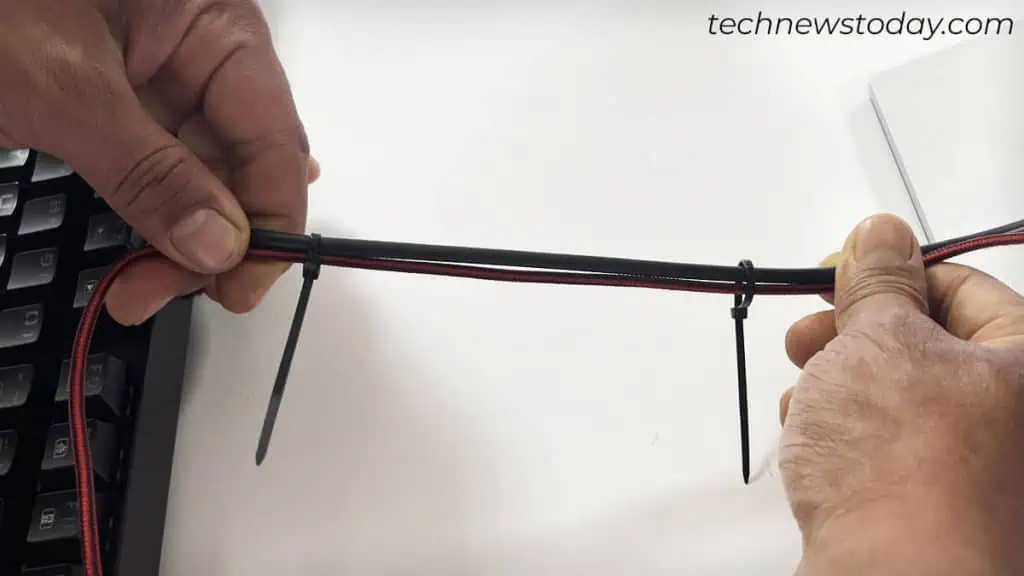
Pass the cord straight to make it look better. You may also sleeve it for better aesthetics.
If you don’t prefer this setup, I have one more option—pass each cable through the base of the monitor stand.
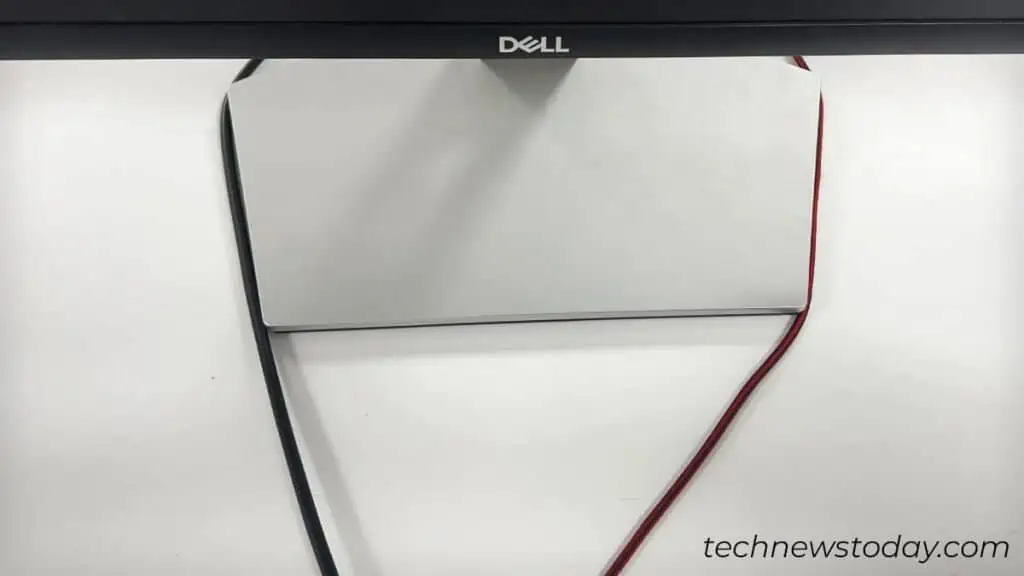
As you can see, I have passed my keyboard cable through the left side of the monitor stand and the mouse cable from the right.
Hide Cables Under the Table-top Cloth
I often prefer laying a cloth on my tabletop to prevent dust buildup. If you have a similar preference, the same cloth can help you hide the keyboard and mouse cable.
First, measure your desk size and get a suitable size table-top cloth. Then, make small holes in the cloth to let the cables pass.
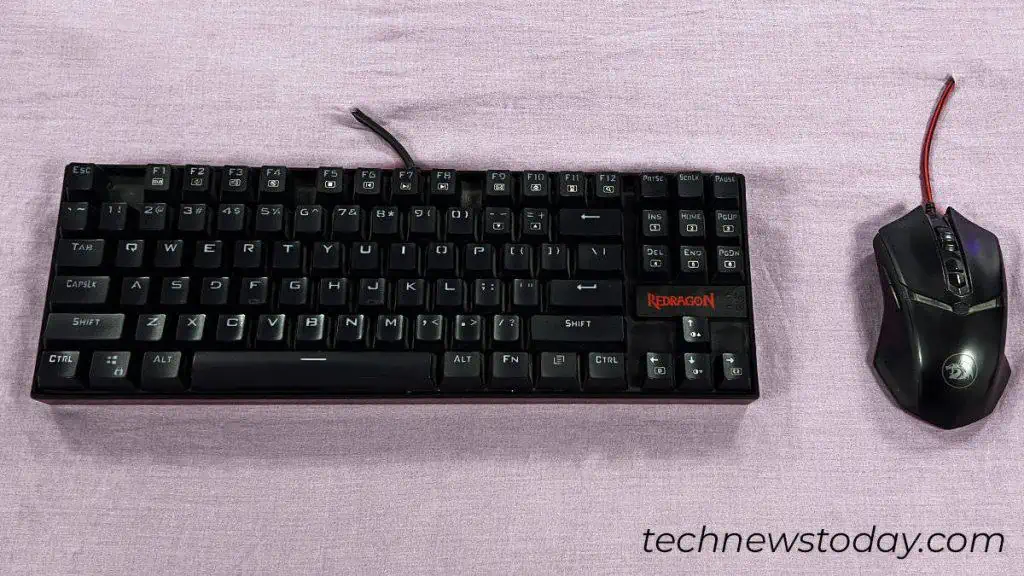
I recommend making holes for the keyboard and mouse individually. Do it such that the holes are not too far from the devices.
But what about the cable bulge under the cloth?
This is where upholstering comes into action. If you are new to this term, it simply means stitching a layer of padded covering or foam underneath the cloth.
It will provide enough space to run cables under the cloth without leaving a bulge. Contact your nearest upholstery warehouse or furniture shop to do the needful.
Install a Detachable Keyboard Tray
Trays are a great way of hiding the cables away, leaving ample space on the desk. I remember how easy it was to organize keyboard and mouse cables in my old computer table with a keyboard drawer.
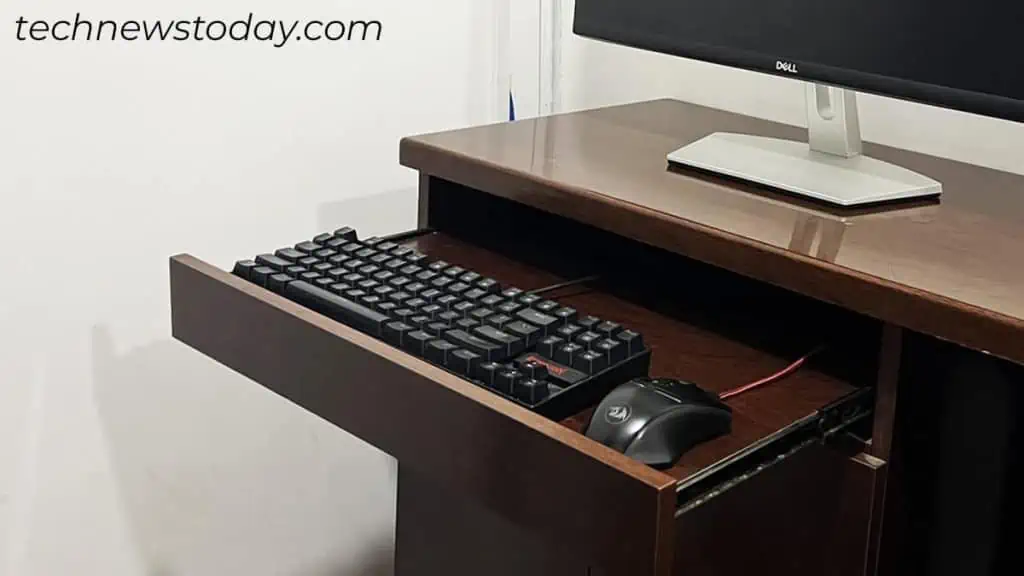
Such kinds of tables are not so popular these days. But yes, you can get a detachable keyboard drawer and clamp it to your modern desk.
On top of the comfort of eliminating cables, it adds ergonomics too. You can adjust the height according to your liking and how you position yourself, greatly improving the usability.
Hide Cables With Extended Gaming Mouse Pad
This might not actually look aesthetically pleasing but yes, it is equally helpful for hiding your cables.
Get an extended gaming mouse pad and use it to cover your whole table. Then, let the cables pass on top of it. If you don’t think you need a mouse pad, here’re some alternatives for mouse pad.
It would further be better if you match the pad color with the cable color. Should your cables have black color, consider getting a black mouse pad. It will make the cables less noticeable.
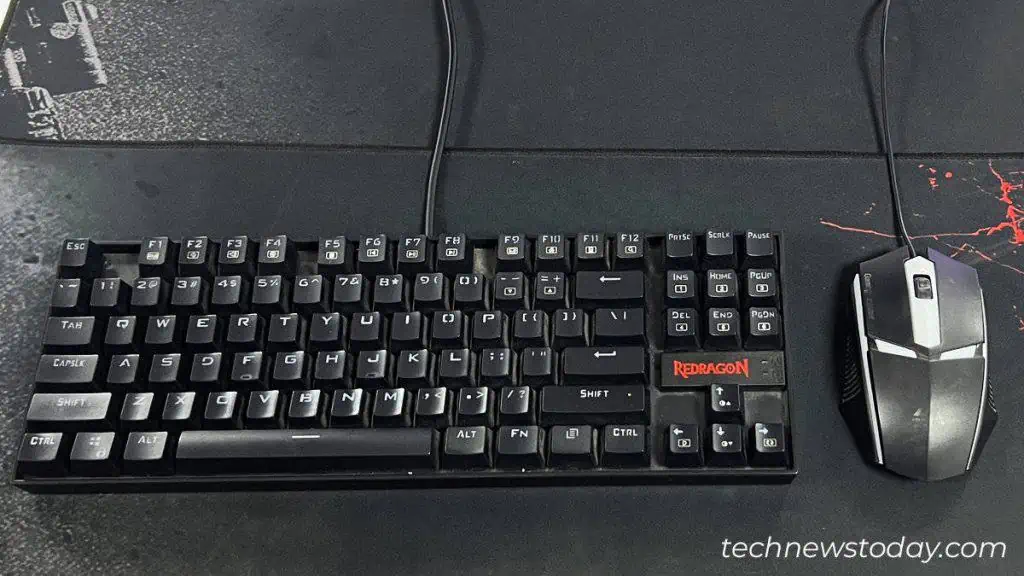
You may also consider painting your desk with a suitable color.
Add Some Action Figures to Make Cables Unnoticeable
Adding action figures will not only make the cables less noticeable but also adds some personalization to your workspace.
Place the figures such that you will first see your favorite comic or anime character before the wires.
Another option is to stick both the cables to the table-top and make it look like a highway lane. Please keep in mind the freedom of movement when you are sticking the cables.
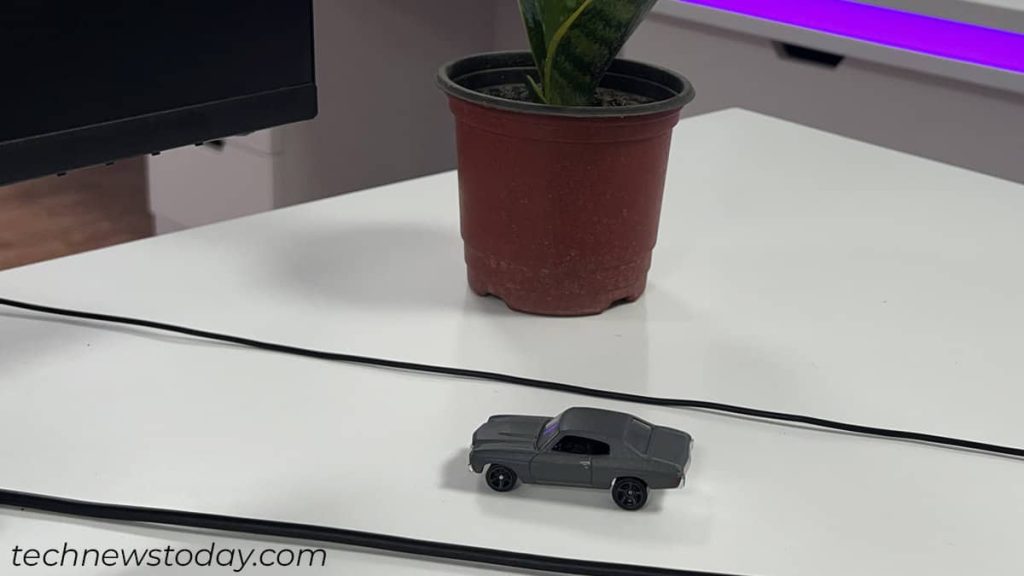
As you can see, I have placed a 1970 Chevrolet Chevelle from Hot Wheels on the highway. Looks good, yeah?
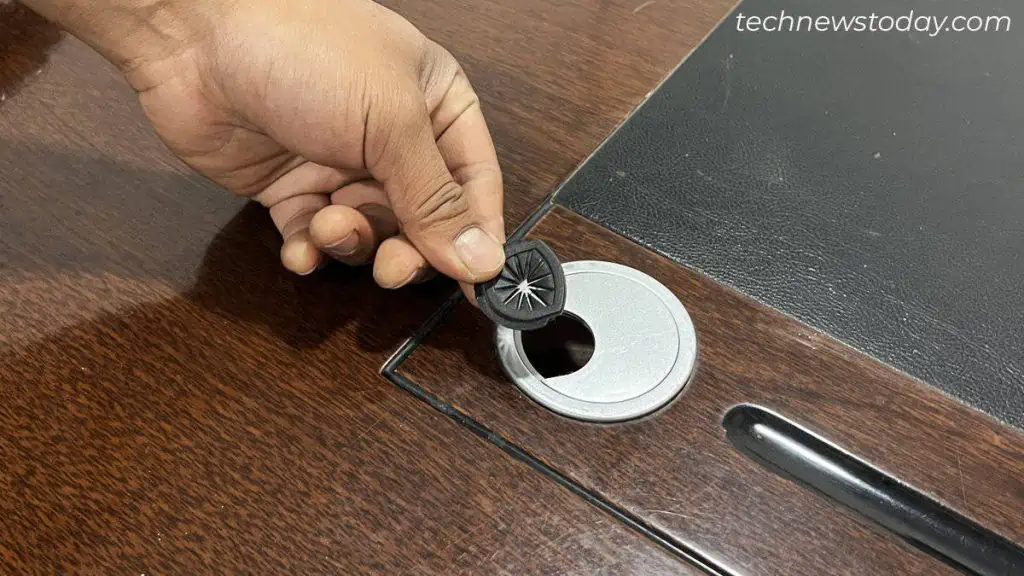
Drill a Grommet Hole and Let Cables Pass Through It
This option is for you if having a hole in your tabletop does not bother you. On top of that, this is the one and only way to hide the most out of your cables.
Use a power drill to create a hole just in front of your keyboard. If you have a mouse pad, consider making a hole there too.
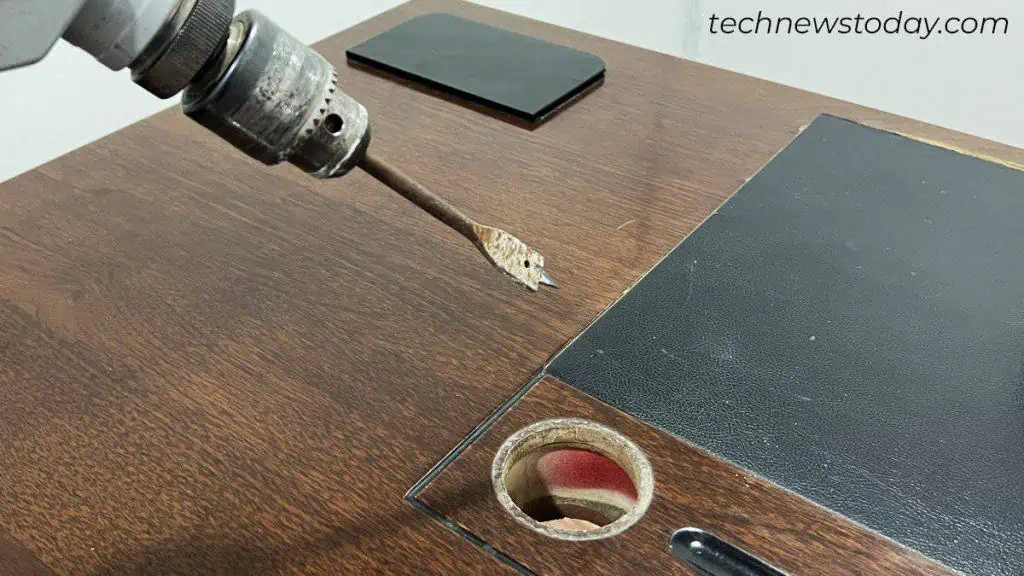
Run both the cables down through that hole. You may even drill individual holes for each of them. The choice is totally yours.
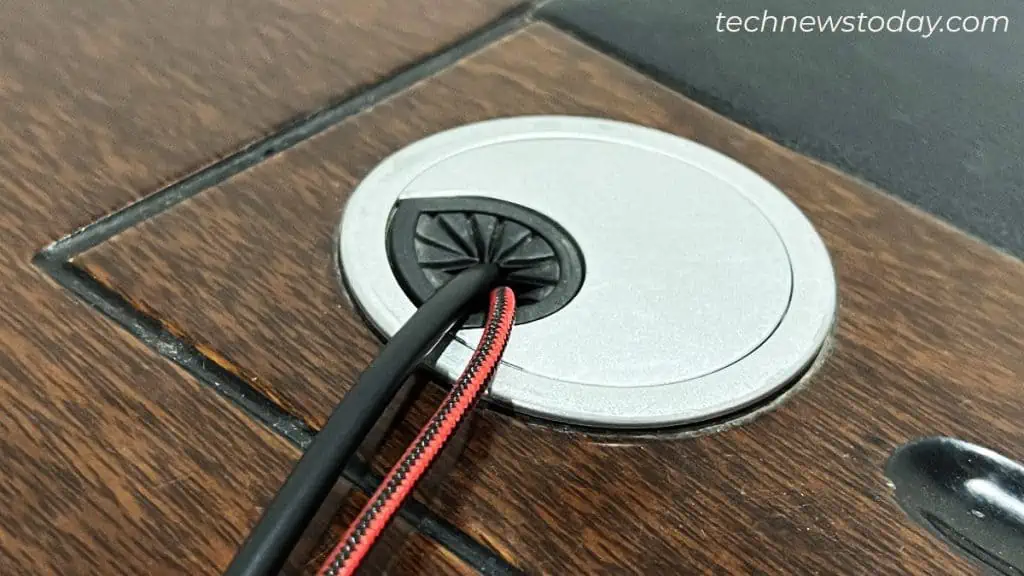
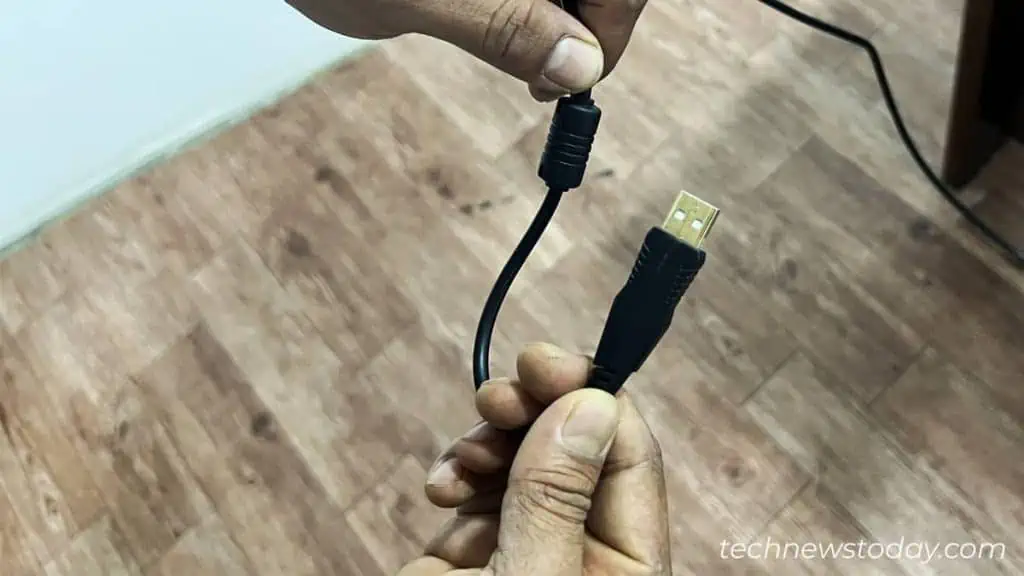
While drilling, make sure you don’t ruin your furniture. The hole should be large enough to let the USB connector and the ferrite bead pass through it.
Once you complete drilling, do not forget to install a grommet or plastic cap, preferably a silicone one. It will cover the hole and help prevent abrasions on your cables too.
