Although AM5 sockets and the 7000 series processors have shifted the pins from CPUs to the socket, the CPU installation process hasn’t changed.
You start by lifting the retention lever to unlock the socket. Then, align the CPU correctly and insert it straight into the socket. It should fit perfectly with no extra force required.
It’s easy to bend the pins and damage the CPU if it’s done incorrectly. Additionally, the old CPU may become stuck to the cooler, a problem that is notably common in AMD systems.
This guide will help you properly install your AMD CPU so that you don’t have to deal with such problems.
Preliminary Steps
- Before anything else, ensure that the CPU and motherboard are compatible. The Ryzen 5000 series processors are still quite popular, but they won’t work with the new AM5 socket. Just a quick note.
- Wear an anti-static strap to protect the components from ESD. Occasionally touching a metal surface will also work.
Uninstall the Components
If you’re replacing the CPU on an existing system, you’ll have to disassemble everything first.
- Shut down the PC and disconnect the power cable.
- Unscrew the nuts and open the case’s side cover.
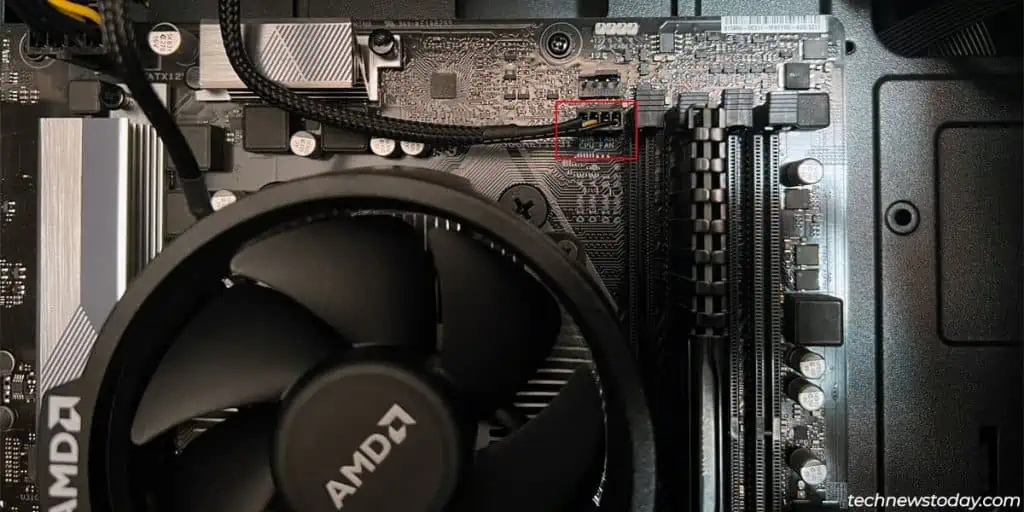
- Start by disconnecting the CPU fan connector.

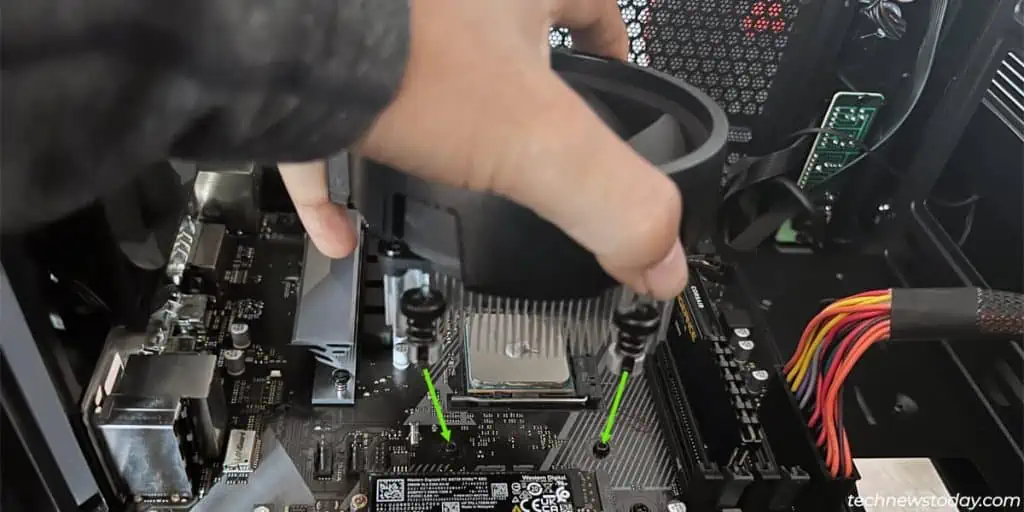
AMD’s Wraith coolers use either spring screws or retention clips to lock themselves in place. The system I’ve got with me has a Wraith Stealth cooler with spring screws. To remove such coolers,
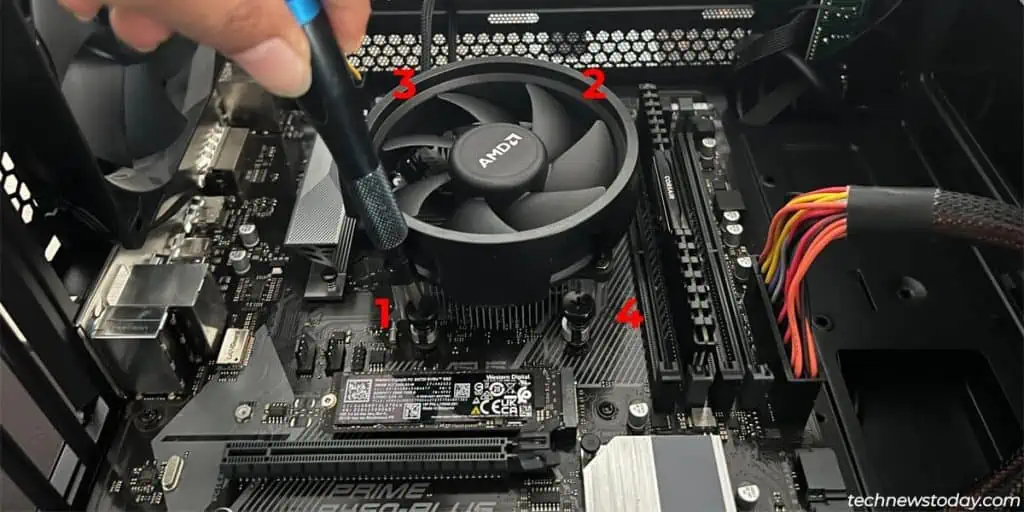
- Partly unfasten one of the screws (give it 3-4 twists). Then, repeat this on the opposite screw as shown in the picture.

- Repeat this until all four screws have come loose.
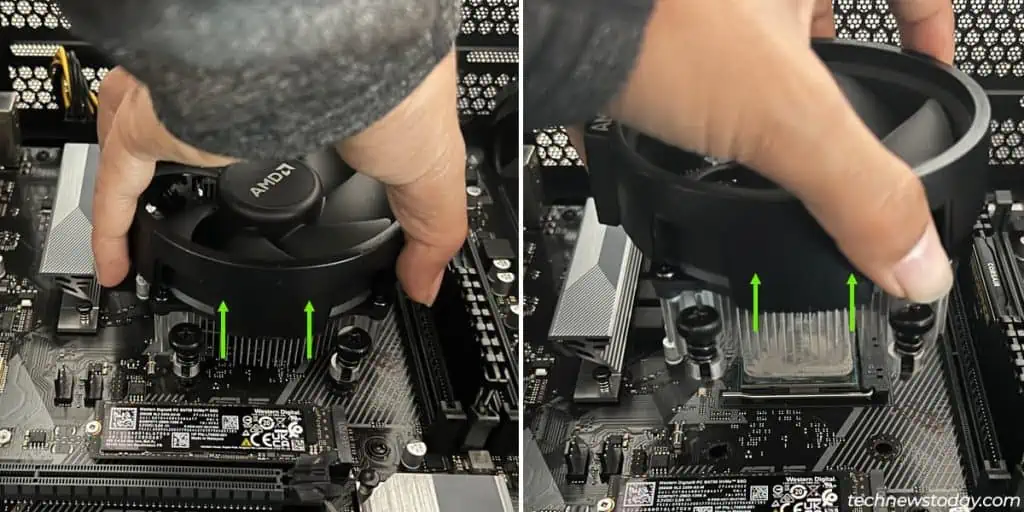
- Grab the cooler and slowly pull it straight up and out.

- If it feels stuck, wiggle it a bit while pulling it out. Running the CPU at high temps for a little while beforehand can also make this easier as the thermal paste will loosen.
If you have a different type of cooler, you can check out this detailed guide on removing CPU coolers.
Take Out the Old CPU
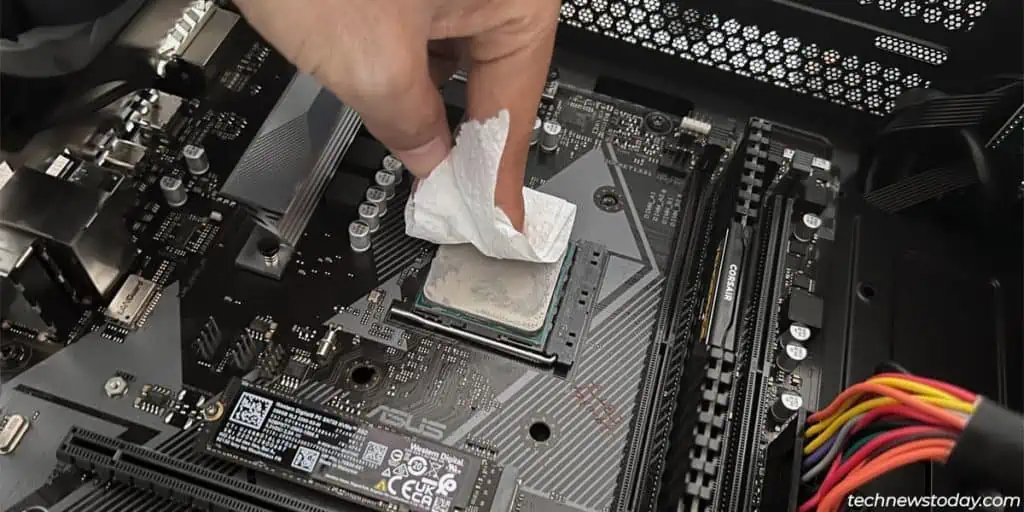
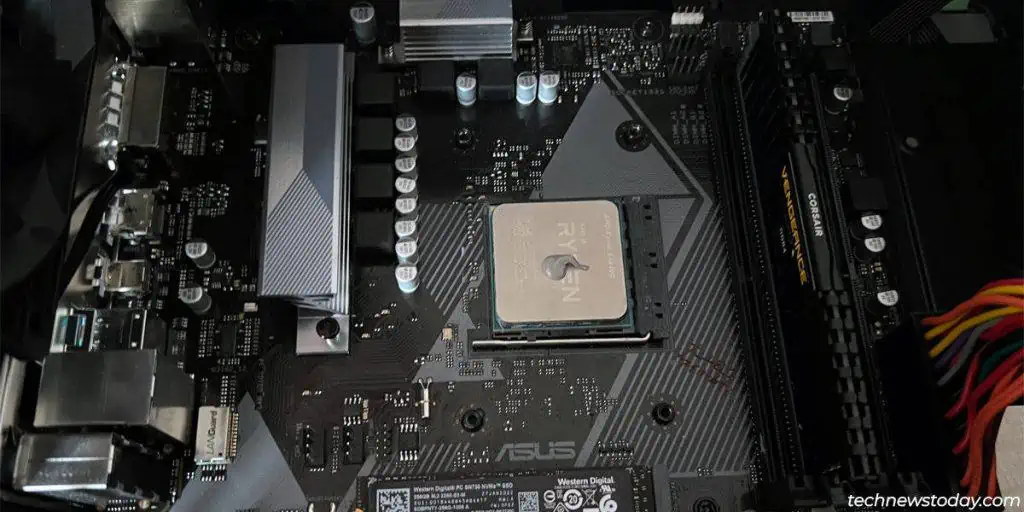
- It’s best to clean the thermal paste off the CPU while it’s still in the socket. So, grab a microfiber cloth or tissue and get to work.

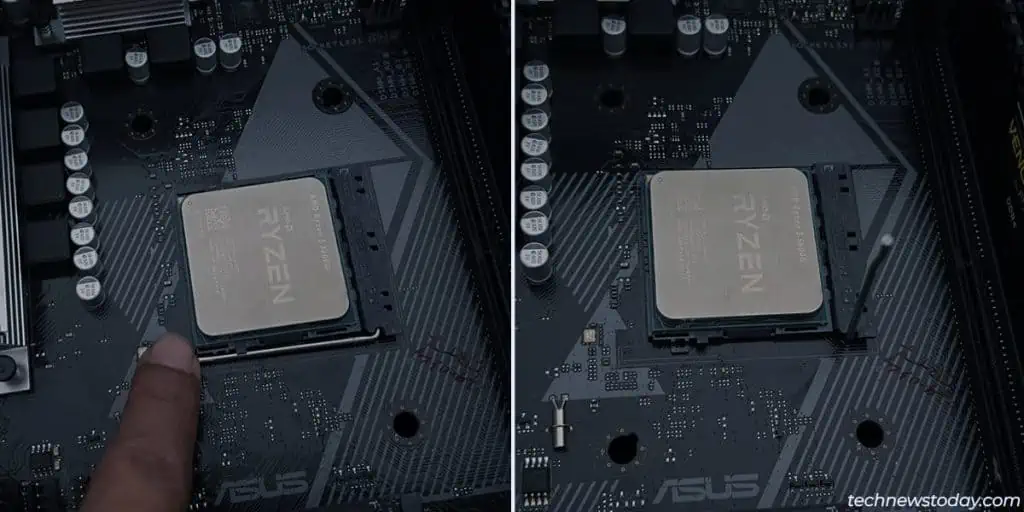
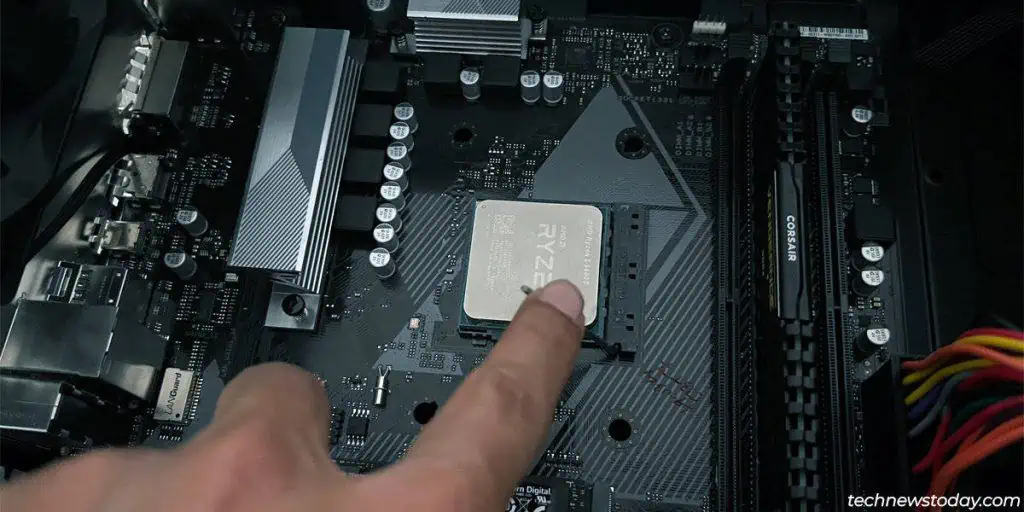
- When you’ve cleaned the CPU, push down on the retention arm to unlock the socket. It should come out and up.

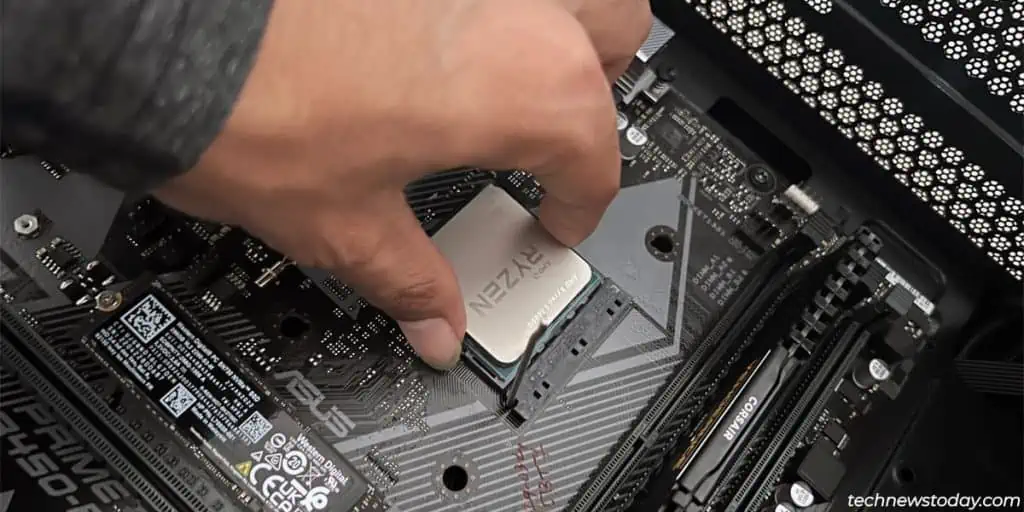
- Hold the CPU from the sides and carefully pull it straight out. Make sure you don’t press on the pins when doing so.

- If the CPU is a working piece that you plan to use in the future, store it safely in a CPU clamshell.
Install the New CPU
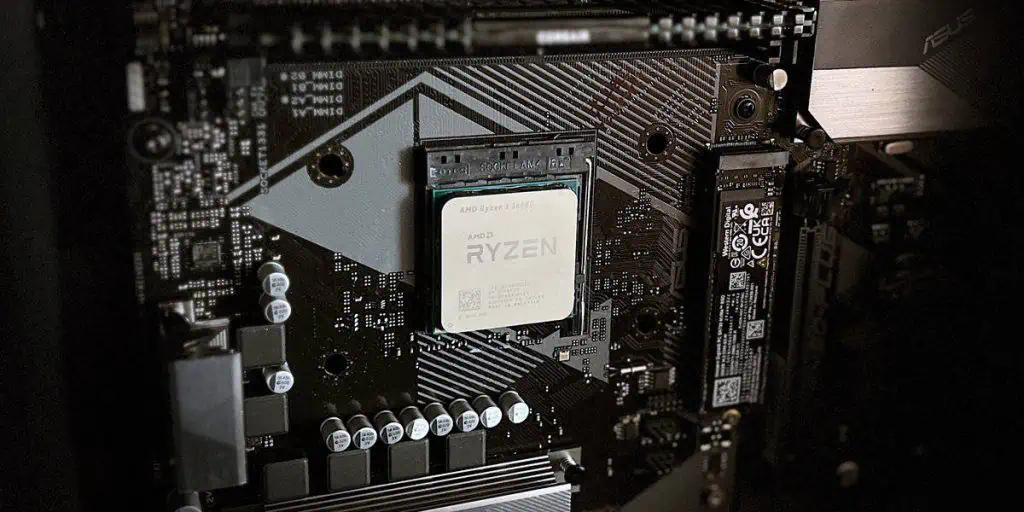
Once the socket is ready, the actual installation part is very simple. All you need to do is align the CPU correctly and place it in.
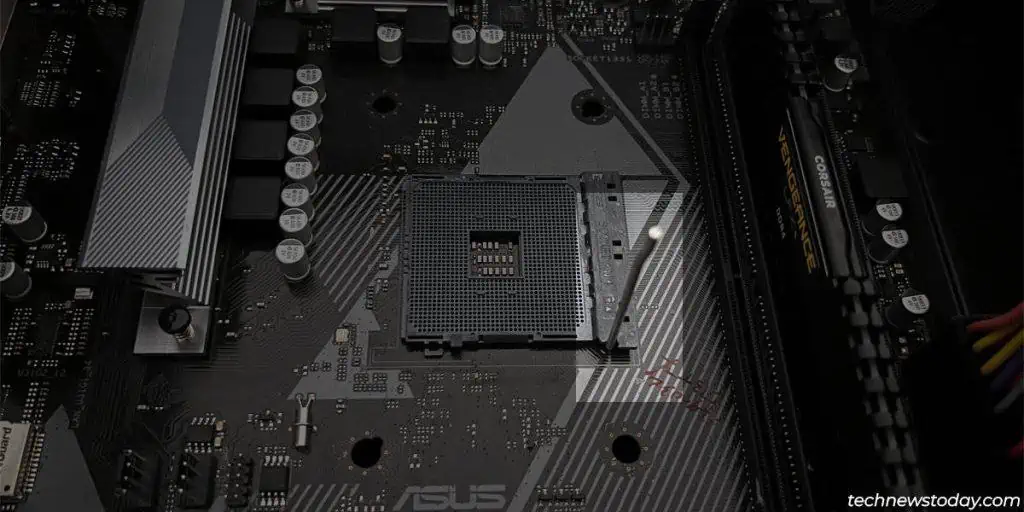
- Verify that the locking handle is lifted up.

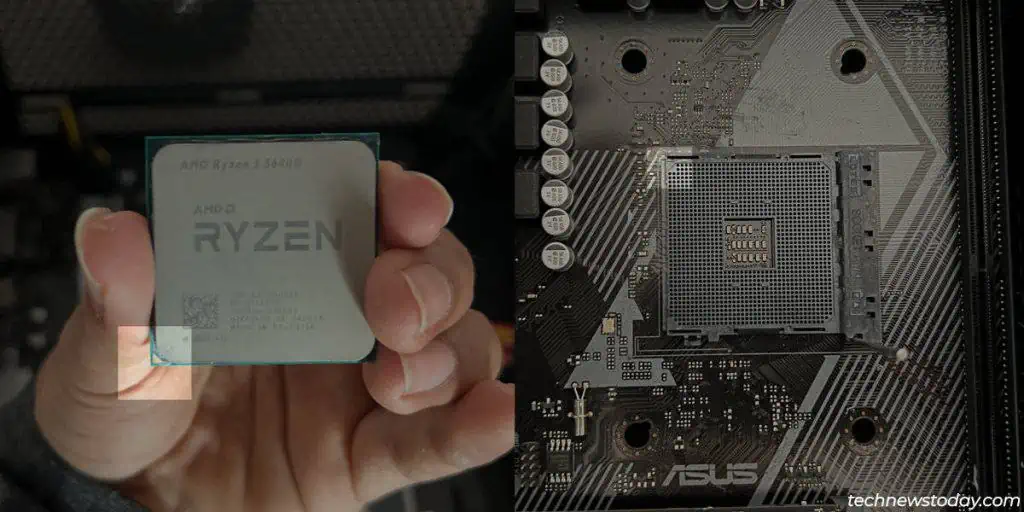
- Grab your AMD CPU and find the corner with the unique marking (usually a triangle). Identify the same marking on the socket to find the right orientation (usually the lower-left corner).

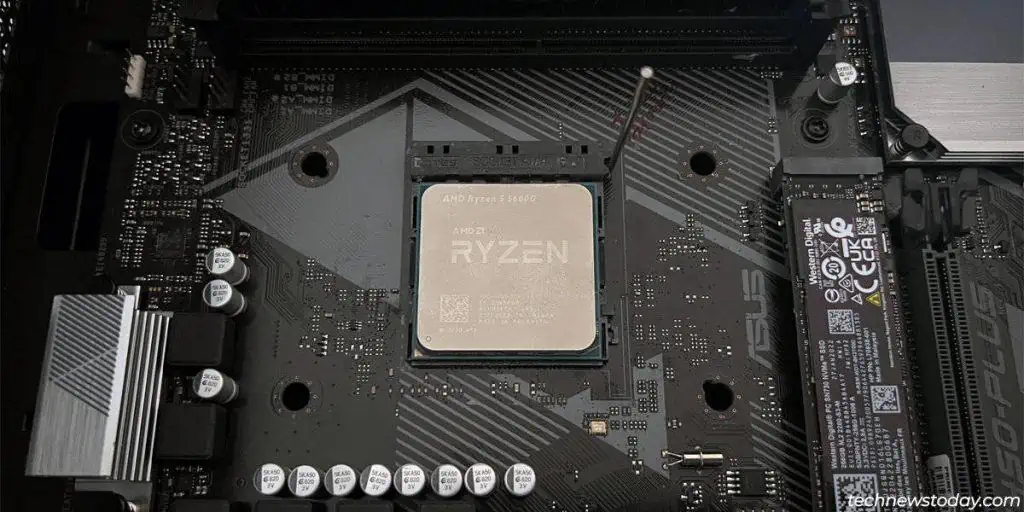
- After aligning the CPU correctly, carefully place it straight into the socket. It should fit perfectly.

- Pull the handle down and lock it in place.

- AM5 boards also include a socket cover that will automatically pop off at this point. Store it safely as you may need it for motherboard warranty purposes in the future.
Install the CPU Cooler
The exact steps will vary depending on the type of cooler you’re using. This article on installing CPU coolers covers the most common types. But in general,
- If you’re reusing an old cooler, you’ll want to wipe the old thermal paste off the cooler and reapply a new layer on the CPU.

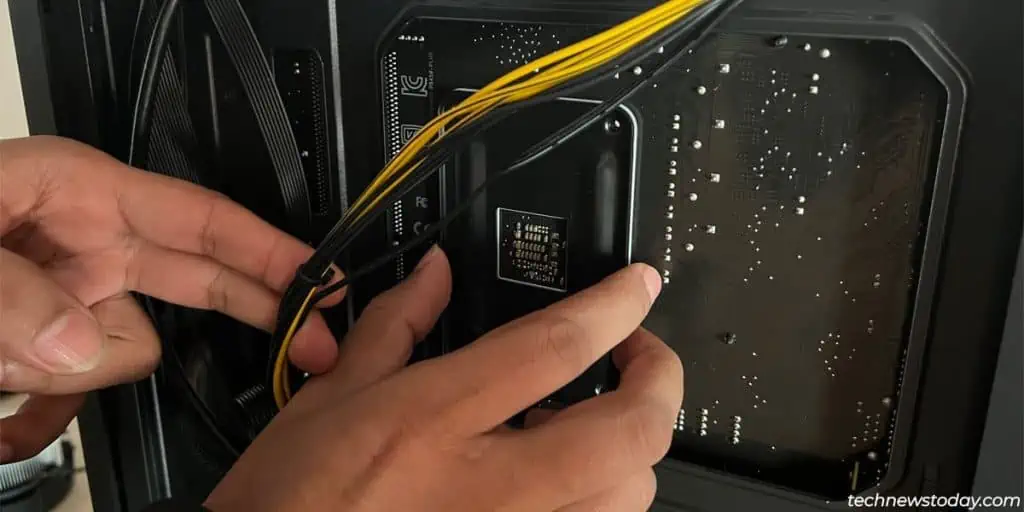
- For Wraith Stealth coolers, ask someone to insert the backplate and hold it in place.

- Connect the cooler’s screws and partly turn one of the screws (3-4 twists).

- Do the same with the diagonally opposite screw. Repeat the order shown in the picture until all the screws are tight.

- Finally, connect the CPU fan plug to the CPU_FAN header.

Make Sure the System Works
After you reassemble the rest of the system, you must boot it to verify that everything is working fine.
- Sometimes, you’ll need to update the BIOS to make the board compatible with newer CPUs. You can check the BIOS update changelogs to confirm this.
- If you face some booting issues, check if the motherboard is providing any diagnostic LEDs or beep patterns. Additionally, reseating the CMOS battery and CPU can help.
- For the CPU fan error, reconnect the CPU fan cable. And make sure it’s connected to the CPU_FAN header and not any other headers.
- Finally, you can try to overclock or undervolt the CPU if your system works fine.

