Minecraft is a fun game in itself. But you can take it a step further by adding mods to it. Minecraft has hundreds of mods that can turn your vanilla gameplay into a full horror experience or fun creative building moments. You can also use mods to add various elements to the game.
There are a few steps to playing Minecraft with mods. Firstly, you will need to install the Forge Mod Installer. Then download the mods and add them to the game using the following process below.
Installing Forge
Forge is the software that will let you run the mods you want. It is a .jar file, a java-based app that needs java to run. If you have not installed Java, go to their official website and follow the instructions to download and install it.
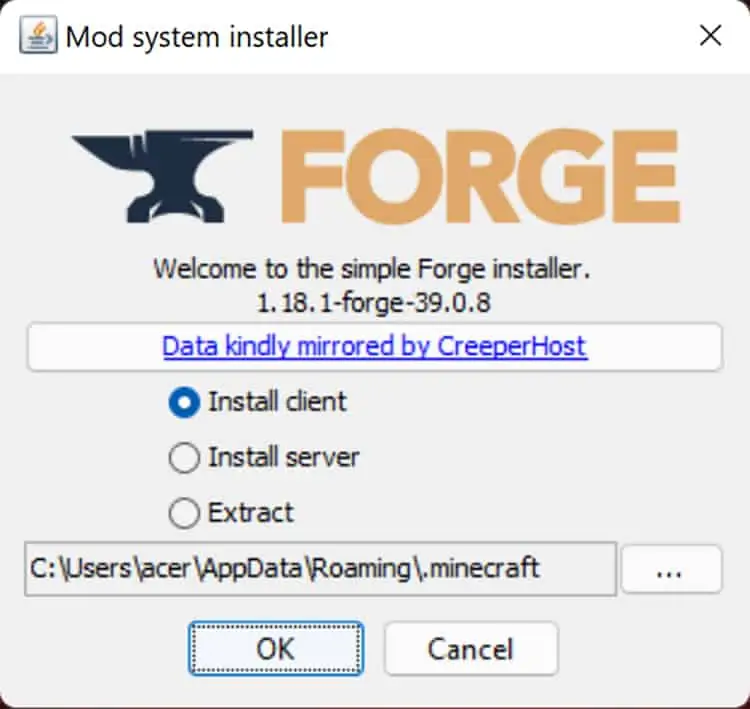
- Install Forge for the version you want on your PC.
- Open the .jar file you just downloaded.

- Select Install Client if you’re going to play locally. Install Server if you’re going to create your own modded server.
- Select OK and wait for the installer to add the files to your library.
Launching Minecraft Forge
After installing Forge, you can easily access it using the Minecraft Launcher.
- Launch Minecraft Launcher.
- On the left side of the Play button, open the drop-down menu and select Forge version of Minecraft.
- Hit the Play button, and your game will open with Forge installed.
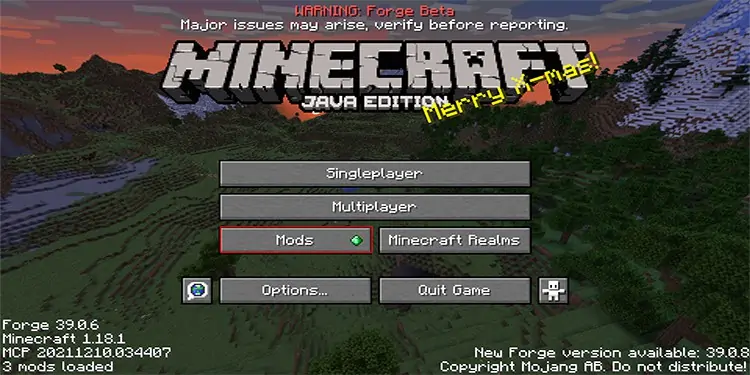
Once your game runs, the title screen will show you the version of Forge install. Another main difference you can find on the same screen is that underneath the multiplayer option, you have a mods button. It will take you to the screen with a list of mods installed on your PC when you access it.
Install the Mod You Want
You will have to download the mod and add it to the mods folder in your local folder to use it. Try these steps to do so.
- Go to CurseForge’s Minecraft page.
- Find the best mod you want by either using the search bar or by browsing.
- We recommend reading the description to make sure it is compatible with the Minecraft version you want to play on. Download the mod and save it.
- Open the folder where you downloaded the mods. We will come back to it later.
- Launch the Forge version in Minecraft.

- Select Mods.
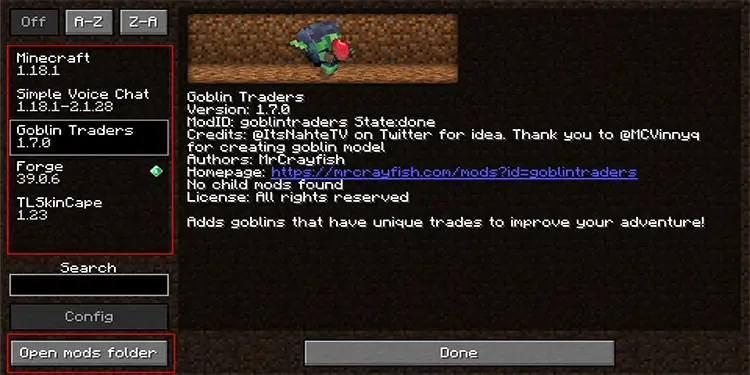
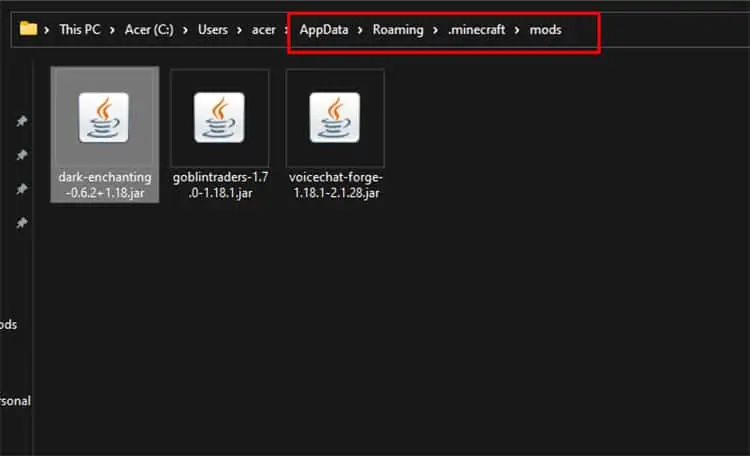
- On the bottom left, you will see a button that says “Open Mods Folder” Press it. It will open the local folder where you can add the mods.

- Alternatively, you can search for %appdata% in the search bar and open the folder. Then find the .minecraft folder and navigate to the mods folder.
For Mac users, you can click the Go tab at the top and type in “~/Library/Application Support/minecraft” and press Go. You can then find the mods folder in it. - Copy the download files directly to the mods folder.

- If you have the game open, restart it. Else, run the Forge version of the game.
- You will see the mods you added and their details in the Mods section.
If you have a lot of mods, you can select which mod packs to use when you start the game. To do so:
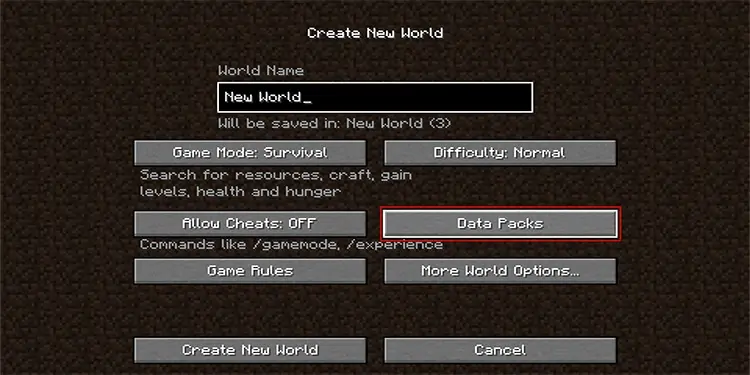
- Open Minecraft and Create New World.
- On the left of the menu, you will see the option Data Packs; select it.

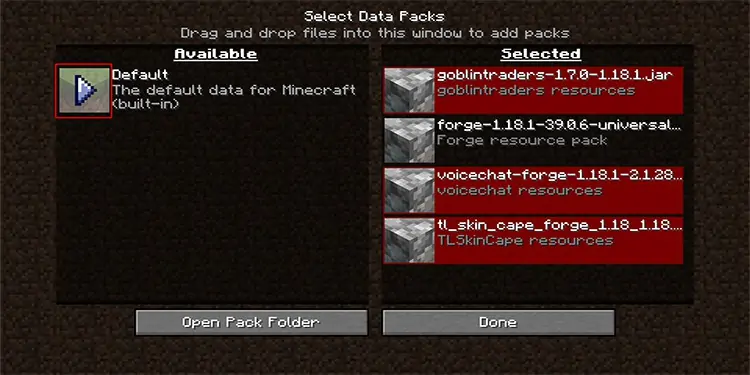
- You will see two columns, left for the available mods, and the right for the selected mods.
- When you hover your mouse on any, you will see an arrow pointing to the opposite column. If the mods are in the selected column, the arrow points left and vice versa.
- Press the arrow to select or deselect a mod.

- Press Done once you are satisfied.
- Create the world in your desired setting.
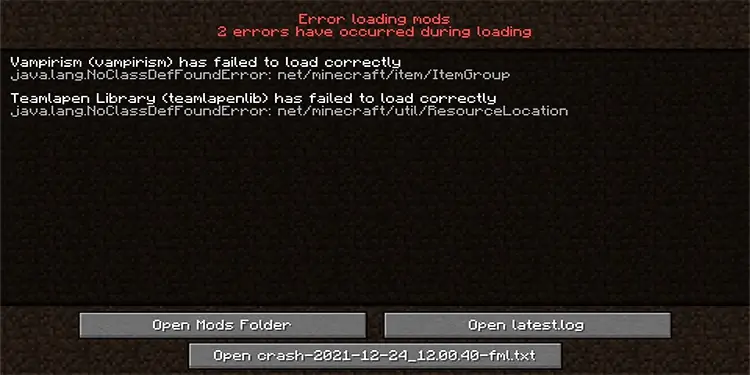
Remember to check the mod versions as they might be incompatible and crash the game. If they are completely incompatible or need extra files, the following screen may show up when you launch the game.
How to Install Modpacks?
Modpacks are basically a set of mods that are compatible together made by creators to install on your PC. The website CurseForge, in the past, let everyone download and install the modpacks manually. The process was a bit longer than installing the regular mods.
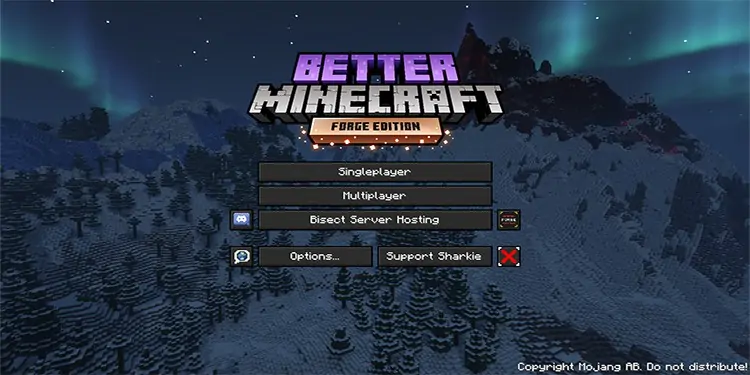
Now, you can install the client called CurseForge to install the modpacks automatically in your system.
- Download and install the CurseForge app from its official page.
- Run CurseForge and select the game Minecraft.
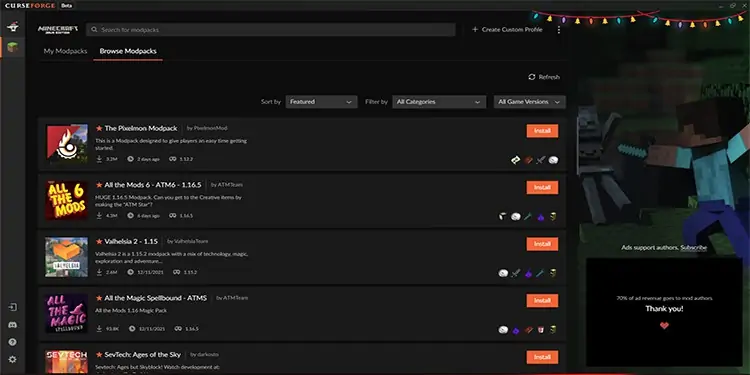
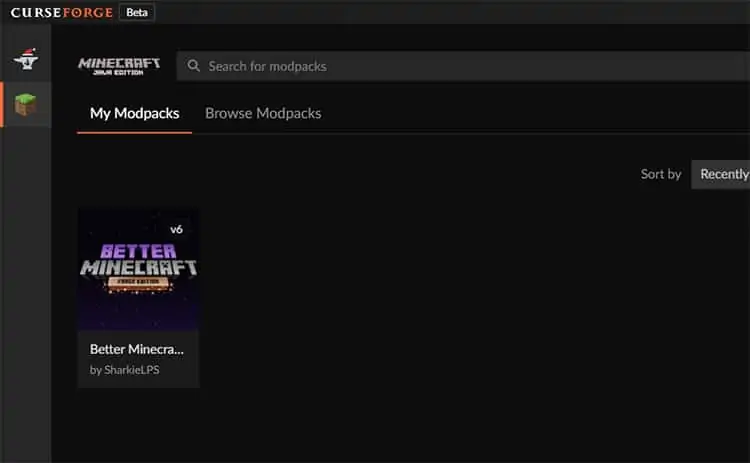
- You will get to the page where you can see all the installed modpacks or browse them.

- Go to the tab to browse modpacks and select the ones you want to install for your version.
- Wait for the installation to complete. Some may take time to install due to their massive size.
- Once Installed, you can find them under My Modpacks.
- Hover the mouse over the Modpack you want to play with and hit the Play button. It will open the Minecraft Launcher.

- Under Installations tab of the Launcher, you can see the modpack version installed automatically. You can simply press play, and the game will launch. The game may download additional resources if it already has not.
Once everything downloads and Minecraft runs, you can play the game without any problems.
How to Install Shaders Mod in Minecraft?
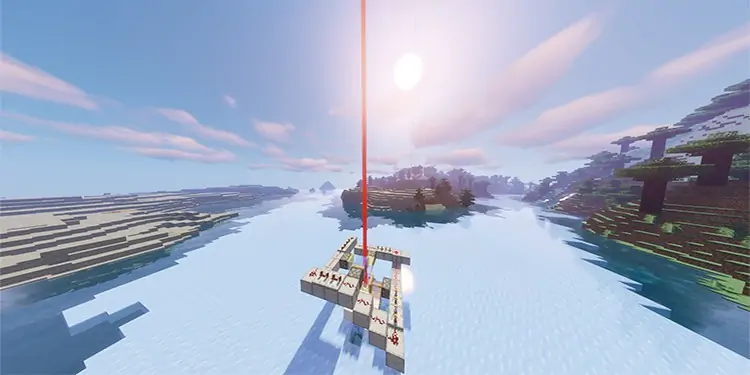
While normal mods change the gameplay, visuals, and items in Minecraft, shaders will only change how the game looks. There are a lot of shader packs that make your game look better with mods such as transparent water, realistic sky, etc.
Similar to adding mods through Forge, you will need to download and install Optifine versions of the game. To do so:
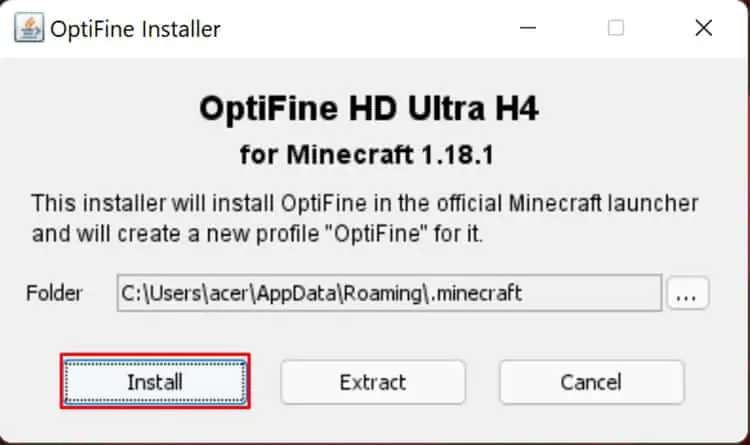
- Download and install the Optifine version of the game through its official website.

- Once you install Optifine, run the Minecraft Launcher.
- In the launcher, select the Optifine version from the list on the left of the play button.
You will now have the Optifine version of the game installed.
You will not have better graphics immediately after installing Optifine. Find the shader you want to install on the web and install it too. You can follow these steps to make sure you install the shaders properly.
- Run the Optifine version of the game.
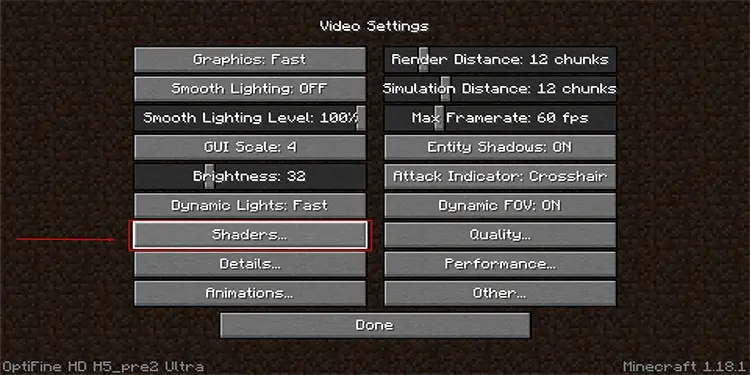
- Go to Video Settings. You can see the settings menu is different than that of the regular Minecraft.

- Select the Shaders option.
- Press the Shaders Folder option on the bottom left.
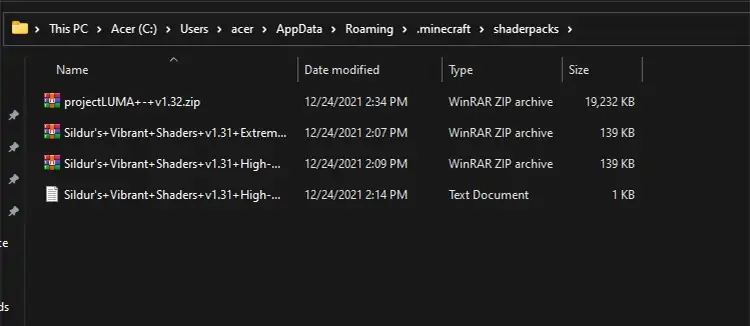
- Alternatively, you can search for %appdata% in the start menu and open it. Then go to the .minecraft folder and open shader packs.
You can open the Go tab for macOS users and type in “~/Library/Application Support/minecraft” without the quotations. - Copy and paste the zip files you downloaded directly to this folder.

- Restart Minecraft in Optifine and follow steps 1 to 3.
- Choose the shader pack you just installed and click on Done.
- Run your saved world or create a new world.
Once the world loads in, you will be able to see the changes in the game’s visuals.
