Whether you are installing a fresh RAM or upgrading a previous one, the steps to install RAM are fairly similar.
You simply need to access the motherboard, locate memory slots, and insert the sticks in the correct slots. The last part is where most users get things wrong.
But before everything else, make sure you’ve chosen the right RAM stick for your system.
Also, note that inserting the memory module on the wrong slots can drastically affect system performance. And using the correct slot helps enable dual-channel mode, which almost doubles the overall memory bandwidth.
Keeping these things in mind, let me guide you on how to install RAM correctly.
Locate Memory Slot
If you are upgrading your memory, you first need to remove the side panel to access the motherboard.
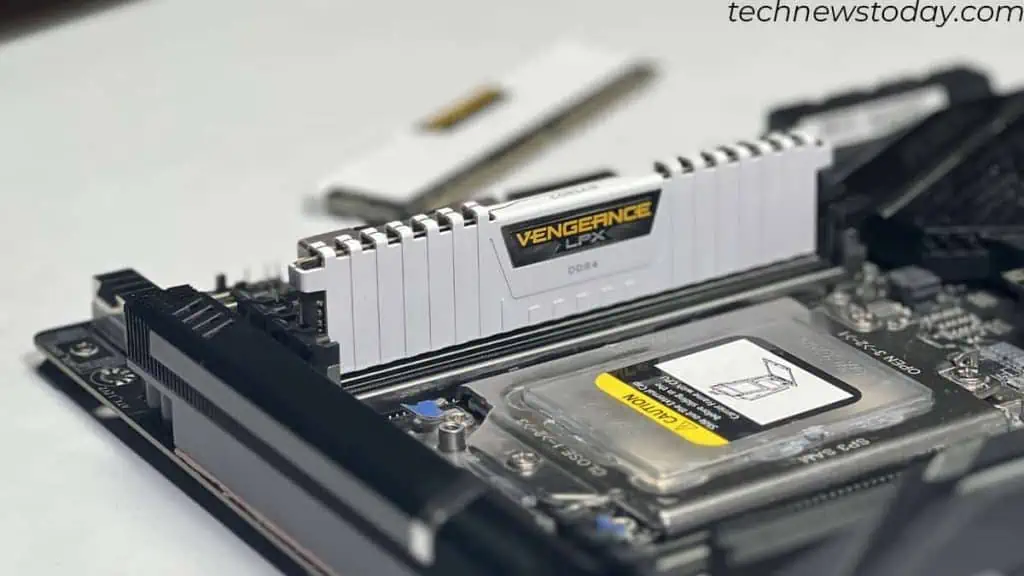
Once you have access to the board, check for DIMM slots. These are located near the CPU socket.
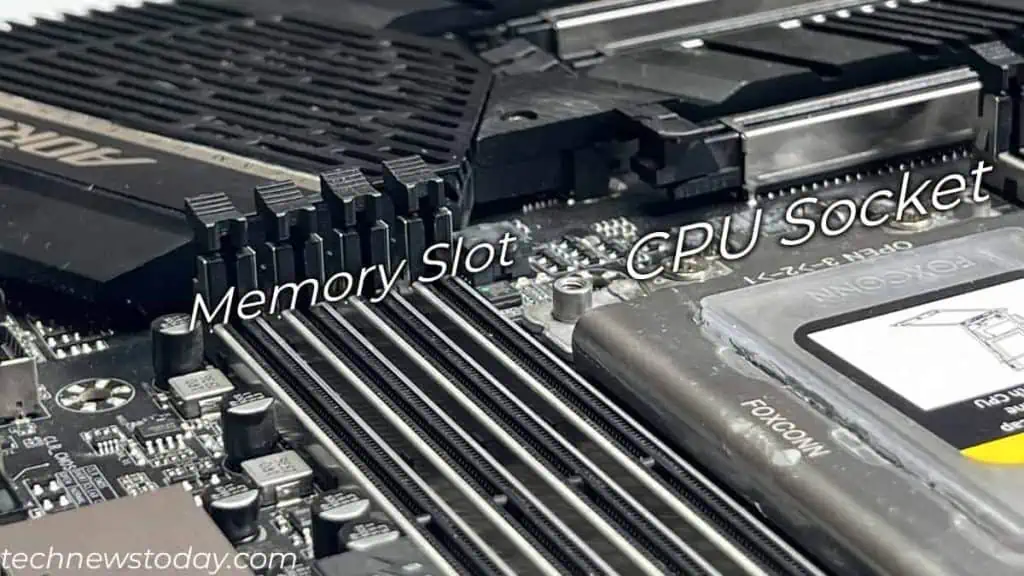
In case you have already installed a bulky CPU cooler, the memory slot may be blocked. If so, you might need to remove the cooler first to access the slots.
Most consumer-level motherboards have two or four memory slots. You can also find 8 or 16 slots on the workstation or server-class motherboard.
To get the most out of your RAM, you need to use the correct DIMM slot.
Choosing the Right Memory Slot
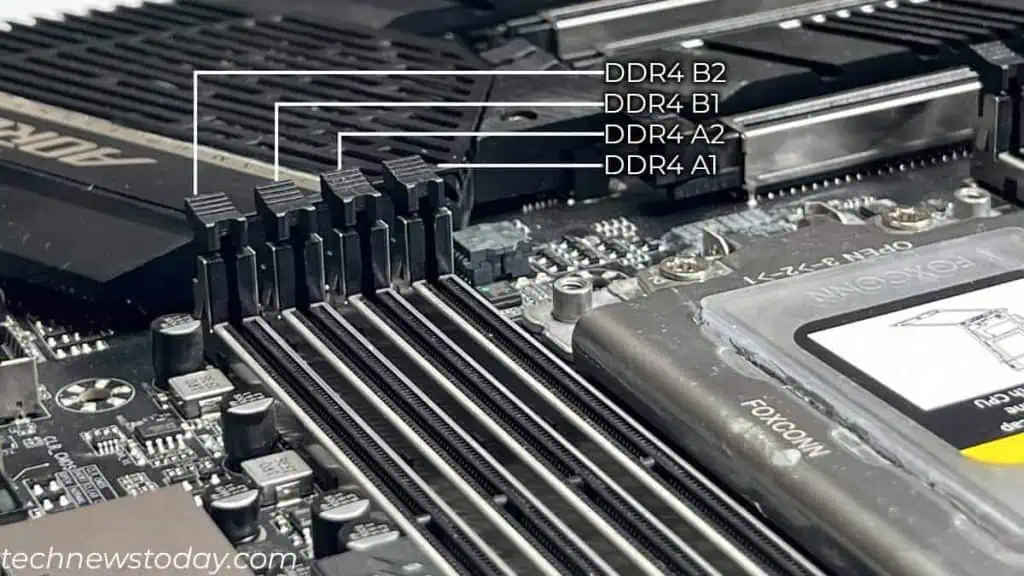
Installing a memory stick on an incorrect slot means both RAM will act as a single stick or single channel.
This means the CPU will only use one channel to access both these RAMs. The CPU can access both these RAMs simultaneously when placed correctly.
Depending on the memory slots used, your system will either run on single or dual channels. Quad or Octa for server-level motherboard. Multi-channel setups are much faster and have more bandwidth than single channels.
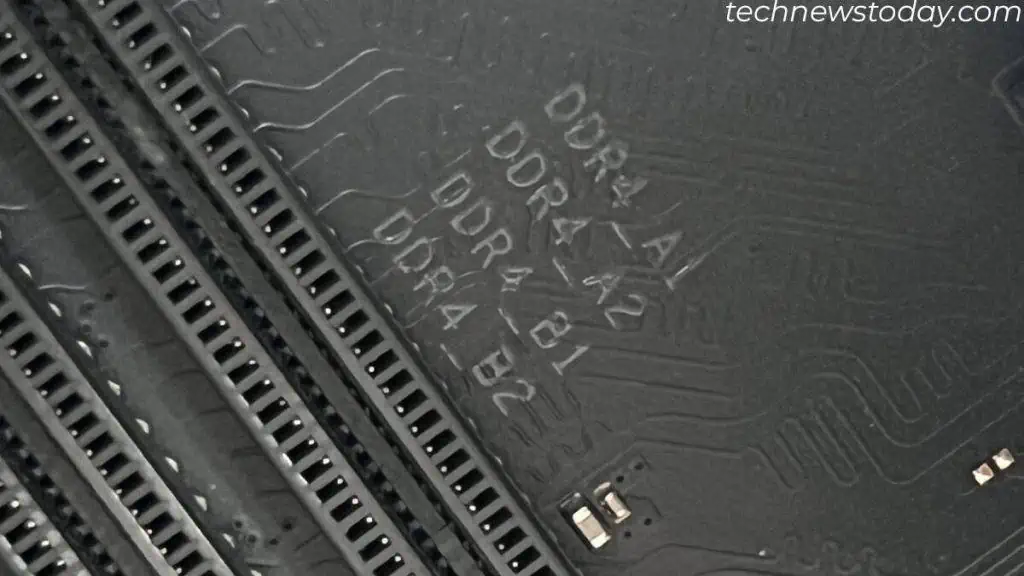
So if you are using multiple memory sticks, you need to insert RAM in the correct slots.
Mini-ITX motherboards usually have 2 DIMM slots. If you are using such motherboards, you can fill these two slots to run them in dual-channel.
Most motherboards, ATX, micro-ATX, etc., come with four memory slots. If you are using such motherboards,
- Choose slot DIMM/DDR4/5 A2 if you are using one RAM stick.
- Choose slot DIMM/DDR4/5 A2 and B2 If you are using two RAM sticks.
- Finally, populate all the slots if you are using four memory sticks.
If the motherboard has more than four slots, you will need to check its user manual.
We also have a Gigabyte TRX40 motherboard with 8 memory slots. But this motherboard only supports up to quad channels. So, even if I fill all the memory slots, the system will not run an octa-channel setup.
Install RAM
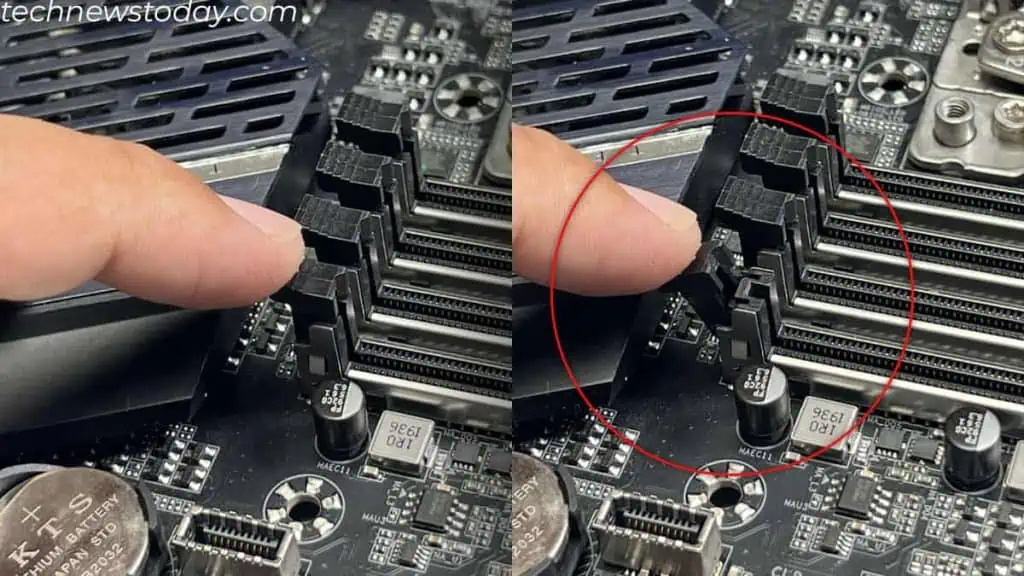
Once you have selected the slot, installing a memory stick is a piece of cake. Depending on the motherboard, RAM slots may have locks on one side or both.
- Push the locks on the slot.

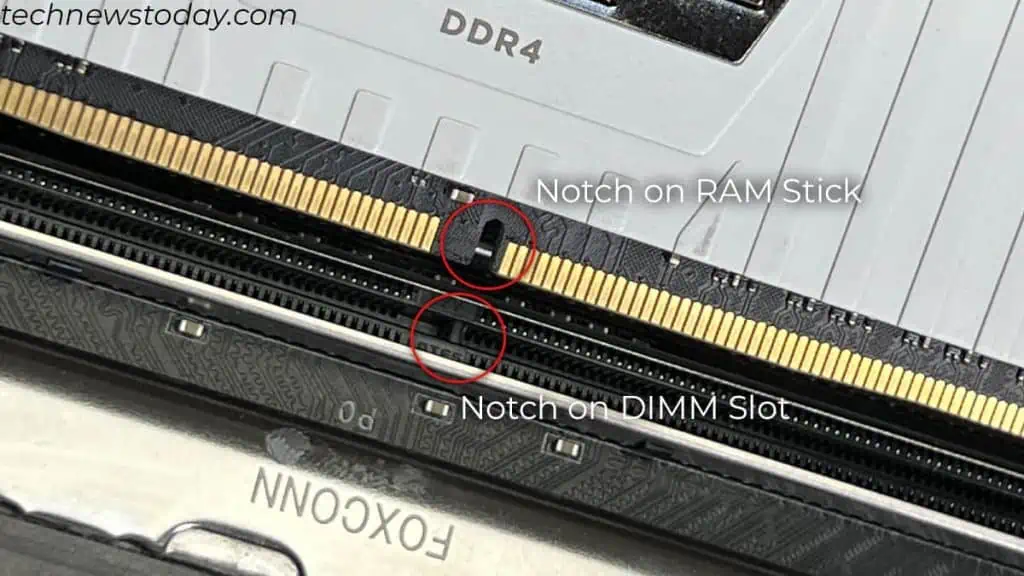
- Align the notch on the memory module with the notch on the memory slot.

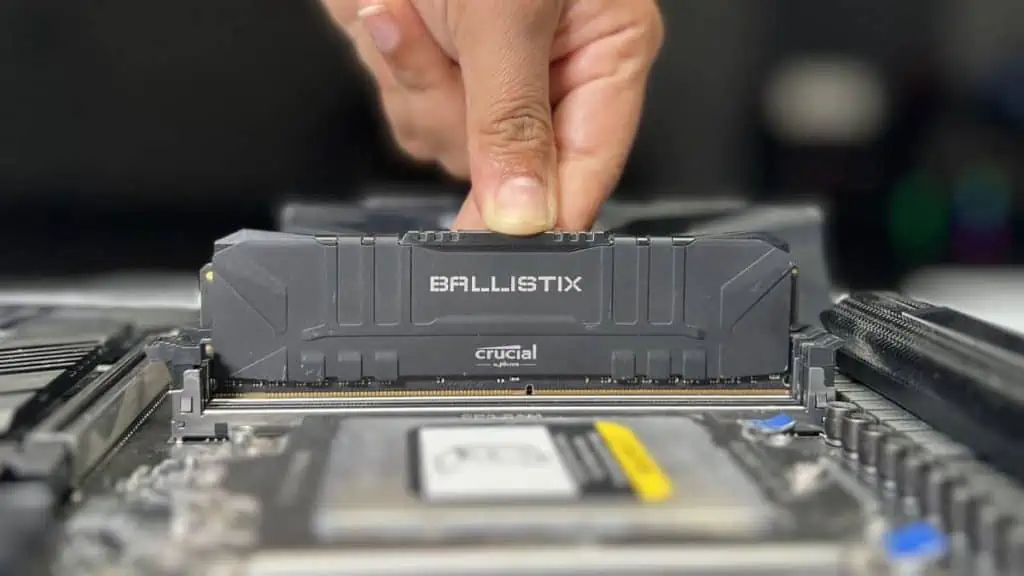
- Insert RAM into the slot and push until you hear the lock click.

Congratulations!! You have successfully installed RAM into the motherboard.
Things to Do After Installation
If you have removed the CPU cooler to install your RAM, connect it back to the CPU. Make sure that you replace the old thermal paste. The type of thermal paste that you use and the pattern in which you use them also make the difference.
Once you have assembled everything, turn on the PC. During boot, keep an eye on the POST LED on the motherboard. The DRAM LED stays on and the system fails to boot if the system finds any issues with the memory.
When all the light turns off, the system should start.
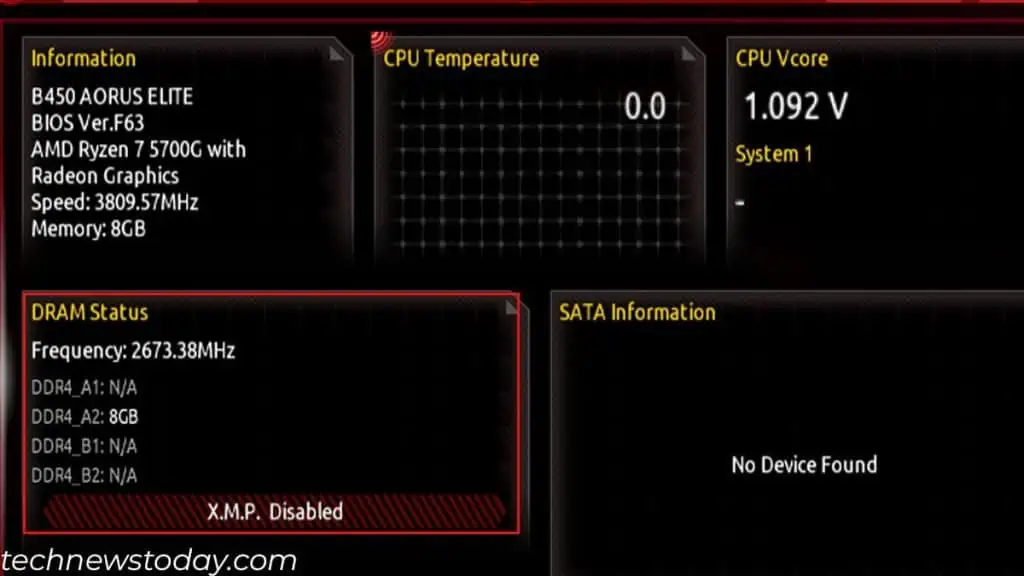
I suggest that you check the BIOS to see if the system detected all your memory sticks. It should indicate the total memory capacity and all the slots used.
To be certain, test the RAM sticks as well, especially if you got the module from your friend.
Another thing to keep in mind is to enable XMP. This will allow the RAM to run at a higher, or advertised frequency.
To learn more, here’s our detailed guide on what you should do after installing a new RAM.

