To keep your PC cool, keep it at a slightly elevated position and maintain neutral-to-slightly-positive pressure inside the case.
While this helps maintain a balanced airflow, it comes with the challenge of dust accumulation which requires frequent cleaning.
Increasing fan speed, setting an ‘Active’ cooling policy, underclocking, and undervolting are other effective techniques to help maintain the temperature.
Let’s get into each of these solutions in detail below.
Place Your PC at the Right Spot
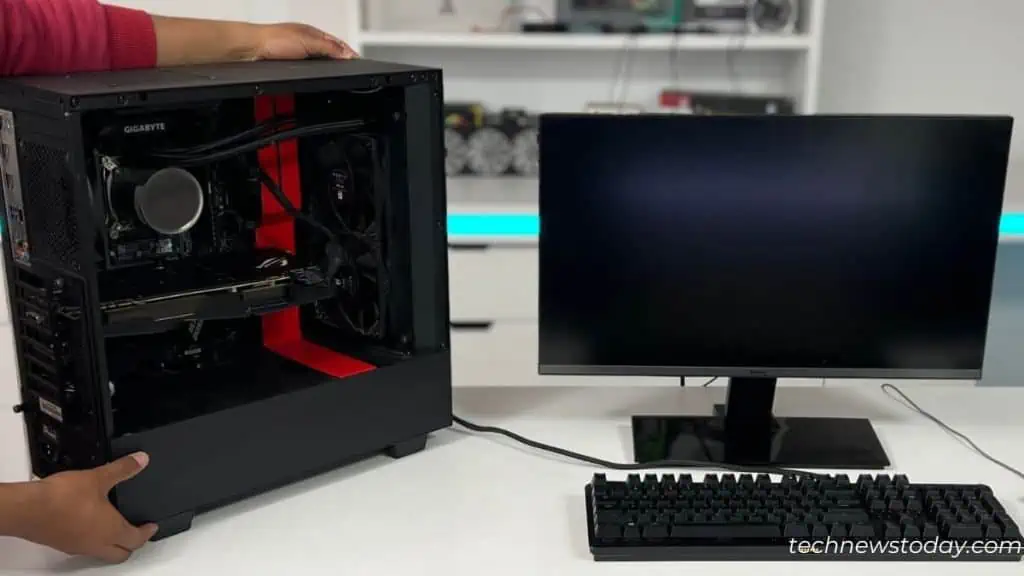
When you place a PC on the floor (usually in closed compartments), fans find it difficult to intake cool air and exhaust hot air due to lack of space. This often leads to increased temperature and a reduction in performance.
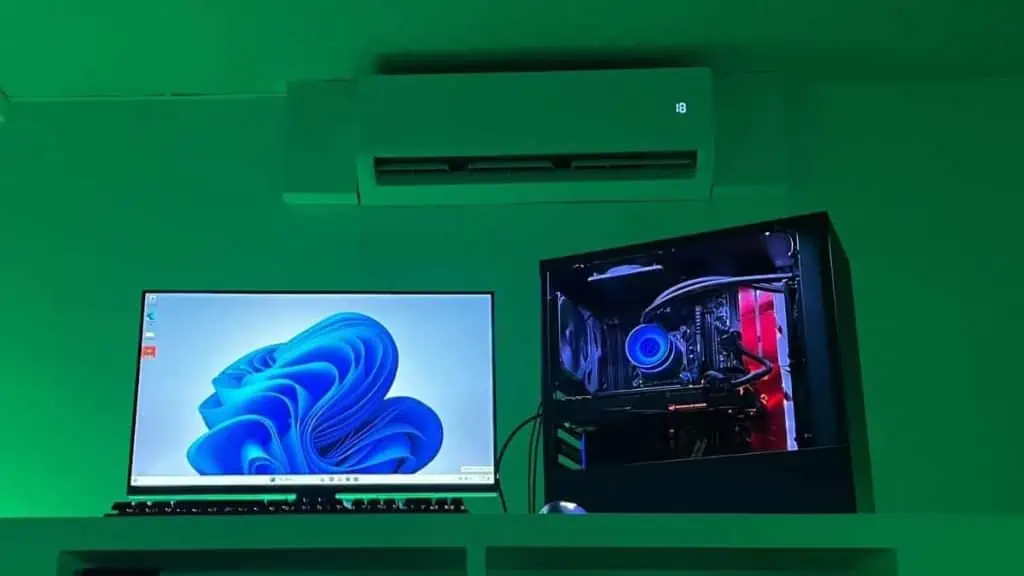
To improve cooling, the best location for your PC tower is on top of the desk. If that’s not feasible, utilize a separate stand or shelf. This doesn’t just improve airflow but also prevents dust buildup.
Just don’t place your PC near the window or you’ll end up with more dust!
Improve Airflow and Ventilation
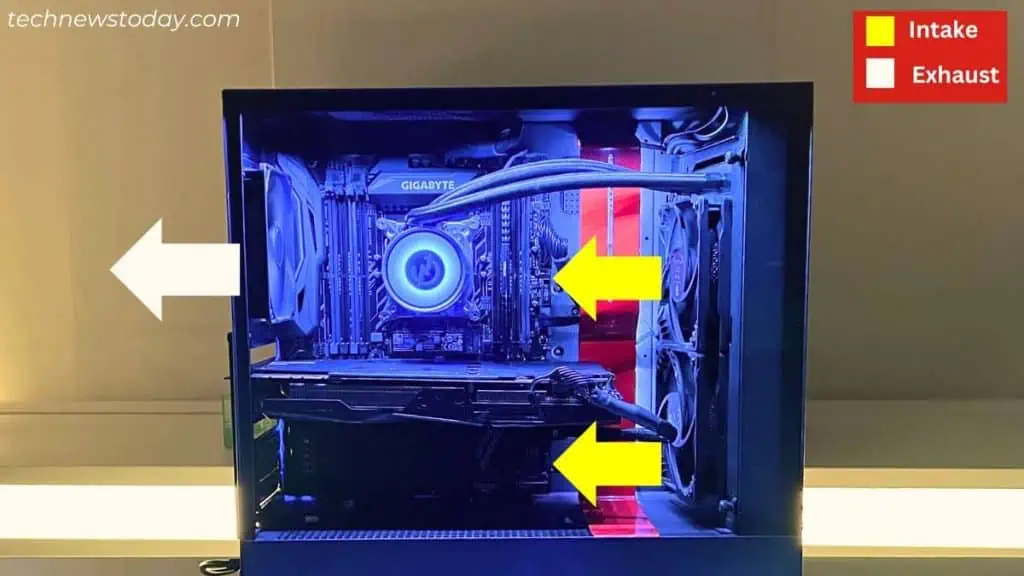
Certain factors, like the number of case fans, their orientation, size, positive/negative pressure can still restrict the airflow.
- It’s best to go for neutral pressure. Meaning, the same amount of air entering the case from the front/bottom is exhausted from the top/rear.
- However, this won’t have any impact on dust buildup. So, my recommendation is to lean towards a slightly positive pressure.

- Do note that the bigger the fan size, the greater the airflow. But installing a smaller fan (say, 120 mm fan in a 1400 mm-supported case) leaves an extra space, leading to imbalanced airflow.
- For liquid-cooling setups, do check our guide on whether to go for intake or exhaust for your AIO.
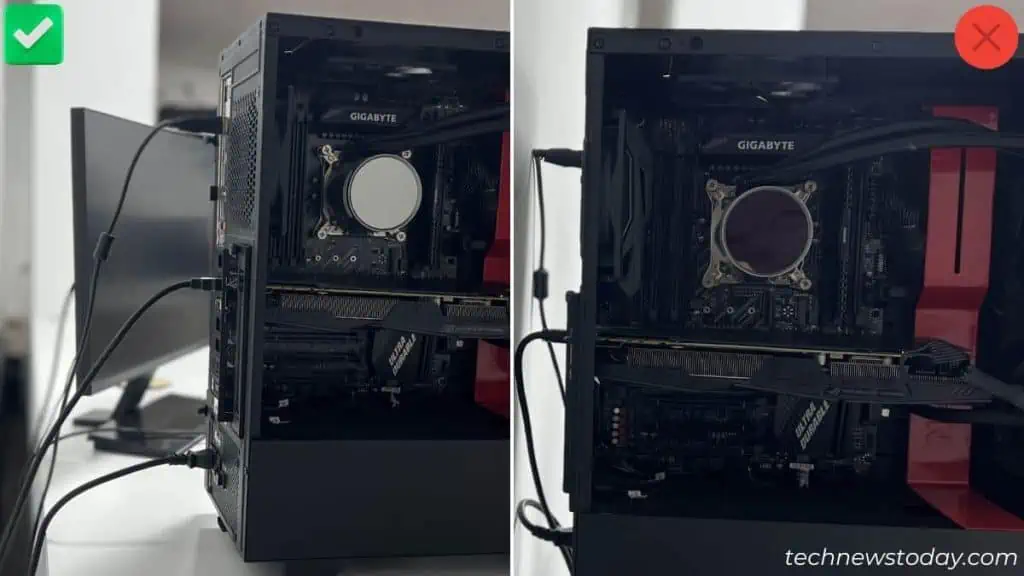
- Also, make sure you leave enough space behind the PC case. Otherwise, hot air won’t escape properly.

- Unmanaged/cluttered cables can obstruct the movement of air. Here’s our guide on how to properly manage the cables inside the chassis.
Keep Your Environment Cool
First things first, avoid direct sunlight at all costs. It overheats your internal parts even when turned off.
The second thing is to place your PC in a cool room – an air-conditioned one would be the ideal choice.
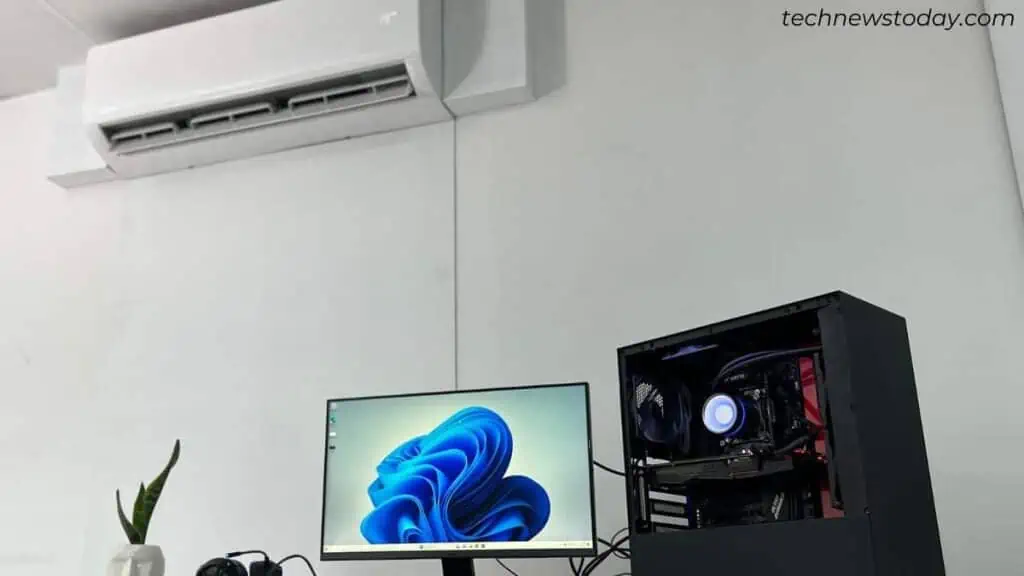
A popular choice among users from hot regions is replacing the side panel with a large-sized fan. Take a peek at how Jaytwocents has come up with this brilliant idea.
Even if you do not want to invest extra bucks, placing a room fan near the rig can help to some extent.
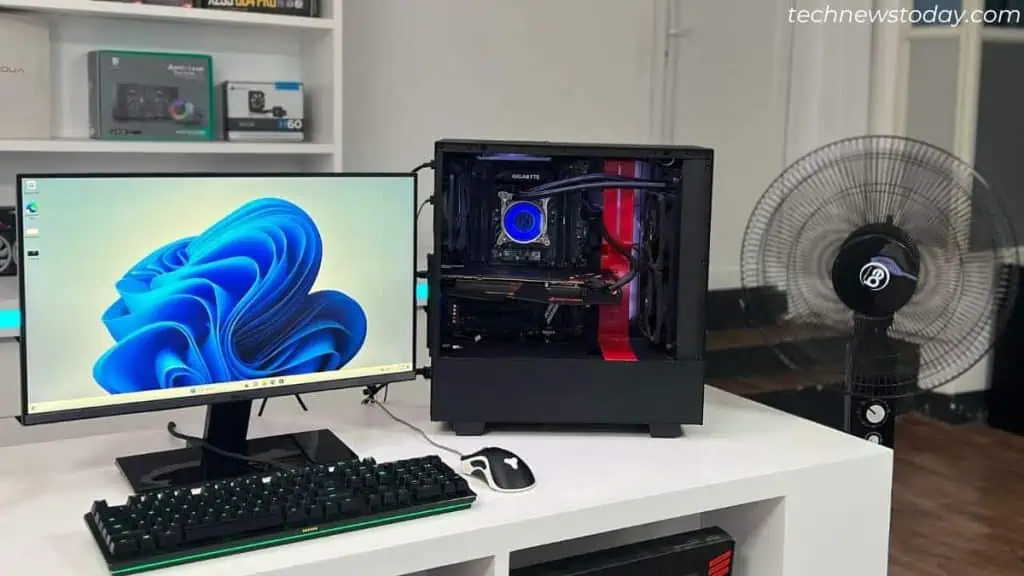
Since this can affect airflow, I suggest experimenting with different fan positions before finalizing your setup for optimal cooling.
Clean Your Rig Often
If you do not maintain your rig for a long period, dust may clog the case fans and the internal CPU cooler. The ultimate result is overheating!
To ensure your PC remains cool all the time, inspect the components once in a while. Clean immediately if you spot any dust.
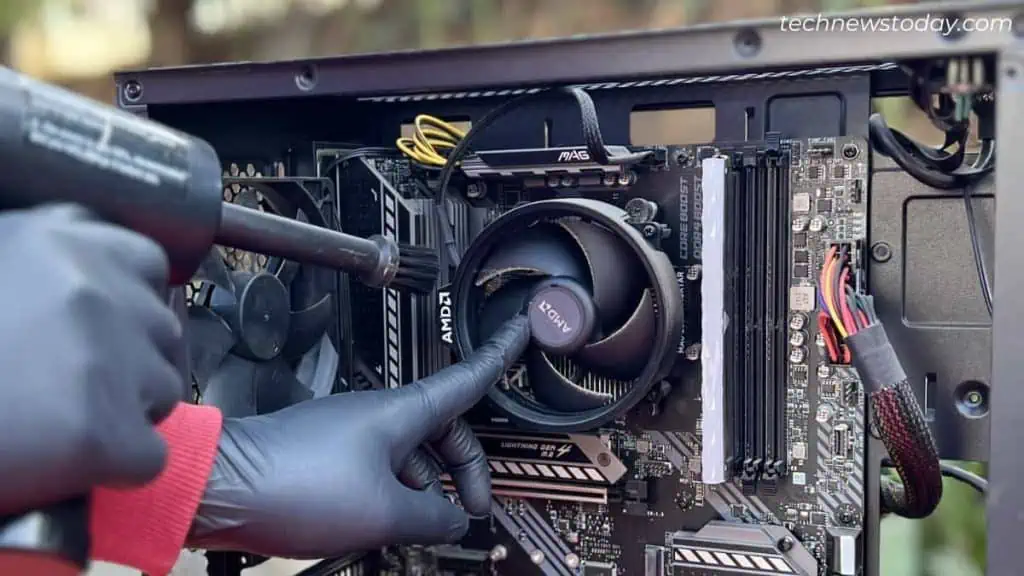
Modern PC cases come with good-quality dust filters which somewhat prevent the buildup. Don’t lose them or the gaps might attract more dust (mostly where negative pressure is implied).
Recently, one of our low-end PSUs made a buzzing noise and showed signs of overheating.
When we took it out for inspection, we were surprised to see that the fan’s bearing was damaged due to excessive dust accumulation. So, never neglect this!
Configure Fan Speed
If your CPU/GPU is overheating for no reason, there might be something wrong with the fans!
The idea is definitely to increase the fan speed but that can lead to more noise. So, the right technique is to adjust the duty cycle based on the CPU/GPU temperature.
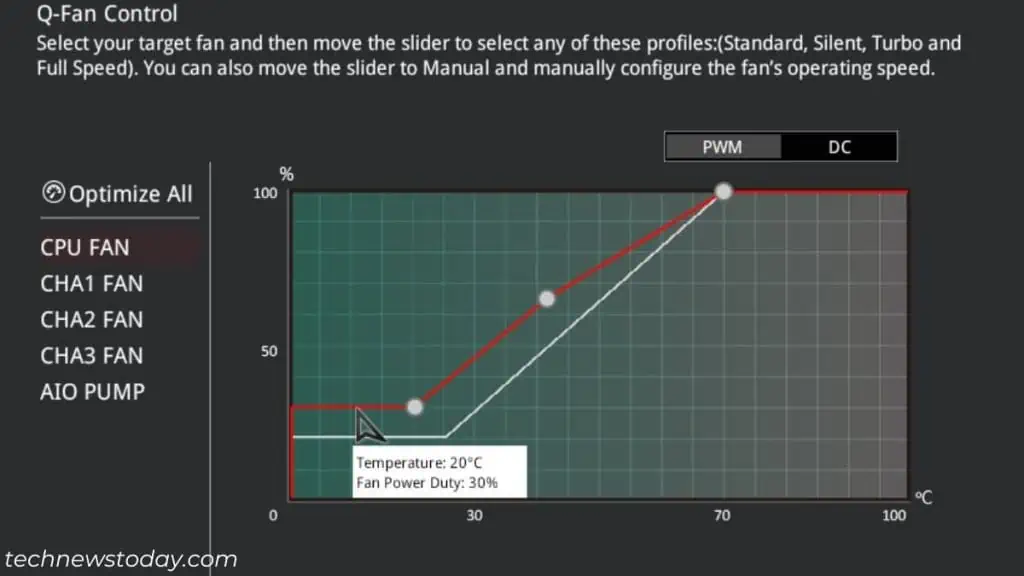
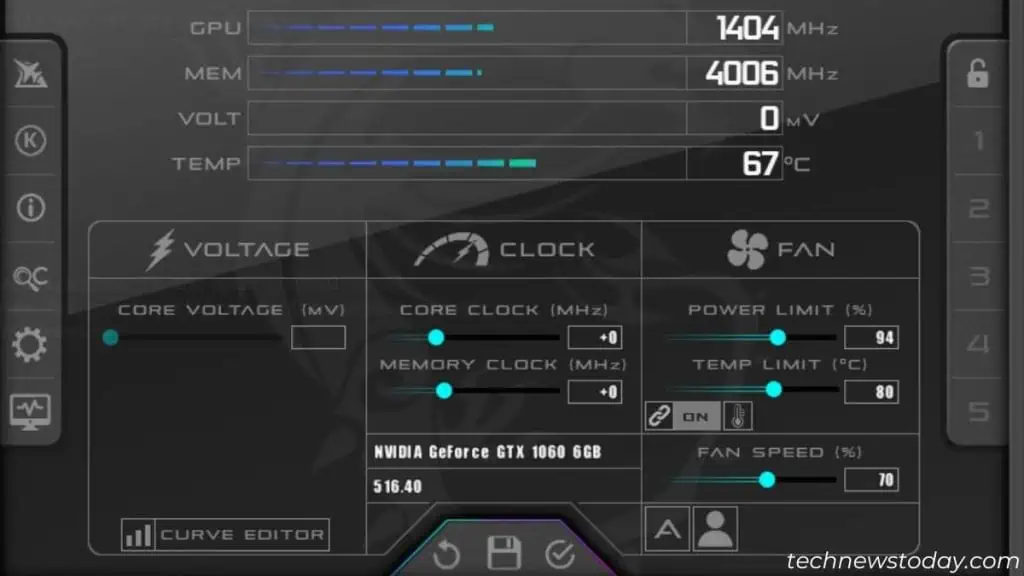
You can plot your own fan speed curve from BIOS or using a reliable third-party utility.
Note that this varies on every PC setup. So, experiment with different curves and finalize the one where your rig’s temperature stays ideal.
Tweak System Cooling Policy
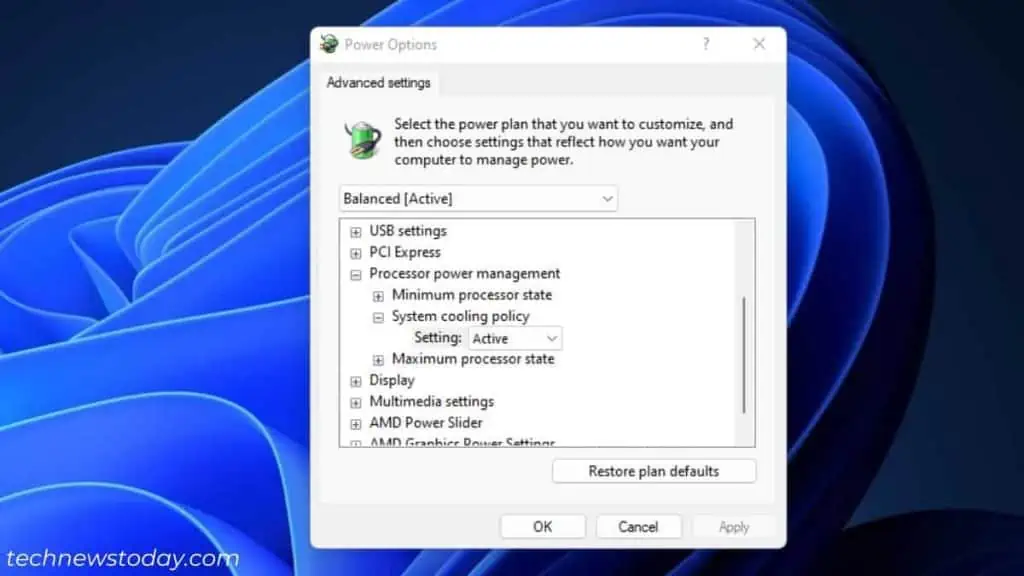
Setting the Windows System Cooling Policy to Active increases the fan speed without affecting the processor performance, exactly the opposite of what Passive does.
Visit Control Panel > System and Security > Power Options. Click on ‘Change plan settings’ next to the chosen power plan and pick Change advanced power options.
In the Power Options dialogue box, expand Processor Power Management > System cooling policy > Setting > Active.
Underclock or Undervolt the Components
When you push your CPU / GPU / RAM over the limits, it draws more voltage, and this also leads to more heat generation.
So, it’s not good for the overall health of your rig. To ensure the PC remains cool, finding the right balance between the components’ frequencies and temperature is essential.
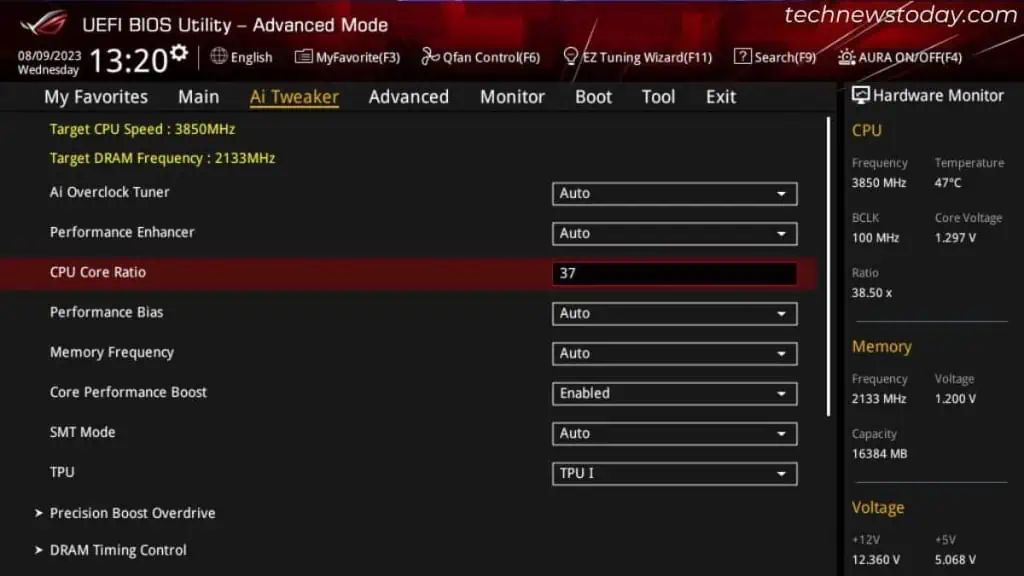
Never settle for automatic OC settings. These values might make the system stable but the temperature may remain constantly high.
Instead, experiment and stress test different clock speeds at distinct voltages.
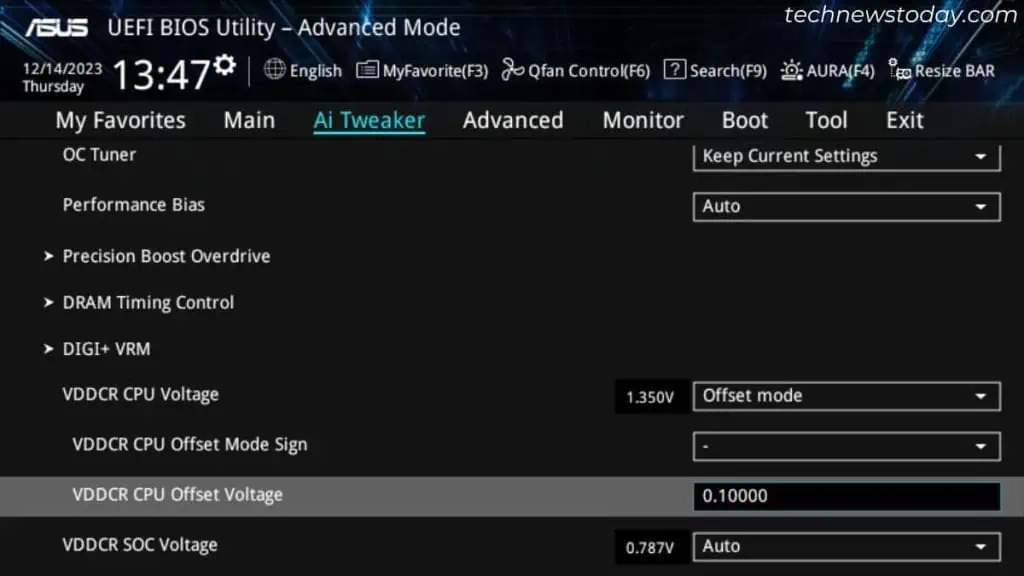
While underclocking is one option, you could opt for undervolting your components as well. The idea is to reduce the CPU / GPU / RAM voltage whilst having a high clock frequency.
Replace Thermal Paste/Pads
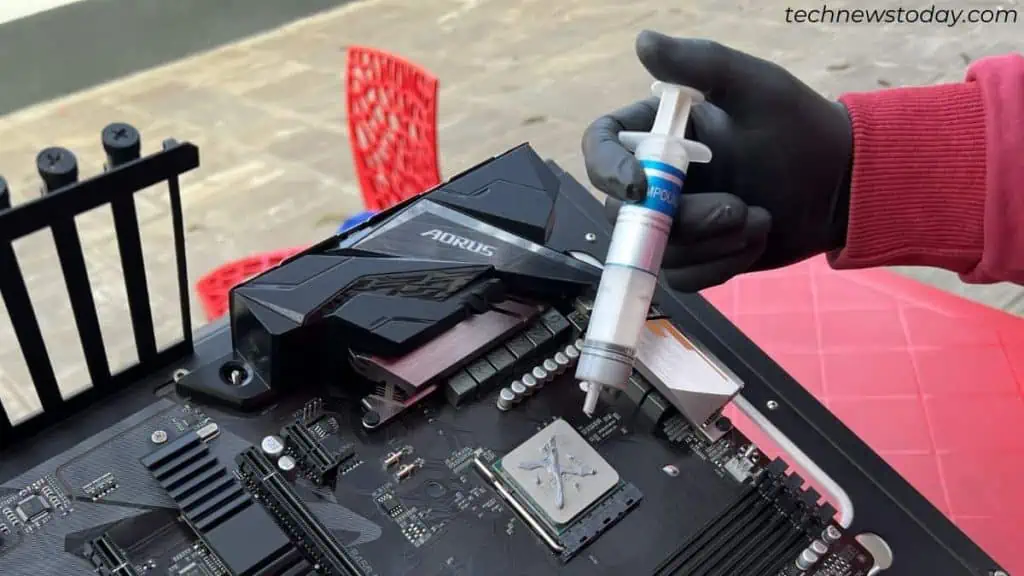
If the thermal paste doesn’t spread properly, heat transfer from the CPU/GPU to the heatsink won’t be efficient.
The same is the case if you haven’t replaced thermal paste for a long period. Dried paste leads to poor heat conduction and the CPU/GPU temperature goes high.
So, applying the right amount of thermal paste is important!
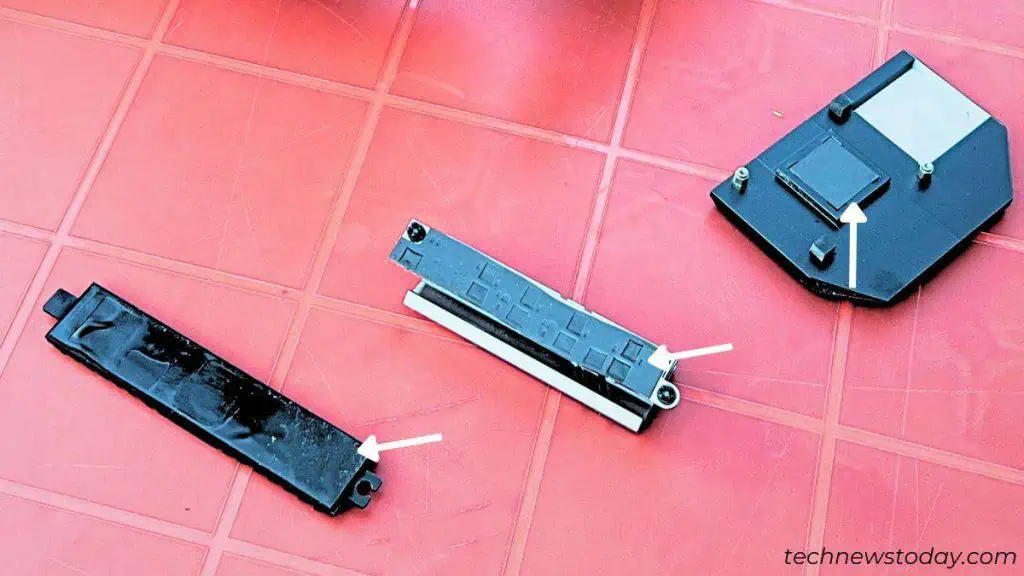
In most boards, both the chipset and VRM heatsinks utilize thermal pads. Unlike the thermal paste, these tend to last longer. But if your PC is too old, prioritize replacing them (keep in mind about the right thickness).
Upgrade Your Cooling Unit
If none of the solutions helped cool down your computer temperature, this calls for upgrading the components.
- Start by increasing the case fans. The more the number, the higher the velocity, leading to directed airflow in the hottest components.
- But this also means more noise. So, I advise going for those rated to be silent. MagLev (or magnetic levitation) fans are getting popular these days as they even tend to last longer.
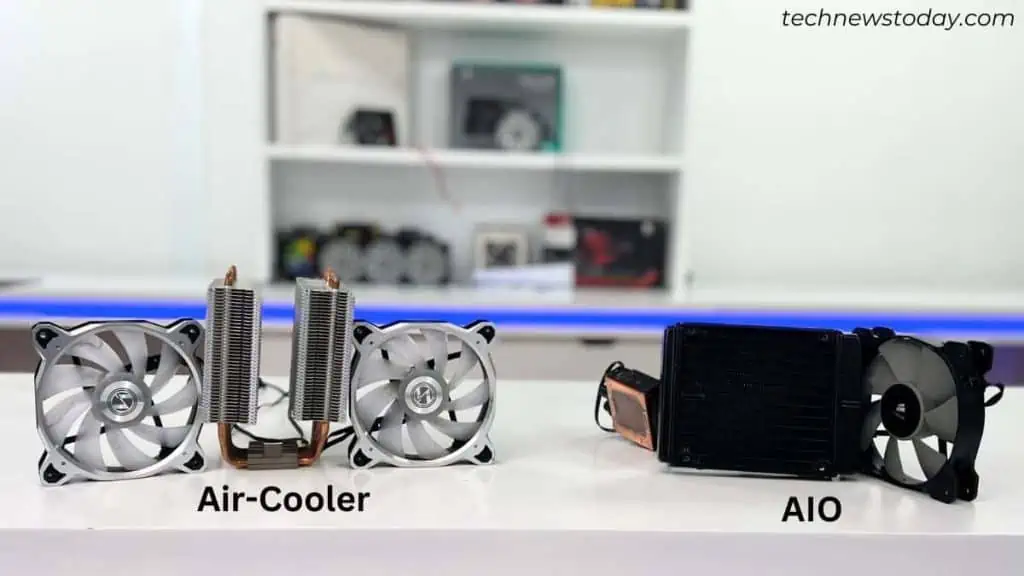
- Some stock coolers are worthwhile (for general purposes and light gaming). But I still advise upgrading to a good-quality air (HSF) cooler or an AIO.

- Beginners are recommended to pick an AIO over the custom loop. The latter takes extra time and effort during setup and is also hard to maintain.
Upgrade to a Better PC Case
This isn’t a compulsion, but replacing a CPU cooler often calls for upgrading to a compatible PC case.
There are a lot of factors to consider when choosing a computer case. Above everything, make sure you get one that’s best for airflow and comes with high-quality dust filters.
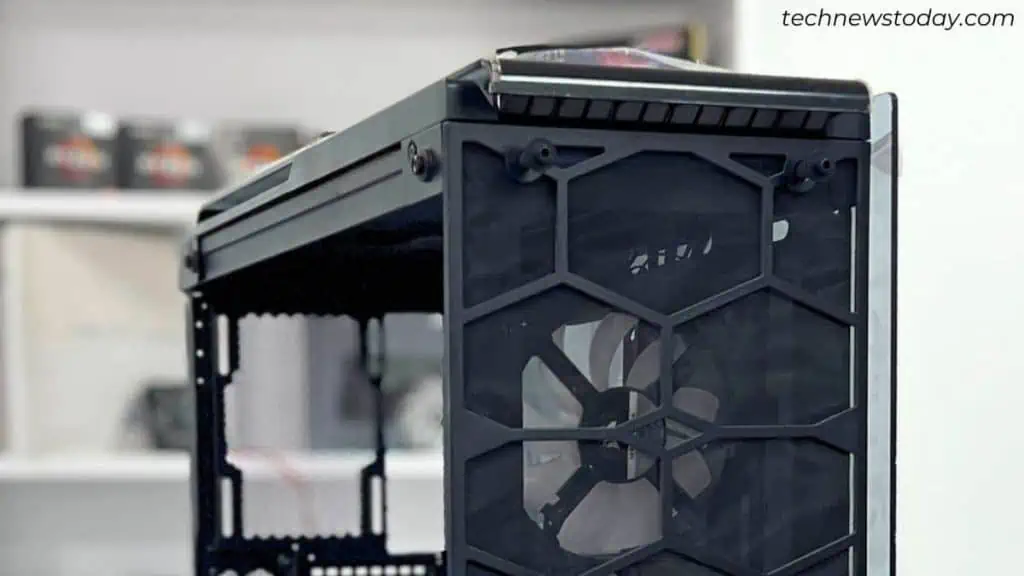
Some even have mesh front/top panels behind the main one such that the intake fans have no airflow obstruction. Remove the top panel and let the fans take in enough air.
A bigger case is always better for optimal cooling, but you may still opt for a smaller one depending on your motherboard’s form factor. Just adopt every technique I’ve mentioned in this article.

