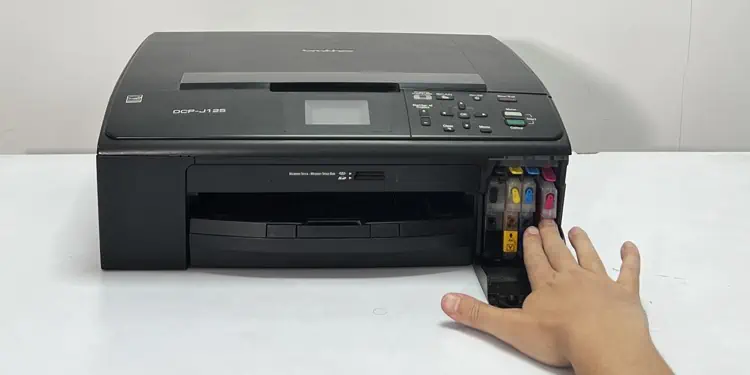
If your printer is running low on ink, it can print blank or faded pages or keep showing a “Low Ink” message. This is an indication that it’s time to install new ink cartridges into your printer.
However, the process to put the ink cartridges in a printer varies depending on whether your printer has a two cartridge or four cartridge setup.
Here, I have prepared a detailed guide on how to put ink cartridges in both kinds of setups.
Safety Instructions
- Always put the cartridges with your printer powered on.
- Do not refill and use the cartridges.
- Only use genuine ink cartridges from your printer manufacturer.
- Do not shake the cartridges before installing them.
- Do not change the cartridge in a dusty environment.
- Only unpack the new cartridge after removing the old cartridge.
- Check the C,M,Y,K color label properly before inserting the cartridges.
- Remove the plastic cap and thin protective film before inserting the cartridge.
- Do not touch the yellow colored contact chips and nozzle on the cartridge.
Put Ink Cartridge on Printers With Four Cartridge Setup
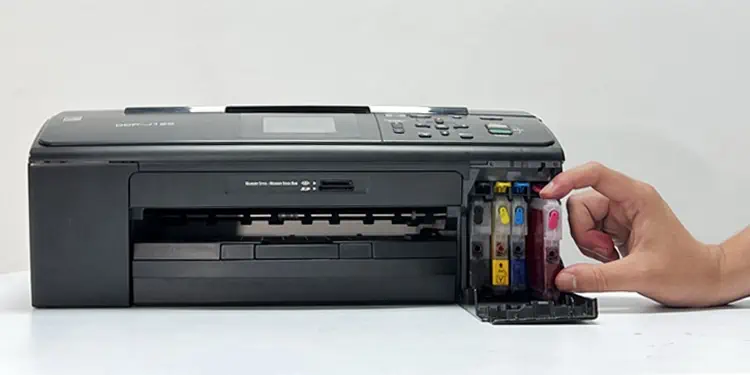
Most of the printers today come with a four cartridge setup. In such printers, you will see each cartridge holding Cyan, Magenta, Yellow, and Black (Key) ink respectively. One example of such a printer is the Brother DCP-J125 printer.
Let’s see how to put ink cartridges on such printers. However, note that the steps are also applicable to other printer models with four cartridge setup.
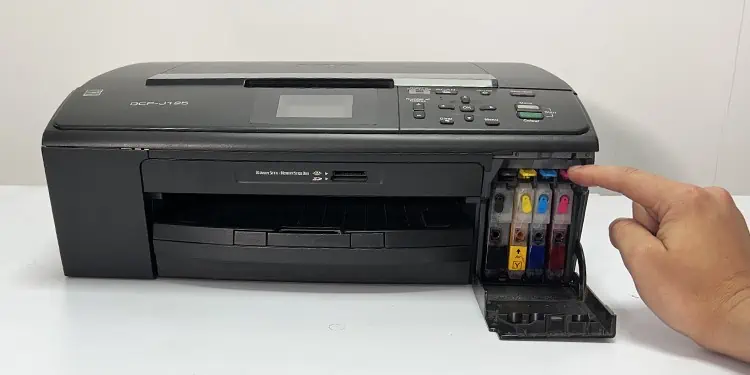
- First, open the access door that houses ink cartridges on your printer. It normally lies in the front panel or under the top cover of your printer. Refer to the user manual to see the exact location.

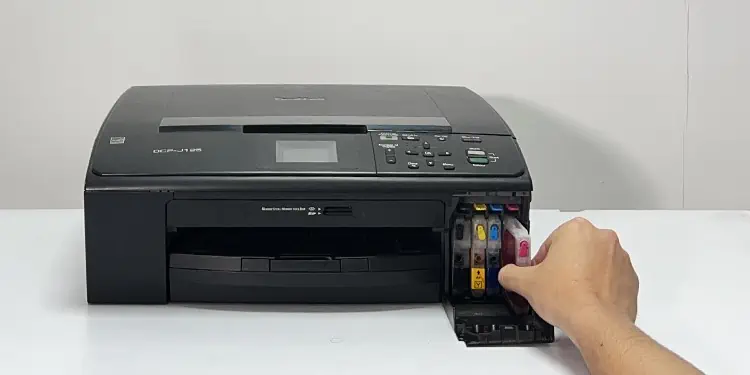
- Gently press the lever on the top of the old cartridge to dislodge it. In some models, you may need to push the cartridge itself to dislodge and remove it.

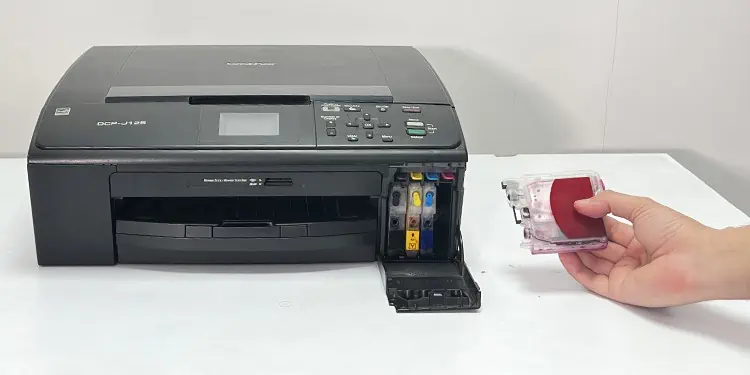
- Pull the cartridge out of the compartment using your hands.

- Keep the old cartridge aside.

- Now unpack the new ink cartridge.
- Remove the protective cover on the cartridge.
- Also, remove the protective plastic film that covers the contact chip and nozzles.
- Your cartridge should look like this before inserting.

- Now push the cartridge inside until it fits into its position. You will hear a snap sound after it gets correctly into its place.

- Close the access door.
Put Ink Cartridge on Printers With Two Cartridge Setup
Some printers like HP Deskjet 2700 and 4100 series printers come with a two cartridge setup—one tricolor cartridge for storing Cyan, Magenta, and Yellow color and another black cartridge for storing black color.
Follow these steps to install ink cartridges on such printers. The steps are also applicable for other printer models with two cartridge setup.
- Turn on the power supply of your printer and press the Power button to turn it on.
- Open the front door.
- Then open the cartridge housing door.
- The cartridges will themselves come to the center, from where you can remove them easily.
- Wait till the printer stops making a sound.
- Use your finger and gently push down the cartridge. It will dislodge the cartridge from the slot.
- Hold the cartridge from the sides using your thumb and index finger. Then remove it.
- Now unpack the new cartridge.
- Remove the plastic cover that covers the printhead and yellow-colored contact chips. Do not touch the chips or printhead while inserting the cartridge.
- Then hold the new cartridge from the sides and insert it into the cartridge slot.
- Slightly tilt the cartridge upwards when you are inserting it. Then press it upside. You will hear a sound once it gets fitted properly in the place.
- Close the cartridge housing door as well as the front door.
Refer to this detailed guide to know more on how to fix printer alignment issues on printers.

