Your HP printer supports various paper sizes—including A4-sized paper, photo papers, and envelopes. However, incorrectly loading the papers can lead to paper jams and errors message like “Printer Out of Paper.” So, you should first know how to insert the papers correctly into the tray.
According to HP, the paper tray should contain at least 10 but no more than 25 sheets of paper. In the case of envelopes, it’s best to insert no more than 5 papers at a time.
How to Put Paper on Printers With a Front Paper Tray?
Generally, the OfficeJet and LaserJet series printers from HP have a front paper tray. You can follow these steps to put papers in such printers.
Loading Normal Papers
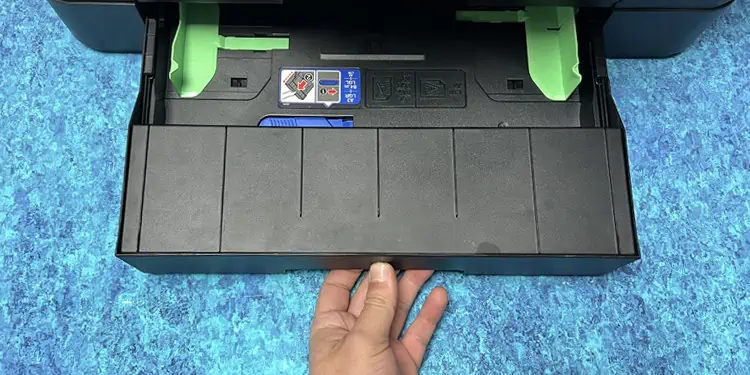
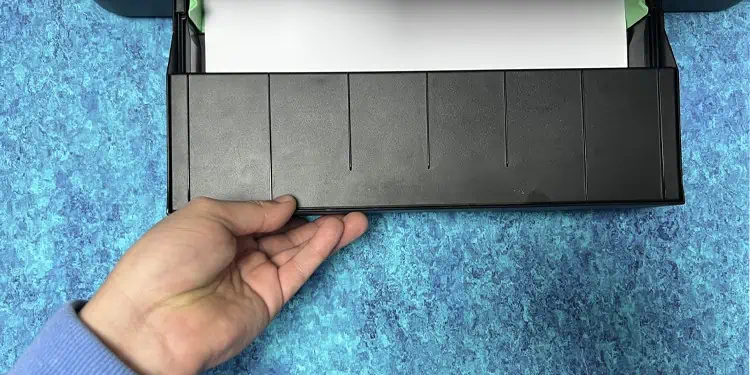
- Use the handle to pull out the input tray of your printer.

- Remove old papers, if there are any.
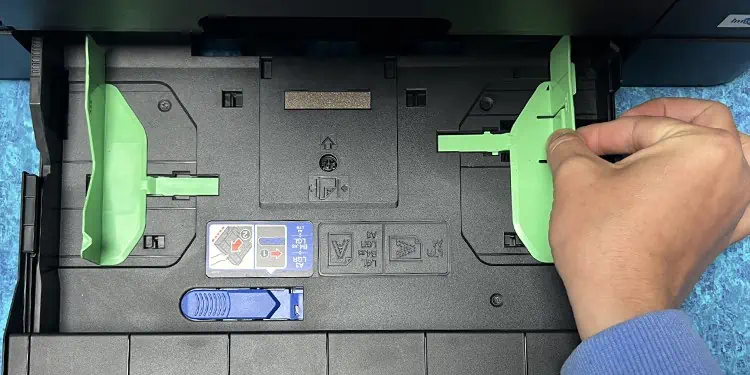
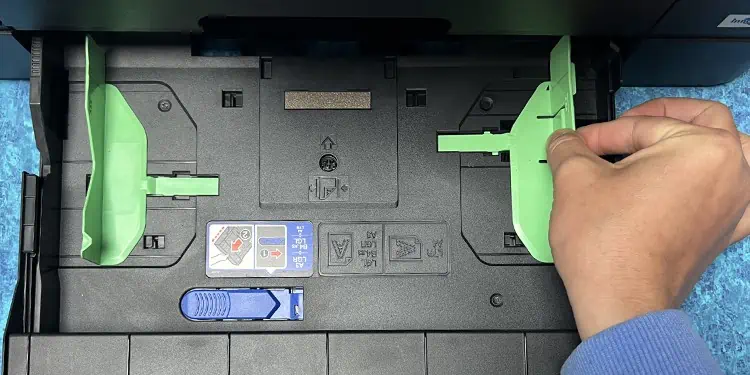
- Press the latch of the paper guide and move it aside.

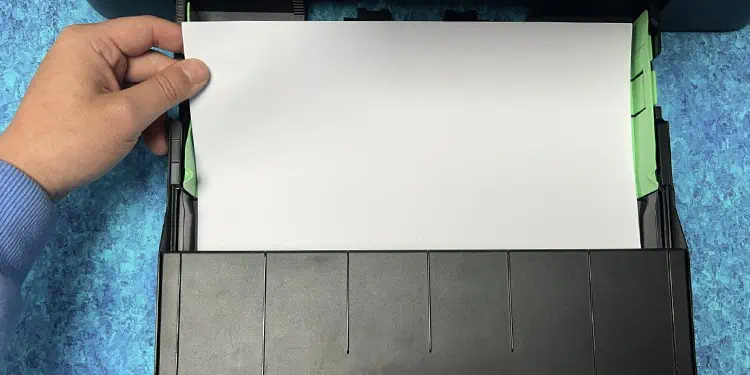
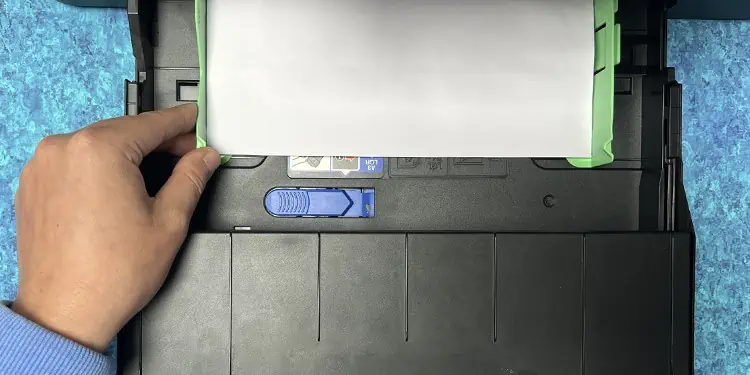
- Insert the papers into the tray. Avoid bending the edge of the papers.

- If the paper size is larger than the size of the tray, you can also extend the paper tray using the slider on the left edge of the tray.
- Fasten the papers using the paper guides. But avoid twisting and bending the papers.
- Now push the input tray to fit its slot.

Loading Envelopes and Photo Papers
- Slide the paper tray out of the printer.

- Move the paper guides apart.

- Place the envelopes or photo papers in the tray. If you have inkjet printers, face the printing side downside. While, if you have laser printers, face the printing side upside. And the envelope enclosure (flap) should be on the left side.

- Fasten them using paper guides.
- Push the tray into the printer.
How to Put Paper on Printers With a Rear Paper Tray?
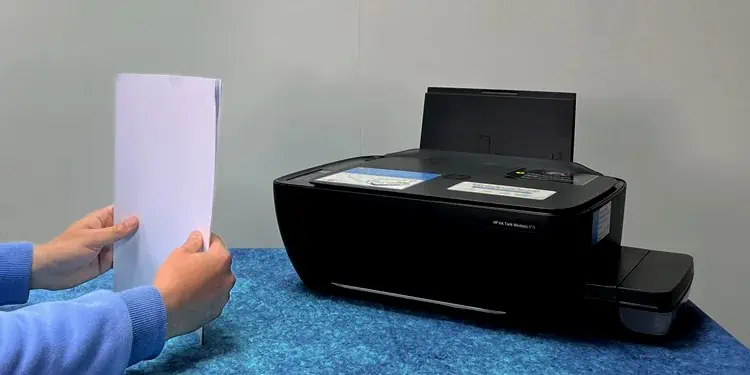
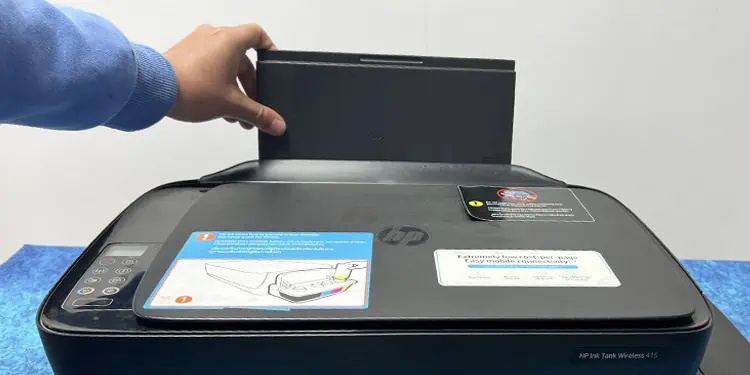
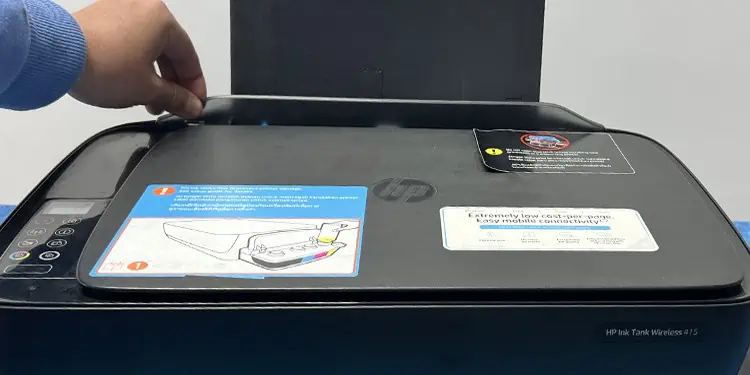
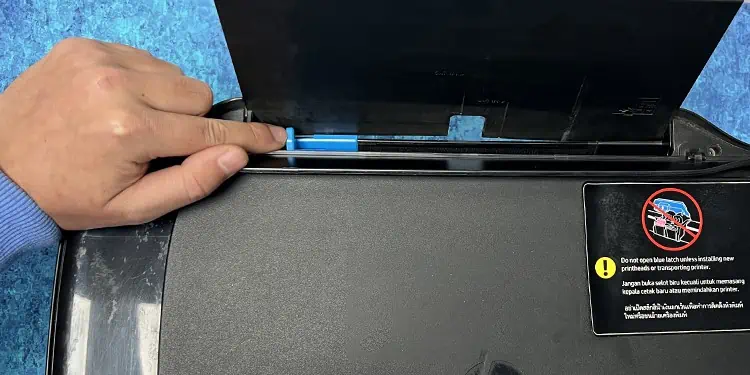
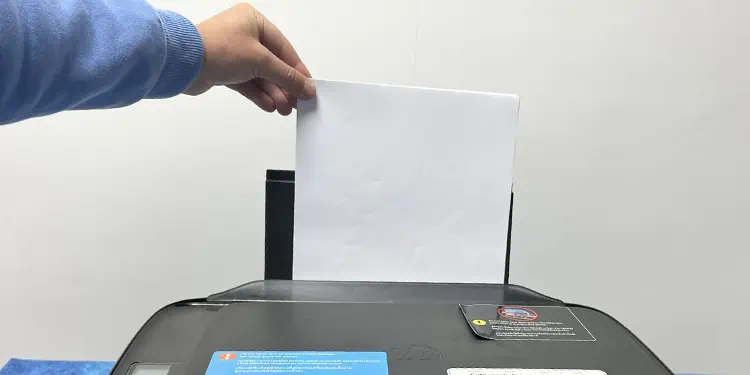
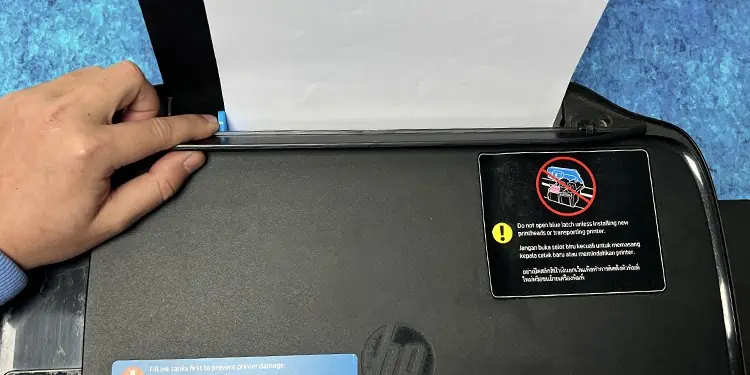
If your printer has an input tray on the rear side, follow these steps to put papers into it. Here, we are using the HP Ink Tank Wireless 410 Series printer for demonstration.
Loading Normal Papers
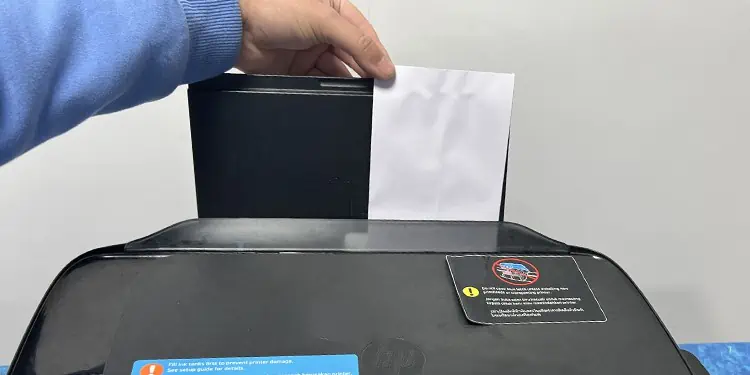
- Pull the input tray all the way up until it locks into the position.

- Open up the flap.

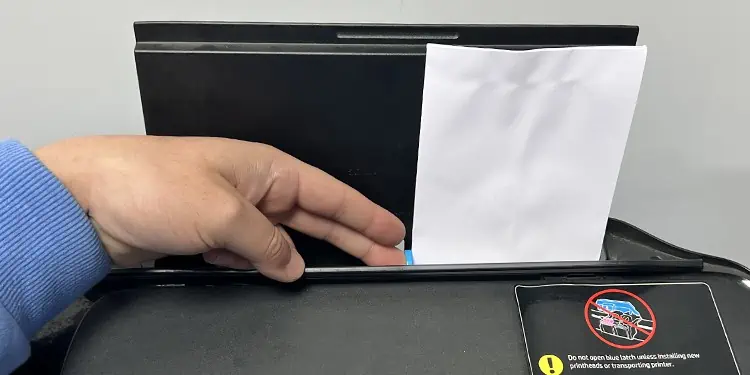
- Drag the paper fasteners till it reaches the leftmost corner.

- Get the stack of papers and insert it into the paper tray such that the shorter edge of the paper enters the tray first. Don’t bend the papers while inserting them.

- Now slide the paper fasteners just to touch the edge of the paper. Be careful here. You should not bend the papers while fastening them.

- Let the flap close.
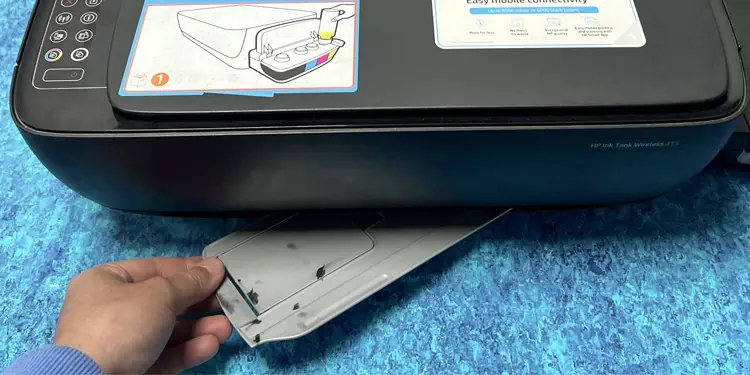
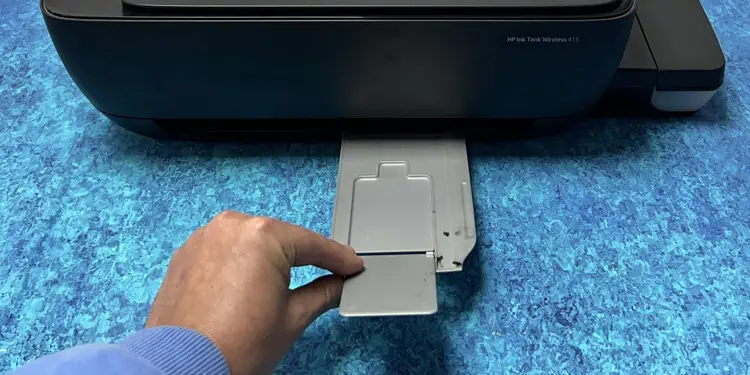
- Then pull out the output tray.

- Raise the extender of the output tray.

Loading Envelopes and Photo Papers
- Access the input tray by pulling it upwards.
- Slide the paper guides away.
- Get a few envelopes or photo papers and align them such that the printing side faces upside. The envelope’s flap should lie on the left side.

- Insert papers to the right side of the paper tray.
- Bring the guides close to the papers and secure them without making any twists and bends.

After loading the papers into the paper tray, you should adjust the paper size correctly on your computer. Otherwise, the printer can show errors like “Printer Out of Paper” or “Paper Size Mismatch.” To prevent it from happening, you can consult our detailed guide on how to change paper size on HP printers.
We also recommend you remove the papers from the tray once you complete the printing. Leaving papers on the tray can degrade their quality over time due to environmental factors like moisture and dust.

