When you encounter a paper jam on your printer, it refuses to print and returns an error message like “Paper jam,” “Jam in Fuser,” or other manufacturer-specific code on the screen.
A paper jam happens when a piece of paper gets stuck in your printer while printing. It can occur in the paper tray, along the paper path, or in the carriage area.
Several factors can contribute to paper jams on your printer—for instance, using low-quality papers, inserting papers incorrectly, or overloading the printer with too much paper in the tray.
Dos and Don’ts While Removing the Paper Jam
- Always turn off your printer before removing the jammed papers. Also, remove the power cord from the power supply.
- Use both your hands to clear the jams.
- Be gentle and calm while removing the papers.
- Use a flashlight to check for paper scraps in the inaccessible area of the printer.
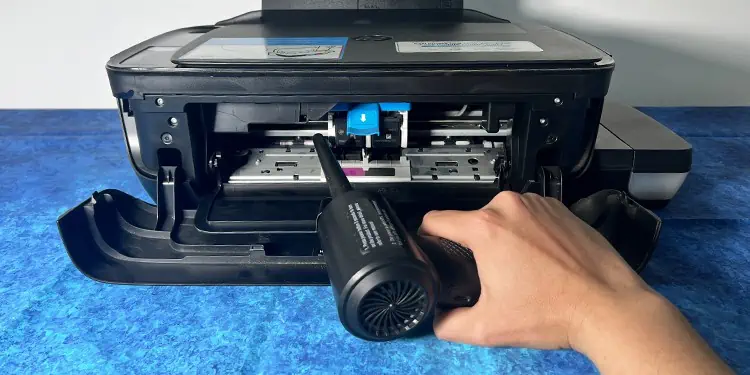
- Clear the paper scraps with a blower. You may also use a tweezer to take them out.
- Do not touch the encoder strip (a thin plastic strip behind the ink cartridge) to avoid print quality issues.
- Restart your printer and try printing again after clearing the paper jam.
With that, let’s now find out how to remove the jammed paper on your printer.
Remove Jammed Paper From Input Tray
The input tray is most prone to paper jams, which generally occur when you have not inserted the papers correctly in the tray.
When the papers are misaligned, the feed rollers can not intake the papers properly. Similarly, if the papers are loosely stacked, the roller feeds multiple pages to the printer at once, causing paper jams.
You can follow these simple steps to clear out jammed papers from the input tray.
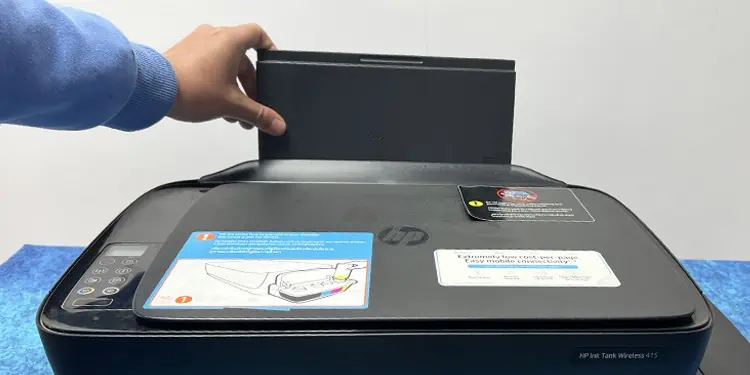
- Raise the input tray.

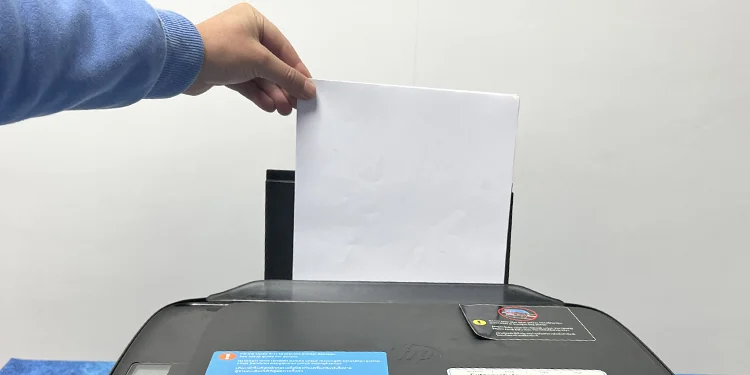
- Remove other papers that are still in the input tray.

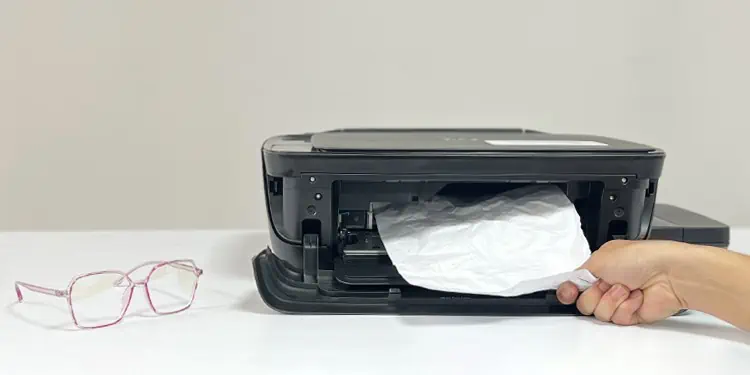
- Now keep calm and remove the stuck papers. Refrain from pulling the paper using only one hand. You may tear it and make the issue more complex.
- Grab a flashlight and look inside the input tray. Remove any paper scraps or foreign bodies stuck there.
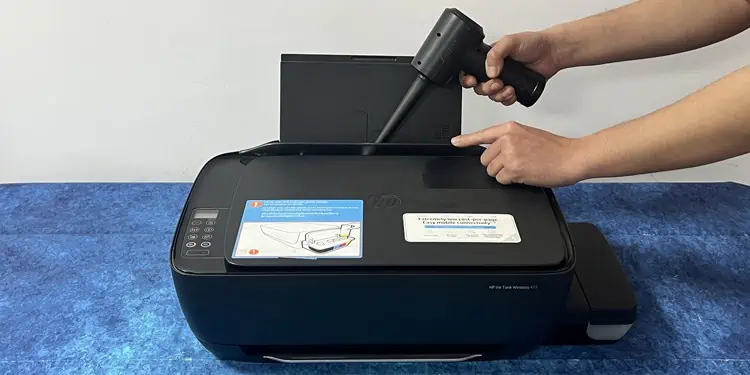
- In the end, I recommend you take a blower and clean the input tray.

- If your printer has Automatic Document Feeder (ADF), consider checking the ADF assembly for jammed papers as well.
Remove Jammed Paper From Carriage Area
Once the feed rollers feed the paper from the input tray, there are a series of roller wheels responsible to take the paper to the printing assembly (carriage area) of your printer.
Sometimes, these roller wheels can jam and cause paper jams in the carriage area. Here’s how to remove jammed paper from this area.
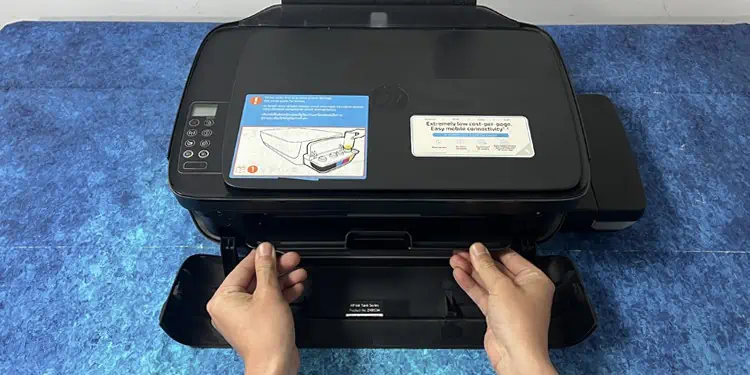
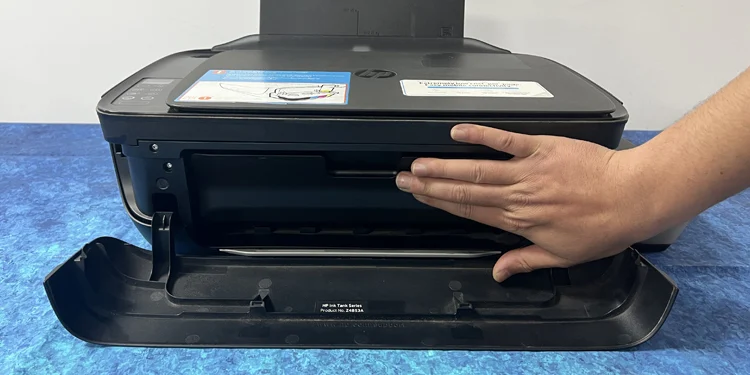
- Open the doors on your printer that give you access to the carriage area. You should generally open the front door and carriage access door for this.

- In some printer models, you can access the carriage area just by lifting the scanner assembly. Please check your printer model and act accordingly.
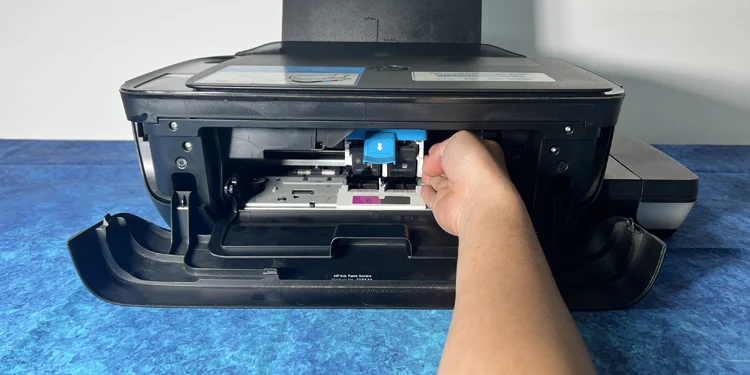
- Once you see the cartridge assembly, gently move it to one of the sides.

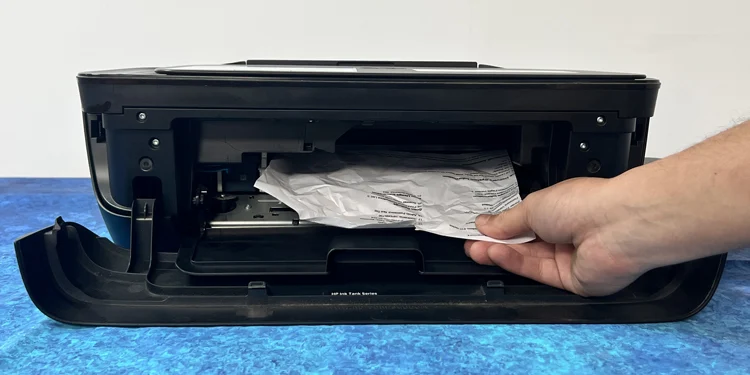
- Remove the jammed paper from the carriage area. Be careful if the paper is stuck below the ink cartridge. You could end up misaligning the printhead during the process. You may run the printhead alignment cycle and then clean the printhead if you face low-quality printing issues after removing papers from this area.

- After that, you may use a blower to clean paper scraps.

- Try sliding the carriage assembly. It should slide freely to the left and right if there are no stuck papers remaining in there.
- Once you are done, close the access doors.

Although it is easy to deal with paper jams on your inkjet printer, fixing paper jams on a laser printer can be quite sophisticated. I recommend you call a printer expert in such a case. Nevertheless, you may try some basic troubleshooting.
- Open the toner access door of your laser printer.
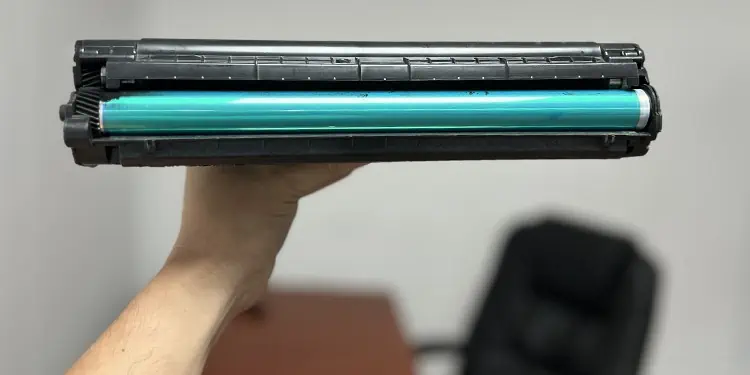
- Remove the toner cartridge.
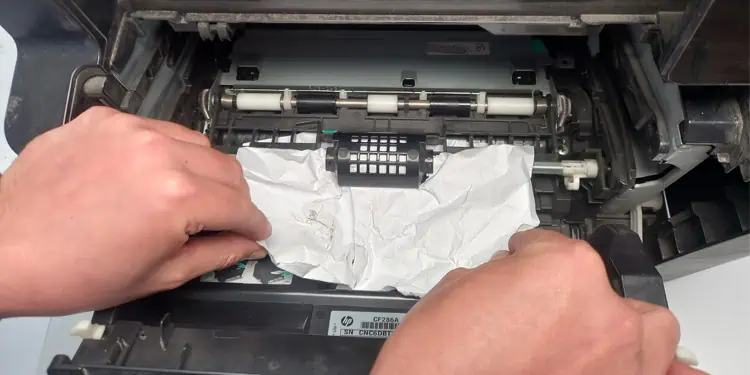
- Check and remove if there are any stuck papers in the rollers. Avoid touching the rollers with your bare hands.

- Remove paper from the toner cartridge area.

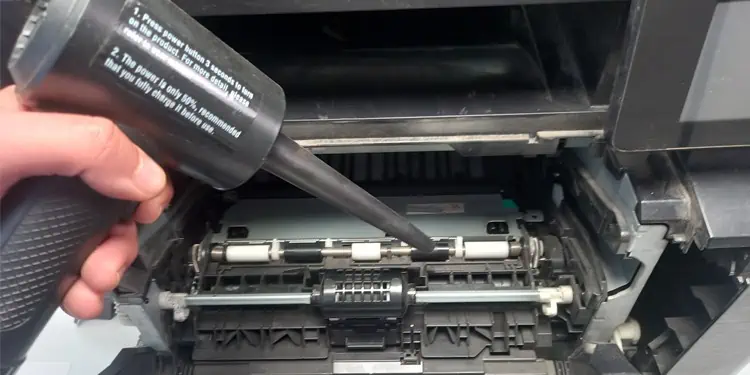
- Blow the cartridge area.

- Re-insert the cartridge and close the toner access door.
Remove Jammed Paper From Paper Path
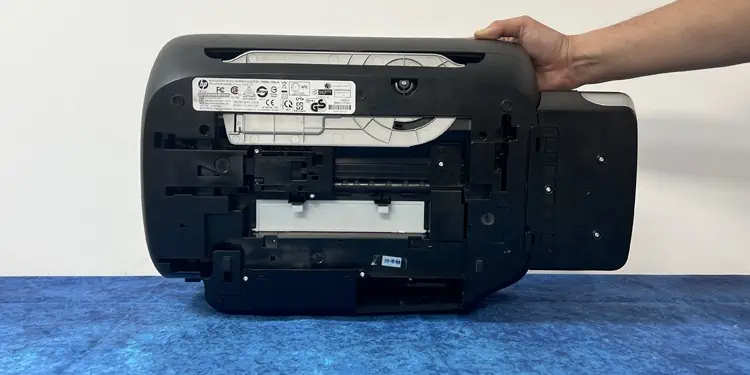
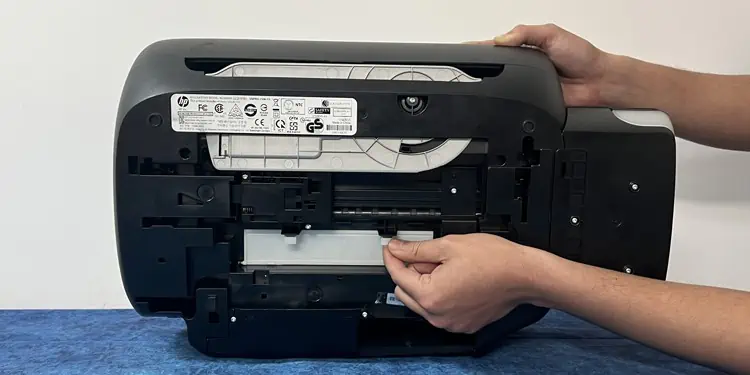
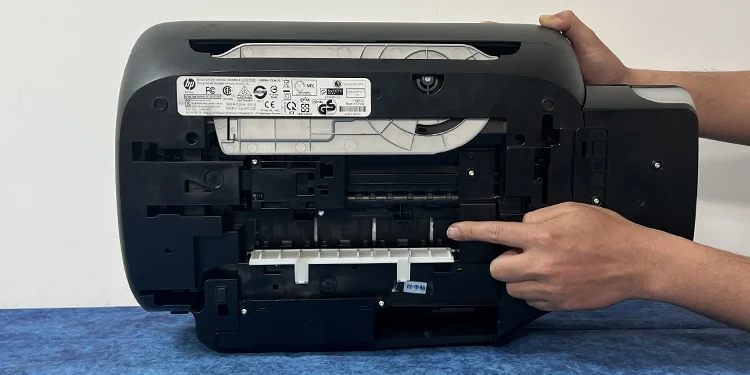
As the name states, a paper path is the way through which the paper passes on your printer. Depending upon your printer model, the paper path may lie either underneath the printer or on the rear side of the printer. You should also check out this area for paper jams and clear it if there are any.
- Make your printer intact by closing the input tray and output tray.
- Hold the printer by its side and access the base of the printer.

- Gently push the tabs to unfasten the paper path door.

- Remove jammed papers from the paper path. Be careful not to tear them.

- Once done, press the tabs to close the paper path door.

