The average life expectancy of a hard drive is about three to five years. Over time, you may notice clunking sounds, laptop freezing issues, or degradation in the overall performance. These are the common signs that your storage device is failing, and it’s time for a replacement.
Upgrading a laptop’s hard drive can boost its performance and even improve storage space. However, you need to know certain things before getting a new disk drive and the proper technique for its removal. Regarding the same, here’s a comprehensive guide that should help you properly replace a laptop’s hard drive.
Step 1: Know Your Laptop’s Hard Drive Slot
Not all laptop hard drive slots are the same. They differ in terms of form factor, interface, and location. This is entirely based on your device’s make and model. Therefore, we do not advise getting a new hard disk without properly knowing your laptop’s drive bay. If you already have a replacement drive, you can directly proceed to the third step.
Form Factor
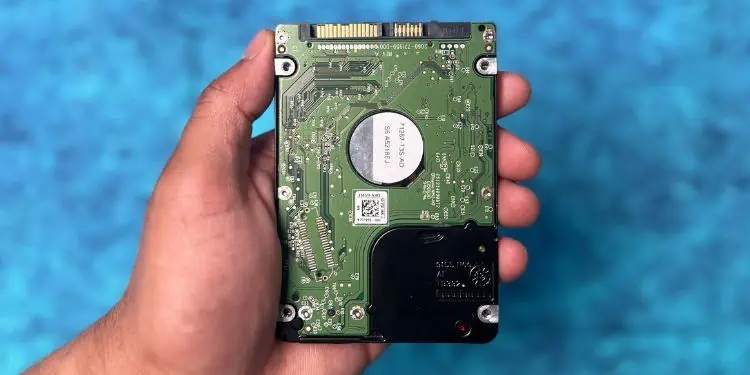
Some laptops come with both HDD and SSD slots, while others only support one of the two. Also, depending on your model’s form factor, it can come with multiple hard drive slots.
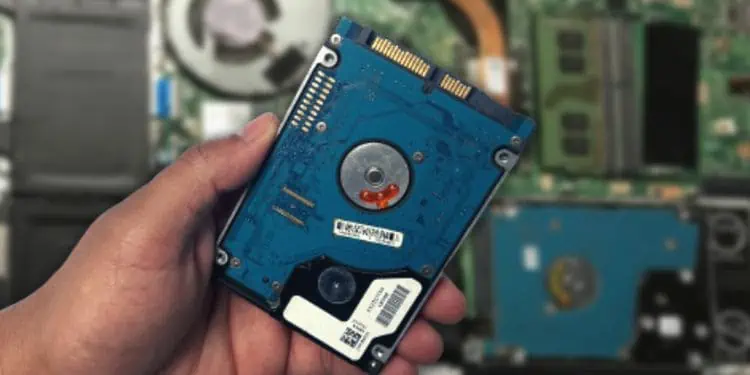
Unlike desktop computers, laptops only support smaller form factors (2.5-inch) hard disks. However, you cannot directly connect the 3.5 HDD to your notebook computer. If you want to, you may use it as an external drive, but it requires appropriate adapters.
Interface
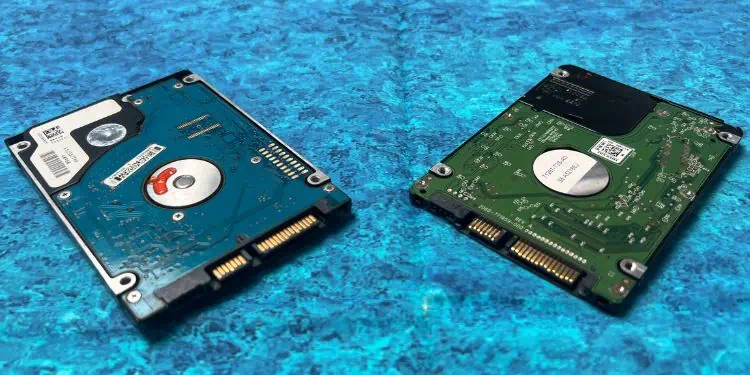
While some older laptops have IDE/PATA interfaces, most modern ones utilize SATA. You can also find 2.5 SCSI hard drives that can fit into both laptop and desktop computers.
Those models with SATA and SCSI have integrated data and power connectors. So, you can directly insert the drive, without having to worry about connecting the cables. But for the PATA interface, you require a cable connection.
Location
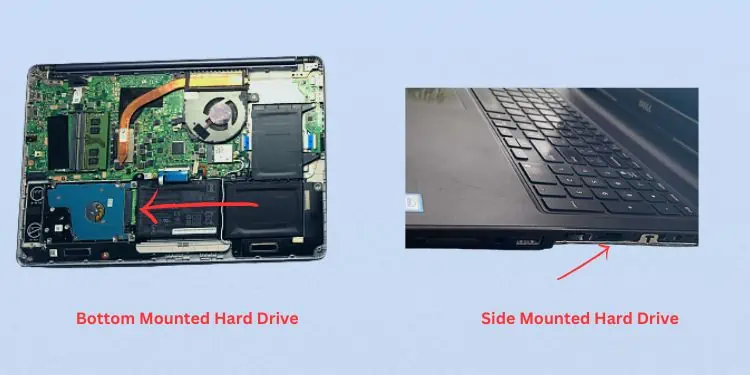
The final thing to check is the laptop’s internal hard drive bay location. While most are front-mounted, you can even find models with side-mounted and bottom-mounted slots.
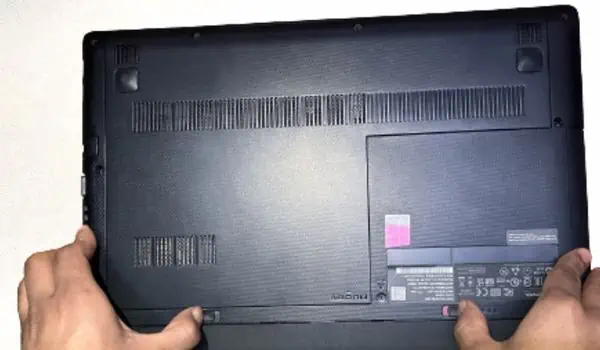
The front-mounted hard drive is located right below the laptop’s keyboard panel. On the other hand, a bottom-mounted hard drive can be found beneath the laptop, usually in a dedicated rectangular section. To remove the former, you require opening the bottom casing, but for the latter, you can simply unscrew the dedicated section.
If you have replaced the CD/DVD drive with a secondary hard drive slot, your hard drive is likely mounted to the side panel of the panel.
Step 2: Get a New Hard Drive
Other than the form factor and interface, there are plenty of things to consider when getting a new hard drive. Before anything else, choosing a reliable and popular brand is extremely important. Some known manufacturers include SanDisk, Toshiba, Seagate, Western Digital, Kingston, etc.
- Storage Capacity: This specification is completely based on your opinion. If you’re ready to spend extra bucks, we recommend getting a drive with the highest storage capacity.
- Rotational Speed: Measured in RPMs, it is simply the rotational speed of the motor’s spindle. The faster the spindle rotates, the higher will be the read/write speed; thus increasing the overall performance. But this specification also depends on other factors, which we will discuss below.
- Data Throughput: It is simply the measurement of how fast your hard drive can perform read/write operations. You can directly look for a higher RPM to achieve better speed.
- Power Consumption: Some hard drives, like the WD 1TB 5400RPM SATA HDD supports advanced power management features to reduce power consumption. As a general rule, we advise looking for a lower RPM drive if you want a device that consumes less power.
- Noise Reduction Technology: Some HDDs include the Automatic Acoustic Management (AAM) feature that significantly reduces noise. Since higher RPM magnetic disks rotate faster, they produce much more sound. So, if you want to avoid this, it’s best to look for a lower RPM.
- Cache Memory: With a greater cache memory, accessing and storing data becomes much quicker. This is measured in MegaBytes (MB), and we recommend getting a higher one.
- Warranty: Aside from the important features, you should also look for a longer warranty period.
Step 3: Clone Your Hard Drive
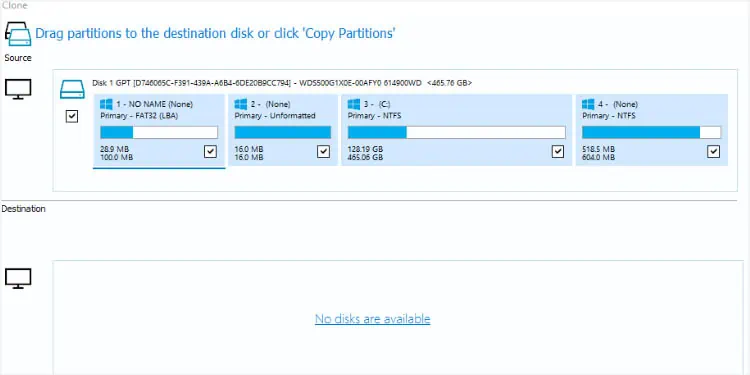
Now that you’ve got the replacement HDD, we advise cloning your source drive. This involves duplicating all data, including both personal and system files. In simpler words, it creates a replica of your currently installed storage device.
However, the process requires third-party software, like Clonezilla, AOMEI Partition Manager, Macrium Reflect, O&O Disk Image, etc. We have already prepared a guide that should help you clone your hard drive in no time. This method works for both HDD to HDD and HDD to SSD. Before following the steps, do ensure you have backed up all your important files as a precaution for clone failure.
During the process, you can even choose to move Windows to the target drive and copy all the partitions. However, if your wish is to reinstall Windows and start everything from scratch, you may directly move to Step 4. Note that this will also completely erase the partitions.
Step 4: Turn Off Laptop and Disassemble Parts
Once the preliminary steps are completed, it’s time to disassemble the parts and get to the HDD slot. Since the hard drive’s location is different based on the laptop’s make and model, you’ll need to adopt different steps for each.
If your storage drive is front or side-mounted, you do not need to remove the bottom case cover. Instead, you can directly unscrew the dedicated section. But since most laptops support bottom-mounting the hard drives, follow the steps below on what to do next.
Caution: It’s essential to ground the laptop or yourself before touching any internal component. This is to avoid any static buildup that may even damage your device. You can either use a wrist grounding strap or occasionally touch a metal surface.
- First, properly shut down your laptop.

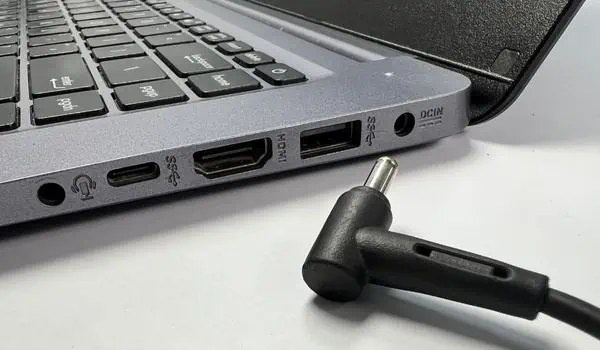
- Next, unplug the AC/DC adapter and also disconnect all the peripherals.

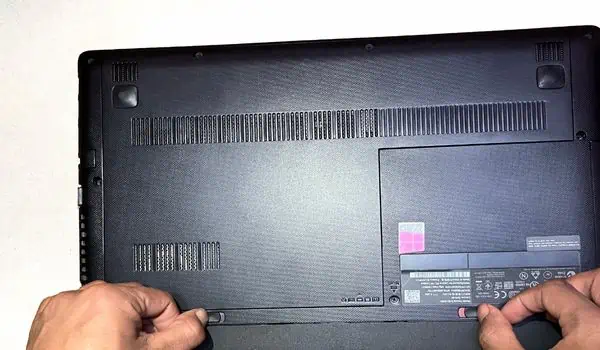
- If your laptop has an external battery, turn your laptop upside down and slide the dedicated switches. This should pop the battery out.

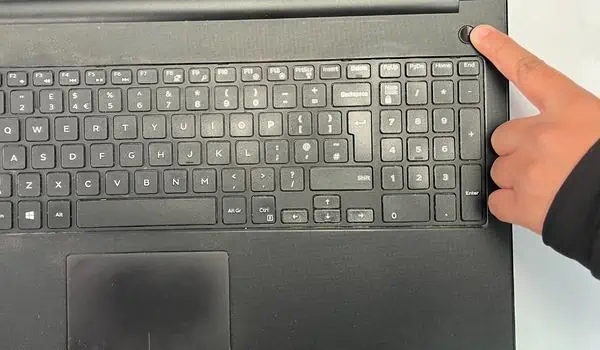
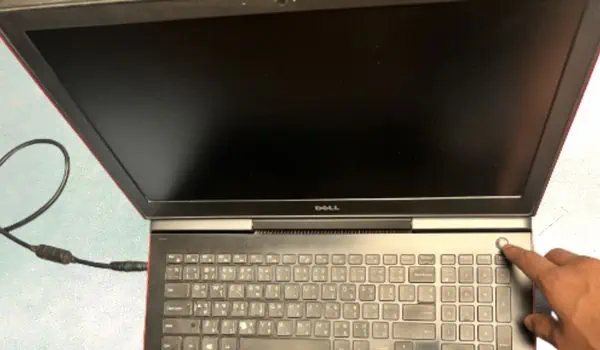
- Then, press the power button for at least 10 seconds to discharge the remaining capacitors.

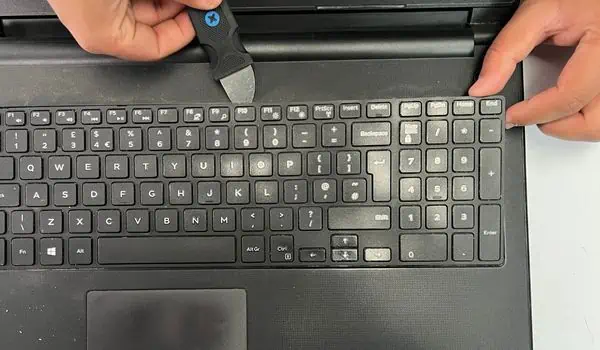
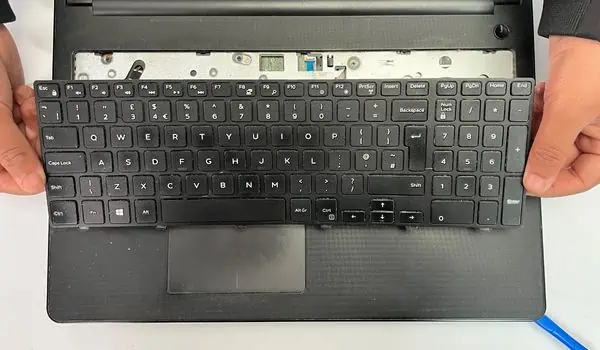
- Now, use a pry or a flat-headed tool to take off the keyboard panel.

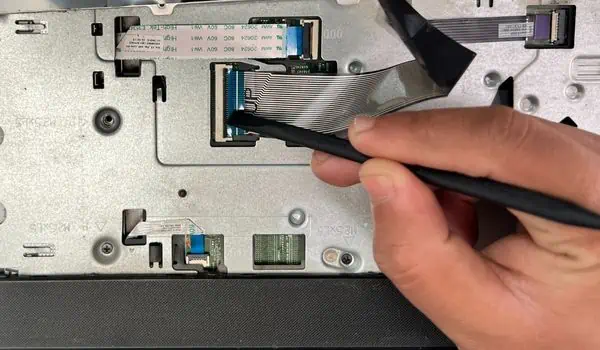
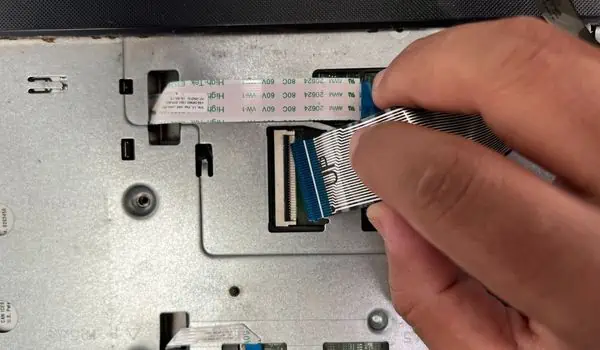
- In some laptops, you might find a ribbon cable. Use the flat-headed pry tool to disconnect it from the port. Make sure you take extra care as the cable is quite fragile and delicate.

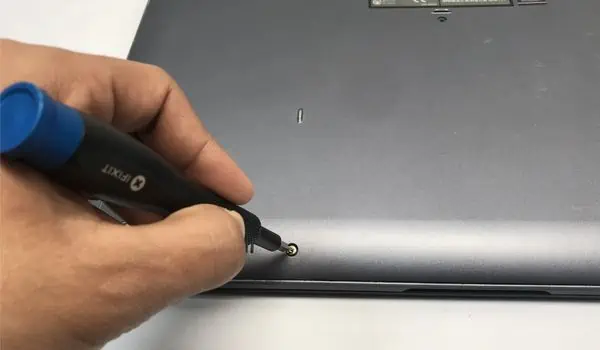
If your laptop doesn’t have a ribbon cable, you might find other types of connectors. So, ensure disconnecting all of them before moving forward. - Next, untighten all the screws that hold the bottom casing in place. While doing so, also note where the bigger and smaller ones have been screwed.

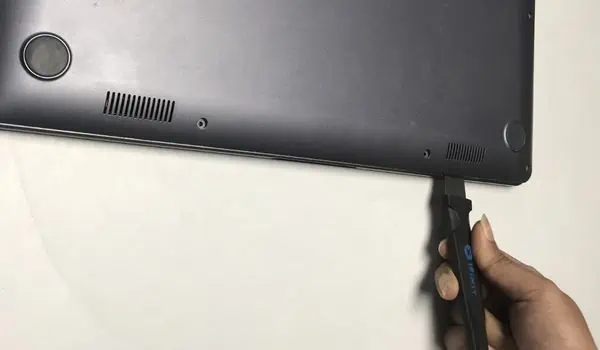
- Utilize the pry tool again to pry out the laptop’s access panel. In most newer laptop models, you do not require removing the keyboard panel. In such cases, you may directly move ahead and open the bottom casing.

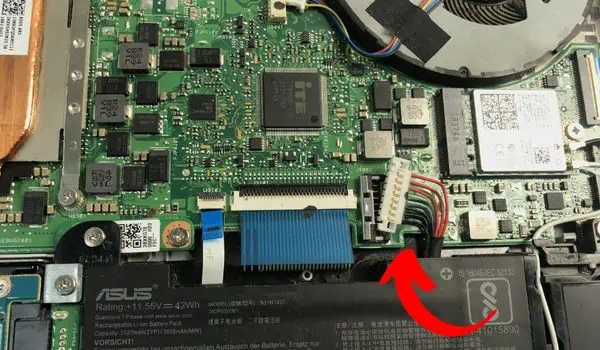
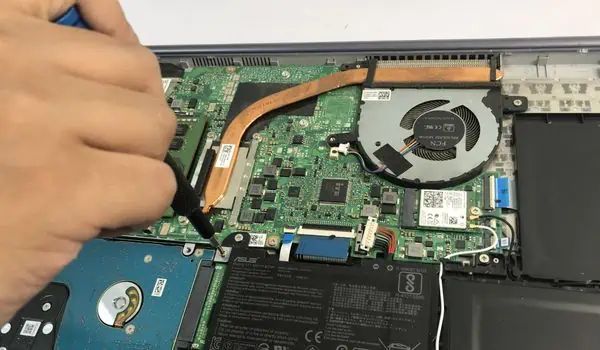
- If your laptop has an internal battery, locate and disconnect the cable as shown below.

Step 5: Remove the Hard Drive
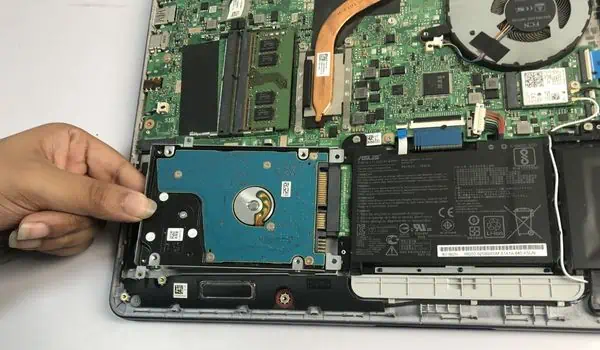
The next step is to remove your currently installed internal hard drive. As mentioned earlier, its exact location varies based on your laptop’s make and model. We recommend checking the user manual to get a clear view of where your storage disk seats. Then, follow the below steps to remove it:
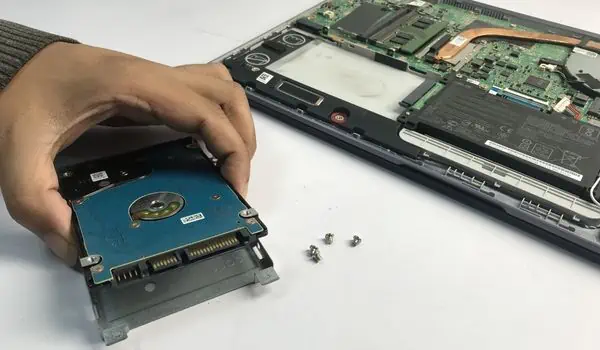
- Use a screwdriver to unscrew all four screws that hold the hard drive caddy in place.

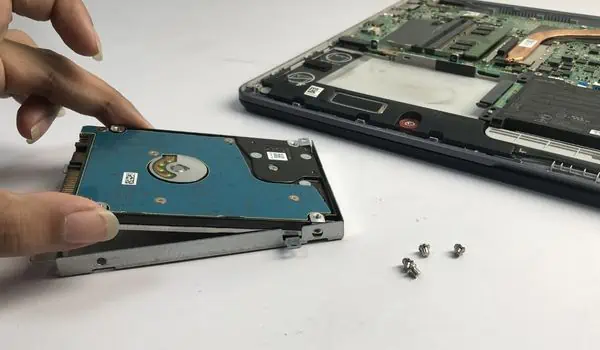
- Once the caddy is untightened, pull the drive out of the slot. If you’re using a PATA hard drive, unplug the connector before doing so.
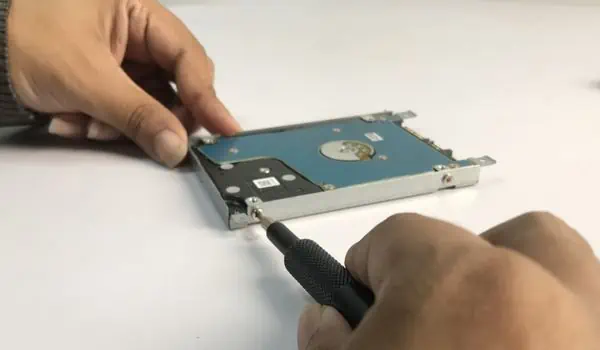
- You’re still not done. Now, you need to untighten all the screws from the hard drive brackets.

- Now, separate the drive from the caddy, and place the magnetic disk in an anti-static bag. This protects the device from possible static damage and heat.

- Finally, use a microfiber cloth or brush dipped in Isopropyl Alcohol to clean the slots.
Step 6: Insert New Hard Drive
Once you’ve removed the old drive, you can now place the new magnetic disk in your caddy before inserting it into the slot. While you’re at it, ensure to fit it the same way as the previous one:
- Put the new drive into the caddy.

- Next, tighten all the bracket screws using a screwdriver.
- Place the component in the dedicated hard drive slot. For a PATA hard drive, manually plug the connector as well.

- Now, tighten the four screws that should properly hold the drive in its place.
Step 7: Reassemble & Start Your Laptop
The final step is to reassemble your laptop components and check whether your PC recognizes the hard drive or not. Go through the below demonstration on what to do next:
- For laptops with an internal battery, plug it back. Ensure that the connection is tight.
- Next, place back the access panel and apply a little pressure to properly fit it in place. While you’re at this, ensure all the edges are fitted well. There shouldn’t be any spacing.
- Now, use a right-sized screwdriver to tighten all the screws that hold the bottom casing in place.

- If you had removed the keyboard panel, get to the front part of your notebook computer. Then, reconnect all the cables, including the ribbon.

- Then, snap back the keyboard panel in place. You should hear multiple clicking sounds to ensure it’s done appropriately.

- For a laptop with an external battery, you can now reinsert it.

- Also, replug the power adapter if needed. Else, directly start your laptop, and wait for Windows to boot.

- Finally, check all your files and partitions to confirm the cloning has worked.

