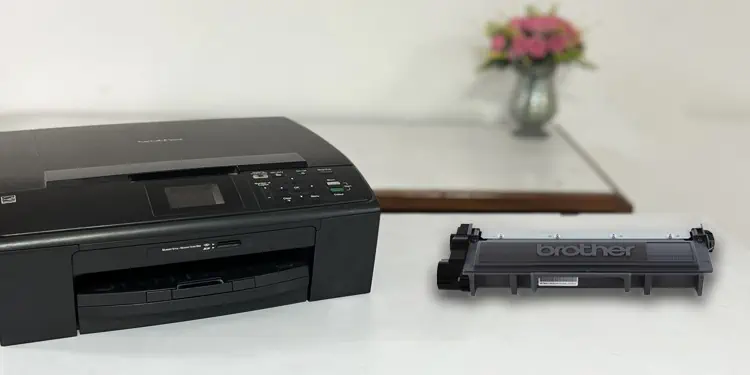
If you are not getting satisfactory print results from your laser printer, your printer may be running low on toner. As such, you might encounter error messages like “Cartridge is very low,” “Toner very low,” and many more. To address the issue, you need to replace the old toner in your printer with a new one.
There are basically two kinds of toner setups on laser printers—integrated drum-toner setup and detachable drum-toner setup. Although the setup is different, it is quite easy to replace the toner in both types of printers. However, you need to be cautious while changing the toner in your laser printer.
Don’ts of Replacing Toner in Printer
Here are a few things you need to consider when you are replacing the toner in your printer.
- Do not replace the toner immediately after using the printer. Turn off your printer and wait about an hour to let the printer fuser cool down.
- Always turn on your printer before changing the toner.
- Do not use refilled or counterfeit toner.
- Unpack the new toner from the packaging only at the time of replacing it. Do not expose it to the external environment unnecessarily.
- Do not change the toner in a sunny room.
- Be careful while removing the toner that is not completely empty. You may spill the toner powder on your hands and clothes.
- Be gentle while removing the old toner from the printer. Always remove it straight, not at an angle
- Do not dispose of the old toner haphazardly. You may give it to the recycle center.
- If you spill the toner powder, never use a vacuum cleaner to clean it. Use damped cloth instead.
- Wait about an hour before replacing the toner if it was stored in a cool environment. The temperature difference can cause condensation inside the toner and damage it.
- Shake the new toner gently before inserting it into your printer. It helps toner powder spread evenly inside the toner.
- Remove the protective caps and sealing tape from the toner before inserting it into the printer.
- If you have a color laser printer, insert the color cartridge correctly into its respective color slot.
- Do not touch the roller in the drum unit when you are changing the toner.
- If you can not close the access door after inserting the cartridge, re-open the door and insert the toner correctly.
Replace Toner in Brother Printer
Most of the Brother printers come with a separate drum-toner unit. Meaning, the drum and toner unit comes as separate unit, and you need to detach the toner from the drum unit before replacing it.
- Power on the printer.
- Open the front panel door to access the drum unit.
- Grasp the older drum unit using its handle and remove it from your printer.
- Keep the drum unit aside.
- Press the lock lever to remove the toner from the drum.
- Keep the old toner aside.
- Now bring the new toner.
- Get it out of the packaging and remove the protective caps and tabs.
- Hole the toner by its sides.
- Place the new toner over the drum and press it lightly. The toner will now be locked into the drum unit with a snap sound.
- Now clean up the corona wire by gliding the cleaning tab. Glide the tab horizontally across the drum unit about 3-4 times.
- After cleaning the corona wire, get the cleaning tab back from where you started gliding.
- Grasp the drum unit and insert it into your Brother printer. Fit it properly into its place.
- Close the front door.
- You will see “Ready” on your printer’s screen once it detects the new toner and is ready to use.
Replace Toner in HP Printer
Unlike Brother printers which come with a separate drum-toner assembly, HP printers have an integrated drum-toner unit. It means the drum unit is replaced when you replace the toner cartridge.
- Access the toner area by lifting the scanner assembly and top cover of the printer.
- Hold the old toner using its handle and pull it out. Keep it aside.
- Unbox the new toner from the package.
- Remove the protective tabs and clips. Some toners may have an orange-colored sealing tape equal to the length of the toner coming out from the side. Pull it out straight from the toner to remove it.
- Grasp the new toner and slide it inside the printer. You should properly align the toner in its place. You will hear a click sound after it gets correctly into its position.
- Get the top cover and scanner assembly down.
Replace Toner in Canon Printer
Like HP printers, Canon printers also incorporate a single unit for drum-toner assembly. It means you are also changing the drum unit when replacing the toner unit.
- First, lift up the scanner assembly. Then, lift the top cover of your Canon printer.
- Grasp the handle in the middle of the old toner and remove it.
- Unpack the new toner and remove orange-colored protective clips, one on each side of the toner.
- Pull out the sealing tape straight out of the toner.
- Firmly insert the new toner into its place.
- Close the top cover and then lift down the scanner assembly.

