Windows is a sophisticated operating system that simultaneously runs multiple processes and programs. Due to such operational complexities, it can undergo some issues once in a while. The issues may be associated with the CPU, memory, storage, battery, or some other system resources.
To identify the root of these issues and even fix them, Windows comes equipped with some diagnostic utilities. Such tools work around different aspects of the system and provide detailed status of the components.
Here are some diagnostic tools on Windows that you can operate on Windows and get an overview of your system.
Windows Memory Diagnostics
If you ever experience a slow computer with freezes and system hangs or some other performance-related issues, running Windows Memory Diagnostics could help you find the reasons behind it. This Windows utility runs a scan on the RAM and reports any existing errors.
- Press Windows Key + R to open Run, type
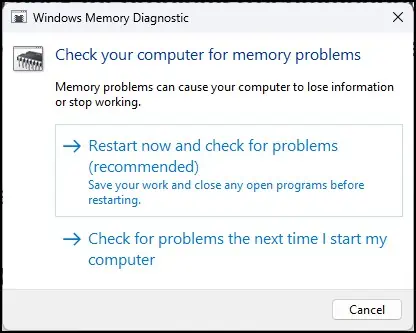
mdsched.exe, and hit enter. - Select the option Restart now and check for problems(recommended). If you wish to start the diagnostics later on you can choose Check for problems the next time I start my computer.

- The computer will then restart and run the memory diagnostics. It will restart again after the process gets completed.
Reviewing Memory Diagnostic Reports
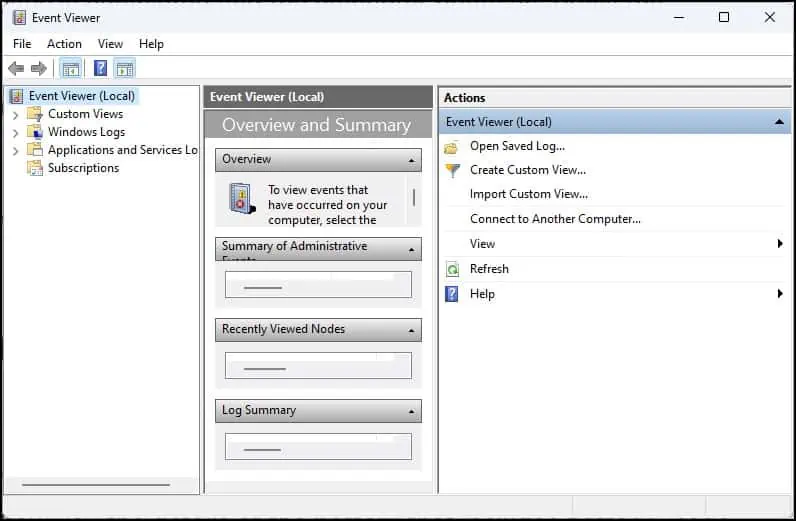
- After the diagnostic is completed and the computer boots up, Press the Windows key + R, type
eventvwr, and hit enter.
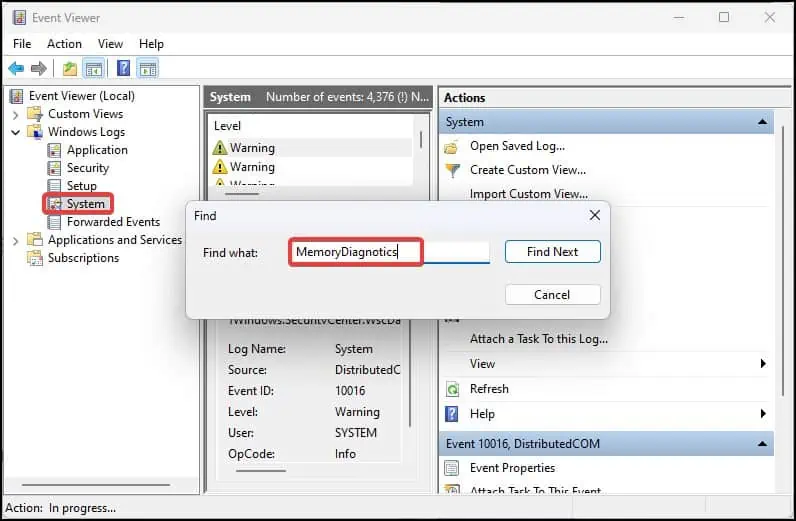
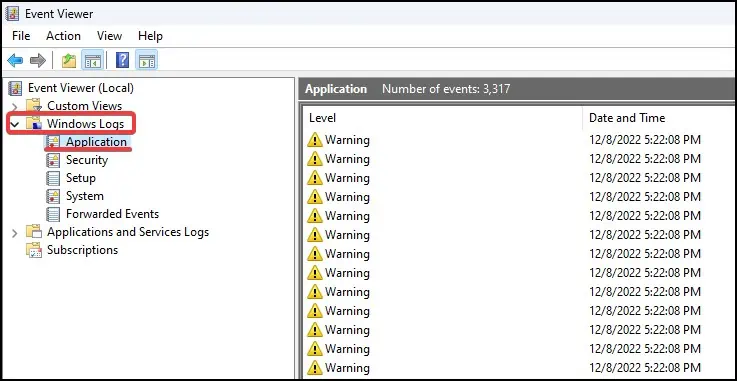
- From the left pane, click on Windows Logs.

- Right-click on System and select Find.
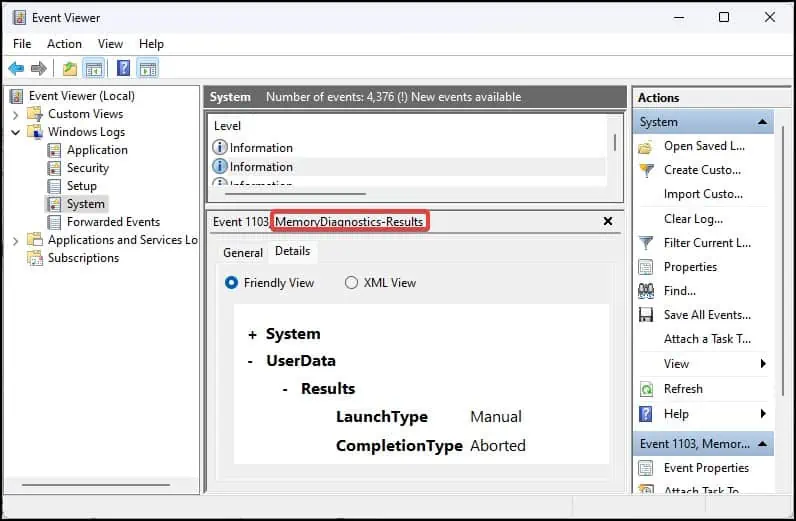
- Search for MemoryDiagnostics. You will be led to the report generated by the diagnosis.

Windows Battery Report
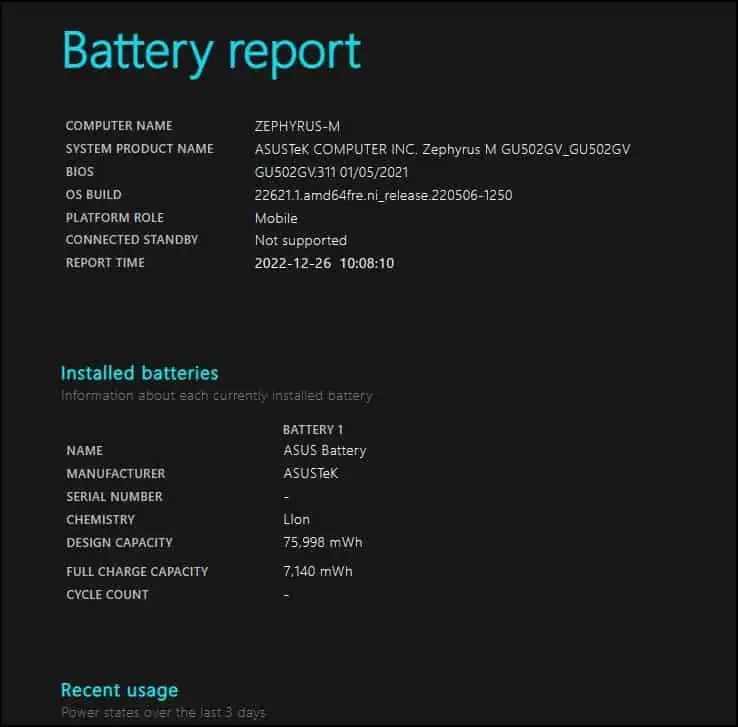
On Windows, there isn’t a graphical interface that lets you know of your device’s battery’s health. However, you have a powercfg command line interface that can diagnose and show you the details of the battery that includes battery usage, battery capacity, cycle counts, etc.
- Press Windows Key + X and open Terminal.
- Now, enter this command line to generate a battery life report.
powercfg /batteryreport
- A message saying “Battery life report saved to file path” will be generated with the location of the report’s saved path.
- Navigate to the directory and open the
battery-report.htmlfile. It will give you detailed information on the battery’s health.
Performance Monitor
Performance Monitor is another useful diagnostic utility that monitors the programs running in the system and also examines their impact on the overall system performance.
It mostly monitors the memory manager, file system, and kernels and enables you to optimize your Windows’ performance.
- Press Windows Key + R, to open Run.
- Type
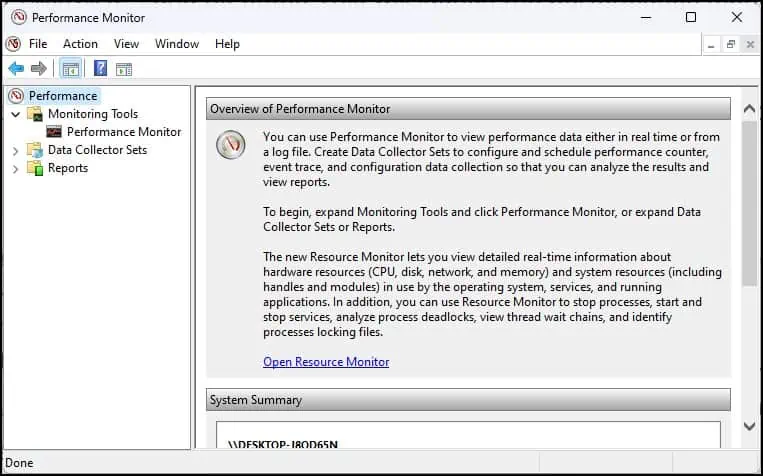
perfmon.msc, and hit enter. This will launch the performance monitor.
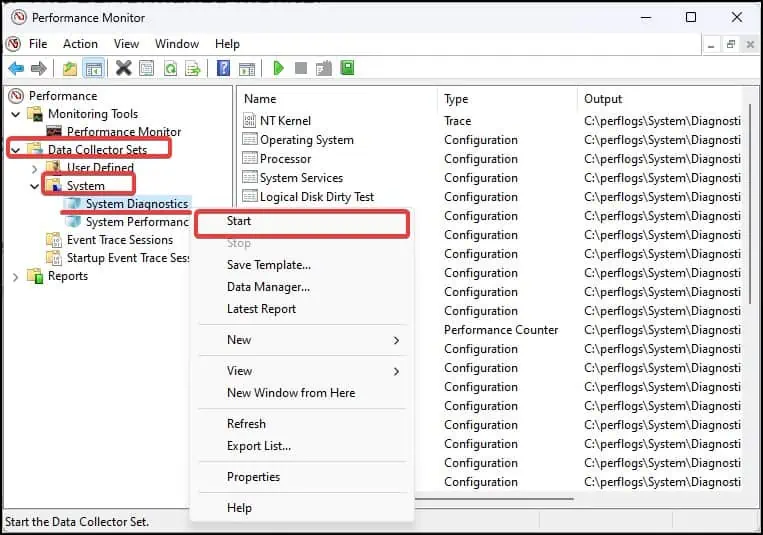
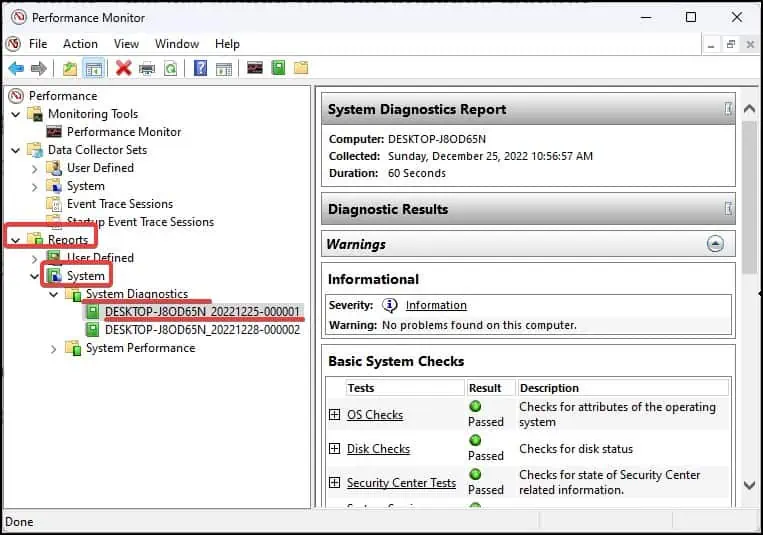
- From the left pane, Go to Data Collector Sets > System.

- Right-click on System Diagnostics and select Start. The performance monitor will then start the system diagnosis which generally lasts for about one minute.
- Once the diagnosis gets completed, go to the Reports > System > System Diagnostics.

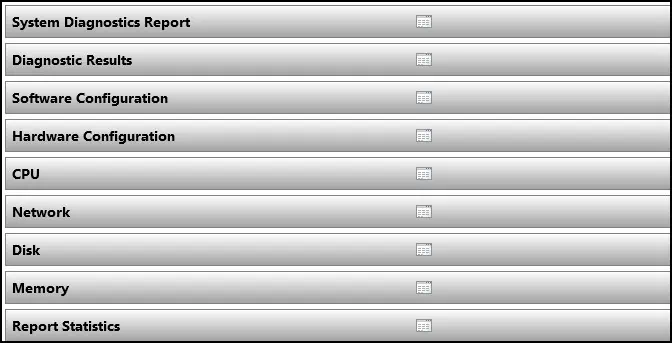
- Click on the generated report. You will get a detailed overview of the CPU, Network, Disk, system resources being used, and many other information about the system.

CHKDSK Utility
CHKDSK utility is an ideal way to scan for any logical disk issues and fix them. This utility also makes a log file which you can later use to make an evaluation of the disk errors that have been located and fixed.
- Press Windows key + X and open Terminal (Admin). This will open the command prompt with elevated privileges.
- Here is a syntax that can be used to run a CHKDSK scan.
chkdsk [<volume>[[<path>]<filename>]] [/f] [/v] [/r] [/x] [/i] [/c] [/l[:<size>]] [/b]
For instance, while running a chkdsk scan for the C: drive to locate and recover the bad sectors on it you can use the command this way Chkdsk c: /r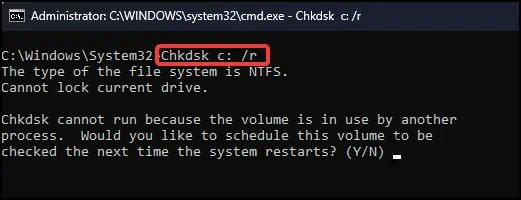
Microsoft documentation gives a detailed overview of all the different parameters that are used in the syntax.
Reviewing CHKDSK Logs
- After the disk check process is completed, open the Event Viewer.
- From the left pane, go to Windows logs > Applications.

- Find a log with the source labeled Chkdsk.
- Click on the log. You will then see a comprehensive diagnostic report of the disk check process.
SFC and DISM Scans
SFC and DISM scans are widely used to solve the issues pertaining to the system files. The System File Checker (SFC) is used to scan and repair the corruption in the system files in the Windows system files. On the other hand, as the name suggests, Deployment Image Servicing and Management (DISM) can be used to recover Windows system images.
- Open the Command prompt.
- Type
DISM/Online /Cleanup-Image /CheckHealthand hit enter. The scan will take some time to finish.
- To repair the image use this command line,
DISM /Online /Cleanup-Image /RestoreHealth
- You can use the SFC scans after the DISM gets completed. Type
sfc /scannowand hit enter.
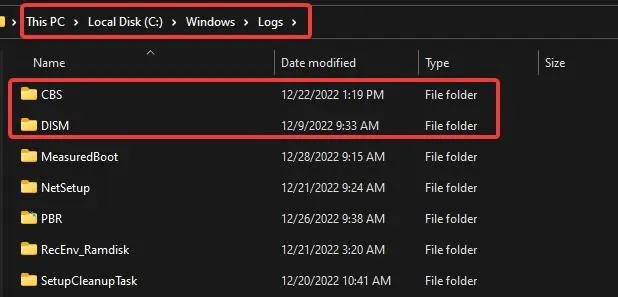
These two diagnostic and repair utilities even prepare a log file in the system volume, which makes it easier for the users to make a further evaluation of the system errors. The log files (in .txt file format) are located at the system volume inside the Windows\Logs file path. 