Running an executable (.exe) file is simply a matter of opening it in general cases like installing or opening an application. But, if you are a network/system administrator and want to create a script for automating various tasks, you will likely reach a point where you need to run an executable file.
Well, for Windows users, you already have a built-in tool called Windows PowerShell to do just that. Using it, you can run powerful commands and even build applications with efficient scripts.
In this article, we have compiled a list of various ways you can use the PowerShell tool to run an .exe file.
How to Run Exe in Powershell?
While running the commands in the methods below, replace the items like filename or path appropriately. Also, exclude the angle brackets and include spaces as is while writing the commands.
Run Directly without Parameters Using the & Operator
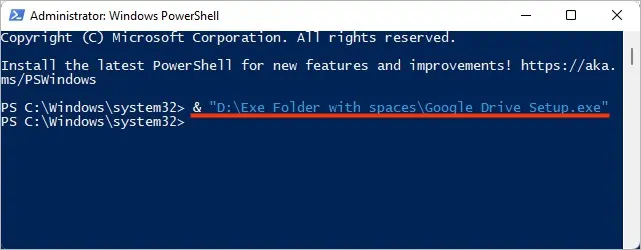
With PowerShell, you can directly run an executable file with the” &” operator (also known as the call operator). You can browse to the file location or provide the full address path in the command. Then you can execute the command.
For example:
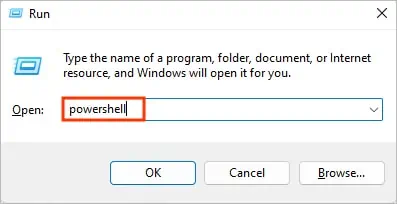
- Press Windows + R, type
powershell, and press Ctrl + Shift + Enter to launch PowerShell as administrator.
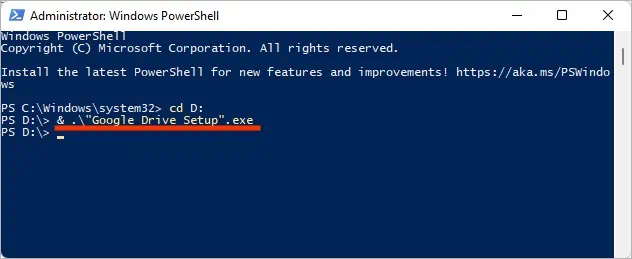
- If your file is already in the same directory, type
& ‘.\<filename>.exe’and press Enter. Furthermore, you can use thecdcommand to change the directory and theGet-ChildItemcommand to view the list of all the files/directories inside it.
- Or, if you have the complete file path, type
& ‘<filepath>\<filename.exe>’and press Enter.
If you are wondering what’s happening here, well, by typing the ampersand (&) symbol, PowerShell understands that it needs to run the program. Otherwise, PowerShell will treat the command as a string and won’t invoke the .exe file.
Using Start-Process
Start-Process is a more advanced and powerful cmdlet where you can specify multiple parameters. Thus, it can run several executable files at once.
Syntax:
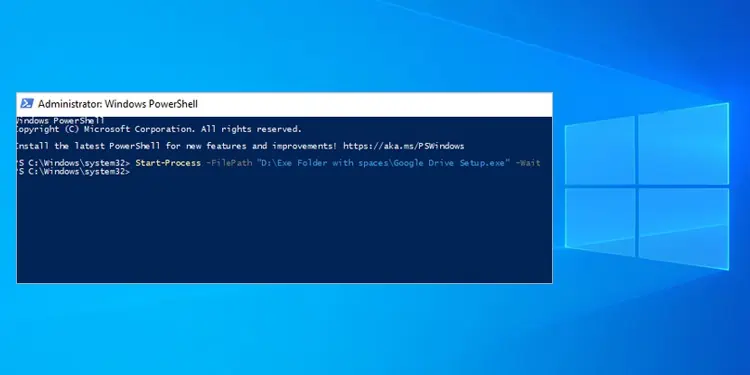
Start-Process -FilePath “<Path>”
Here, we are using the Path parameter to specify the file path of the executable file. Along with the above parameter, some of the commonly used parameters with syntax are listed below.
Start-Process -FilePath "<FilePath\<file-name>.exe" -Wait
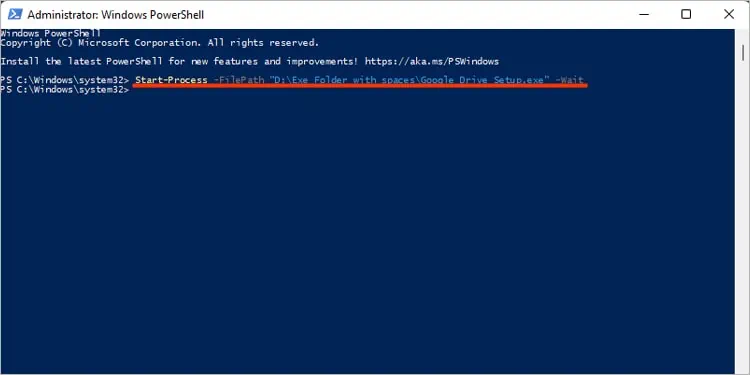
This command tells PowerShell to wait until the whole process finishes executing and then takes other inputs if any.
Start-Process -FilePath "powershell" -Verb RunAs
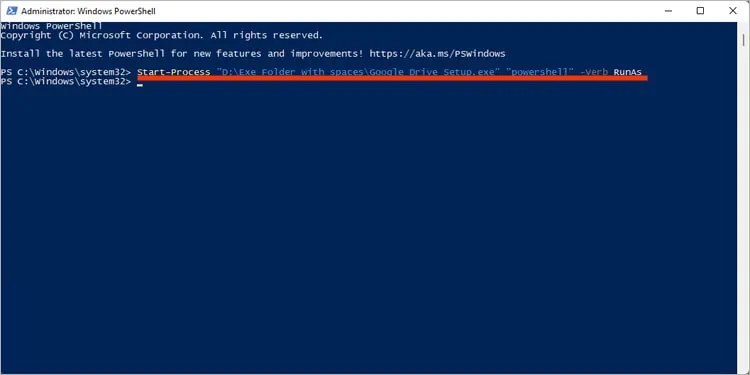
The above command launches PowerShell as administrator. Instead of the RunAs verb, you can also use Open and RunAsUser verbs for the .exe files.
Using Invoke-Expression
While this method can run .exe file in PowerShell, Microsoft itself doesn’t recommend using it. This is because many things can go wrong when using it, such as being susceptible to code injection attacks and difficulty maintaining code.
Therefore, only use it if you are sure what’s going to happen, and be careful, especially in cases where a user can enter an unsafe command.
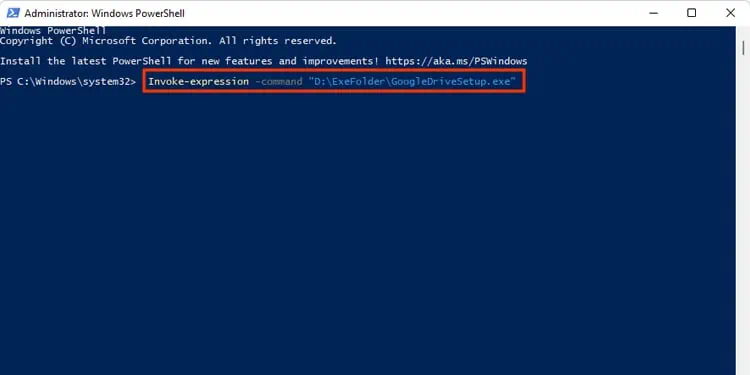
Syntax:Invoke-Expression -Command “.\filepath\<filename>.exe”
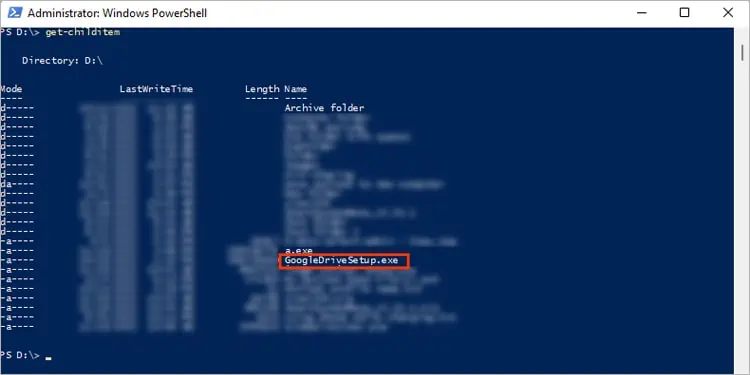
In the above image, we are already in the D directory that contains the GoogleDriveSetup.exe file we want to run. So, we write the following command.
Invoke-expression -command ".\ExeFolder\GoogleDriveSetup.exe"
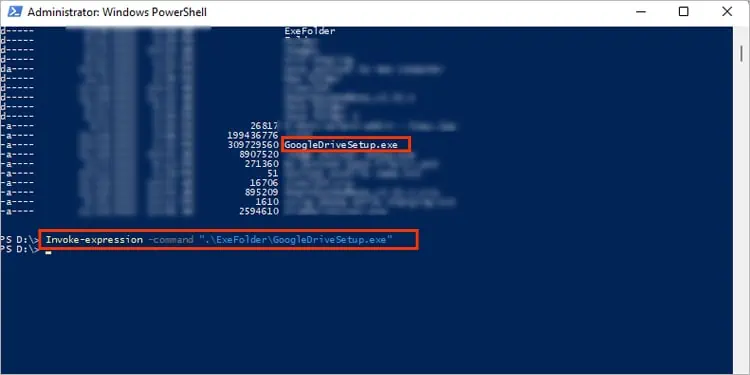
On the other hand, if we were in a different directory and wanted to run the above file, we wouldn’t need to append .\ in front of the file. The .\ represents that we are in the current directory of the desired file. Hence the command becomes:
Invoke-expression -command “D:\a.exe”
