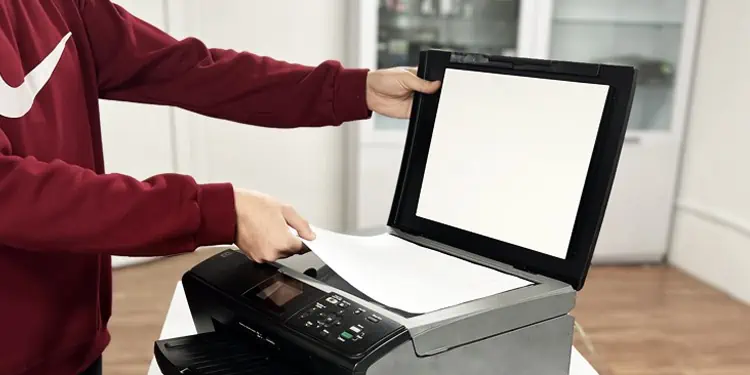
Nowadays, Canon’s All-in-one and MultiFunction series printers come with integrated scanner assembly. In addition to printing and copying, you can use such printers to scan documents.
While the Windows Fax and Scan app is a preferred option for scanning documents, you get additional functions with tools like Canon IJ Scan Utility. Also, if your printer has a touch panel, you can utilize it to scan from your Canon printer.
Using Canon Scan Profile
When you install the Canon printer on your computer, Windows automatically enables the print profile by default. You can simply switch to the scan profile and scan your documents.
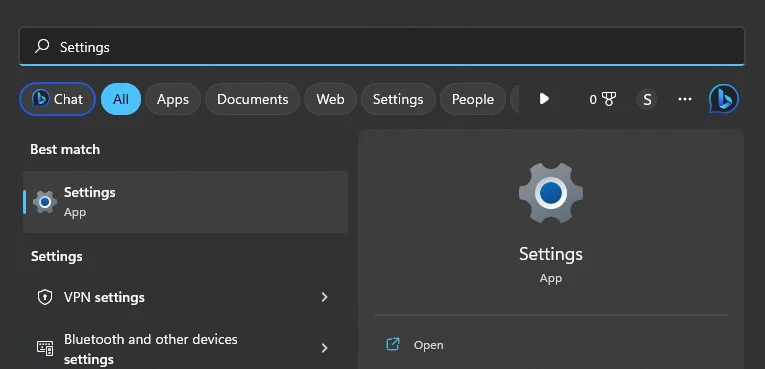
- Open Settings on your computer.

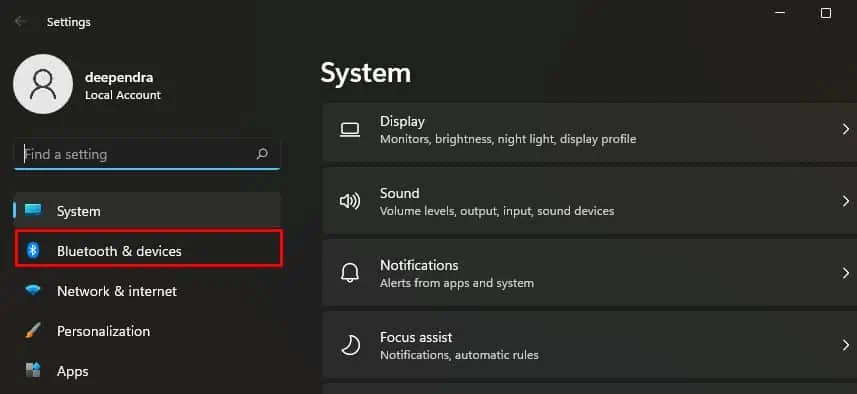
- Click Bluetooth & devices from the left.

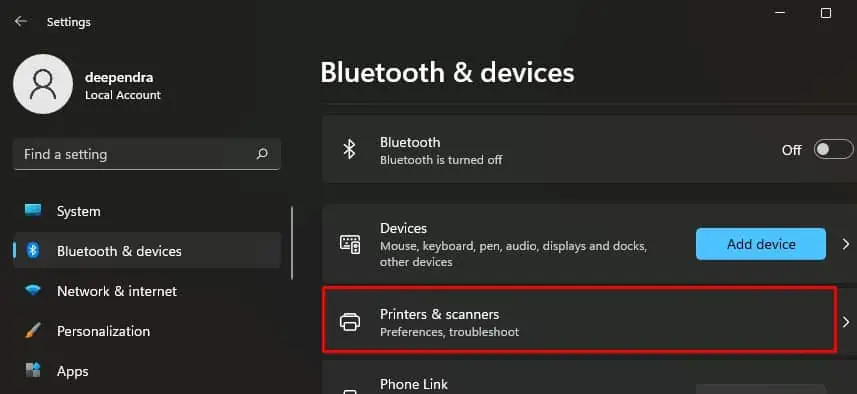
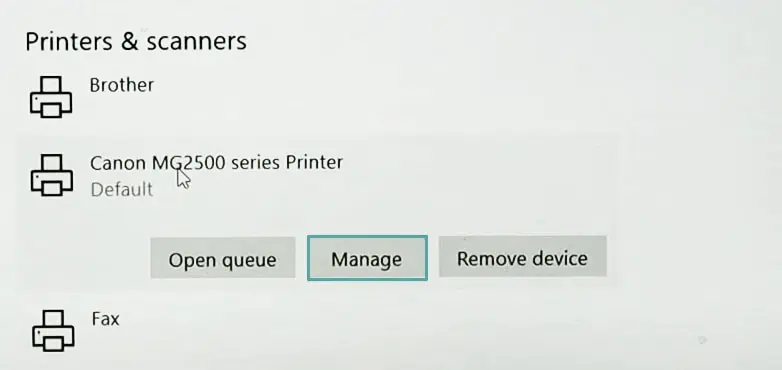
- Choose Printers & scanners.

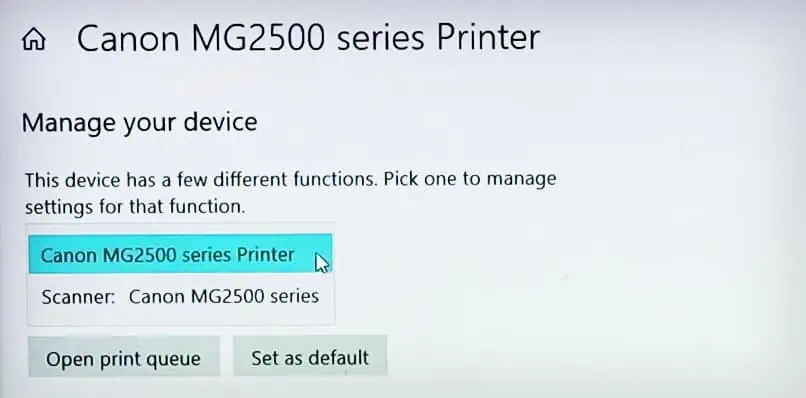
- Select your Canon printer and click Manage.

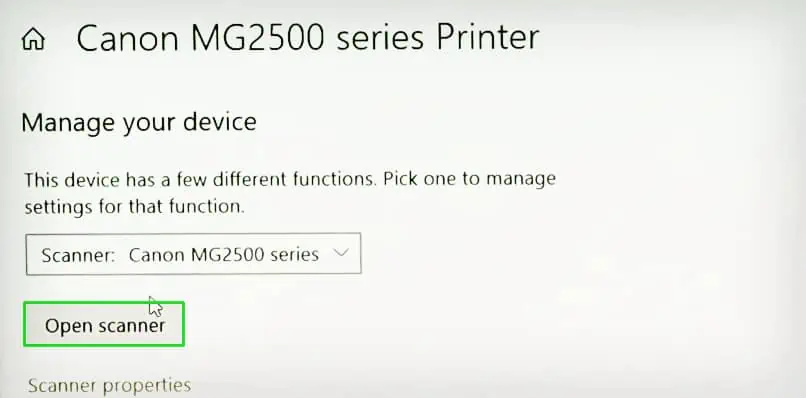
- On the next screen, choose Scanner from the drop-down.

- Press Open scanner.

- Place the document in the scanner glass facing the scan side downwards.
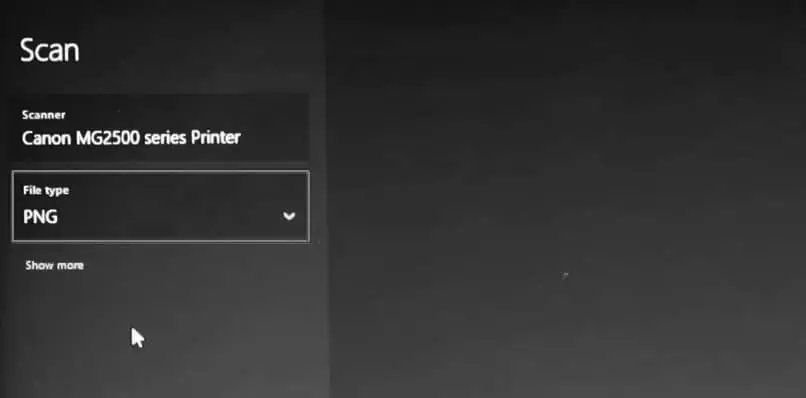
- Choose the File Type in the scan window of your computer and click Scan.

- Once the scan is complete, click the View button on the top right of the screen.
- Save the scanned file to your desired location.
Using the Windows Scan Feature
Windows Fax and Scan is a built-in scan app for Windows computers. You can also use this app to scan from a Canon printer to your computer.
- Place the document in the scanner glass.
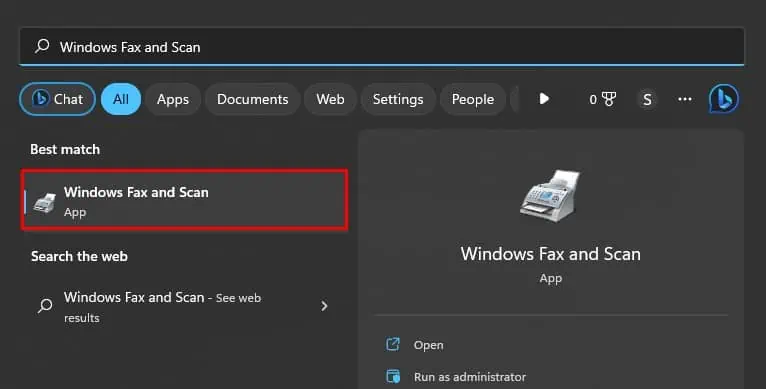
- Search and open Windows Fax and Scan on your computer.

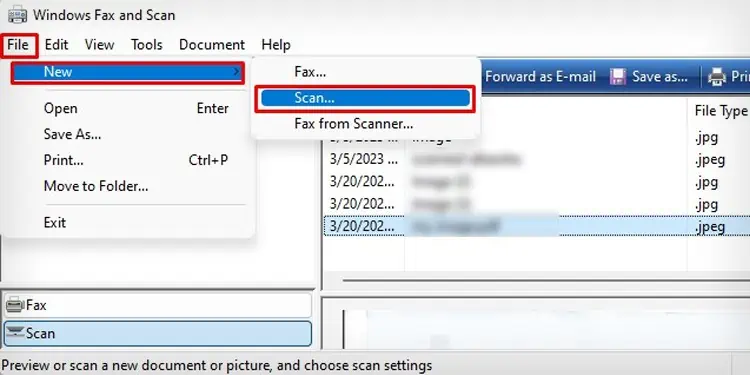
- Tap File > New > Scan.

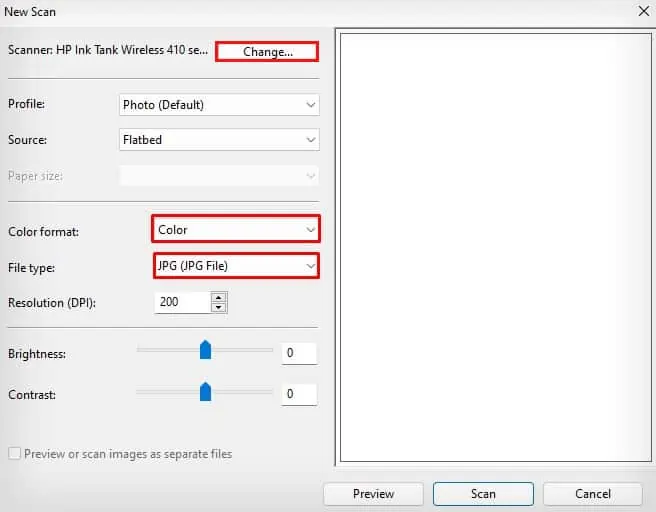
- Click the Change button on the new scan window and choose your Canon printer.
- Make necessary changes to the scanning preferences like Color format and File type.

- Click Scan.
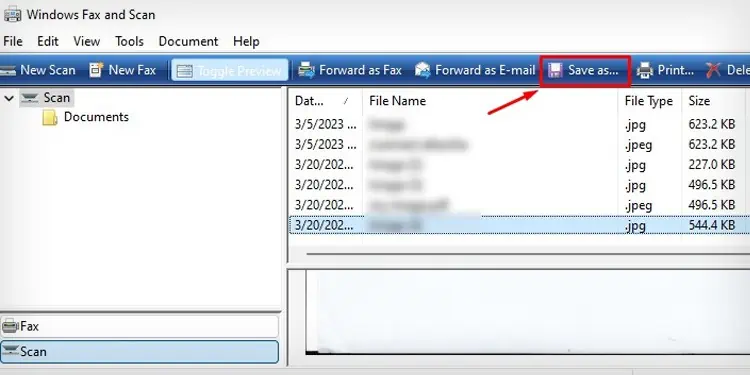
- Wait till the scanned document appears on your screen.
- Click Save as.

- Save the file in your desired location.
Using IJ Scan Software
IJ Scan is a utility software that comes integrated with the driver package when you install the official printer drivers from Canon. You can launch this utility tool on your computer and start scanning.
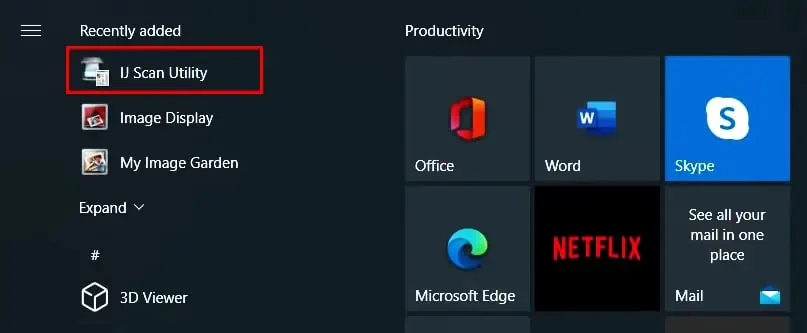
- Launch IJ Scan Utility using the start menu of your Windows PC.

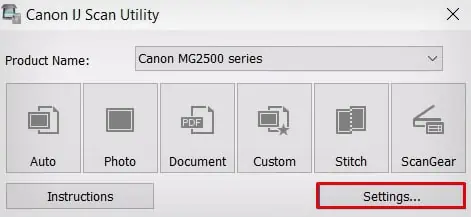
- A small scan center window will open up.
- Click the Settings button.

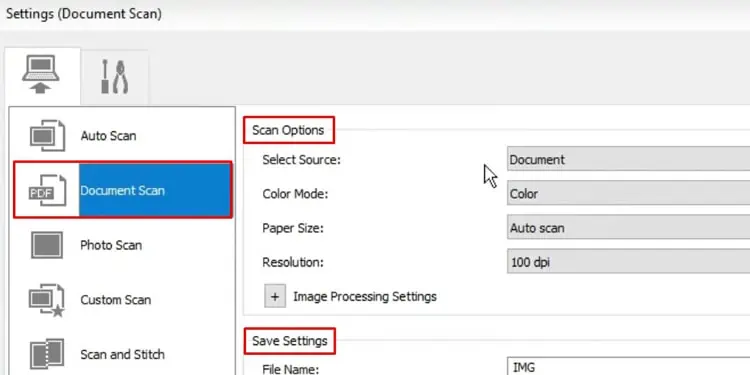
- Choose Document Scan on the left pane.
- Adjust the Scan Options and Save Settings as per your preference. Click OK.

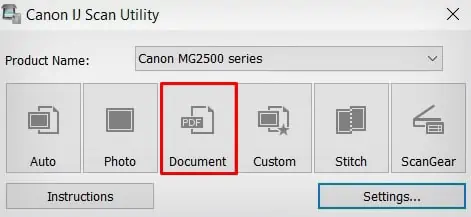
- Choose the Document tab in the main scan center window. It will start scanning the document.

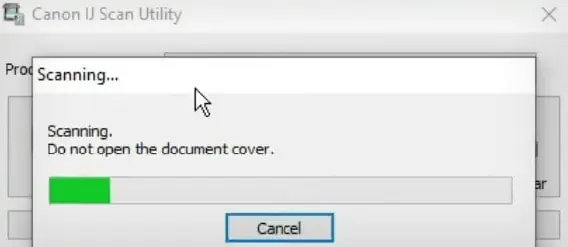
- Wait till the Scan completed message appears on the screen.

- Click Exit and check the folder you specified earlier to see the scanned document.
Using the Touch Panel on Your Printer
If your printer has a touch panel, you can also navigate through it to scan the documents and save them directly to your computer. Let’s see how to do it on a Canon PIXMA MX922 printer.
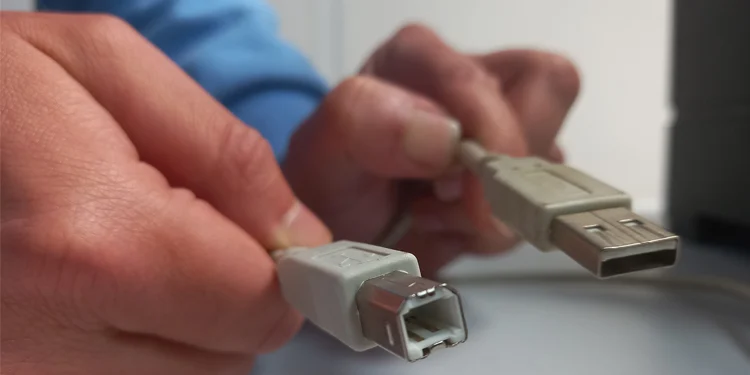
- Power on the printer and connect it to your computer using the USB cable.

- Lay down the paper to be scanned on the scanner glass and close the scanner lid.
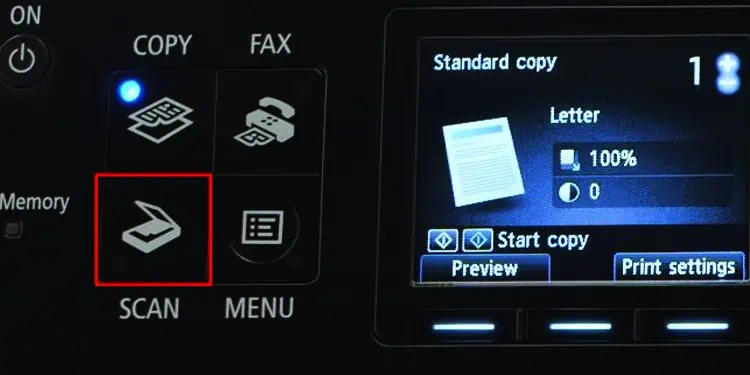
- Tap the SCAN button on the button panel of the printer.

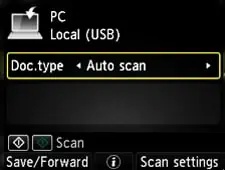
- You will then see this standby screen.

- Use the arrow controls on the printer to change the document type. You may leave it on Auto scan for optimal scan results.

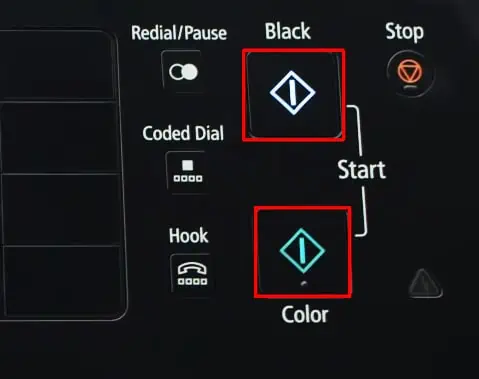
- Now tap the Color or Black button depending upon which color you want your scanned document to be in.

- Once the scanning process completes, the scanned document will be saved to the Documents folder of your PC by default.

