Creating a multi-monitor setup, or even just setting up one monitor can be intimidating if you’ve never done it before. Thankfully, Dell monitors come packaged with all the necessary components, and they’ve made the setup process very straightforward as well.
Here’s how the process typically goes: You assemble the stand, connect the monitor and PC with the appropriate cables, calibrate the monitor to your liking, and enjoy. Occasionally though, some minor slip up during this process leads to various display issues.
As such, we’ve detailed the correct way to set up your Dell Monitor, how to troubleshoot common issues, and other related topics in this article.
How to Setup A Dell Monitor
When you unbox the monitor, make sure to store the accessories safely. This includes the manual as well, as it’ll be handy for reference when assembling the components.
Setup and Connect Monitor Stand

Assembling the stand and connecting it to the monitor is a very straightforward process on Dell Monitors. Here are the steps to do so:
- Grab the Stand Base and the Stand Riser (Monitor Arm).
- Line up the riser to the connectors on the base and join them together.
- There’s a thumb screw on the bottom side of the base. Turn it clockwise by hand until it’s tight, then fold it back in place.
- Now that the stand is assembled, lift up the covers from the back of the monitor.
- Line up the connectors on the top of the stand to the slots at the back of the monitor.
- Push it down at a slight angle. It should easily click right in place.
- As the stand is attached, you can place one hand on the riser and one on the monitor to safely lift the monitor up.
Dell Monitor Parts Description
Let’s start from the back. The hole on the back is the cable management slot. The panel where the stand is attached to the monitor is the VESA area. You can use the holes in this area for wall mounting if you want. At the bottom left, you’ll find the power button and the joystick which you can use to control the OSD menu.
Next, let’s go over the components at the bottom of the monitor. Starting from the left, the first slot is the Security Lock, used to lock your monitor in place. Next is the Power Connector for the power cables.
In the middle section, you’ll find the Stand Lock at the top, and the DisplayPort, HDMI and VGA ports at the bottom. The exact number of each varies according to the monitor model. The remaining ports to the right are the USB upstream and downstream ports.
Connect Monitor Cables
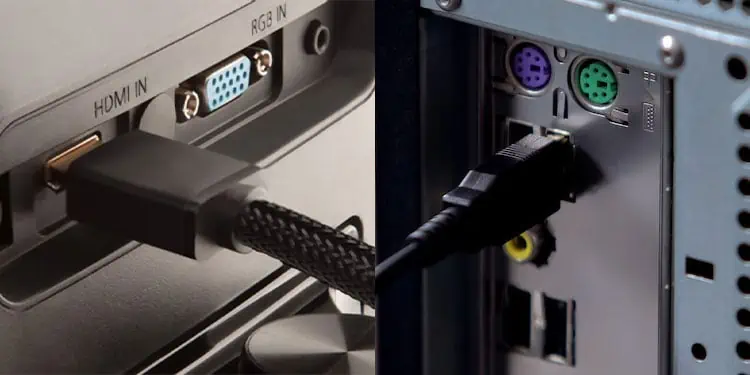
While it’s ultimately preference, we recommend routing the cables through the cable management slot. With that said, here are the steps to connect the monitor cables:
- Power off your PC and unplug the power cables if you haven’t already.
- Plug the DisplayPort or HDMI cable into the monitor. If you have a USB-C port that supports alternate modes like DisplayPort or Thunderbolt, then you can use an appropriate USB cable as well.
- Plug the other end of the cable into the GPU, or the motherboard if your system doesn’t have a dedicated GPU. In the case of Laptops, the ports will usually be on the sides. Also, if the ports on the monitor and PC don’t match, you’ll need an appropriate adapter.
- Plug the USB upstream cable into the upstream port on the monitor and a USB 3.0 port on your PC.
- If you want to connect peripherals as well, connect them to the downstream ports on the monitor.
- Connect the power cable to the connector on the monitor and the wall outlet. Reconnect your PC’s power cable as well.
- Power on your PC and enjoy. This is all that’s necessary for the basic setup. For further steps like calibration, overclocking, driver installation, and troubleshooting, check the sections below.
Calibration and Setup
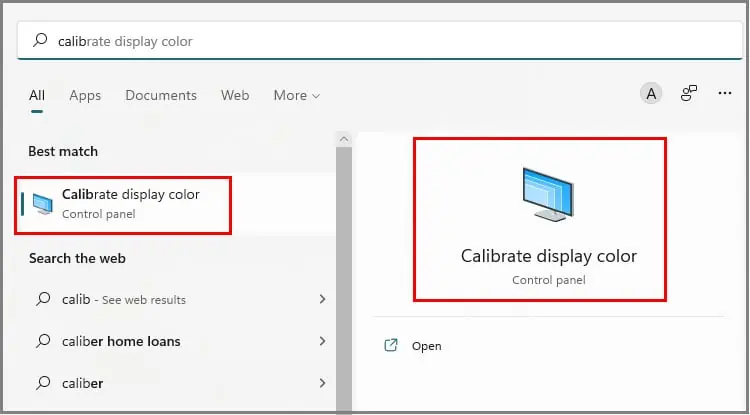
As Dell monitors are pre-calibrated, manually calibrating isn’t a necessity in most cases. But if you’d like to proceed anyway, there are multiple good ways to go about it.
The easiest way is via the On Screen Display (OSD). You can use the joystick on your monitor to access the Colour Calibration feature and calibrate your monitor without any software.
The second way is to use calibration programs provided by Dell such as DUCCS, Calman for Dell, Dell Colour Management etc.
Finally, you can also use the Calibrate Display / Colour Calibration or similar option via system settings to calibrate your monitor on both Windows and Mac.
The last part to setting up your Dell monitor is installing the drivers. The monitor will still work without the drivers, but you likely won’t be able to access the full range of resolutions, refresh rate and other features.
During the unboxing, there should’ve been a Drivers and Documentation DVD. You can use this DVD to install the basic drivers for your monitor. While you’ll be fine with the base drivers in most cases, you can also download and install the latest drivers from Dell’s support site.
Finally, if you’re looking to squeeze a bit more performance out of your monitor, overclocking could be worth looking into. We have an in-depth article on safely overclocking monitors if you’re interested.
How to Setup A Wireless Dell Monitor?
Assuming your device meets the hardware requirements, setting up a wireless Dell monitor is very simple. Here are the steps to do so:
- Install the Dell Wireless Monitor software for your specific monitor.
- Press Win + K and select the wireless monitor from the list.
- Follow the on-screen instructions and press the button directly below the checkmark.
- Enable the Allow input from a keyboard or mouse option to complete the setup.
We also have an in-depth article on wirelessly using a laptop as a second monitor if you’re interested.
How to Connect Dell Monitor to Laptop?
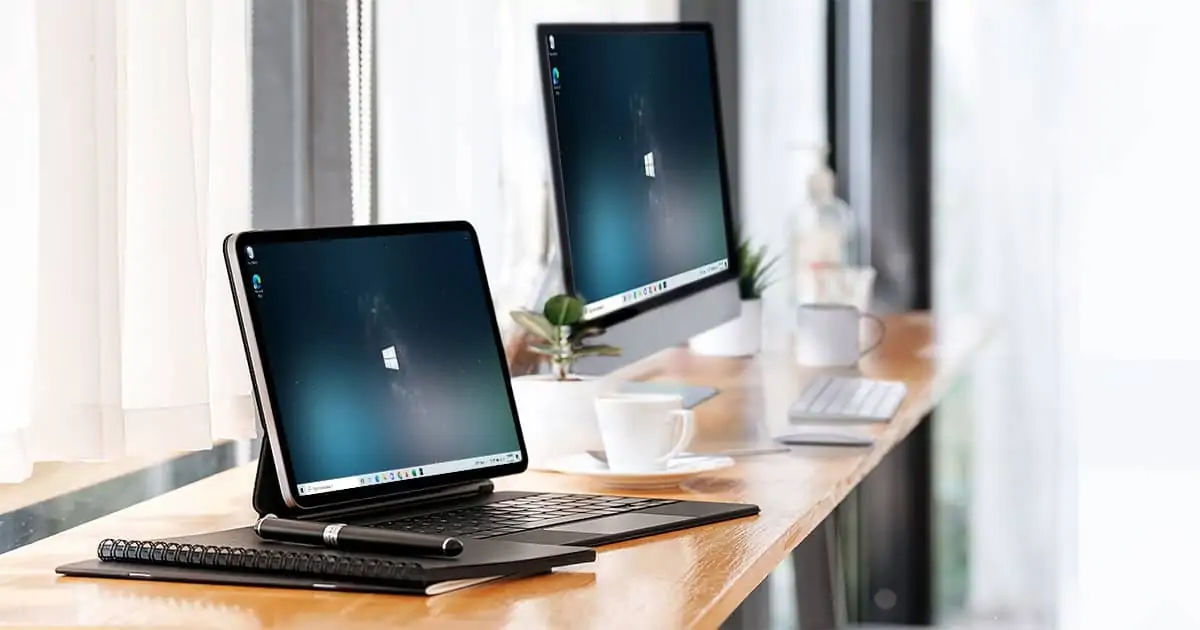
We’ve detailed how to connect a Dell monitor to your PC in the sections above. The steps are mostly the same for laptops as well, but to recap, here’s what you should do:
- First, identify the display ports on the laptop and monitor. If there are no matching ports, you’ll need an appropriate adapter (ex. HDMI to Type-C).
- Connect the video cable to the ports on the laptop and monitor. If you have sufficient ports on the laptop, you can connect multiple monitors to a single laptop this way.
- Plug the power cable into the monitor and outlet.
- If you want to use the monitor as a USB hub, you should also use the upstream port on the monitor, which generally takes a Type-B plug. Grab a Type-B to Type-A adapter cable and plug Type-B into the monitor and Type-A into your laptop.
- Press Win + P and cycle through the options to duplicate, extend, or use the monitors only for display.
- If the displays are incorrectly ordered, press Win + I and go to System > Display. You can adjust the orientation from here.
- On Macs, go to Apple Menu > System Preferences > Displays > Display Settings. Here, you can extend or mirror the display as you prefer.
How to Setup Dell Monitors with a Docking Station?
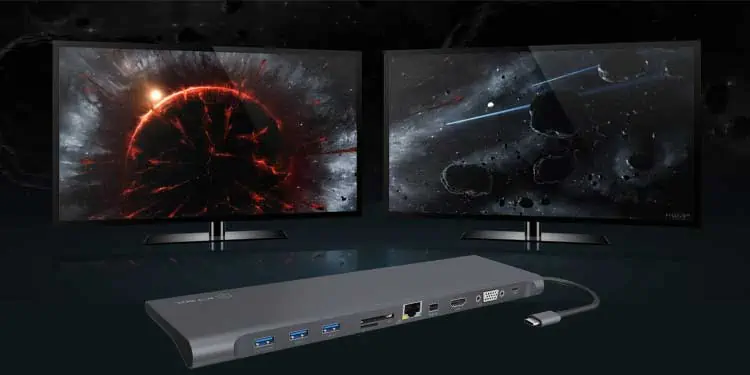
A docking station is an excellent way to create a multi monitor setup for everything from work and productivity to gaming. Assuming you’ve followed the steps from this guide to assemble your monitor, here are the further steps:
- Connect the power cable and display cable into the respective ports on the monitor. Repeat this for any additional monitors.
- Plug the other end of the display cables into ports on the dock.
- Use a Type-C cable to connect the dock and your PC/Laptop.
- Plug in the monitor and dock’s power cables into a power strip.
- In the case of laptops, you can connect peripherals such as your keyboard and mouse to the dock.
- Power on the dock, monitors, and your PC / Laptop.
- If necessary, check the section above for steps to extend / mirror the display and adjust the display order.
How to Troubleshoot Dell Monitor Issues?
Here’s how you can troubleshoot some common problems with Dell Monitors:
Power Issues
If the LED on your monitor isn’t on, the monitor likely isn’t receiving power. Try using a different power cable.
If the LED lights up but the monitor doesn’t work, there’s a few things you can do. First, use the buttons on the monitor to access settings and make sure the correct display source is chosen. It’s also worth checking the brightness and resolution settings.
Next, check the cables and ports for damage. Try a different set of cables if possible. Reseating your RAM and GPU and disconnecting peripheral devices can also help.
Monitor Buttons Not Working
If the buttons on the monitor don’t work, you can press a certain combination of the buttons (e.g., Button 1 and 4) to diagnose and reset the monitor settings. This differs according to the monitor, so you’ll need to refer to the manual or look up your specific monitor model online.
Monitor Shuts Down Randomly
If the monitor is overheating and shutting down, or making unusual noises, you can try a different set of cables. If the issue persists, it’s best to take the monitor for repair.
Display / Video Issues
If you’re facing video issues such as faded colors, distorted image, flickering lines, dead pixels, etc., there’s a few things you can try.
First, you should test the monitor on a different system to figure out where the root of the problem lies. This could be your monitor, GPU, or even your system’s video settings. And once again, a different set of cables can help.
On the software end, you should update your GPU, monitor, and chipset drivers. Dell also recommends keeping up with BIOS and system updates. Adjusting your brightness, refresh rate, resolution, and power management settings, and factory resetting the monitor settings via the OSD menu can also help.
Laptop – Monitor Connection Issues
Restart your laptop and reseat the connections. In case of wireless connection, remove the Wireless Monitor via Control Panel > Devices and Printers. Update the wireless card drivers, and try connecting once more.
If the keyboard / mouse connected to the monitor wasn’t working earlier, you should make sure the Allow input from keyboard or mouse connected to this display option is selected during this setup. If the connection still doesn’t work, resetting the monitor to factory defaults may be helpful.
You may also encounter error messages such as Error 1: Maximum of 2 connections reached. In such cases, you can look up that specific error online and troubleshoot it accordingly.

