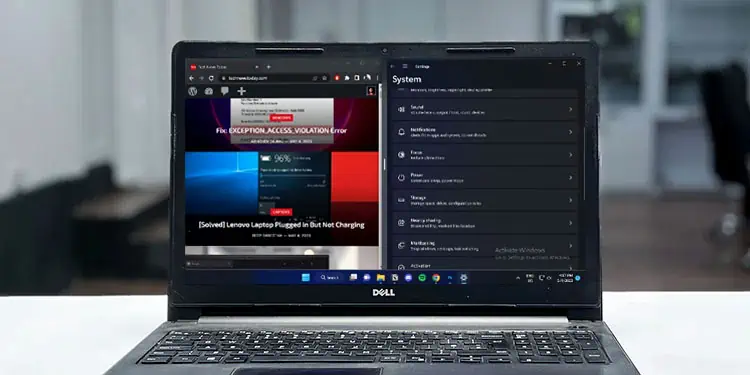
Splitting the screen gives you access to multiple windows at the same time without the need to manually resize it. It makes multitasking efficient as you have simultaneous access to your applications.
In Dell laptops, you can click and drag the desired window to any one side of the screen and select another window to split the screen. However, if you want to automatically resize the windows to fit into the split screen, you need to configure certain Windows settings.
Before You Begin
Windows uses several layouts in order to resize the screen. Snap Windows uses these layouts to resize and split the screen. By default Snap Windows feature is ON. But if it is disabled, you cannot automatically resize your windows.
Here’s how you can enable it.
- Press the Windows + I key.
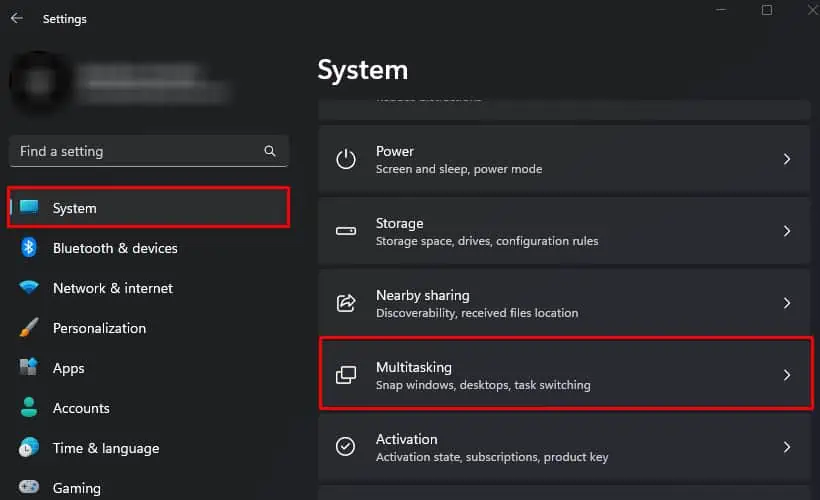
- Navigate to System > Multitasking.

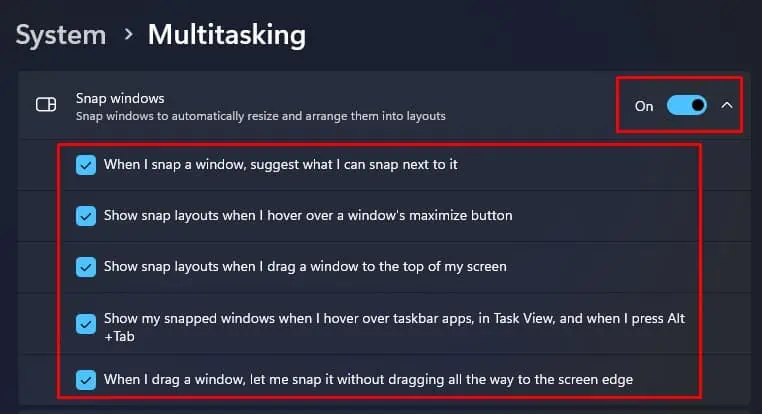
- Make sure that Snap windows is enabled.
- Click on the drop-down icon and enable all the items on the list.

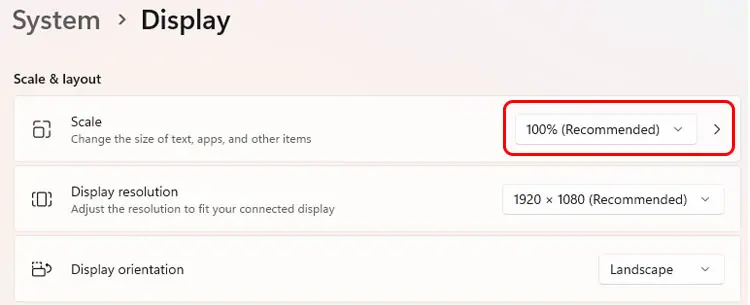
After enabling the Snap Windows setting, make sure that Scale is set to the recommended value. You can access display scaling settings in Settings > System > Display.
Split Screen on Dell Laptop
Once you enable Snap Windows, set the correct scaling value and disable tablet mode, you should be able to split the screens.
First, we will split the screens through Windows settings, then we will do it through specific apps.
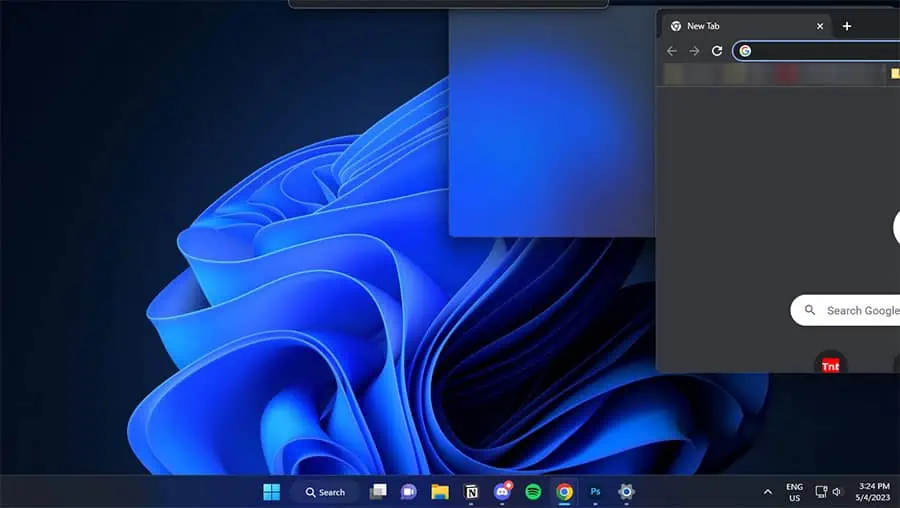
- Click and hold the title bar of the application you want.
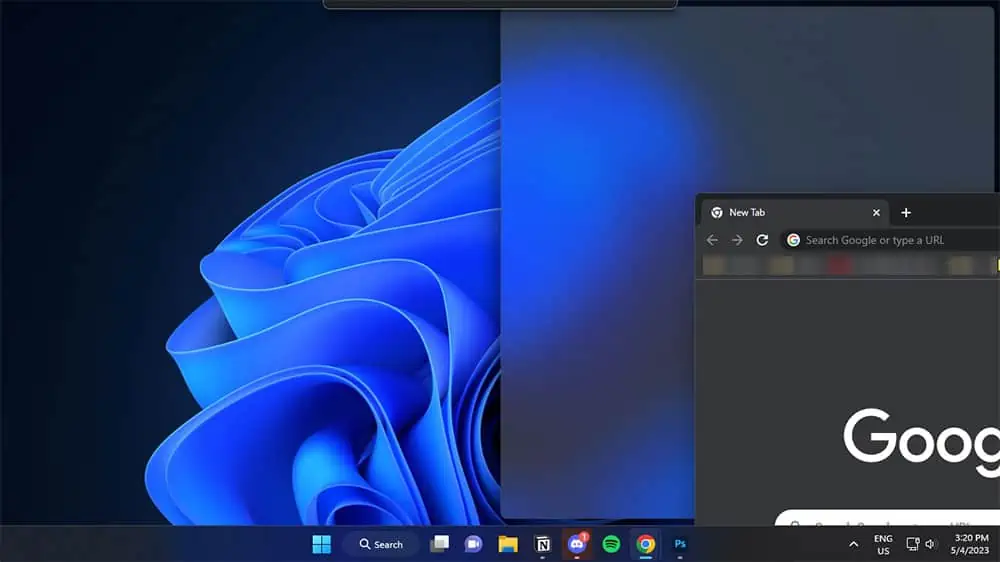
- Moving the application to the left or right side allows you to split the screen into two equal parts.

- Now, choose the second application.
- Moving the screen to one of four corners allows you to divide it into four equal sections. Now, choose the remaining three applications.

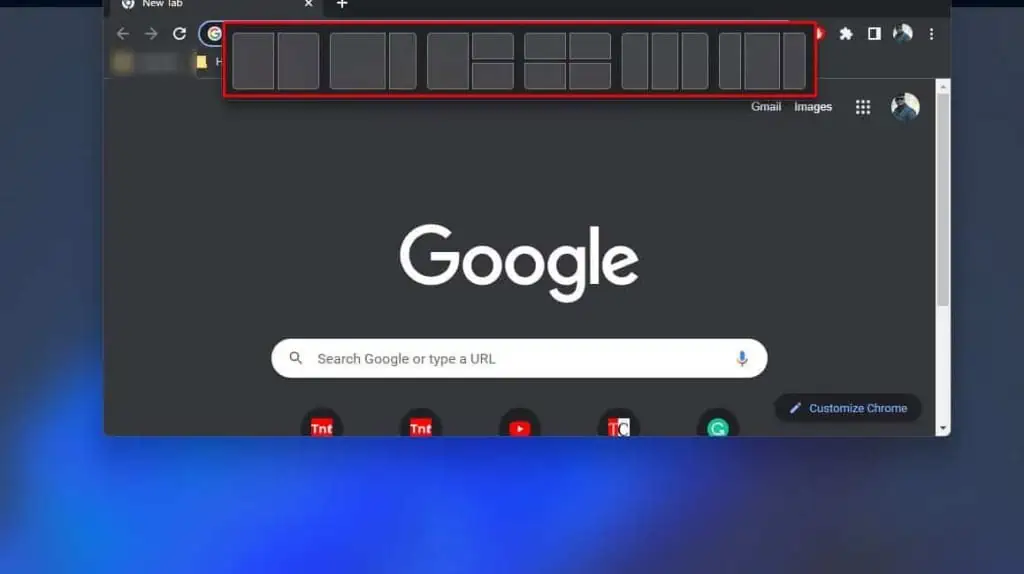
- Alternatively, if you want other layouts, drag the application to the top-middle area of the screen and select an area on any layout. Now select other applications depending on the layout.

- You can also hover on the resize icon and select a section on the layout of your choice.

If you want to use the keyboard shortcut,
- Select a window that you want to split.
- Hold the Windows key and use the arrow keys to scroll the windows through the different layouts. Here are the shortcut keys for each Windows layout.
- Windows + Left arrow key to move the active window left
- Windows + Right arrow key to move the active window right
- Windows + Right + Up/Down arrow to move the active window top/down right
- Windows + Left + Up/Down arrow to move the active window top/down left
- Once you move the active window to the desired location, select other windows to split your screen.
Using PowerToys
Usually, you can easily split screens using Windows’ built-in feature. But in case it fails or does not work, you can try using PowerToys. PowerToys is an application from Microsoft that allows you to split screens.
PowerToys comes with several features, but here we are only discussing FancyZones, a feature that splits the screen.
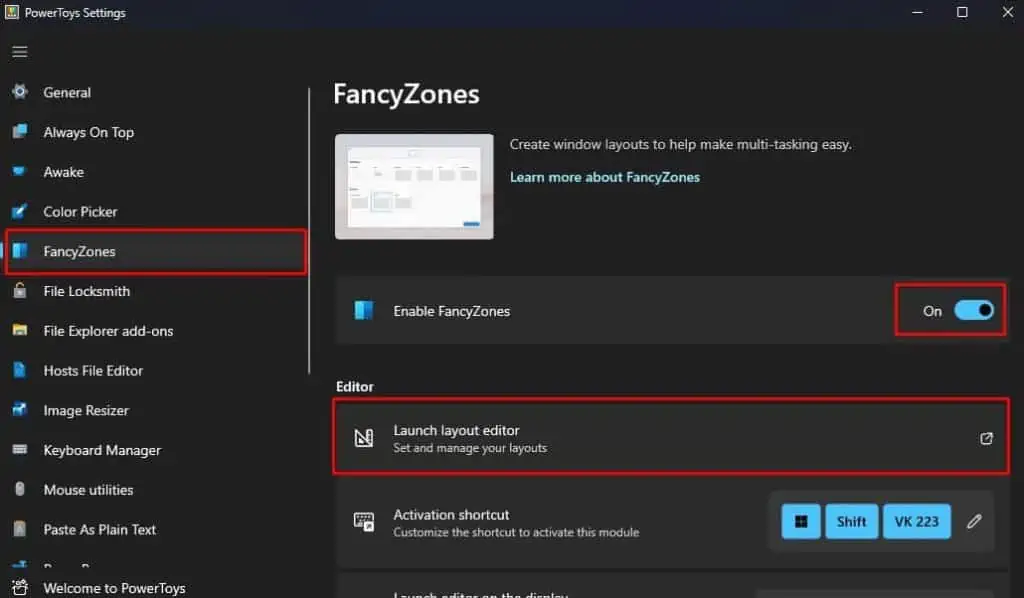
- Download PowerToys from Microsoft Store and open the application.
- Click on FancyZones.
- Enable FancyZones.
- Click on Launch layout editor or simply press the Activation shortcut.

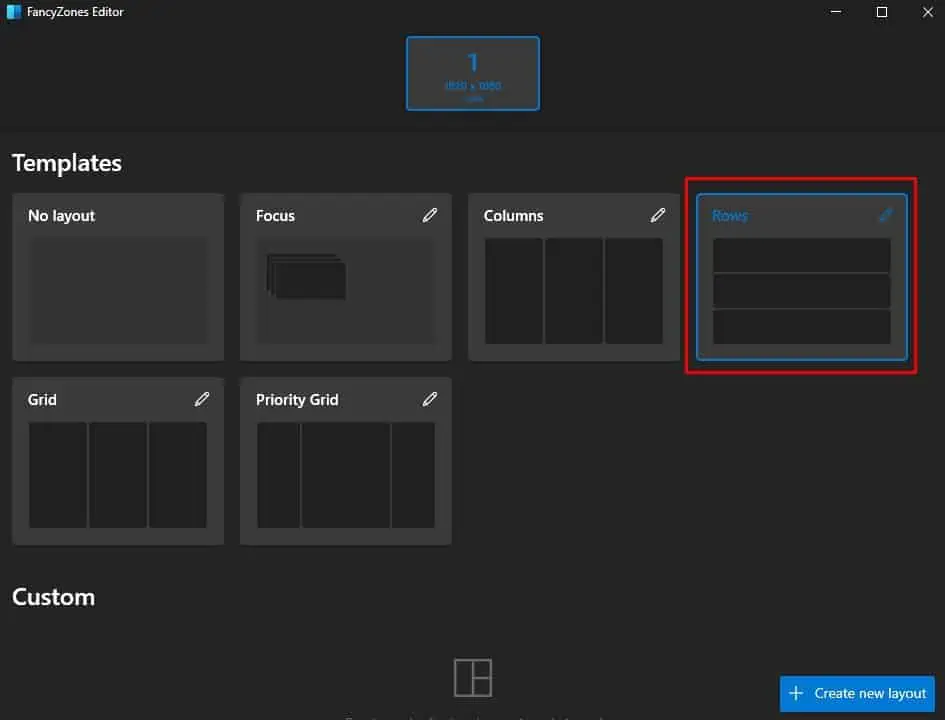
- Select a template. You can also create a custom template according to your choice.

- Hold Shift and drag the application to any one area of the layout.
- Release the Shift button.
- Repeat the same process for other applications as well.
Using Dell Monitor Manager for Dell Monitor
If you are using your Dell laptop with a Dell monitor as a dual monitor setup, you can use Dell Monitor Manager to split screens.
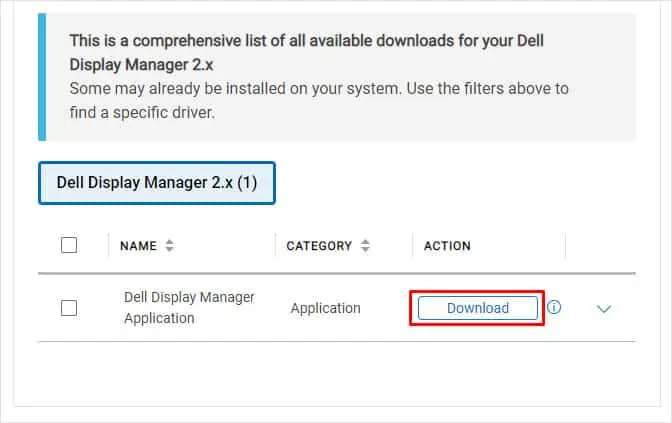
- Download Dell Display Manager from Dell’s official support page.

- Install the application and open it.
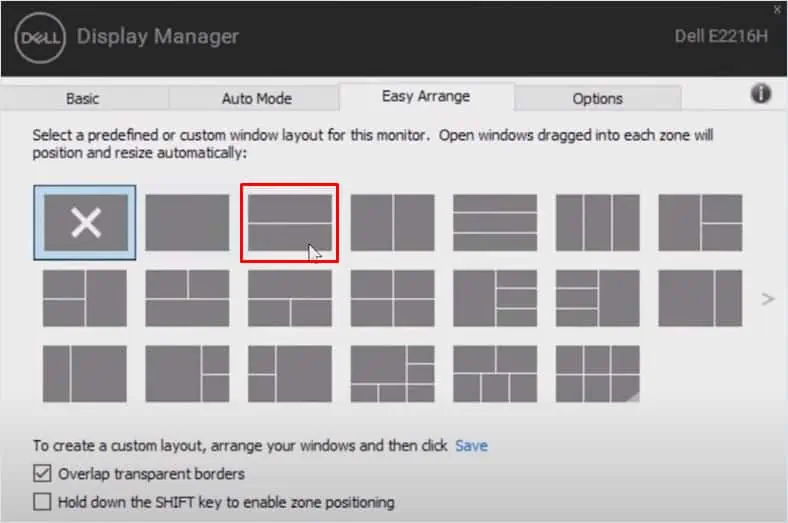
- Go to the Easy Arrange tab.
- Here, select any layout to split your screen.

- Drag the application to the desired location to snap it in place.
- To remove the layout, simply click on X in the Easy Arrange tab.

