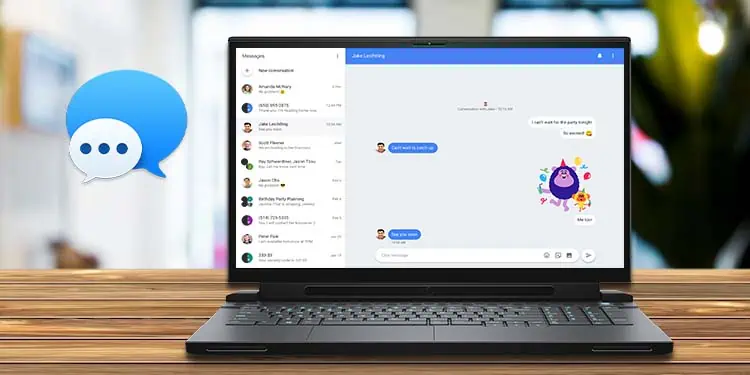
When you’re on your PC and you receive a text message on your phone, it can feel like you’re suddenly thrown out of sync and get distracted. Or, if you’re someone who needs to constantly send and receive text messages professionally, doing so on the small screen of a smartphone can be difficult.
So, if you’ve ever wondered whether you can send or receive text messages on your PC, the answer is—you absolutely can. Moreover, there are a variety of different methods you can use, from using specific applications to obtaining a virtual phone number.
Using Google Messages
This is the simplest method you can use to send and receive text on your computer. The only thing you would need to do is to set Google Messages as the default application for sending and receiving text on your smartphone.
- Install Google Messages from Playstore. If Google Messages is already set as your default messaging app, skip to step 5
- After the installation is complete, open the Google Messages app.
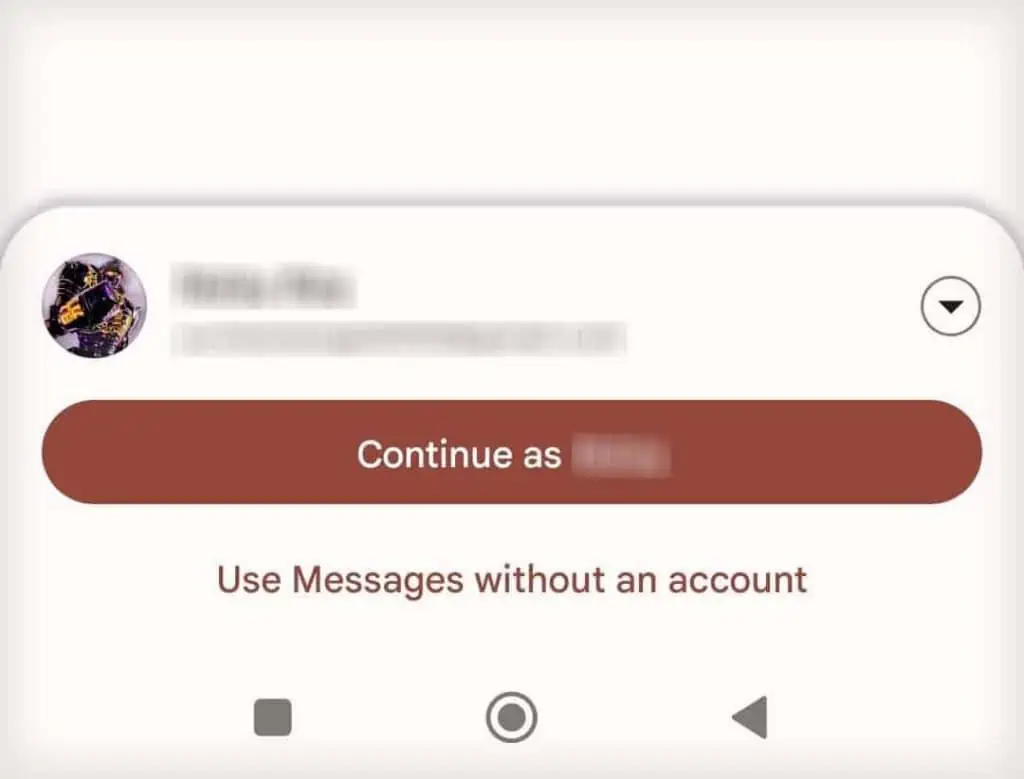
- If you’re using Google Messages for the first time, a pop-up should appear asking which account you want to login with. You can either login with the Google accounts on your device or select Use Messages without an account.

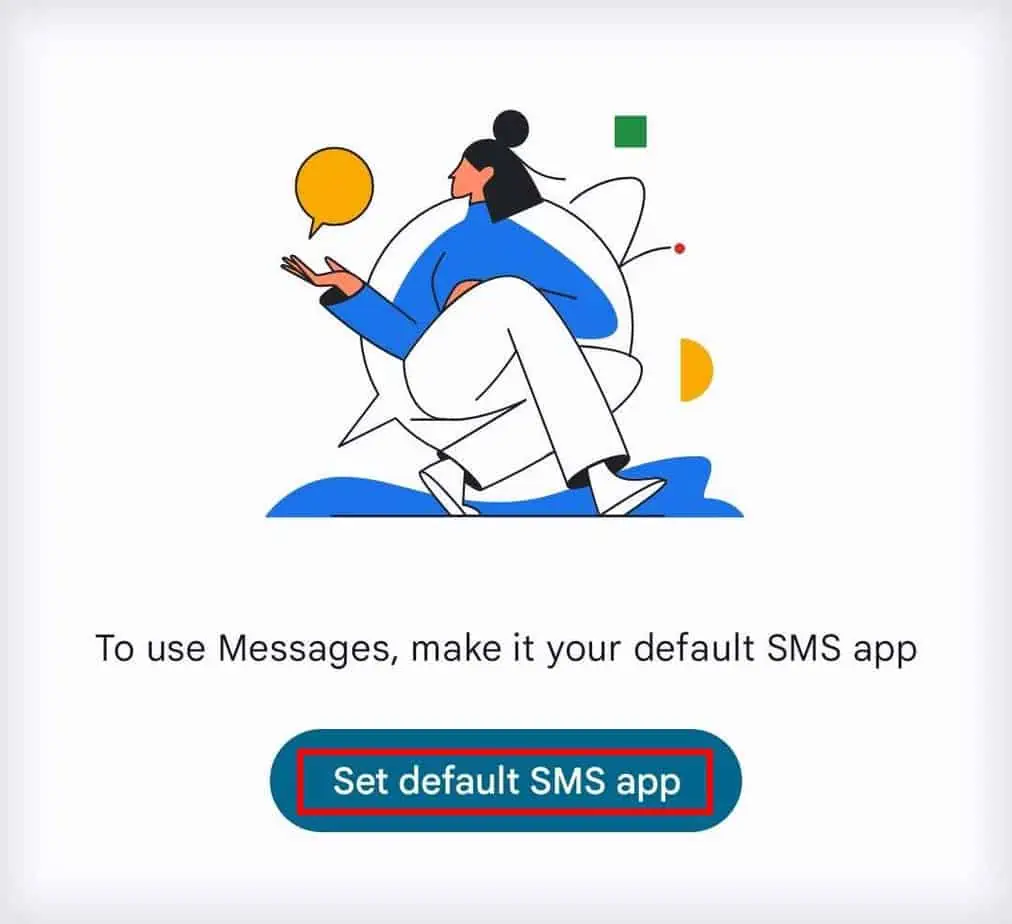
- Tap on the Set default SMS app button.

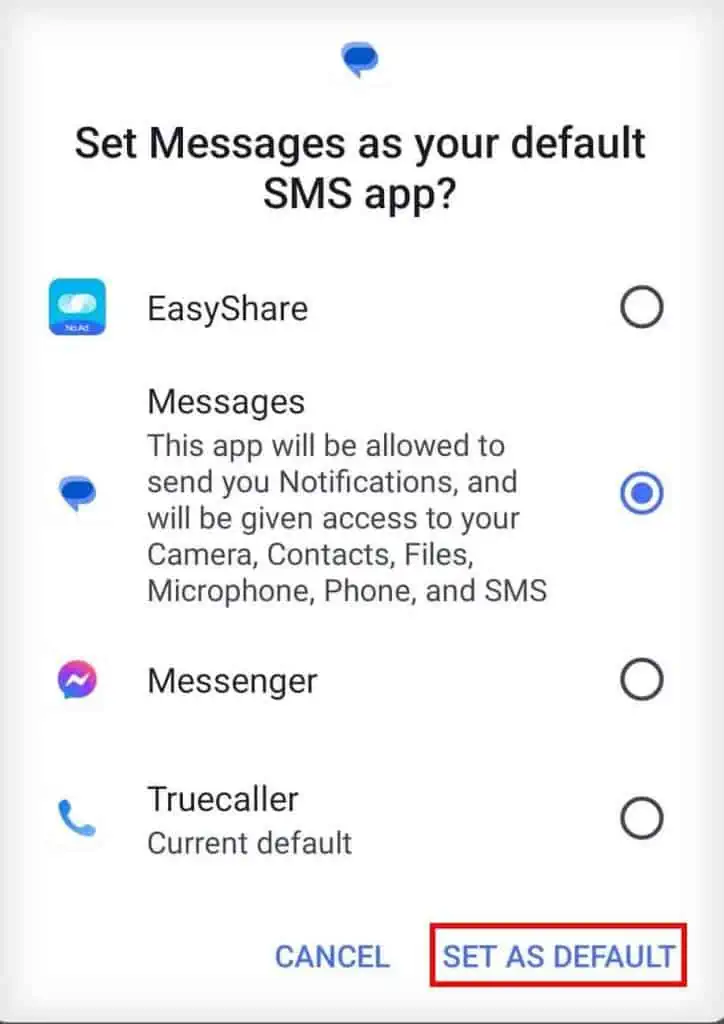
- Select Messages, and tap on Set as default.

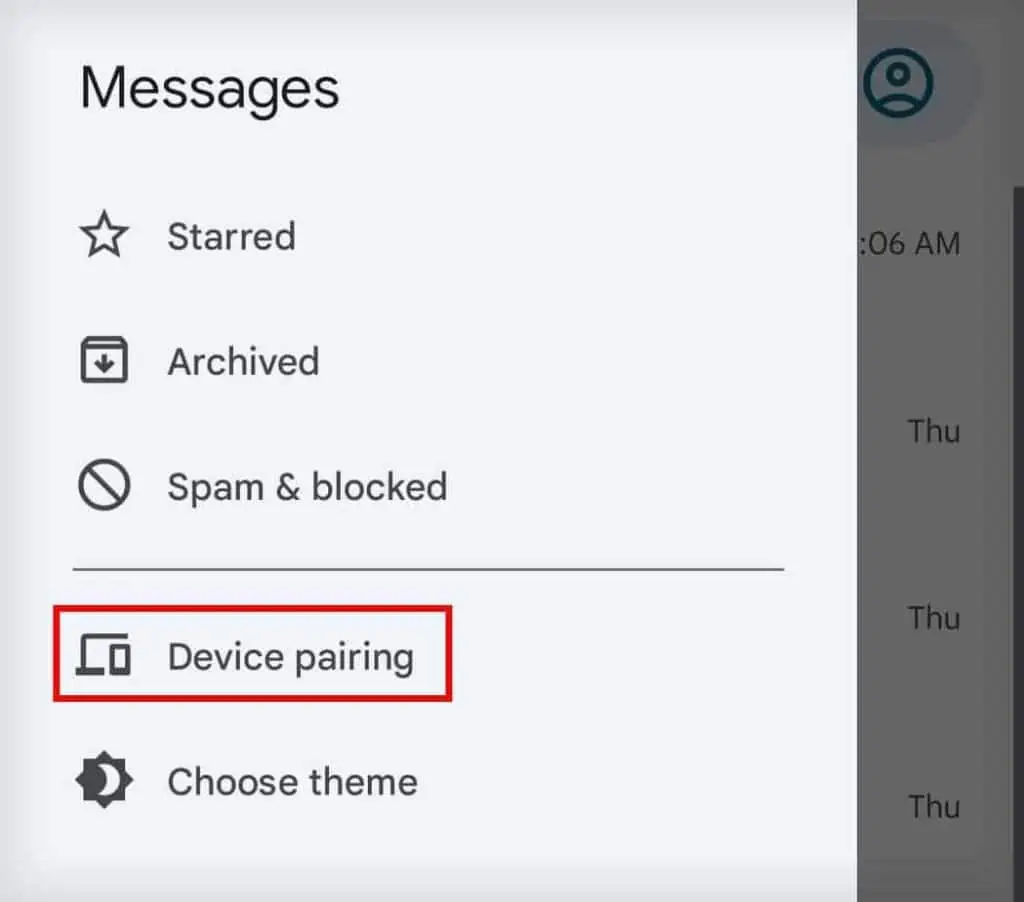
- Go to the hamburger menu at the top left, and select Device pairing.

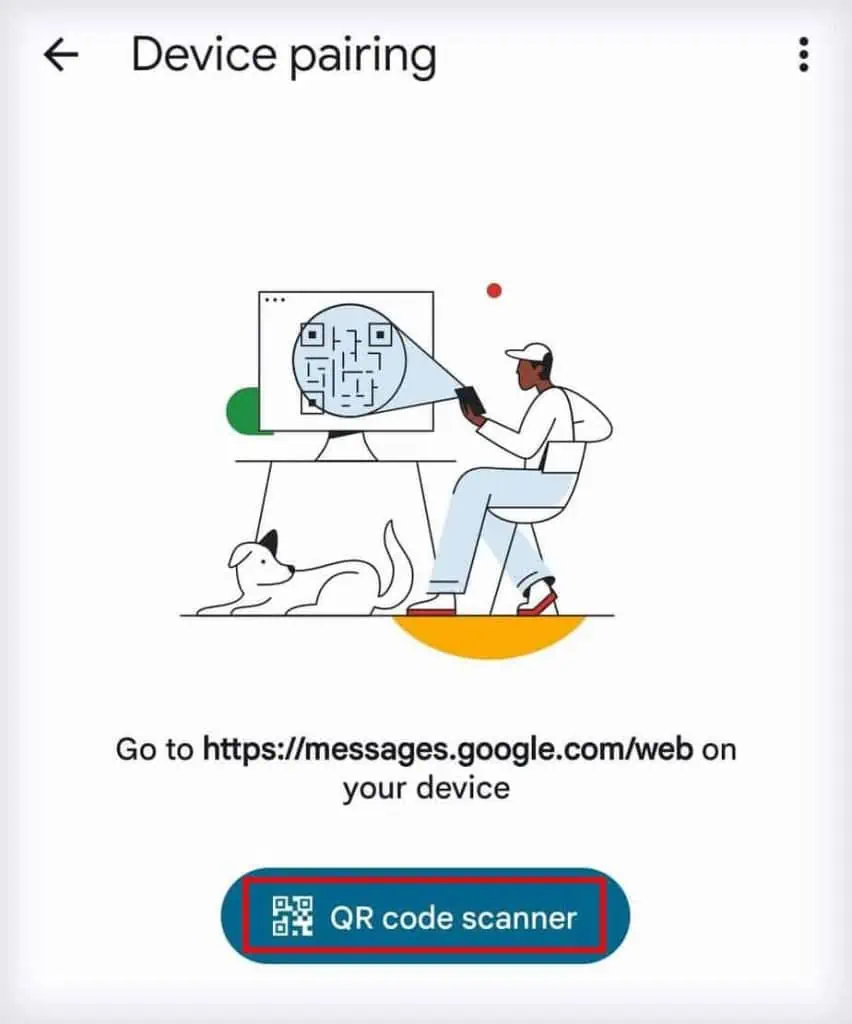
- Tap on the QR code scanner button.

- Now, open a browser of your choice on your computer.
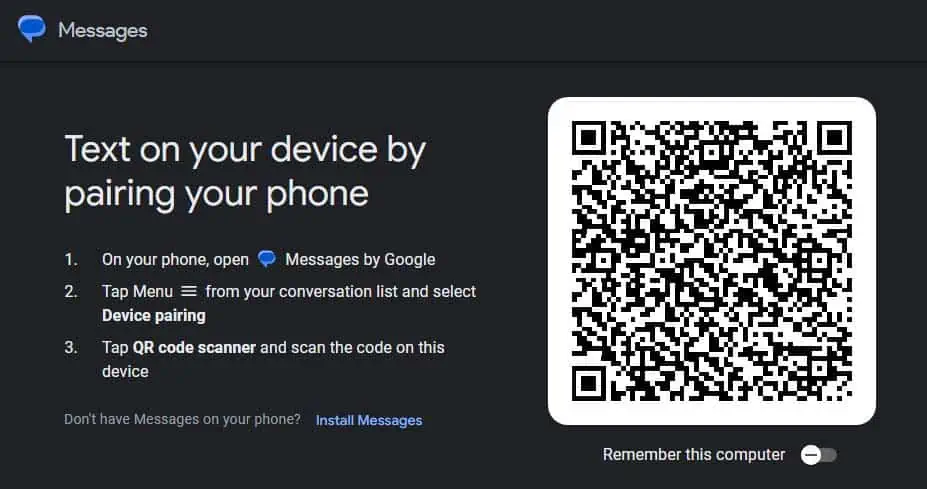
- Go to the Google Messages website.
- Scan the displayed QR code from the code scanner you opened on your phone.

- The website should reload and ask if you want to get notifications from Google Messages or not. (Set as per your preference.)
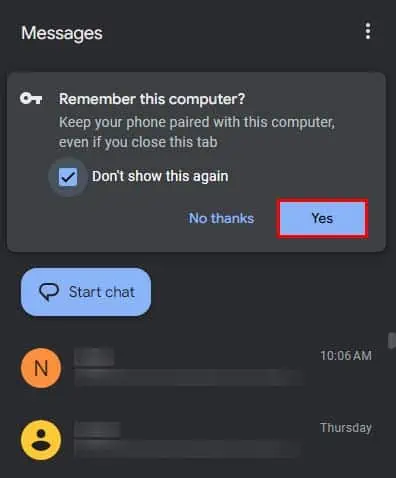
- It should also ask if you want to remember this device. Select Don’t show this again and click on Yes. If you select No thanks, you will have to follow this process all over again whenever you get back to the Google Messages website.

- Now, you can send and receive all text messages from your PC.
Using Microsoft Phone Link
Another way you can send and receive text on your computer is by using the Microsoft Phone Link. With this application, you can connect your smartphone to your PC. This allows you to view all your smartphone’s photos and notifications, and you can also send or receive texts and calls from your PC.
Furthermore, this also works if you’re trying to connect an iOS device to your Windows PC.
Connecting Android Phone
- Install the Phone Link application from the Microsoft Store.
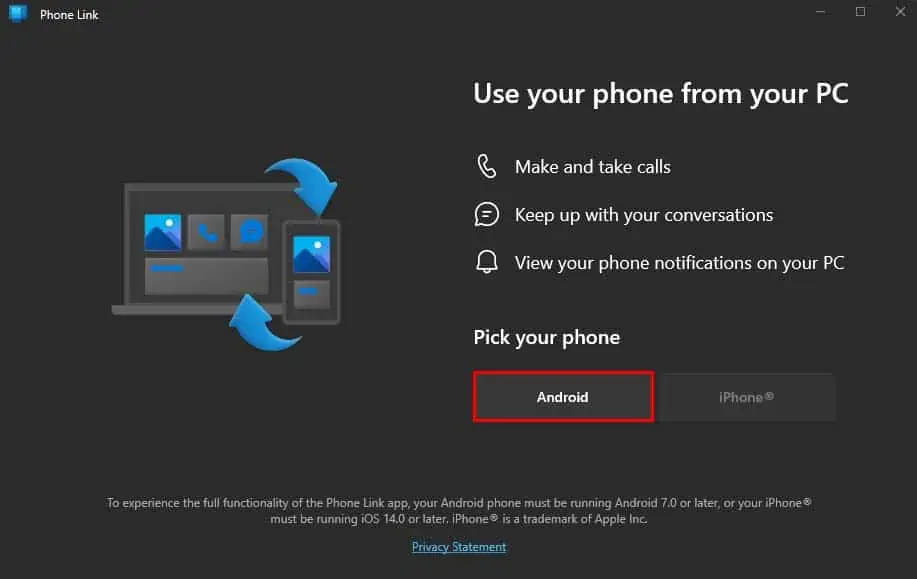
- Open the Phone Link app, and select Android.

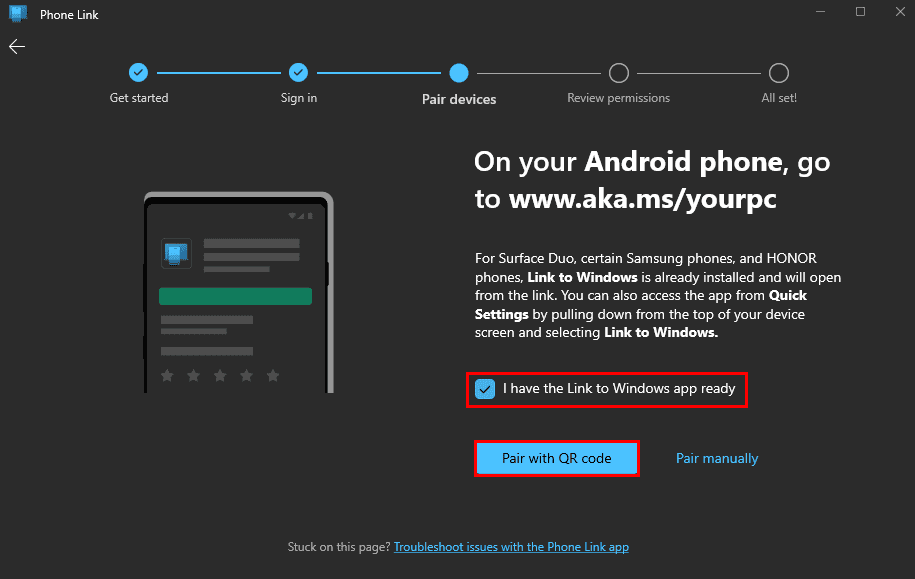
- Checkmark the I have the Link to Windows app ready, and select Pair with QR code.

- Install the Link to Windows app on your Android device from the PlayStore.
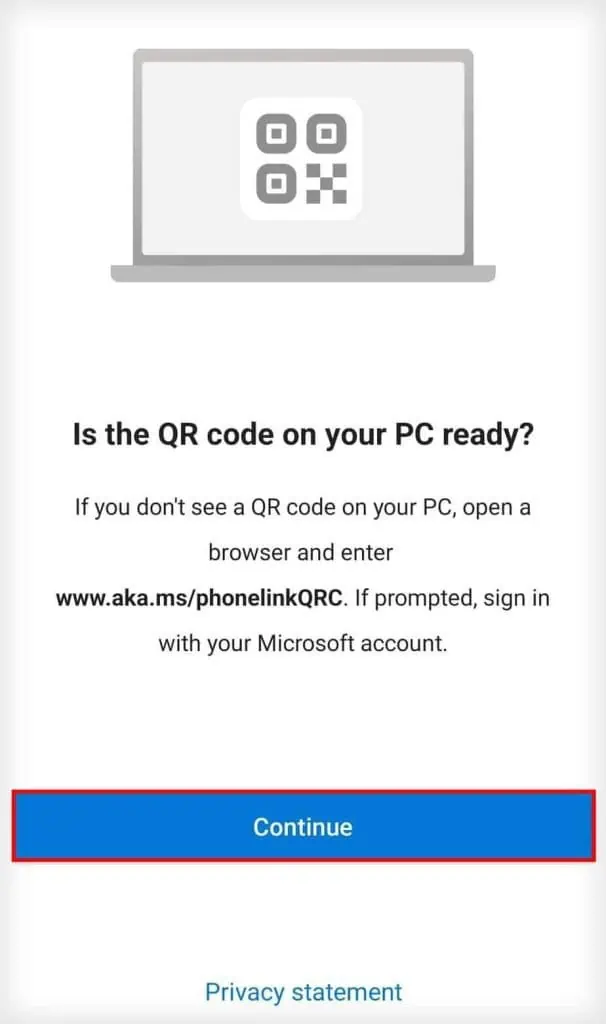
- Open the Link to Windows app, and tap on Continue.

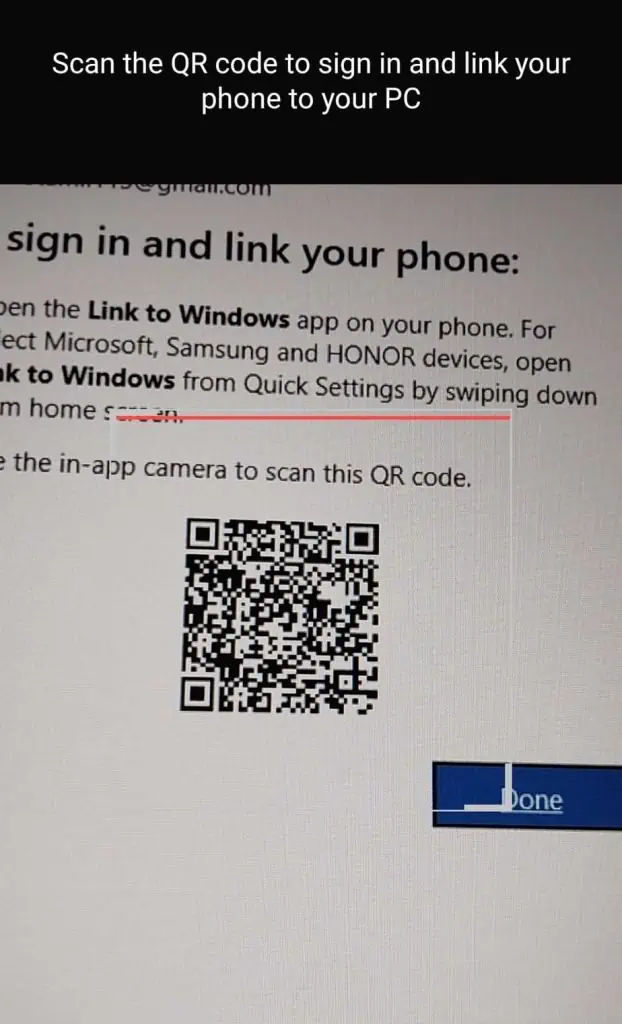
- Use the QR code scanner to scan the QR code displayed on your computer.

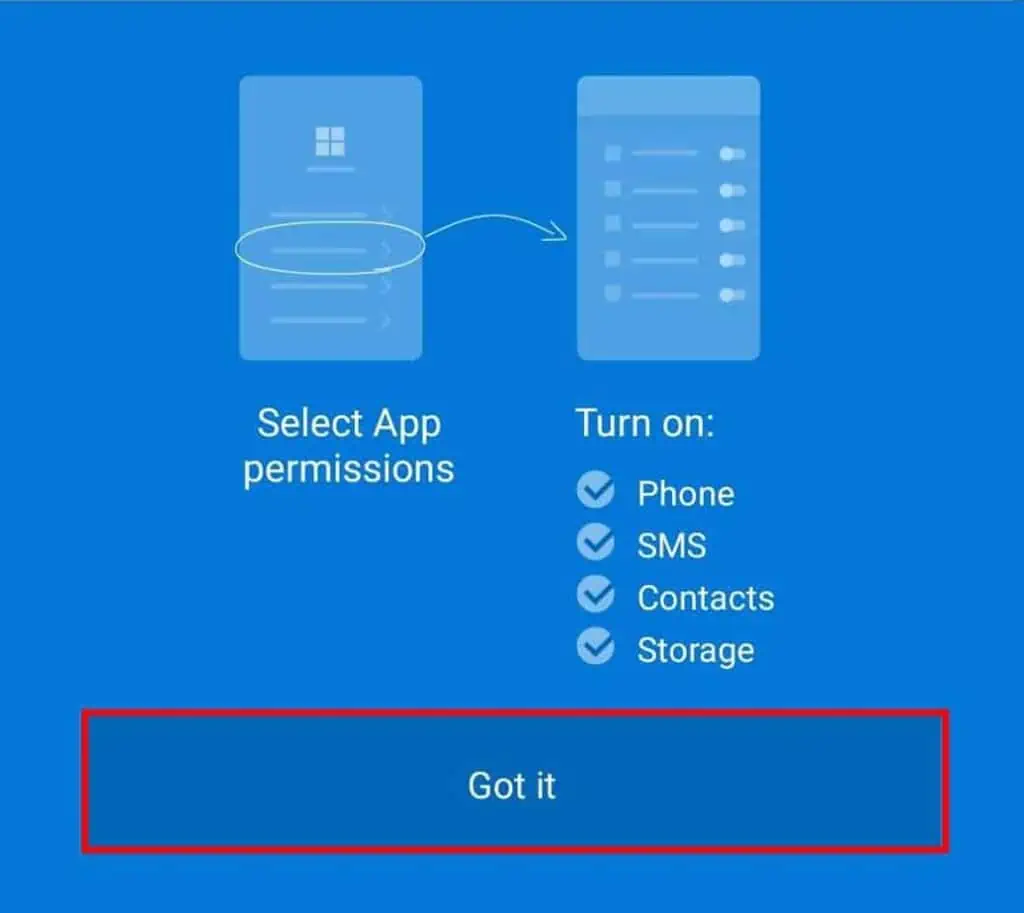
- Select Continue on your phone, and tap on Got it.

- Open the Permissions tab, and make sure Link to Windows has the permissions it has asked for.
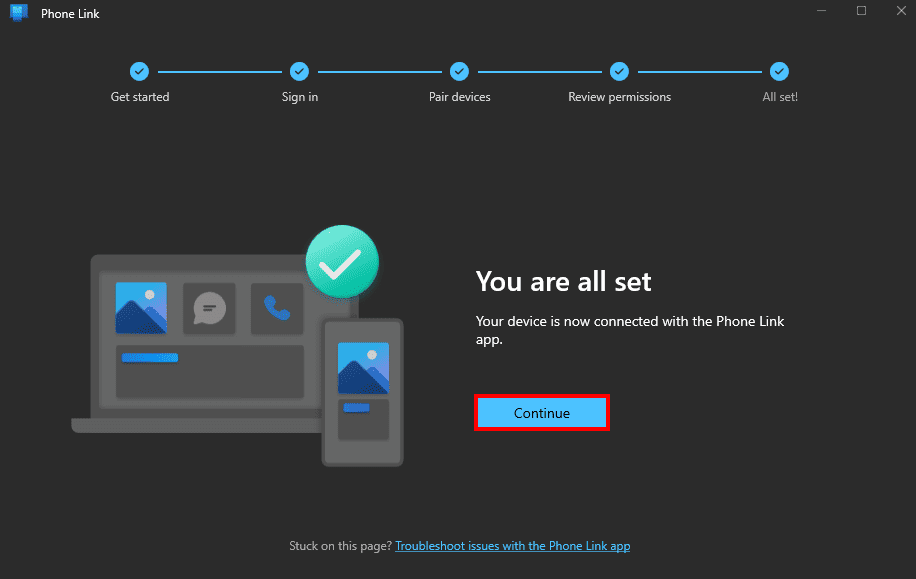
- Click on Continue on your PC.

- Select Get Started, and click on Skip.
- Now, you can send and receive messages on your PC in the Messages tab.
Connecting iPhone
- Make sure the Phone Link application and Link to Windows app are installed on your PC and iPhone, respectively.
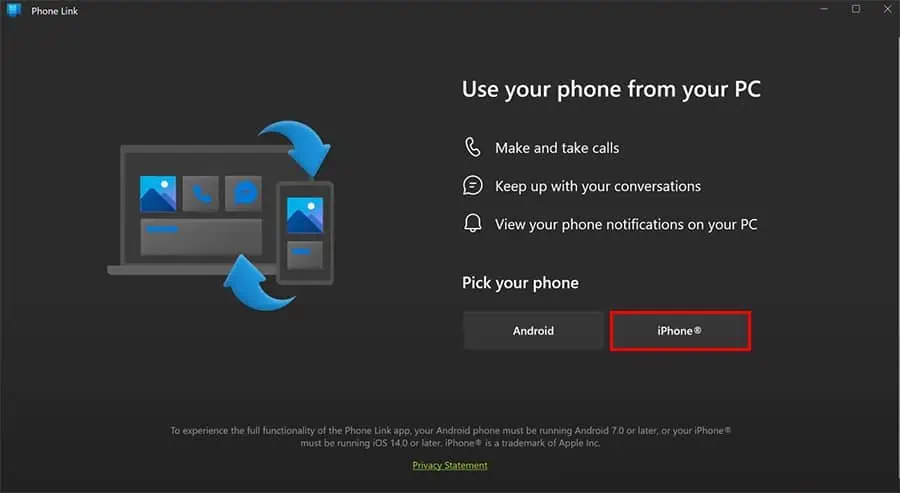
- Open the Phone Link app on your PC, and select iPhone.

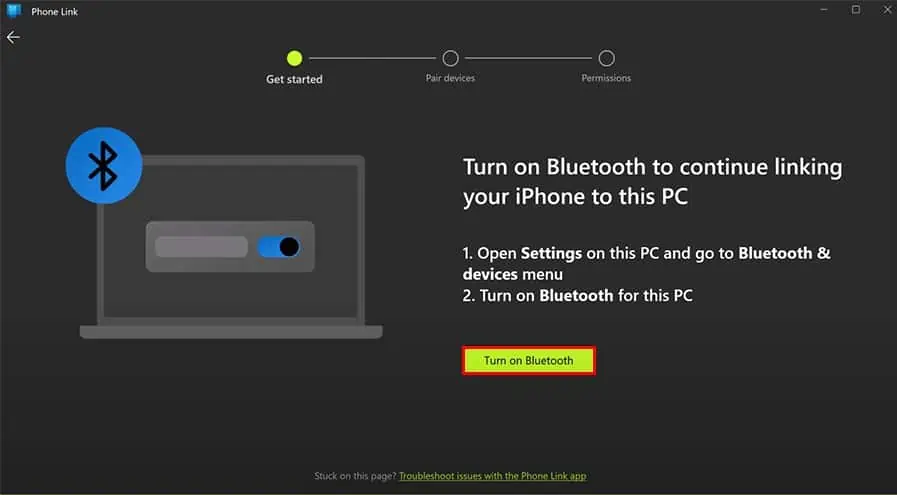
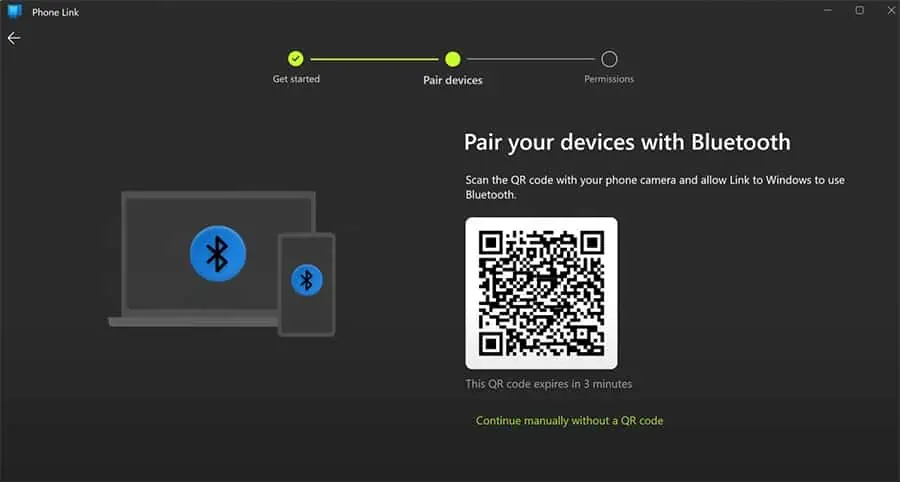
- Phone Link will ask you to turn on Bluetooth, click on the Turn on Bluetooth button.

- A QR code to connect to your iPhone should pop up.

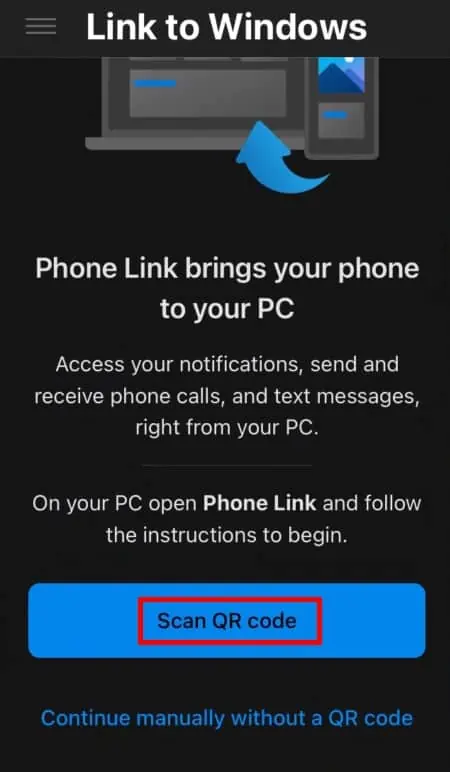
- Open the Link to Windows app on your iPhone, and select Scan QR code. Allow camera permission if necessary.

- Use the QR code scanner to scan the QR code on your Windows PC.
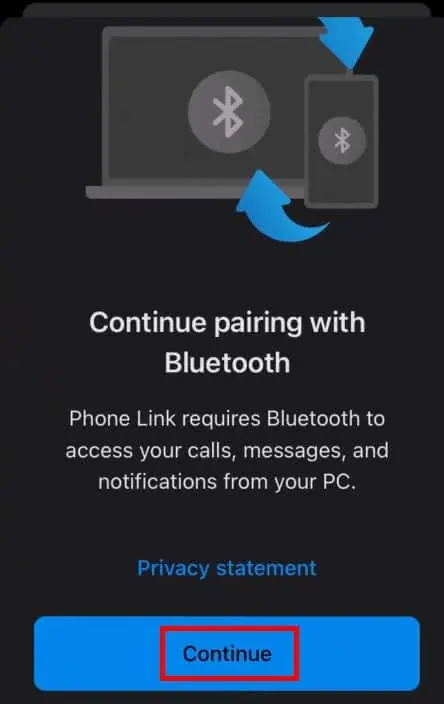
- Click Continue on your iPhone. Allow Bluetooth permission if necessary.

- Click on Pair on both of your devices.
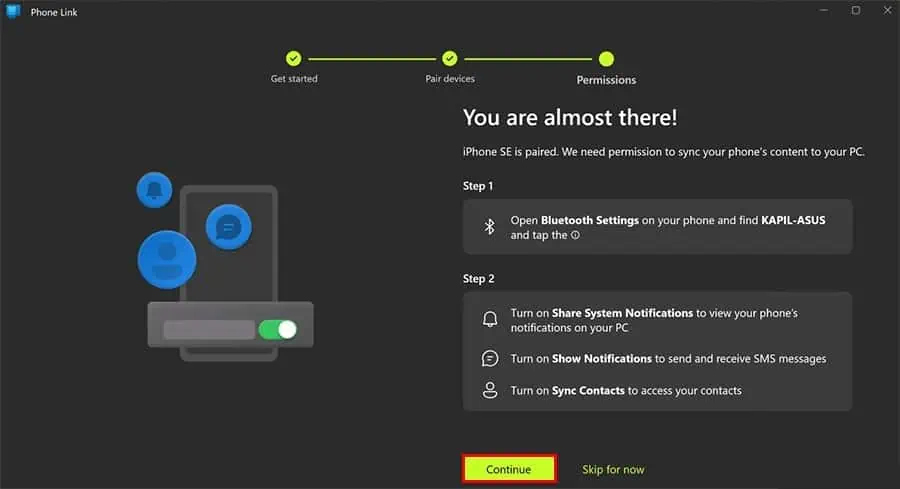
- Follow the on-screen instructions and click on Continue.

- Select Continue and click on Get started.
- Now, you can send and receive messages on your PC in the Messages tab.
Using iMessage
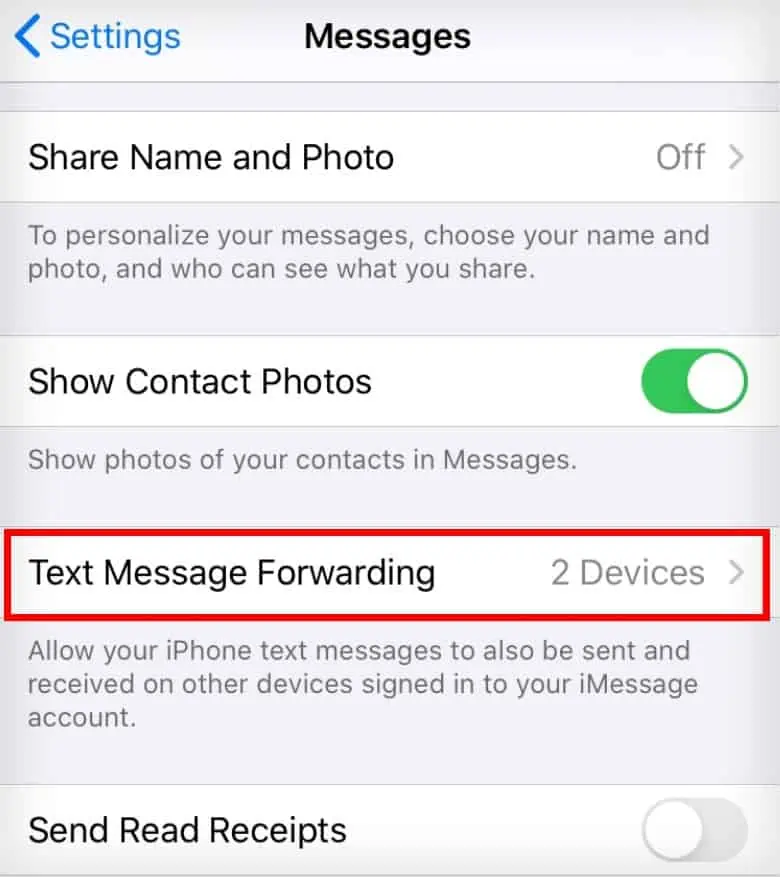
If you use an iPhone and a Mac computer, it is pretty easy to send and receive text on your Mac. You simply need to log in with the same Apple ID on both of your devices and enable text message forwarding on your iPhone. Here’s how you can do so:
- Make sure you’re logged in with the same Apple ID on both of your devices.
- Open the Settings app on your iPhone.
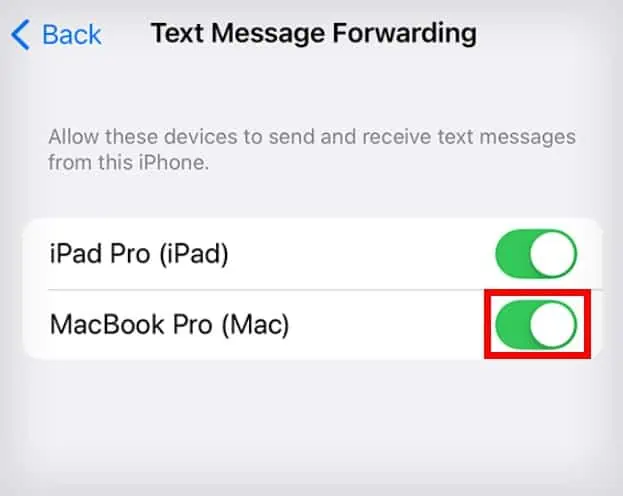
- Go to Messages > Text Message Forwarding.

- Toggle on your Mac computer where you want to send and receive messages.

- You can now send and receive messages on your Macbook using the Messages application.
Using SMS or MMS Gateway
A really amazing way you can send text messages is by using SMS or MMS Gateway. This allows you to text message people to their numbers using your email address instead. However, the drawback of this is, you can’t receive text messages the same way.
Anyway, to send a text message using SMS or MMS gateway, you will first need to know the recipient’s number and mobile network carrier. If you only know the recipient’s mobile number, you can use this carrierlookup website to find their network carrier.
After finding the recipient’s network carrier, you will need their SMS or MMS gateway. An SMS or MMS gateway is basically a mail server and domain name you can attach to a person’s phone number to send text messages via email. For example, 5551234567@txt.att.net.
The only difference between SMS and MMS gateway is in their functionalities. An SMS gateway only allows you to send text messages, while an MMS gateway allows you to attach multimedia content to the text message. However, not all devices will support MMS.
To text via SMS or MMS gateway, you will simply need to enter the number and SMS or MMS gateway of the recipient and compose an email you want to send. The recipient will get the email as a text message.
However, not all network carriers provide SMS and MMS gateway functionalities. You can check online for your recipient’s carrier SMS and MMS gateway.
Using Virtual Phone Number
Lastly, you can also acquire a virtual phone number to send and receive text messages from your computer. There are quite a lot of vendors providing virtual numbers, like RingCentral, Grasshopper, GoToConnect, and Nextiva.
Furthermore, Google also provides free virtual number service. All you need to do is sign up for Google Voice, and you will get your virtual number. However, this isn’t available for all users, as Google Voice is only available in the US, and Google Voice for Google Workspace is available only in selected countries.
On the plus side, if you use Google Voice, you will face no carrier charge when texting or calling from Google Voice within the US and Canada. However, you will need an active internet connection.

