If you’ve backed up images on Google Photos, you can easily move Google Photos to Gallery when you switch devices.
You can move selective photos to gallery on all three versions of Google Photos including web, Android, and iOS.
If you’re looking for a faster way to move all available media to your gallery you can use Google Takeout. This method is however only available on PC and Mac.
In this article, we’ve covered transferring Google Photos on all three versions, including the exporting process of Google Takeout.
Move Selected Google Photos to Gallery
Say, you only have a handful of media you wish to move to your phone gallery from Google Photos. In this case, you can hand-pick the media you wish to move from Google Photos to transfer to your gallery.
Using Web Version
Use the website for Google Photos if you are looking forward to downloading your media to your PC.
- Open the website for Google Photos and sign in to your account.
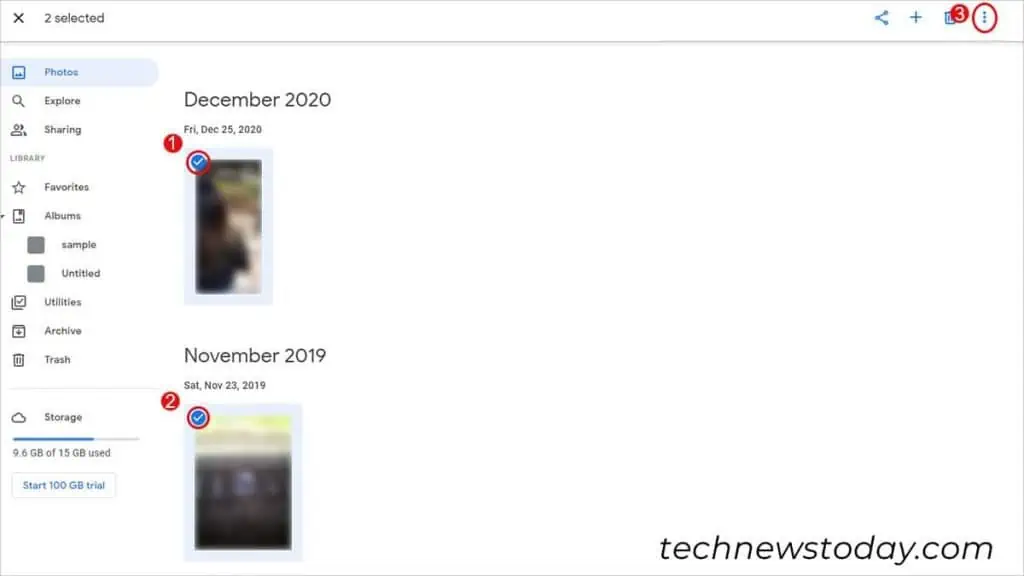
- Hover over the image and click on the checkbox to select the image. Repeat this for all images you wish to select.

- On the corner to your right, click on the vertical three-dot menu.
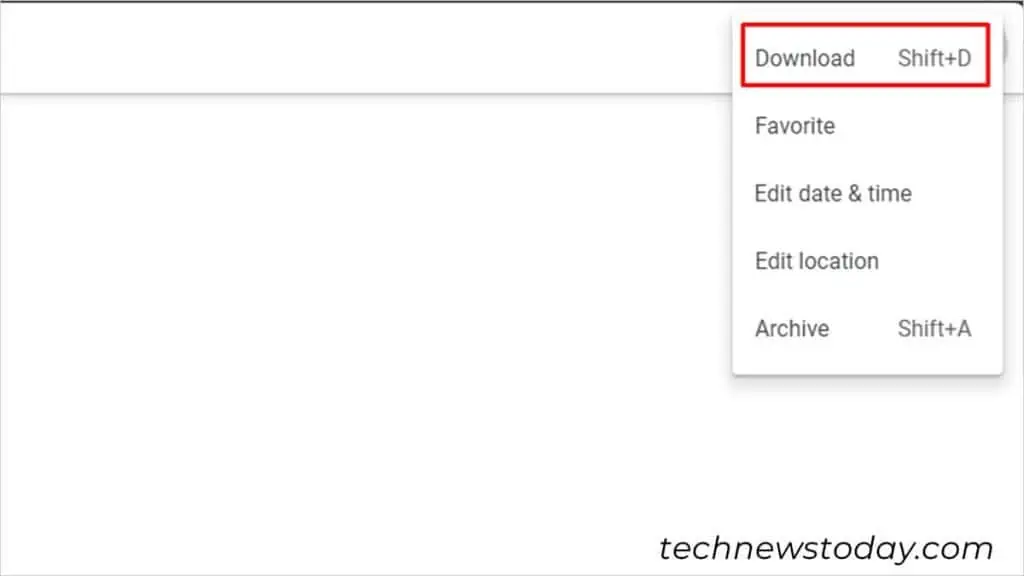
- Drop down the menu to select Download (Shift key + D).

Using Android App
Android users can use the Android version of the Google Photos application to move Google photos to gallery.
- Open the application for Google Photos.
- Locate and open the item you want to download.
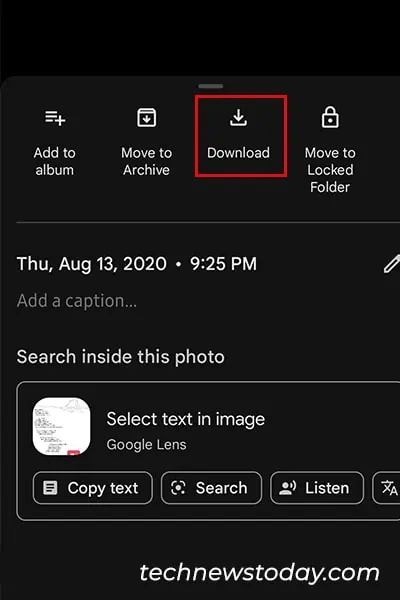
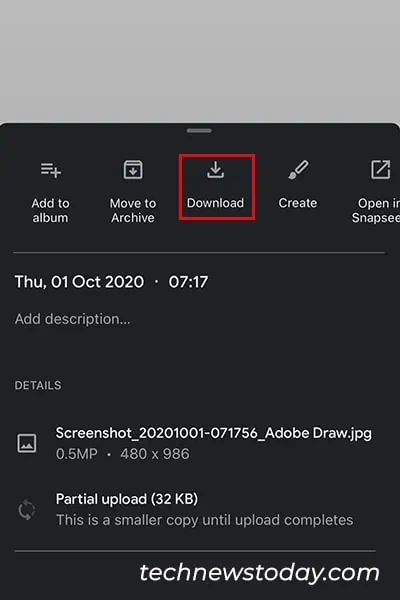
- Tap on the vertical three-dot menu in the top right corner of your screen.
- Select Download.

Using iOS App
If you’re an iPhone or iPad user, you can use the following steps to move Google Photos to a gallery:
- Open the Google Photos application.
- Select your preferred media.
- Tap on the horizontal three-dot menu (More).

- Choose Download.

Export all Media from Google Photos to Gallery
If you’re like me and have hundreds of backed-up media, using the methods I used above will take forever. Instead, you can use Google Takeout to export all your media to your device as a compressed file.
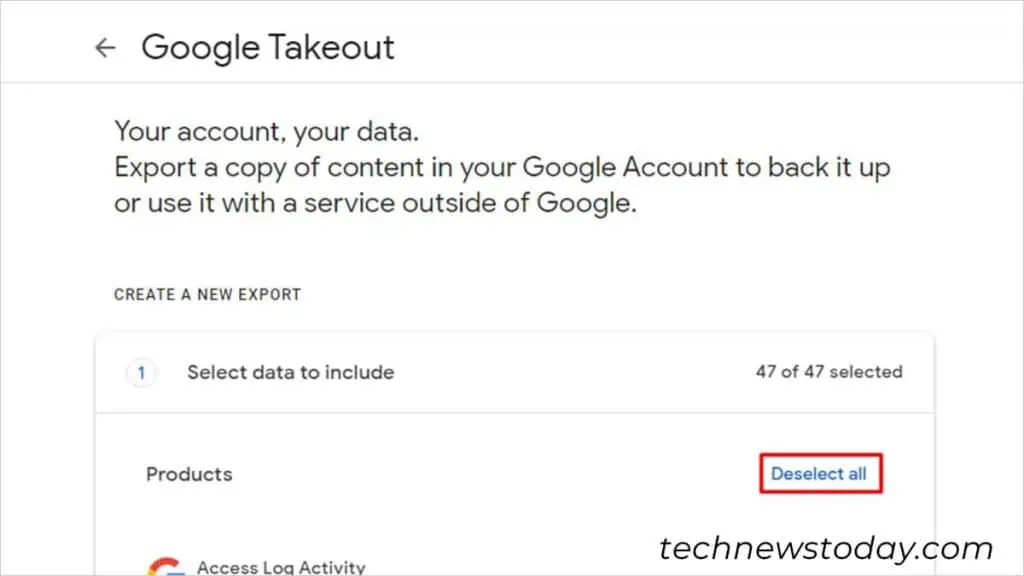
- Head to Google Takeout.
- Under Products, select Deselect all.

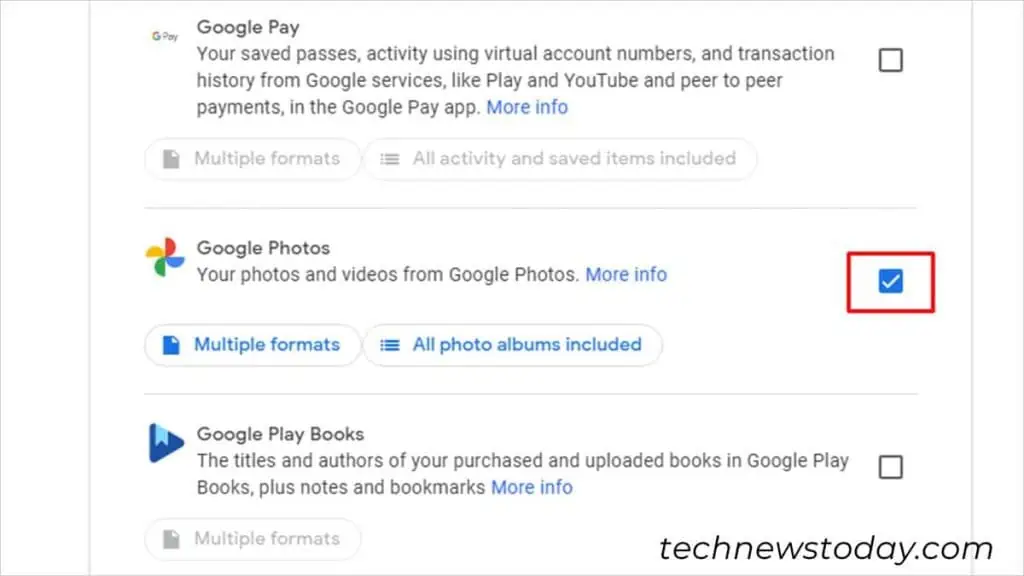
- Locate and select Google Photos.

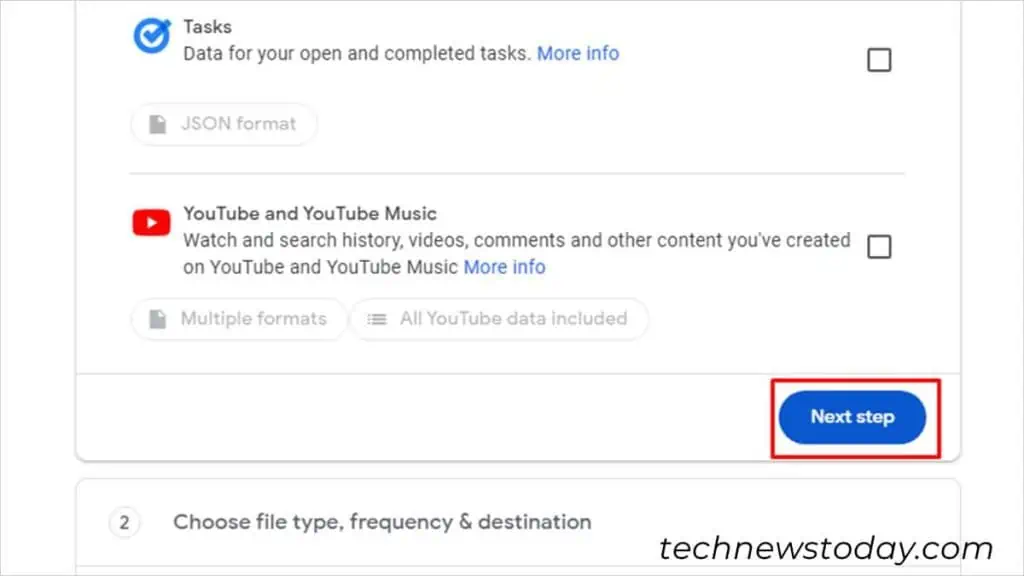
- Scroll down and select Next Step.

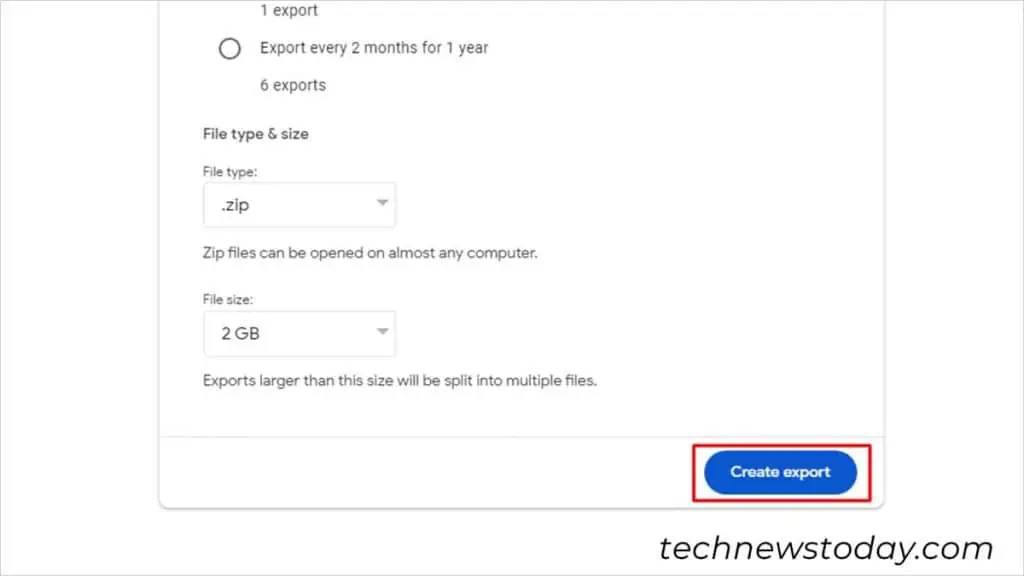
- Select the frequency of your export. Choose:
- Export every 2 months for 1 year: If you want to receive 6 exports every year.
- Export once: If this is a one-time export.
- Select a file type (Recommended: ZIP file)
- Set file size. Files that exceed the size will be split into multiple files.
- Select Create Export.

- You will receive an e-mail that will direct you to the download link of your files.
- Verify your Google Account.

