Printers generally enter into a pause state when they encounter a connection loss or a fatal hardware failure like a paper jam.
If your printer is “Paused,” you should first restore the printer’s connection and then check the printer’s screen for any error messages. Once the error is resolved, you should manually unpause the printer to resume printing again.
In this article, I will be explaining the steps to unpause the printer on your Windows and Mac.
How to Unpause Printer on Windows?
If you are on a Windows computer, follow these steps to unpause the printer.
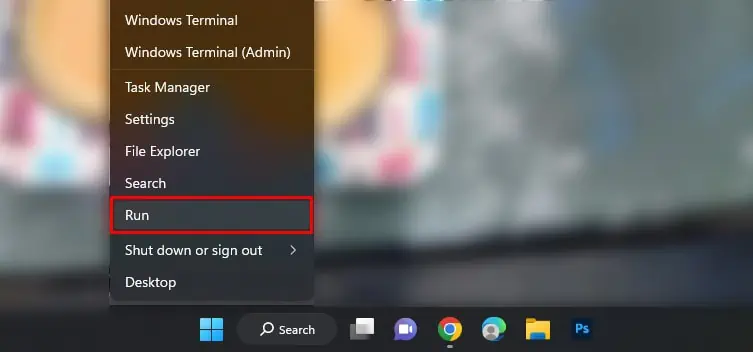
- Open Run. You can either press Windows and R keys together or right-click over the Windows Start button > select Run to open it.

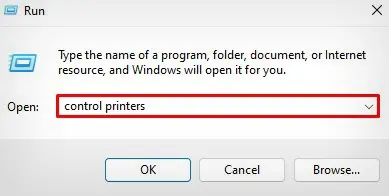
- Once you are at it, type
control printers. Click OK.
- Go to the printer that you need to unpause and right-click it.
- Tap See what’s printing.

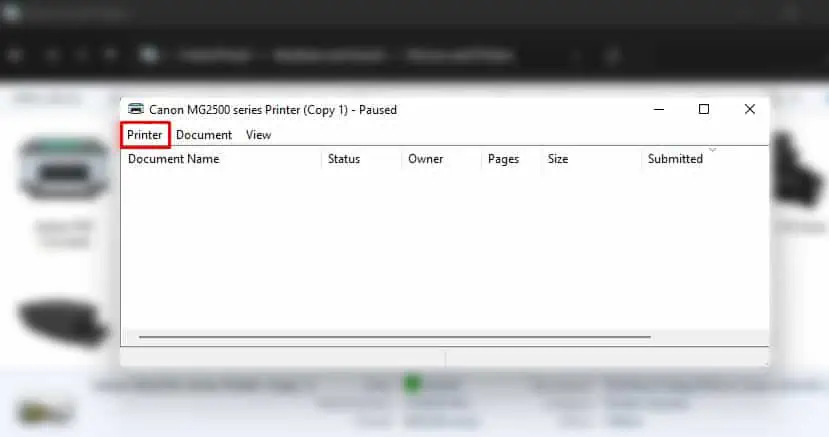
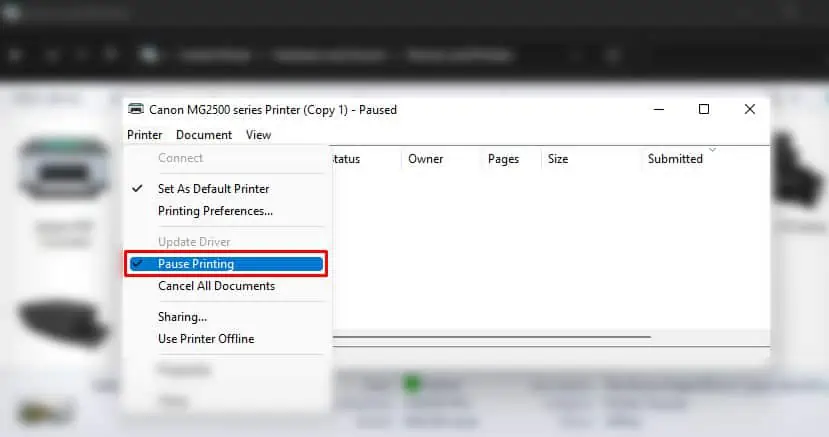
- Click Printer.

- Uncheck this option: Pause Printing to unpause the printer.

The “Paused” status should go away now, and you should be able to print again. However, sometimes you may encounter errors like “Printer Status is Paused, Cannot Resume” while trying to unpause the printer. In such a case, I recommend you stop the spooler service, clear the spooler cache and start the spooler service again.
It will help clear print jobs clogging the print queue and reinitialize the printing service on your computer.
- Open Run.
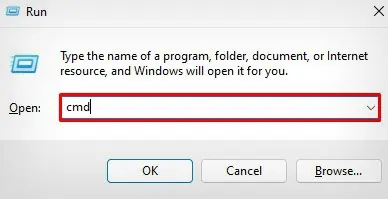
- Type
cmdand press Ctrl + Shift + Enter altogether.
- Click Yes in the popup.
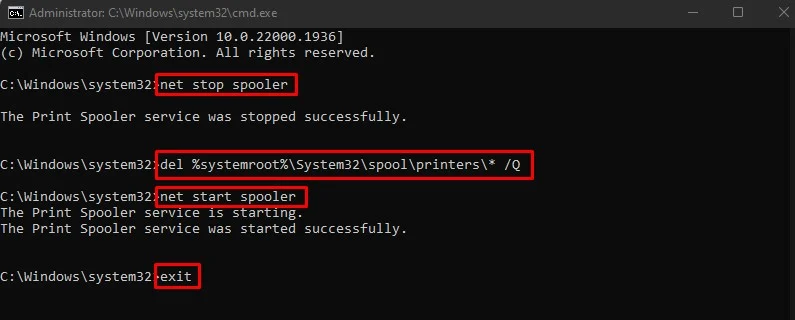
- Once you are at the command window, copy-paste the commands given below. Remember that you should press Enter after each line.
net stop spoolerdel %systemroot%\System32\spool\printers\* /Qnet start spoolerexit
Now try Printing your document.
How to Unpause Printer on Mac?
If you are on a Mac, follow these steps to unpause the printer.
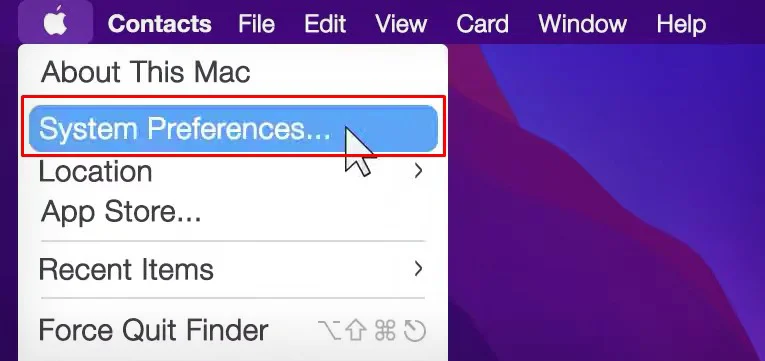
- Open System Preferences on your Mac.

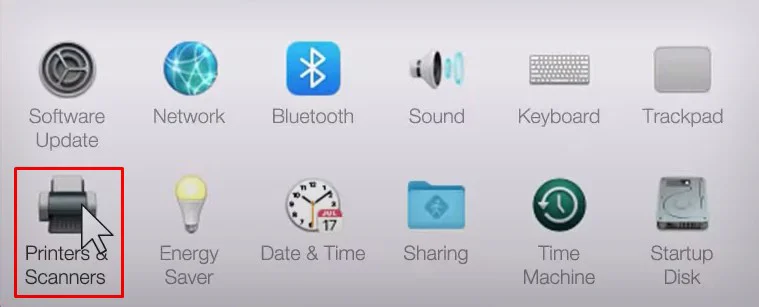
- Then open Printers & Scanners.

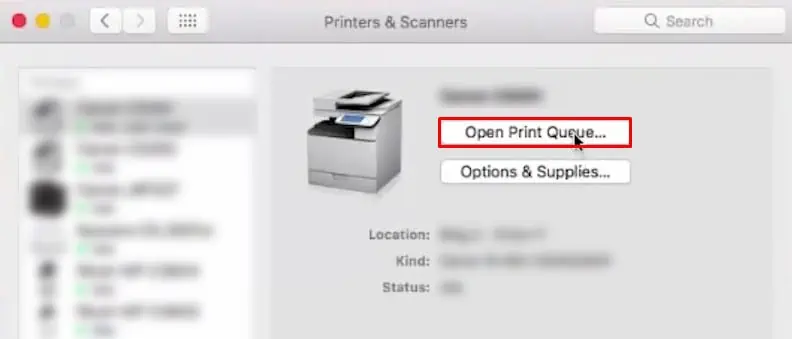
- Select your printer and click Open Print Queue.

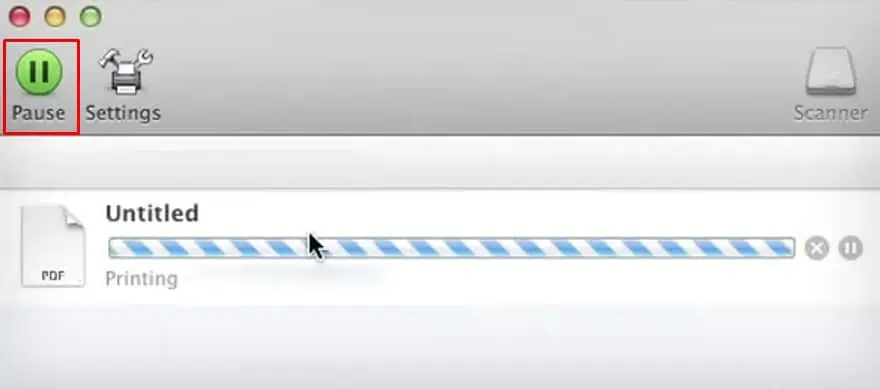
- Resume the printer.

If the printer does not resume printing, I recommend you reset the printing system. Since resetting deletes all the printer data from your Mac, you should set up the printer from scratch again.
- Open System Preferences.

- Then open Printers & Scanners.

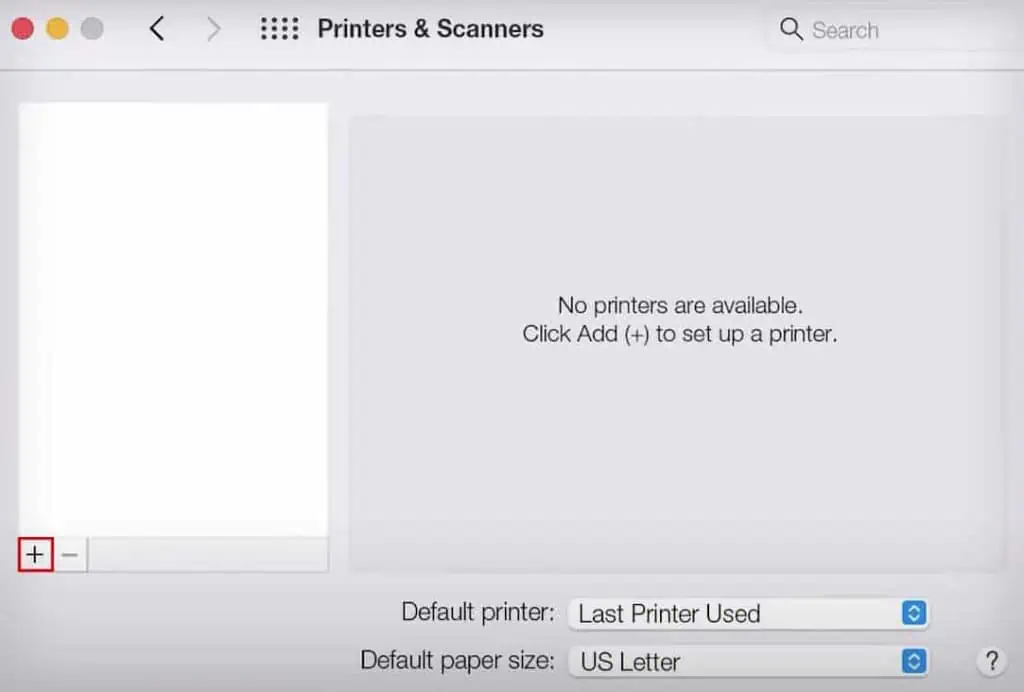
- Hold the Control key and then click the highlighted area as in the image below. Choose Reset printing system.

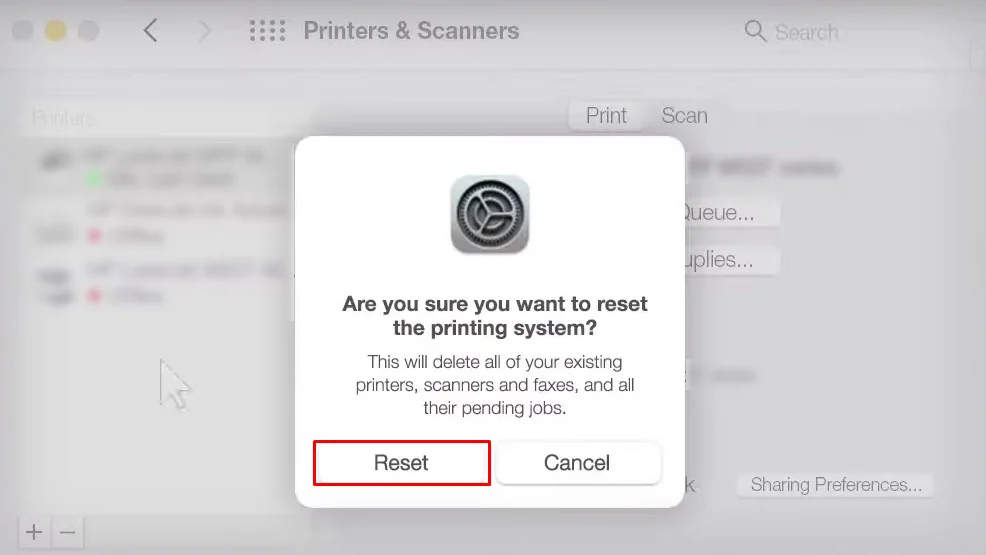
- Tap Reset.

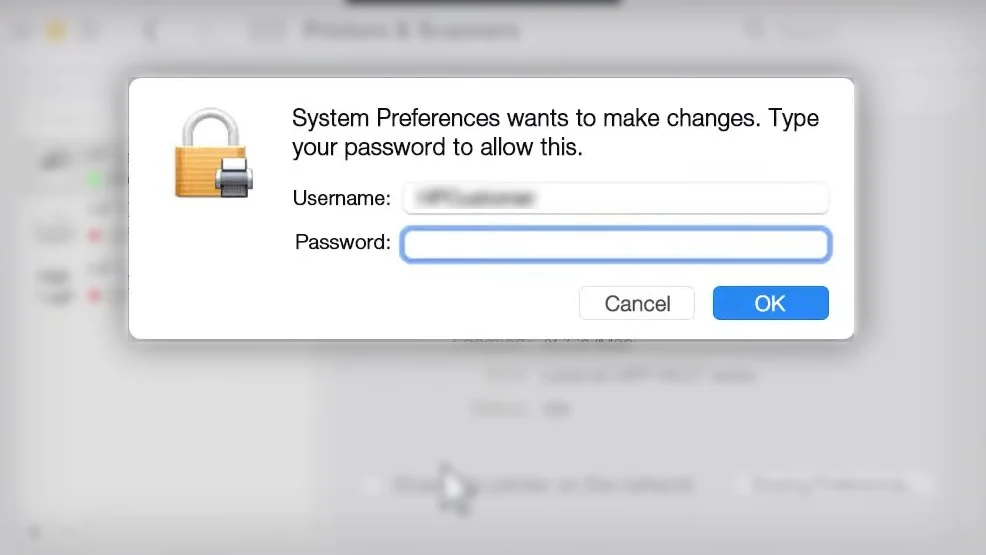
- Provide your password and click OK.

- Once the printing system is reset, re-add your printer.


