Having an up-to-date DirectX is vital in running any multimedia, especially for gaming on Microsoft operating systems.
This guide will show you how to check the current DirectX version on your PC and give you easy-to-follow steps o update your DirectX. It’s a relatively easy fix, so fasten your SATA connector cables and let us dive right in.
How to Check Your Current DirectX Version
Before you update your DirectX, make sure which version is currently installed. Some PCs that use older GPUs will not support DirectX 12, so it is essential to know which generation of Dx12 to download beforehand.
The steps to see your current version are:
- Open your Windows Start Menu
- In the search bar, type “Dxdiag” and press Enter
- In the “System Information” window look for “DirectX Version.”
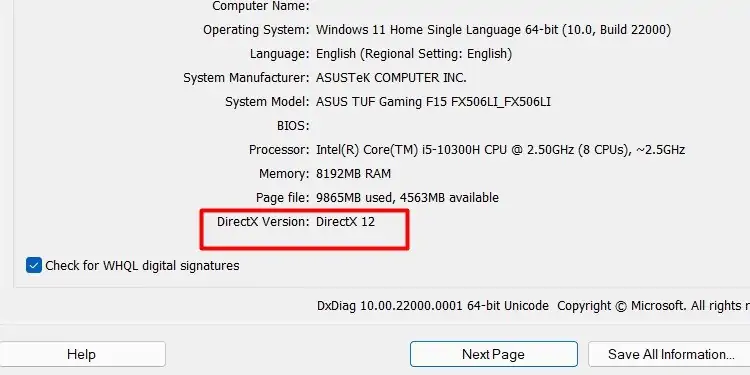
You can see the generation of DirectX above as DirectX 12 and the exact version listed below it. The same steps to check your version of DirectX apply for Windows 8 or Windows 7.
BY DEFAULT, DirectX 11.3 and 12 come pre-installed with Windows 10 Operating Systems.
How to Download and Update DirectX 12
There are two ways to update DirectX 12 on Windows. The first one is to download it manually from the official Microsoft software support page.
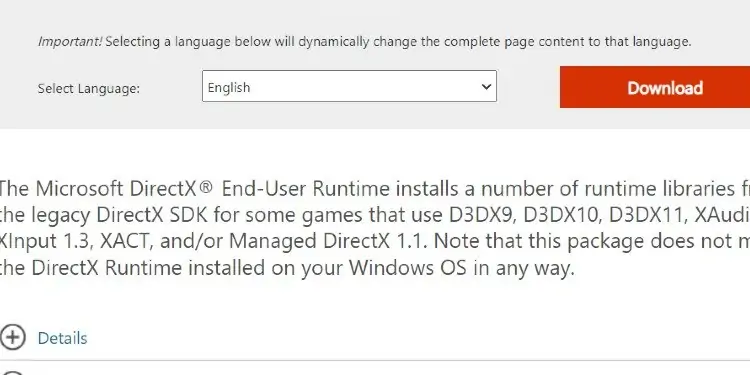
To install the software after downloading, follow these steps:
- Go to your “Downloads” folder and right-click on the DirectX installer.
- Right-click it and select Run as administrator.
- Give Necessary Permissions and Start Install.
- After installation, Restart your computer to apply the new effects.
The second way of installing DirectX 12 is by forcing windows to update your Operating System.
Here is how to ensure that your Windows PC is running the latest available software version.
- Click on the Start Menu
- Click on Settings, located on the right side of the panel
- Click on Update and Security
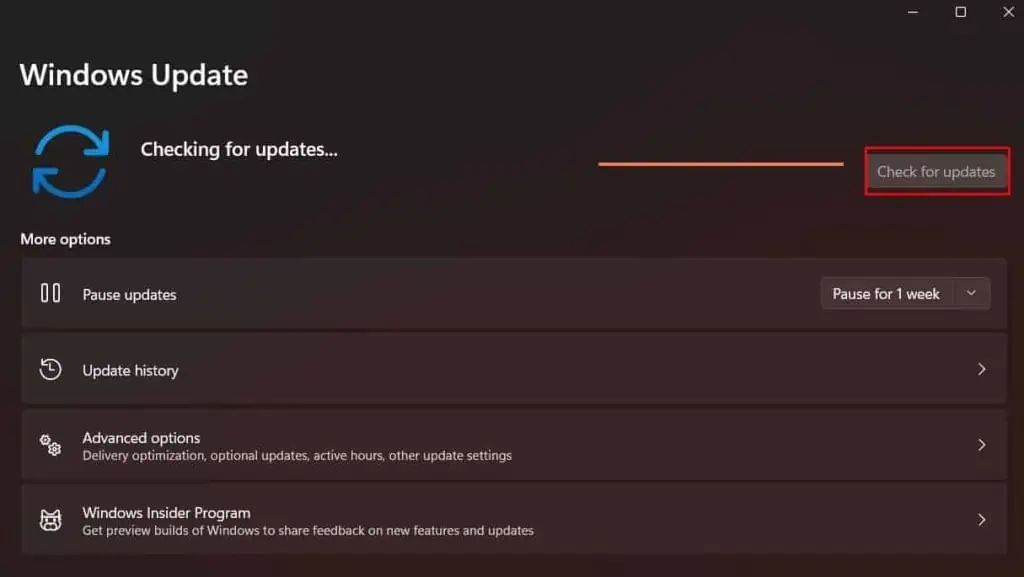
- Click on Check for Updates and Install any Pending Windows Updates

After the updates are installed, please restart your computer and check the new DirectX version with the steps we showed you earlier to verify that it is updated.
Install DirectX in Safe Mode
To update DirectX indirectly, this is how to force Windows to perform a manual Software Update to the newest Windows Operating System version.
If you have trouble installing DirectX, try to run your Windows in Safe mode. Here is how to do it:
- Open your Windows Start Menu
- Hover over the arrow next to “Shutdown” on the bottom right of the menu
- Hold your Shift key and then click on “Restart.”
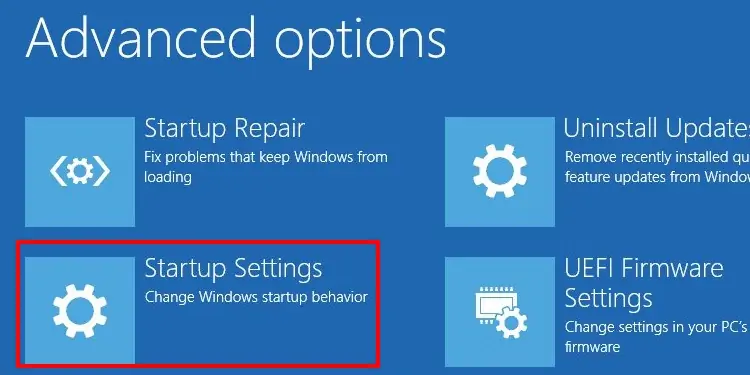
- You will be greeted with a blue popup screen (fear not, it’s not that blue screen)
- Click on “Troubleshooter” and select Advanced Options
- Click on Startup Settings and Press Restart

- When your PC Restarts, you will see a similar interface again
- This time press the number 4 or F4, which will force Windows to run in Safe mode
The reason to run the DirectX installer in Safe mode is that Safe mode causes the default factory settings and can help with compatibility issues. Other software you have prevents you from installing newly downloaded internet files, such as Anti-Virus software.
Uninstalling DirectX
Uninstalling DirectX 12 is not possible because it is part of the primary default Operating System files that come with Windows. It is vital in running many applications correctly.
Suppose you are having issues with your software-related Gaming applications. In that case, the best option is to update your GPU drivers instead of tinkering with different DirectX versions.
You can see our complete guide on updating both NVIDIA and AMD GPUs.
After updating your GPU drivers, make sure that monitor drivers are up to date.
System and Hardware Requirements to Run DirectX 12
If your Operating system is Windows 7 or newer, you can run DX12 as long as your GPU supports it.
DirectX 12 is currently, as of writing this article, supported by all NVIDIA graphic cards built on the Kepler, Maxwell, Pascal, Turing, and Ampere architecture. In other words, any GPU that has a name that starts like 600, 700, 900, 1000, 2000, 3000.
All GPUs are newer for AMD, and the 77xx series fully supports the DX12.
Please note that DirectX12 is not available for any Apple desktops or laptops that run the Mac OS. It is strictly owned by Microsoft and developed exclusively to run on Windows. Depending on the updates ahead, it might become available for some Linux versions.
Windows Versions Incompatible With DirectX 12
Any windows versions, including or newer than windows 7, can run Dx12, but note that some titles might not run properly on a Windows 7 with the DirectX 12 version. Technically, Vista also supports it, but please don’t use Vista; no person deserves that punishment.
If you face any compatibility issues, run the game on Windows 7 with DirectX 12 and use DirectX 11 instead.
Benefits of Upgrading to DirectX 12
DirectX boasts an impressive performance leap over the older generation – DirectX 11, most notably in the power efficiency optimization and the raw performance boost.
It is estimated that DX12 is around 50 percent faster than DX11. In other words, you should always aim to have DX12, as it is literally like getting a free GPU upgrade. It might be time to drop the legendary GTX 550-ti and opt for the newer GPUs instead.
The third benefit of DX12 is related to game optimization and stability. Having DX12 gives you backward compatibility with all titles that were made to run on older DirectX versions, so don’t worry you can still run and use emulators for games from the past on it.
Summary
- Having the latest version of DirectX – DX12 lets you enjoy performance gains in all areas. Practically all new game releases are designed and made to work with the DX12 platform in mind.
- DirectX can’t be uninstalled, so if you have trouble in game crashes or artifacts its most likely an issue related with your Display or GPU. Whatever you do DON’T install 3rd party apps that claim to “Uninstall DirectX 12 for free”.
- Always download DirectX directly from Microsoft’s site to avoid outdated versions and malware.

