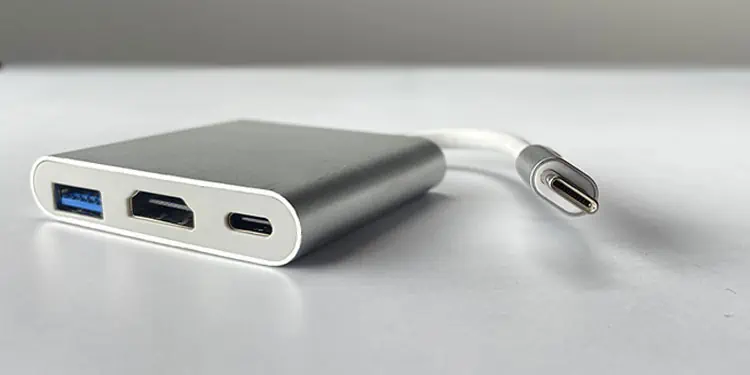
The USB-to-HDMI adapter takes video data from the USB port of the laptop and converts it into HDMI (High-Definition Multimedia Interface) compatible video data. Once this is done, the HDMI side of the USB-to-HDMI adapter sends the data to a display device, such as a monitor, using an HDMI cable.
Pretty simple right? But you need to take a few things into account when using the adapter. That is, including the USB port version, type, and, in some cases, even the driver. Once you connect everything, there are still a few things that you need to do before you get the desired video output.
Things You Need to Know
Before we begin to use the USB-to-HDMI adapter, gather the following resources:
- HDMI cable
- USB-to-HDMI adapter driver
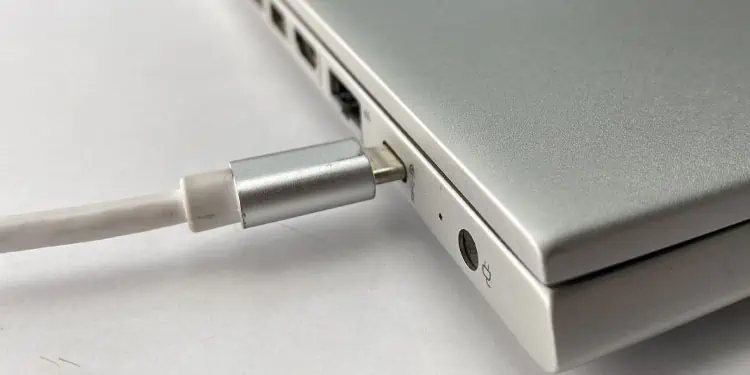
If you are using a USB C to HDMI adapter, you need to make sure that the USB C port on your laptop supports video data transfer. Not all USB C ports support video data transfer. You can check the USB C port on your laptop to see if it supports video data transfer.
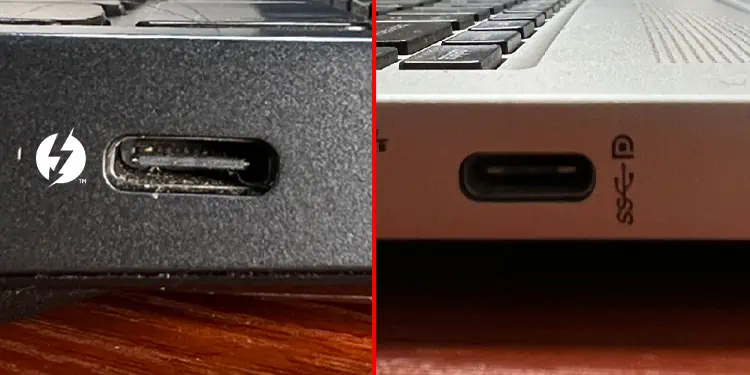
USB C port with thunderbolt logo supports fast charging and video signal transfer. If the USB C port has a DisplayPort Logo, it only supports video data transfer. Any logo other than the Thunderbolt  and DisplayPort
  does not support video data transfer.
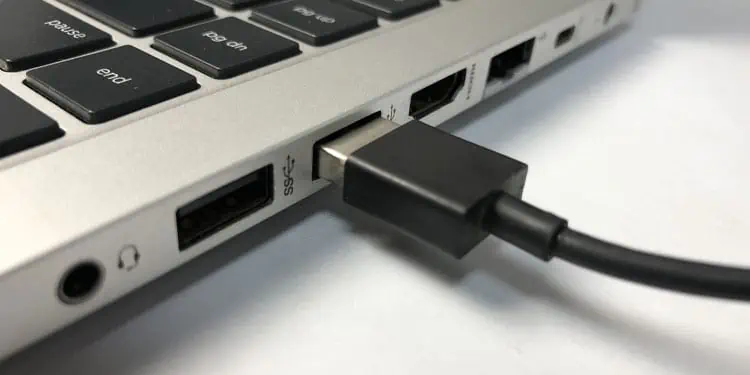
The same is not the case for USB type A. If you have a USB A to HDMI adapter, you can connect it to any USB port on your laptop to get the desired output. But we do not recommend using USB Type A of version lower than 3.0, as its data transfer rate is low for video data transfer.
HD video requires a minimum transfer speed of 750 Mbps. This is why we ignore USB versions lower than 3.0. USB 3.0 supports transfer speed up to 4.8 Gbps which is perfect for full-HD video data.
Therefore, we recommend that you plug the USB A-to-HDMI adapter into the USB 3.0 port on your laptop if you want a smooth output on your screen.
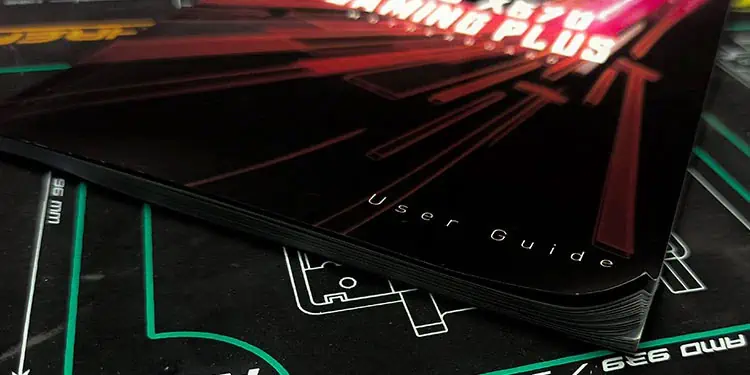
Most of the time, USB 3.0 ports are usually colored. In case your computer does not have any colored USB ports, check the PC’s user guide to locate USB 3.0 ports.
Connecting USB-to-HDMI Adapter
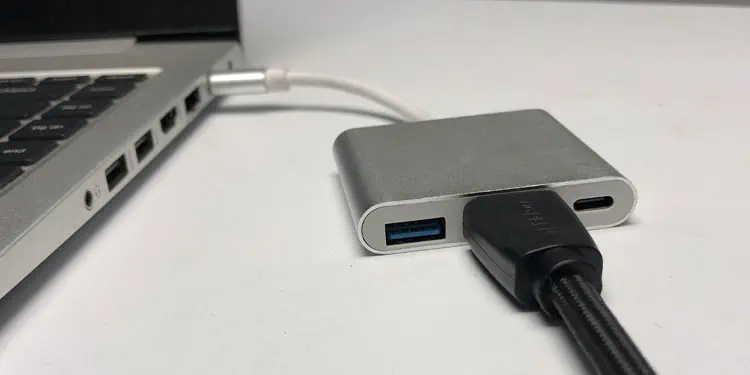
Depending on the USB-to-HDMI Adapter, you either need to connect the adapter to the USB type A or USB type C port. If you have a USB-to-HDMI adapter with a male USB A port, you need to make sure you connect the USB end to the USB 3.0 port on your device.
USB A to HDMI Adapter
- Connect the USB end of the adapter to your laptop. Make sure that you connect the adapter to the USB 3.0 Type-A port.

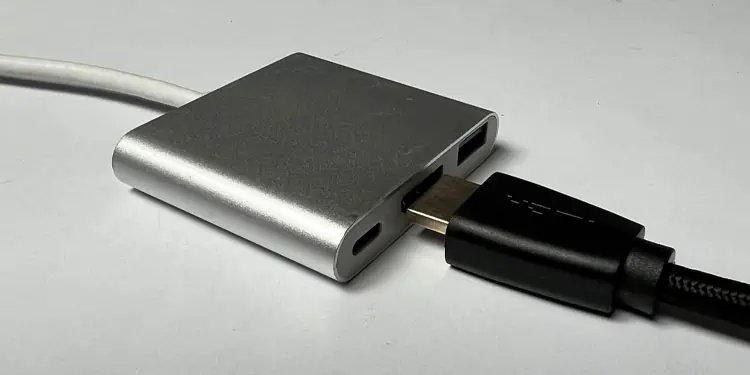
- Connect the other end of the adapter to an HDMI cable.

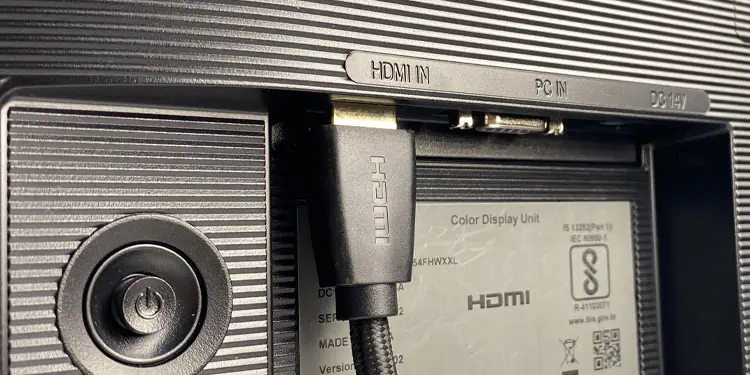
- Finally, insert the other end of the HDMI cable into your display device.

USB C to HDMI port
- Connect the USB C to HDMI adapter to the USB C port on your laptop that supports DisplayPort.

- Connect the other end of the USB-to-HDMI adapter to an HDMI cable.

- Finally, connect the other end of the HDMI cable to your display device.

Once you have everything connected, turn on your laptop and plug in your monitor to a power source. If the adapter is plug-and-play, your monitor should automatically detect video data from the laptop and display it on your display device.
If the monitor does not display anything, you must install a USB to HDMI driver.
Download and Install the USB to HDMI Adapter Driver
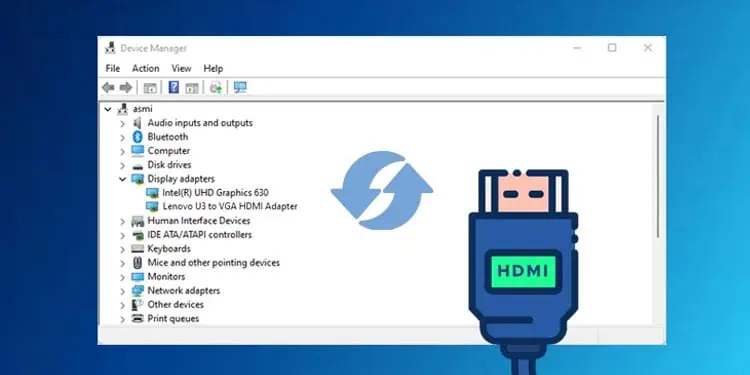
Any hardware connected to your system will only work if you have installed the correct drivers. Windows automatically installs the right device driver for most hardware components.
If Windows does not download the driver automatically, you need to download the required driver manually.
Unfortunately, any USB-to-HDMI driver you find on the internet may not work. You need the adapter driver provided by the manufacturer.
- Read the user manual that came with the USB-to-HDMI adapter.

- Check if the manual has any link to download the adapter driver.
- Open your web browser and enter the link mentioned in the user manual.
- The driver should download automatically once you open the link. If it does not, you may need to select the specific driver from the website.
- Once the download completes, run the downloaded file as an administrator to install the USB to the HDMI driver.
If the USB to HDMI adapter does not have a user manual, check the adapter manufacturer’s name on the adapter itself. It should be on one of its sides. Once you have the manufacturer’s name, you can search the internet for the USB-to-HDMI adapter driver.
Set Projection Mode and Screen Alignment
Once you have installed the driver, you need to set the projection mode and monitor alignment if you want to extend your display.
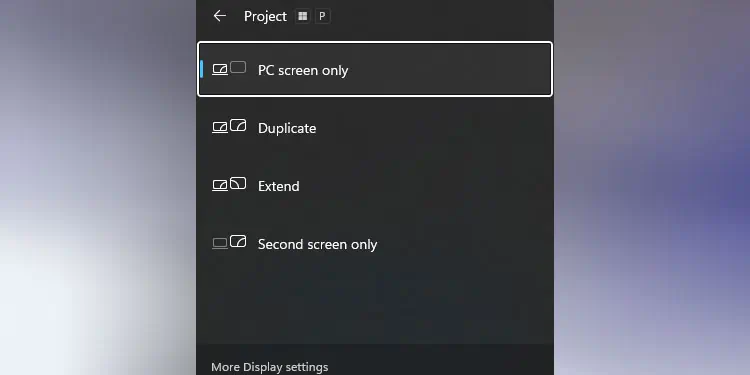
- Press the Windows + P key to open the projection mode window.
- Click on any one of the options from the PC screen only, Extend, Duplicate, and Second screen only.

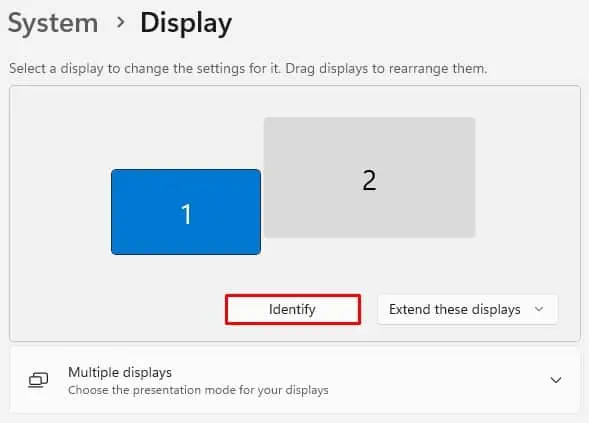
If you set the projection mode to Extend, you must align your monitor. You can do this using Display settings.
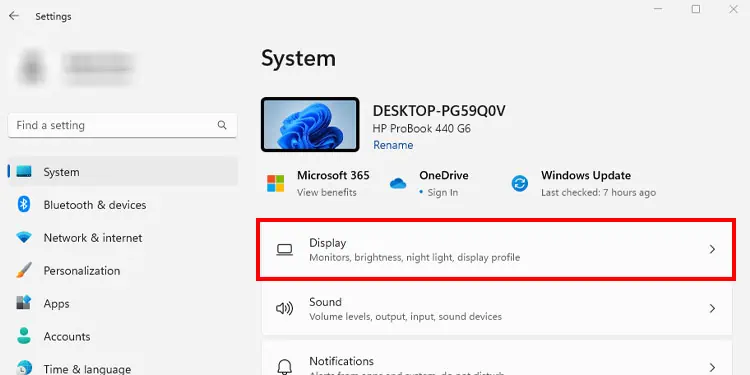
- Press the Windows + I key to open Windows settings.
- Go to System > Display. Here you can see the number of screens connected to your system, along with their respective number.

- Click on Identify to know the number and its respective monitor.

- Using a mouse, change the monitor alignment so that it matches the physical position of your screens.

