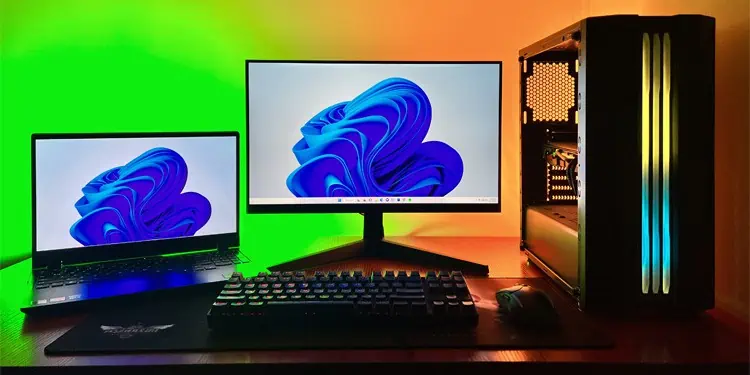
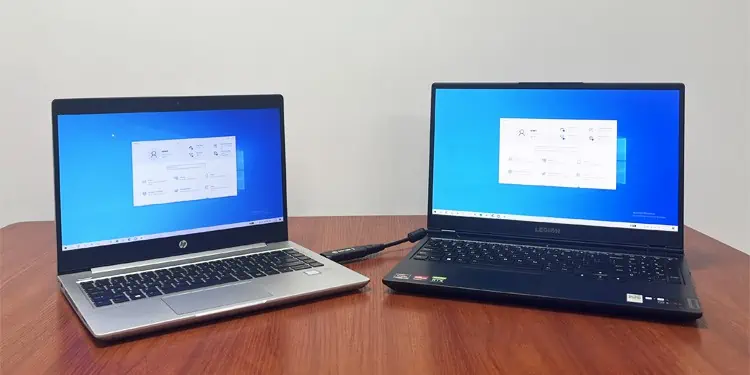
If you recently purchased a new laptop or switched to a PC setup, you don’t immediately have to throw your old laptop away. In fact, you could re-use it as a secondary monitor.
There are a few ways you could achieve this. First, check if the laptop supports video input (has HDMI input port). If it does you could simply use an HDMI or USB-C cable to connect it to your primary device. However, most laptops don’t support such a feature. They only contain HDMI output ports.
Even for such laptops, you can still use a capture card. A capture card captures the display from another PC to get the same effect as an external monitor. But keep in mind that you can only use it to mirror the display, not extend it.
Using Wireless Display
If you want to use the laptop screen to extend your display, Windows does provide a built-in option using Wireless display technology. Through this method, you can connect a PC with Wi-Fi capability to another one as long as they both support Miracast, the wireless equivalent of HDMI.
Step 1: Enable Wireless Display on One Laptop
You need to enable Wireless Display on your laptop before you can use it for mirroring another.
- Connect to a Wi-Fi network and make sure there are no connection issues.
- Open Run by pressing Win + R.
- Type
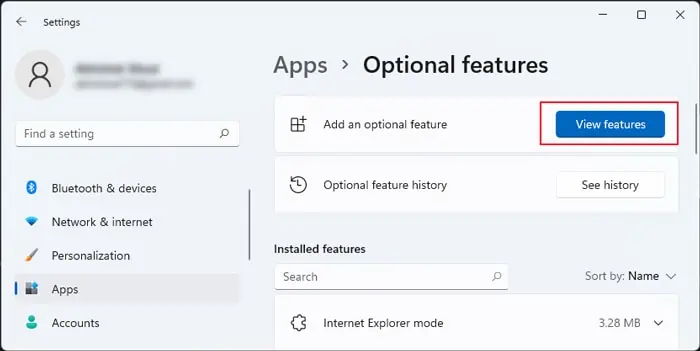
ms-settings:optionalfeaturesand press Enter to open Optional features under App Settings. - Click on View features.

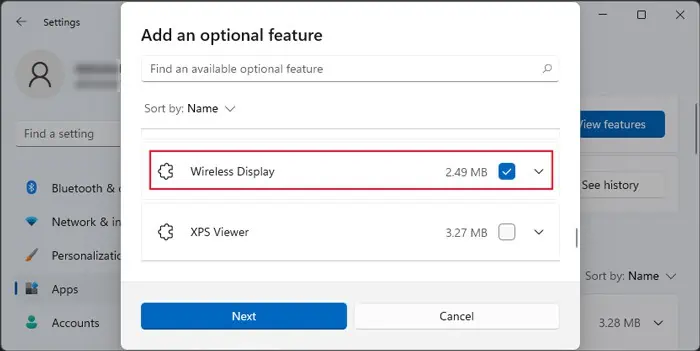
- Scroll down to and check Wireless Display.
- Click Next > Install.

- Then, open Run again.
- Type
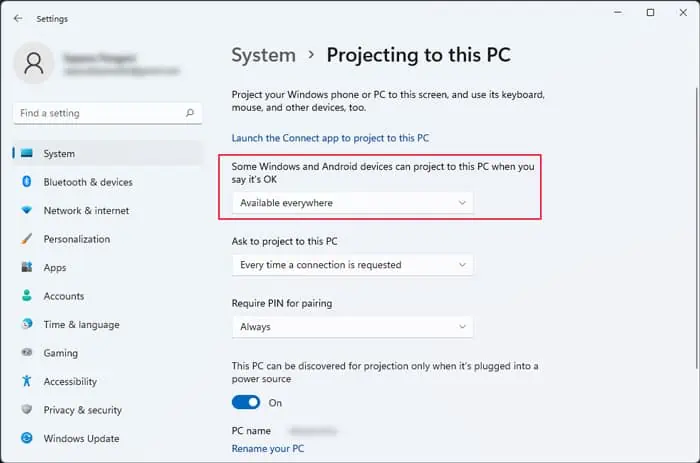
ms-settings:projectand press Enter to open Projecting to this PC Settings. - Set the drop-down box under Some Windows and Android devices can project to this PC… to Available everywhere.

- You can change other options per your need. Now, you can screen mirror from other devices anytime on this laptop.
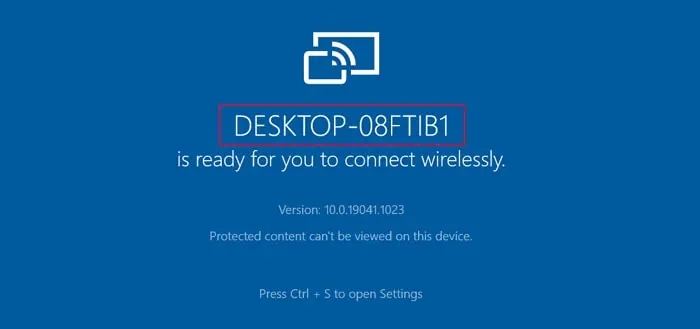
- Then, click on Launch the Connect app to project this PC. (From next time onwards, you can simply search for
Connecton the search bar and open this app directly.) - Note the name of your PC on the app or the ‘Projecting to this PC’ Settings.

Step 2: Mirror from Another Computer
First, connect the other laptop or PC with Wi-Fi to the same network as the previous one. Then,
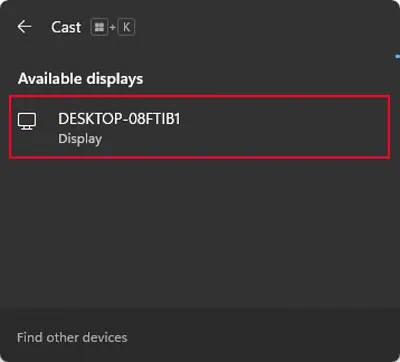
- Press Win + K to open the Connect quick action.
- Select the Laptop where you wish to mirror your screen.

- Enter the PIN, which shows up on the previous laptop.
- Follow the on-screen instructions on both devices.
You can select the option to mirror or extend the screen from the Connect menu (Win + K )
Using Capture Card
Another method to set up your laptop as a secondary display is by using a capture card. While it can’t mirror the display, one advantage of this method is that you don’t need to have Wi-Fi capability on your primary computer.
However, keep in mind that if you use cheaper capture cards, you will be experiencing significant lags. It’s best to use one with USB-C or thunderbolt connector for better performance. If not, make sure that it is USB 3.0 or above.
- Buy a capture card with the same port standard as that of your primary computer. If you already have a different one, you need to use the corresponding adapters.
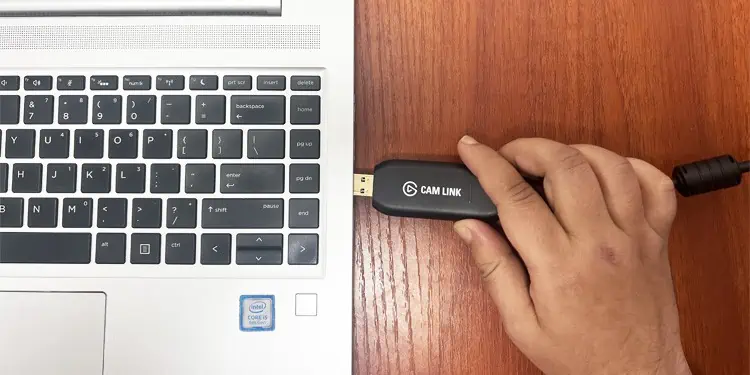
- Insert the USB end of the device into the laptop you want as the external monitor.

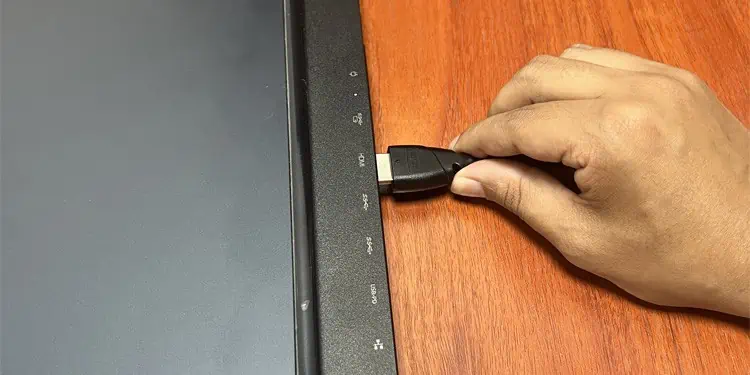
- Then, use the appropriate display cable to connect it to the other PC.

- Download the capture card’s dedicated software from the official site on the laptop. You can also use some screen recording apps such as OBS studio if necessary.
- Open the app and set the capture card as the output source. The particular process depends on the app you are using, so we recommend checking official sites or forums if you encounter any issues.
- Then, you can use the display on the app as a secondary screen. You can also set it to full screen to avoid getting distracted by the app’s user interface.

Using Third-party Apps
You can also use third-party apps such as Spacedesk, Deskreen, and so on to use your laptop as a second screen. Some apps may also need the support of a Virtual Display Adapter, which you need to buy separately.
