For tech enthusiasts, Make is a very neat way of building applications. Whether you’re trying to package your app or install somebody else’s, Make makes things easier.
Make isn’t available in Windows. When downloading a Windows application we download a setup file of EXE format. There’s no telling what these setup files may contain. You may even be downloading malware with exe format.
Below we have compiled a few different approaches to installing Make in Windows.
What is Make?
GNU.org tells Make is a tool that controls the generation of programs from its source files. In simple terms, the Make tool takes the source code of the application as input and produces the application as output.
Make is targeted for applications that follow the Free and Open Source Software (FOSS) principle. It was originally designed to work across Linux systems only. The source code can be modified in any way we want before we package it up for use.
Installing Make on Windows
Using Winget
Winget tool by Windows manages installation and upgrade of application packages in Windows 10 and 11. To use this tool, you need to have at least Windows 10 or later installed on your PC.
- Press Win + R together to open the Run window.
- Type cmd and press Enter to bring up the Command Prompt.
- Type the command
Winget install GnuWin32.makeand press Enter.
- Type Y to agree to source agreements.

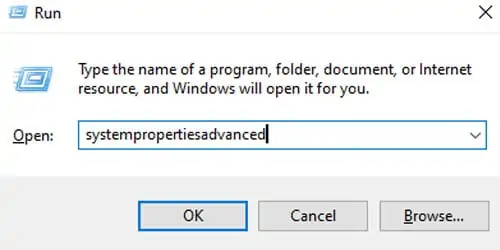
- After installation, press Win + R again.
- Type
systempropertiesadvancedand press Enter.
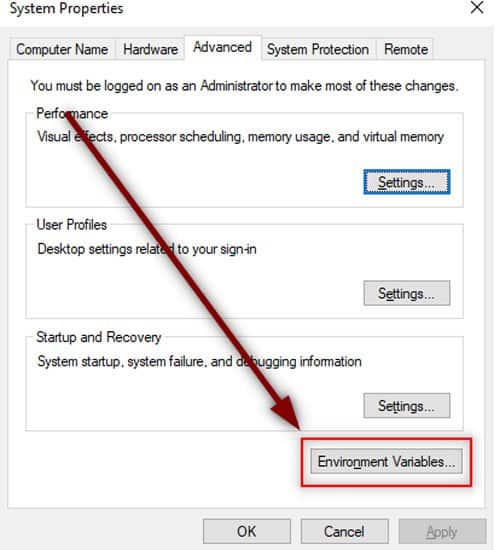
- Select Environment Variables under the Advanced tab.

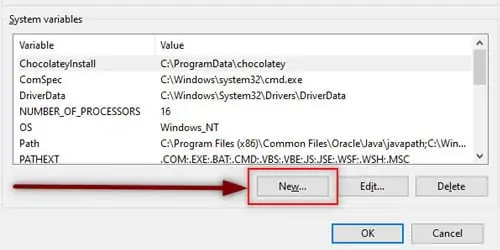
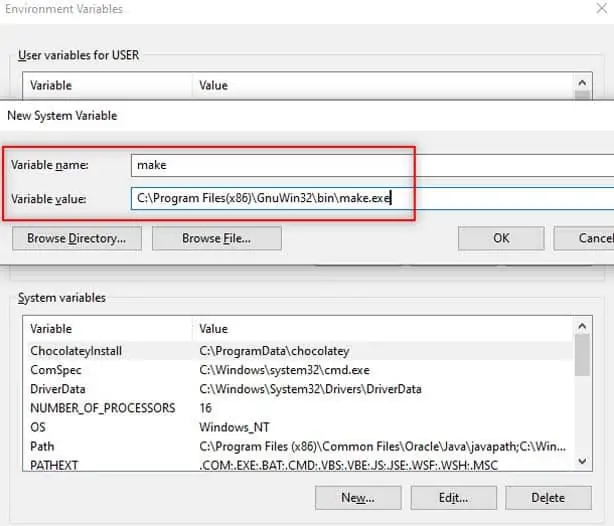
- Under System variables, select New.

- Under the variable name, enter make.
- Under Variable value, enter
C:\Program Files(x86)\GnuWin32\bin\make.exe. - Or, select Browse File and go to the above location.

- Press on OK.
Using Chocolatey
Using Chocolatey is a great way to install make if you do not meet the minimum requirements for Winget. It is a package manager and installer for the Windows platform. For anyone familiar with Ubuntu, it is the equivalent of apt command for software installation.
Since Make is not directly available in Windows, we need to install the package manager first. Then, we will use this package manager to install the make tool.
- Press Win + X keys together to open the Power menu.
- Select Windows Powershell(Admin).
- Type the command ‘
Set-ExecutionPolicy Bypass -Scope Process -Force; iex ((New-Object System.Net.WebClient).DownloadString('https://community.chocolatey.org/install.ps1'))'and press Enter.
- Downloads and installs chocolatey as available from their official source.
- Type
chocoto verify if the installation worked.
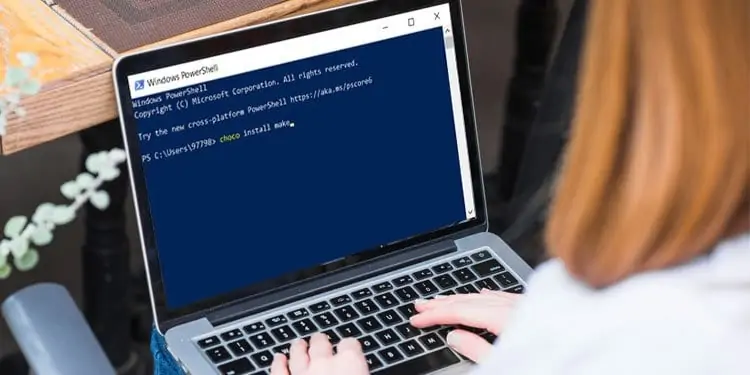
- Now, type the command ‘
choco install make‘ to install Make.
- Go to the installation directory
C:\Program Files(x86)\GnuWin32\to confirm the installation worked.
Using WSL
Using WSL or Windows Subsystem for Linux, we can install Make directly on our PC. WSL is released by Windows so this is the most preferred way of installing Make on Windows.
For WSL, we will install Ubuntu inside our Windows.
- Press Win + X keys together to open the Power menu.
- Select Windows Powershell(Admin).
- Type the command ‘
Wsl --install‘ and press Enter.
- Restart your PC.
- Go to the Start Menu and type Ubuntu to bring up the Ubuntu command line.
- Type the following ‘
Sudo apt install gcc build-essential make -y‘ and press Enter.
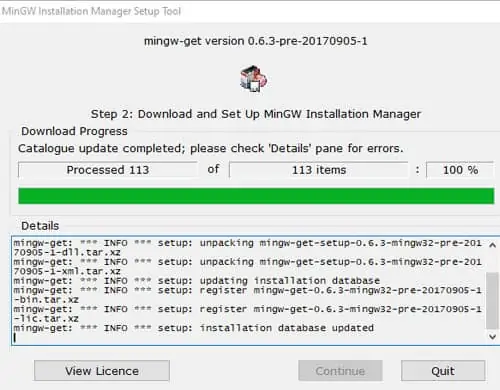
- Wait until the installation completes.
Using MinGW
MinGW is one of the older ways to install Make on Windows. MinGW is a collection of minimal GNU files for Windows. Note that using this method, you will have to type the ming32-make instead of the make command. Both do the same work except ming32-make is the MinGW version of make.
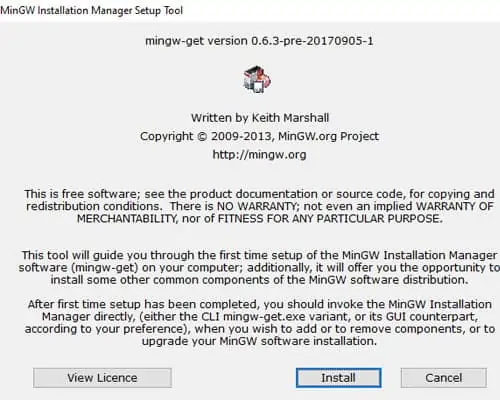
- Download the latest version of MinGW-get-setup.exe.
- Install MinGW by opening the setup file.

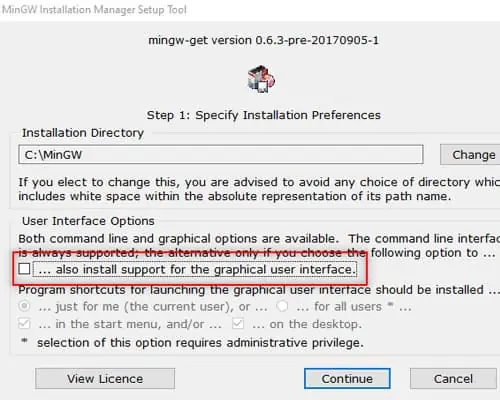
- Turn off installing graphical interface.

- Select Continue to start installation.

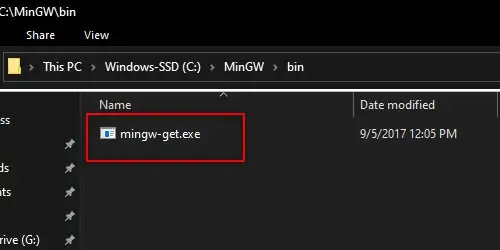
- Go to the installation directory and locate the bin folder.
- Make sure MinGW-get.exe exists.

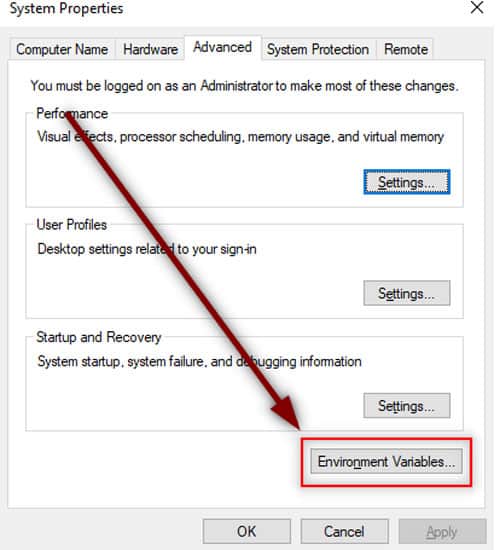
- Press Win + R together to open the Run window.
- Type
systempropertiesadvancedand press Enter. - Select Environment Variables under the Advanced tab.

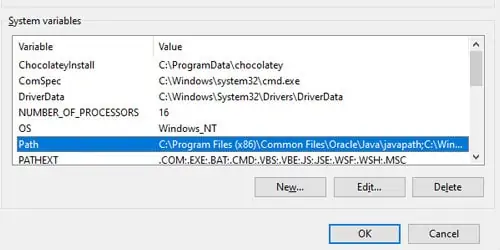
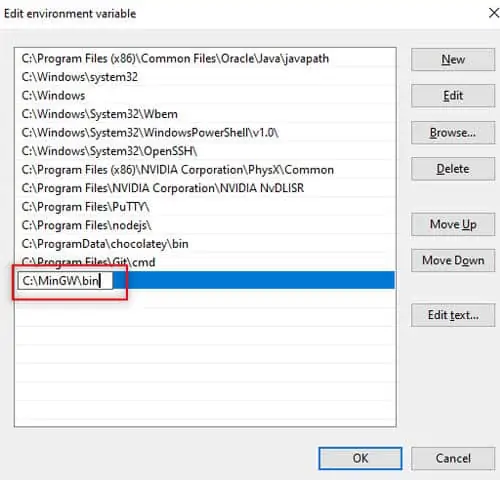
- Under System variables, double-click on Path.

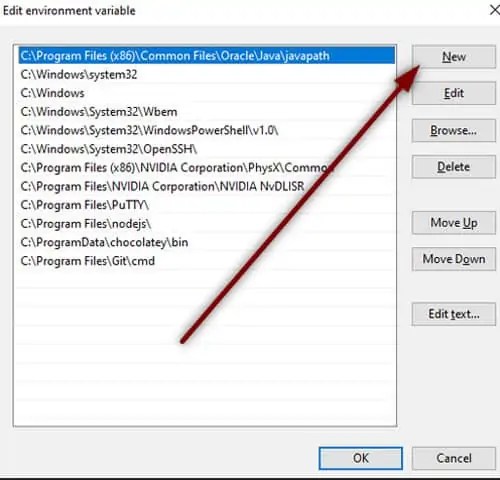
- Select New.

- Type the location of MinGW-get.exe. E.g.
C:\MinGW\bin
- Select OK.
- Press Win + X together to open the Power menu.
- Select Windows Powershell.
- Type the command ‘
Mingw-get install mingw32-make‘ and press Enter.
How to use Make on Windows?
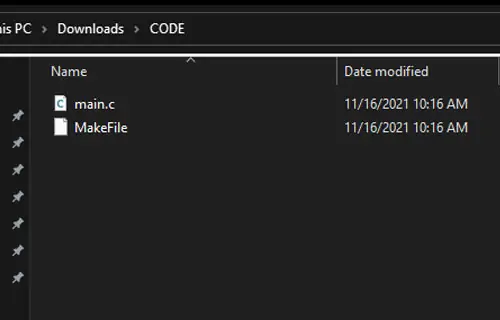
Using Make on Windows is pretty much the same as Linux or other platforms. You need to start with a makefile along with the source code of the program.
- Go to the location of the source code.
- Do a right-click and select Text document under New.
- Give it the name Makefile.

- Assuming the source code is source.c, paste the following lines in your makefile as given in this tutorial.

- Finally, open Command Prompt and go to the source code location using the cmd command.
- Type make and press Enter.
- You can now share and open the output file as an application.
- You can also modify the source code source.c any number of times and make will compile it as application output.
If you want to learn more about using the Make command, there’s entire documentation on its usage.

