ASUS routers are known to provide way more functionalities compared to their competitors. This is especially true with the higher-end models, or if you’re using Asuswrt-Merlin.
The Quick Internet Setup (QIS) utility automates the installation process for the most part and makes the initial setup very easy. But adjusting the configurations afterward can be confusing due to the sheer number of options available.
As such, I’ll cover basic router setup steps through the web GUI and mobile app, as well as important further configurations.
Through Web GUI
Step 1: Connect Network Cables
You should reset your router first if you’re trying to set up an old router. But if the router is brand new, you can directly start with the steps listed below:
- Assuming you have a router-modem device, connect the Internet cable to the WAN port.

- If the modem and router are separate, connect the Internet cable to the modem’s Internet/WAN port. Then, connect the router’s WAN port and the modem’s Ethernet port with an Ethernet cable.
- Connect the power cables and turn on the device/s.
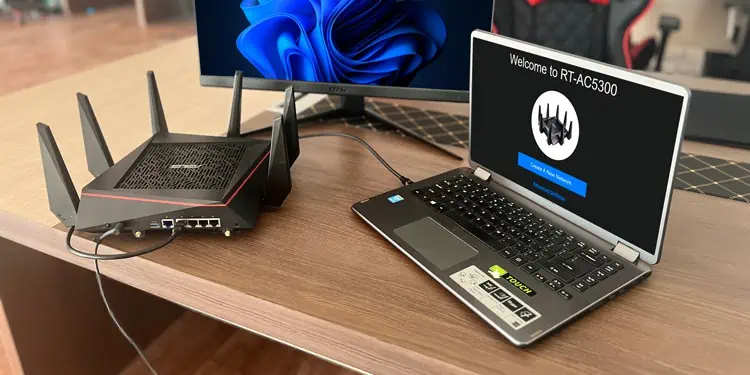
- Ideally, connect a PC to the router with an Ethernet cable for further setup. If that’s not possible or you’re setting up the router with a smartphone, a Wi-Fi connection will work fine too.
Step 2: Access the Router Setup Page
You can enter router.asus.com in a web browser to access the router dashboard. You can enter the router credentials here to log in to the setup page. If router.asus.com doesn’t work for you, here’s what you can do:
- Check the sticker on the router and note the default login values.

- Log in to the setup page with these credentials.
- If these don’t work either, reset the router first, then try again.
Step 3: Quick Internet Setup
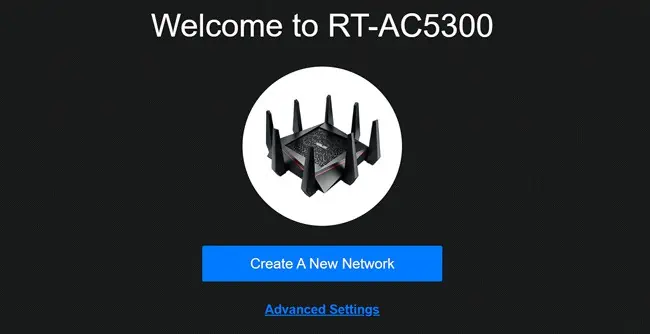
You should be on the QIS Wizard page at this stage. If not, manually click on the Quick Internet Setup button from the top-left and follow these steps:
- If you want to use the device as a router (default), click on Create A New Network. I’ll go with this.
But if you want to operate it in a different mode (Repeater, AP, etc.), or use custom settings with a settings file, click on Advanced Settings instead.
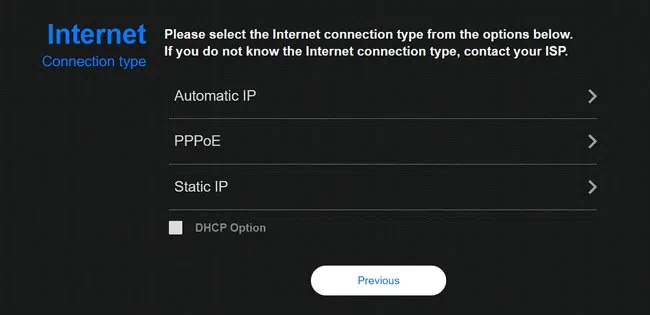
- The QIS wizard should auto-detect your connection type. If it doesn’t, select it manually.

- Automatic IP (DHCP)
Automatically get the IP address from the ISP’s DHCP server. Most users should select this. - Static IP
Use the Static IP Address provided by your ISP. You must enter the other values like the Gateway and Subnet Mask. - PPPoE
PPPoE is for broadband connections with encryption (e.g., ADSL). You must get the connection details from the ISP for PPPoE as well.
- Automatic IP (DHCP)
- Enter the new WiFi network name and password and press Apply.

- Set up new login credentials for your router and press Next. Using the default values is a bad idea for security reasons.
- Check the Internet connection status and verify your connectivity.
Through Mobile App
Assuming your router model is supported, you can also set it up using the ASUS Router mobile app. The steps listed here are for Android, but the process is the same on iOS devices as well.
- Check the Step 1 heading from above and ensure the cable setup is done properly.
- Connect to the router’s WiFi network on your smartphone.
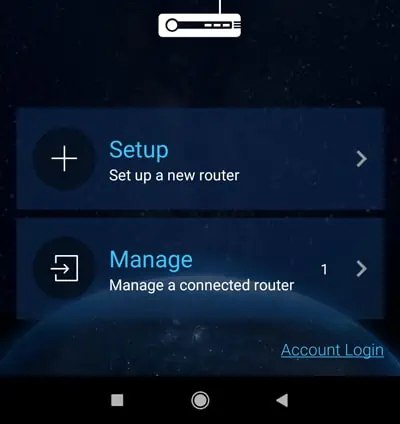
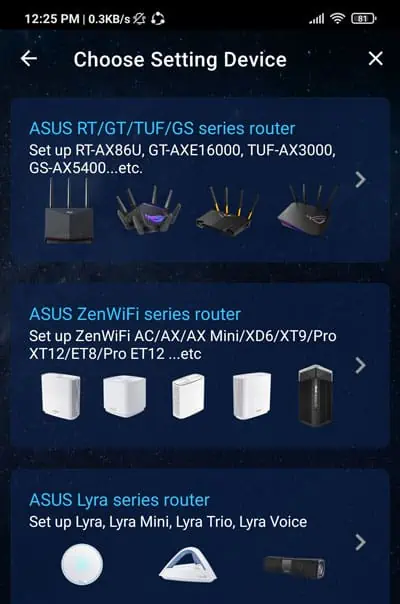
- Launch the ASUS Router app and select Set up a new router.

- Select your router category. In my case, that’s the ASUS RT series.

- Give location access to the ASUS Router app and tap Start.
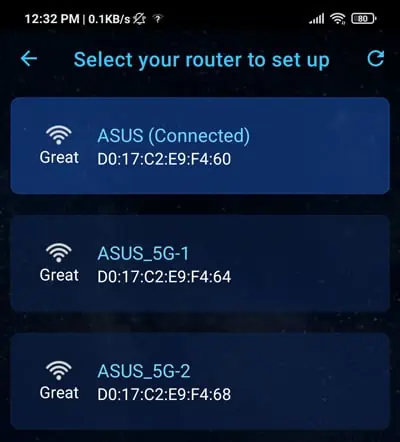
- Tap on the router’s network to begin the setup.

- Tap on Get Started to try to autodetect the internet connection type. If that fails, tap on Advanced Settings.

- Select your WAN type. I’ll go with DHCP.

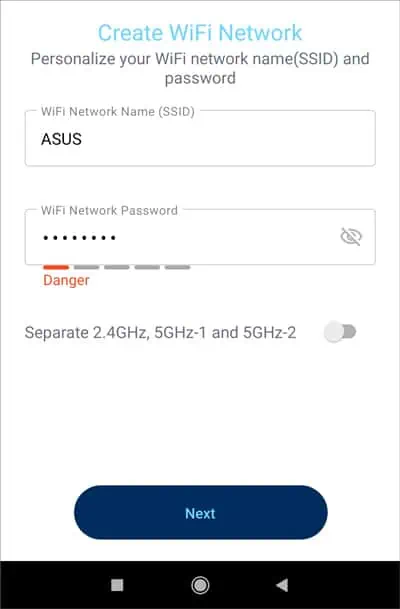
- Secure your WiFi with a new SSID and password. Then, set new login credentials for the router and press Apply.

- After the new settings are applied, connect to the WiFi and open the app again to access the router dashboard.
Additional Configurations
The basic setup is complete at this point. Now, let’s look at some of the settings and features worth checking in the router console. You can start by checking the network status and system info from the Network Map and Tools pages.
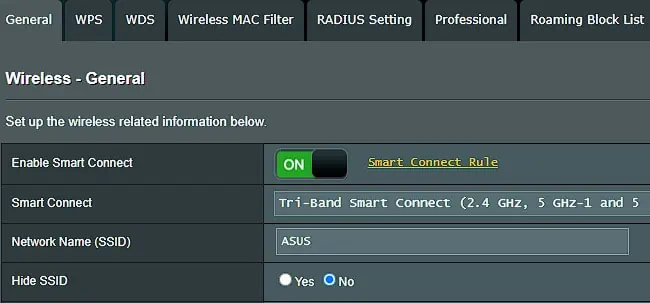
The Wireless section contains numerous settings worth knowing about.
- In the General tab, you’ll find Smart Connect at the top which broadcasts multiple Wi-Fi bands under the same SSID. Your devices will automatically connect to the ideal band depending on various criteria; the most important being the signal quality.

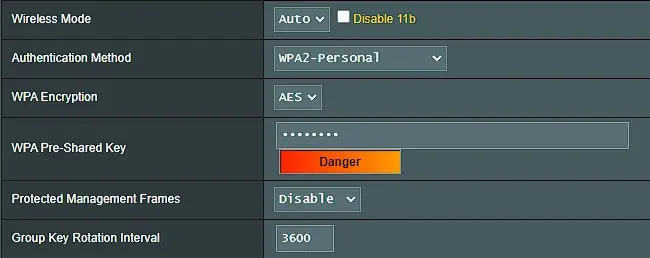
- ASUS uses a secure Authentication Method and Encryption settings at setup, so it’s best to stick to the default values. You can also change the WiFi password from here.

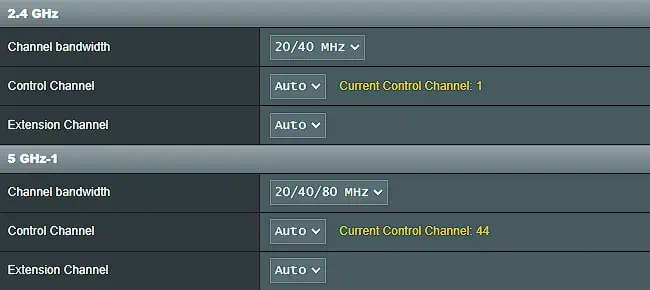
- It’s also best to leave the channel settings to auto (default). But if you want to ever change these manually, you know where to find them.

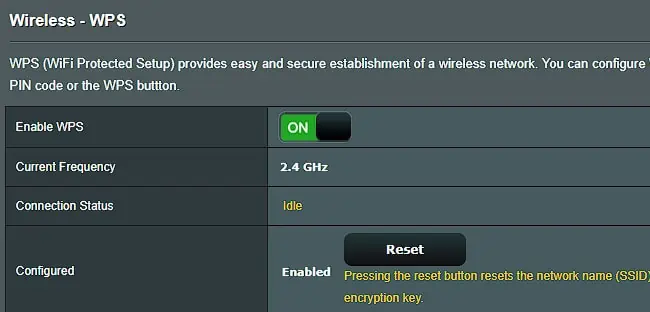
- WPS lets you connect devices to WiFi without entering a password. It’s convenient, but it’s a commonly known vulnerability that should be disabled.

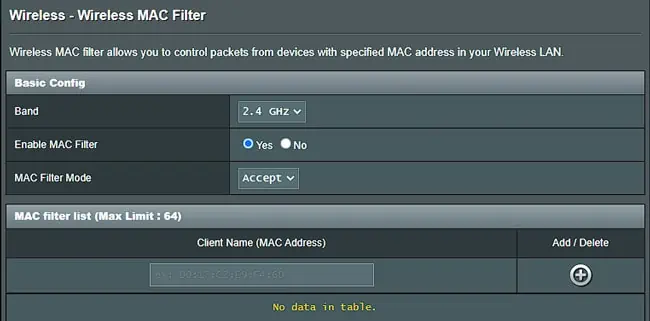
- MAC Filter lets you control which devices have network access by setting up rules based on the devices’ MAC Addresses.

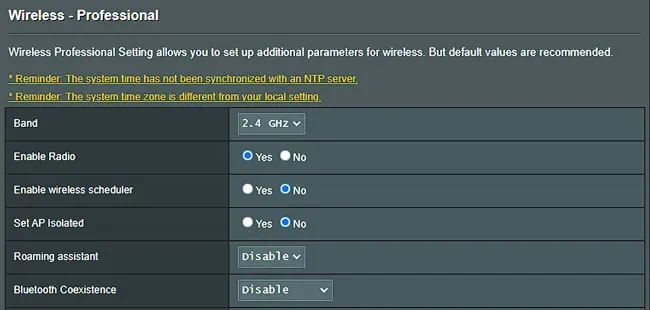
- The Professional tab has various customization options like Set AP Isolated (restrict communication between wireless clients), Tx power adjustment (signal transmission strength), etc. The default configurations work decently, but if you want to customize these, you can click on the setting names to get a description of each one.

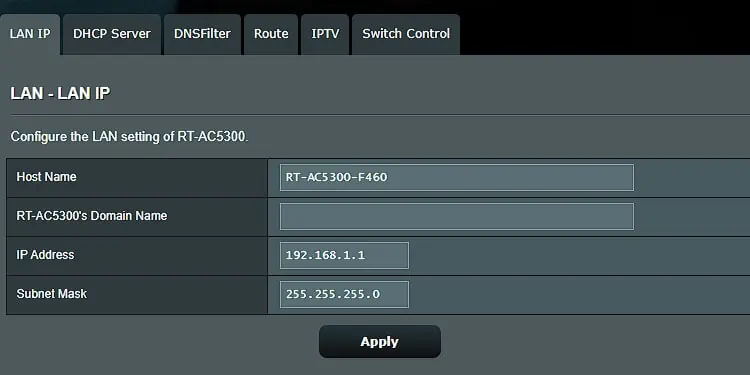
The LAN section is for configuring settings like your LAN IP address, subnet mask, DHCP server, DNS servers, etc. When you encounter issues like invalid IP addresses or DNS errors, this is the section to check.
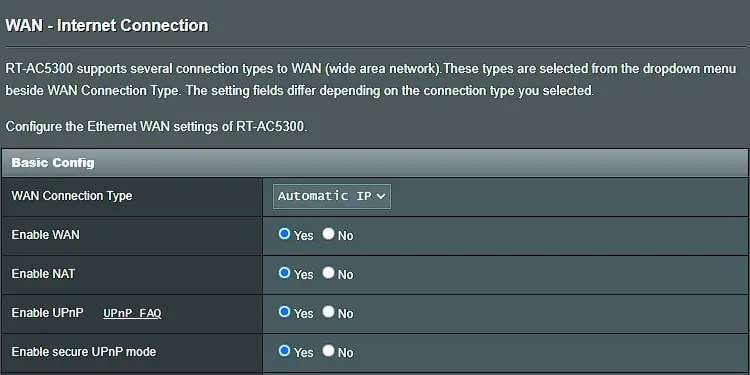
WAN is basically your internet connection settings. You can change the connection type (e.g., DHCP to Static IP), enable UPnP for your consoles, or configure Port Forwarding and similar settings here.
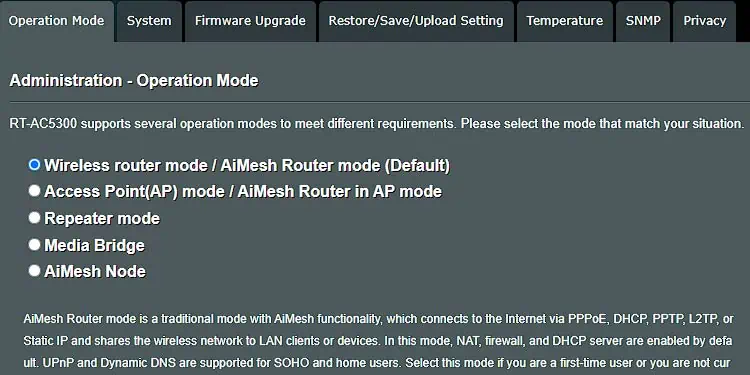
The Administration tab is for administrative tasks like configuring the router operation mode, login credentials, firmware, etc. You can also use custom configs by uploading a settings file, or reset the router to Factory defaults from here.
I’ve only covered the most commonly used settings so far. There are other useful pages worth checking too like AiMesh (Mesh networks), Firewall, Guest Network, etc.
For the majority of users, most of the other settings are not worth spending time on. If you want to understand and configure any other feature that I haven’t covered here, you can always check the Manual from the bottom of the page.

