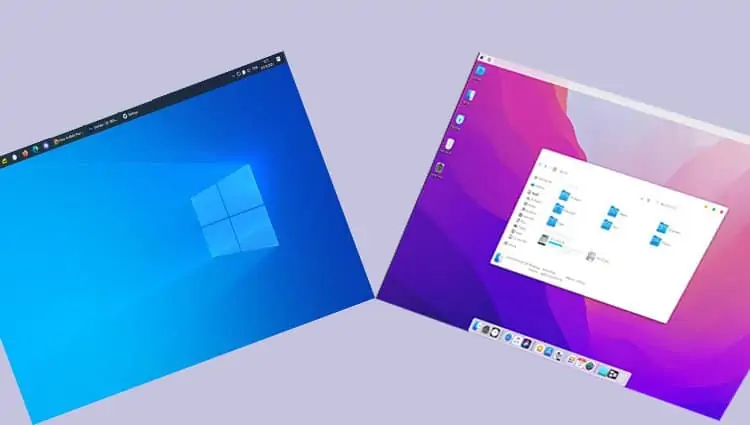
Windows and macOS are inherently built differently. If you recently made a switch from being a Mac user to a Windows user, you will find Windows difficult to use.
Windows do not provide the same seamless user experience as Mac. A lot of convenient tools are missing in Windows. The internet houses tons of resources to help you make your Windows OS look and feel like macOS (or any OS) since Windows XP. You can still have fun making Windows look like macOS.
Two Ways To Make Your Windows Look Like MacOS
There are a couple of different ways to make Windows look like macOS. You can either choose to install each application yourself. Or you can change everything in one go. Be warned that a one-click setup involves changing system files.
It may break your PC if not done correctly. Some of the downloaded files are free while others need a small purchase fee. Do understand that making these changes can corrupt system files on your PC. It is always a good idea to customize your Windows from trusted sources only.
Below we have compiled some steps with trusted links to help you get started on modifying your Windows.
The Easy Way
Installing the MacOS Skin
Skins are the definitive approach to making Windows look like macOS. You can pick a skin to reflect the latest macOS. Or, if you want your PC to look like an older version of mac, you can find a corresponding skin pack for that too.
- Create a system restore point to mitigate any failure.
- Uninstall any previous skins that you may have installed on your system.
- Download and install UXThemePatcher for Windows. Once installed, it patches three system DLL files.
- Download the preferred skin from skinpacks.com.
- Copy downloaded file over to C:\Windows\Resources\Themes\.
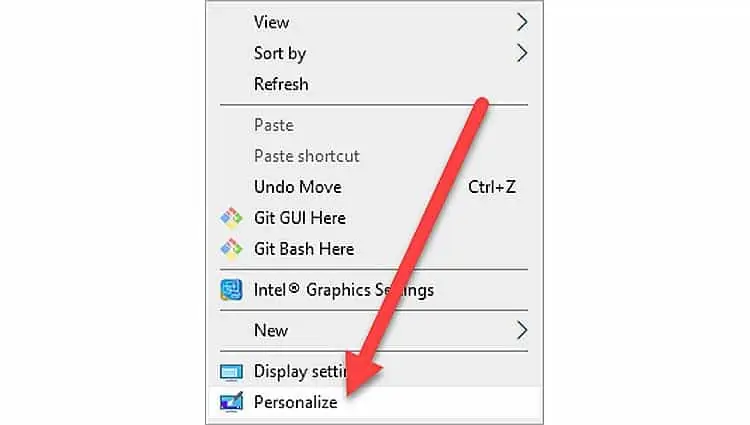
- Right-click on the Desktop and select Personalize.
- Choose Theme from the left navigation bar.
- Under the Change theme, select the skin that you downloaded.
- Restart your Windows.
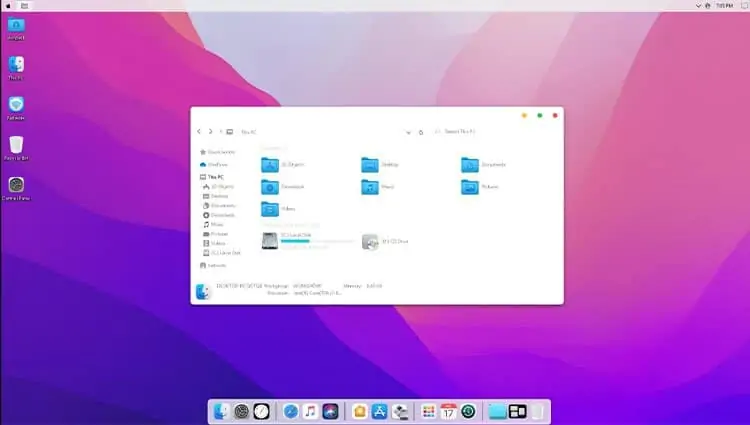
Using Transformation or UX Pack
Transformation packs combine more than one feature. They provide the theme, wallpapers, and system resources in an all-in-one package. They provide customizations in two flavors :
- Transformation pack modifies system files but provides more mac-like features.
- UX pack changes the feel and look but doesn’t change any system files.
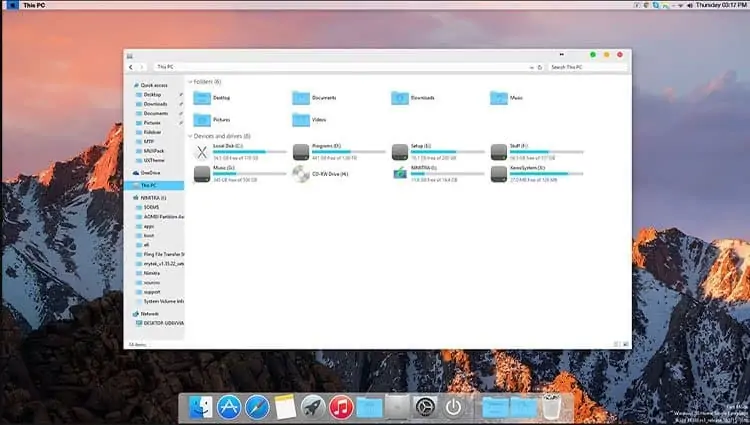
For a quick preview, the UX pack is a better option. Download the latest version of the macOS UX Pack.
For a better mac experience, download the macOS transformation pack. Always create a system restore point before installing. If there are any problems with removing the pack, they let you download their uninstaller too.
The Manual Way
Hide The Taskbar
Taskbar contains the Start Menu which is the key feature of Windows. If you want your PC to look like a Mac, the first thing you need to do is hide the taskbar.
You can choose to simply use the auto-hide feature built into Windows as well. But Windows does not allow hiding the taskbar completely. Using a third-party app makes sure that it does not pop back up when you move your mouse to the edge of the screen.
I personally use taskbar hider application but there are a wide variety of options available in the market too.
Install a Dock

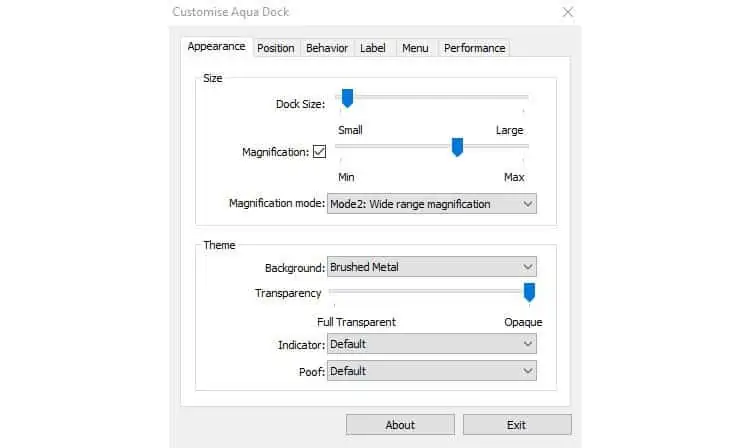
macOS has a dock system for keeping a shortcut of frequently accessed applications. To use the dock on Windows, you need to download an alternative application like AquaDock. There are other alternative options out there as well.
But, this application most closely resembles macOS dock. Once installed, launch the application to customize the dock with tons of features. Note that if you haven’t set your taskbar to hide yet, it may appear behind the taskbar.
Once it appears, right-click on it and Select Customise to open the Customize Aqua Dock window.
Install The Launcher
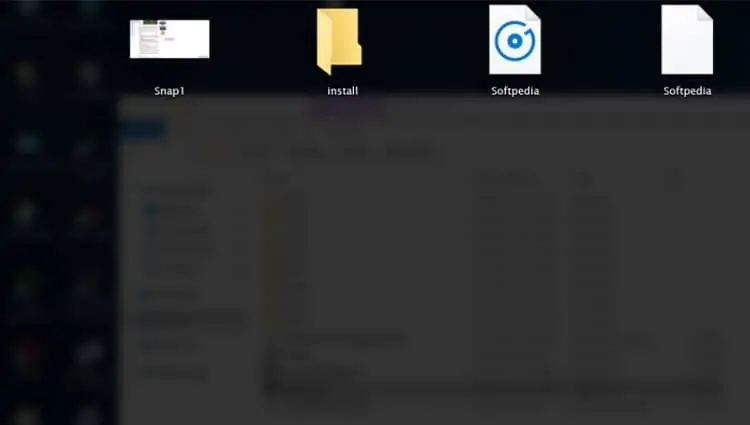
Launcher is another distinct feature of macOS. Windows does not have a built-in launcher for its applications. This is why we need to download WinLaunch.
Once installed, press the Shift + Tab key together to activate WinLaunch. WinLaunch is very easy to configure as you only need to drag and drop icons to add applications to it. What’s even better is that it lets you rename the application name.
For example, you can add Windows Explorer and then change its name to Finder like Mac.
Install The Icons
Any macOS icon pack should work well with AquaDock. Most users prefer using this icon pack from DeviantART. Once downloaded, move the icon files to the icons folder for AquaDock.
If you do not like the above icon pack, you can choose to create your pack of mac-like icons from this page. Make sure to add them to AquaDock so that you can configure them later.
Install the Search App
Cortana and Windows search bar is improving with every new update. But nothing comes close to the spotlight feature of Mac. Wox is an open-source alternative to Spotlight. It lets you make deep searches into your files, applications, and even the internet.
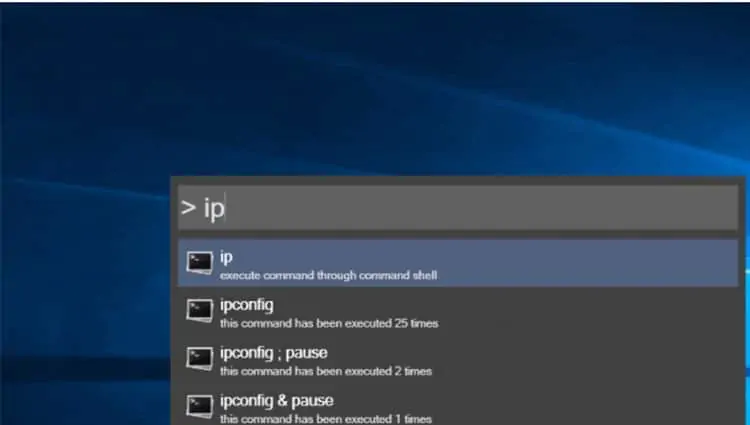
Once installed, use Alt + Space to launch the Wox search. Wox also supports installing plugins to add to the launcher option. Get the plugins from the Wox Page. Wox supports one-click shortcuts to commands, applications and so much more.
Install The Cursor Pack
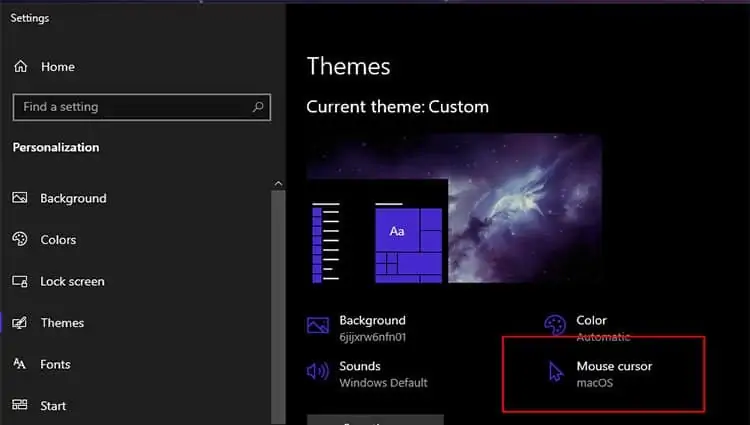
- Download the cursor pack.
- Once downloaded, extract files using a zip application.
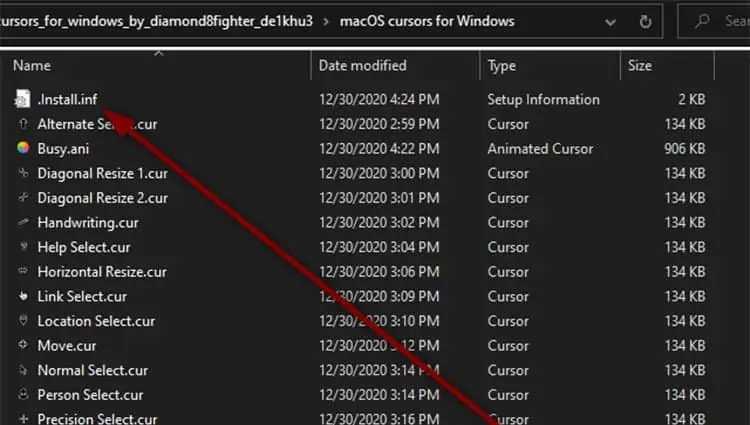
- Inside the extracted files, right-click on Install.inf and select Install.

- Once done, do a right-click on Desktop and select Personalize.

- Select theme from the left navigation bar.
- Select Mouse cursor.
- Under the Pointers tab, select the dropdown picklist and choose macOS.
- Uncheck Enable pointer shadow.
- Select Apply then OK.
Change The Wallpaper
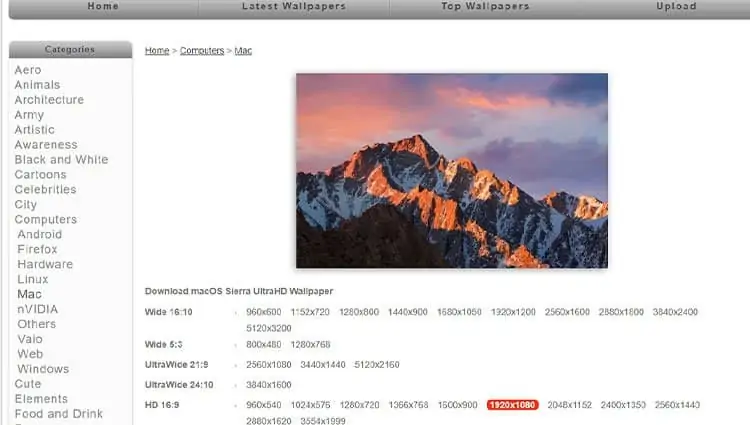
Free wallpapers are available on any good website. Make sure you pick the high-resolution file to match your PC display. Pick something that resembles the stock wallpaper of macOS. I picked this background because I felt this wallpaper is more distinct than the others.
Install Mac-Like Apps
Finally, you can pick more mac-like apps for your Windows PC. Some of these apps are below.
- Screenshot Tool
There are a lot of great screenshot applications for Windows. The internal snip tool has also improved a lot. But, if you want the mac experience, Lightshot is your best bet. Once activated, it lets you select an area and edit it right away. It also lets you upload screenshots automatically to a server.
- Seer/QuickLook
macOS lets a quick preview of any supported file without having to open it. To get this feature, you need an application like Seer. They have a large number of file format support.
Or, you can download the QuickLook app from the official Microsoft store. You just need to press Spacebar to get a preview of any file. Note that if you own a Windows S device, the app will not work for you.
- iTunes
iTunes has been available for Windows for a long time now. Most users use it to backup and update files from their iPhones and iPads. With this, you can also use iTunes to play your PC’s media files. Or you can download and purchase media content from the Apple store. Since iTunes comes from Apple itself, you will get the same look and feel whether on macOS or Windows.

