Teams automatically sets your status as Away from Active when your mouse or keyboard remains inactive for 5 minutes.
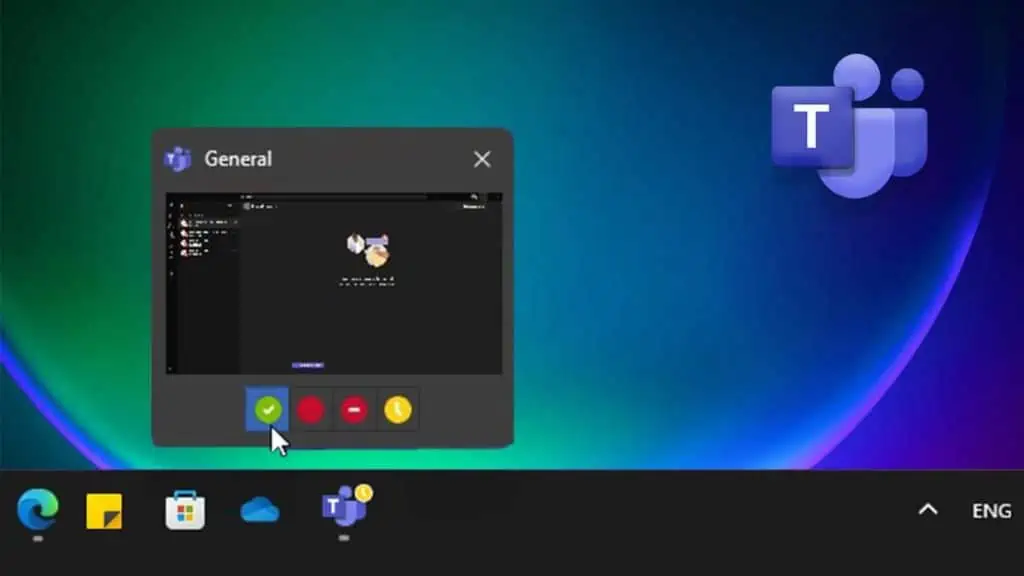
For those who don’t want to appear “Away” during brief pauses, setting your status to “Busy” or “Do not Disturb” is a direct solution.
Additionally, if you want to maintain an active status, consider methods like screen splitting, setting a custom message, and ensuring your device remains active.
Set a Custom Status to Busy or Do Not Disturb
You can change your activity status manually to override Teams from showing your status as away.
While changing your status, remember that the status you set will change the way you receive notifications. For starters, the Do Not Disturb and Busy statuses disable all notifications unless a member mentions you.
- Open the Microsoft Teams application.
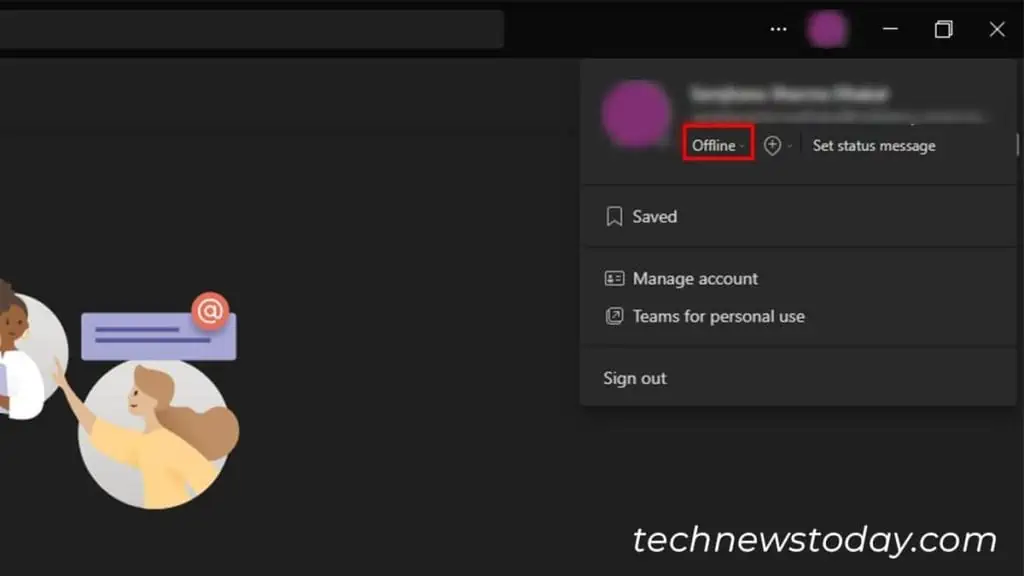
- On the right of your screen, select your profile icon.
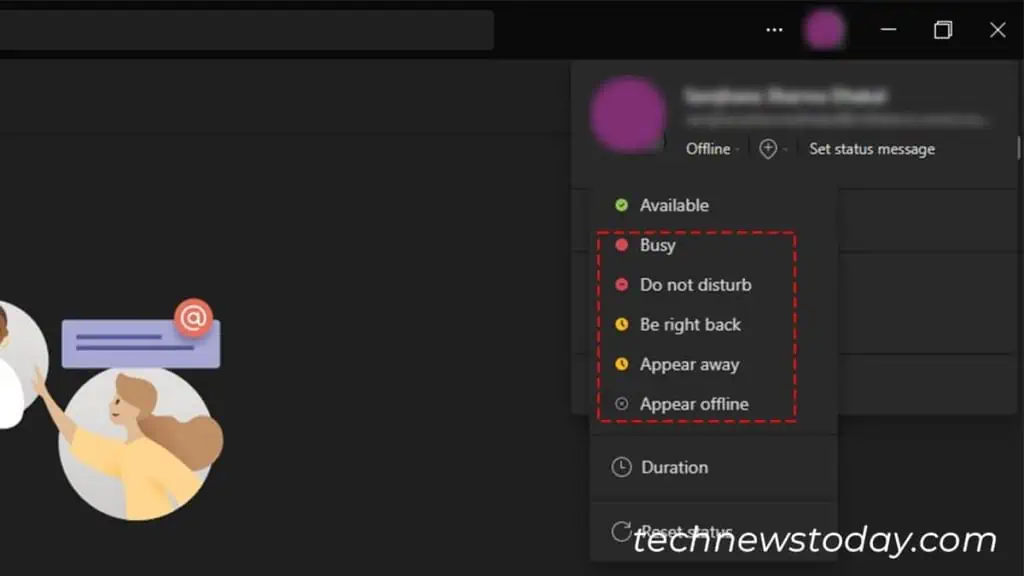
- Click on your current status.

- From the fly-out, choose a status.

While you have the option to choose Available, this will not permanently set your status like the rest. If you remain inactive for 5 minutes or more, Teams will automatically change your status to Away.
Split Your Windows Screen
Teams will change your status to Away after some time when you minimize the program. This will be a bummer when you’re trying to multitask. Therefore, you can use a split-screen to always show your status as available even when you’re using a different program.
To split your screen, drag the title bar of Microsoft Teams on either corner of your screen. When you see a translucent rectangle, let it go. Select the other application you want to open side-by-side.
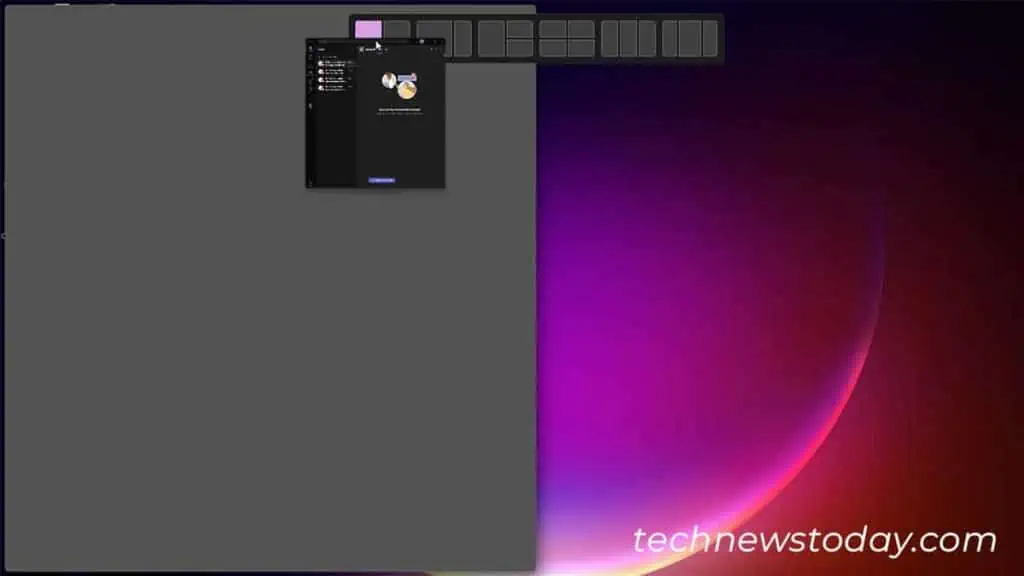
Remember to move your cursor on the MS Teams side of the screen occasionally to avoid going idle.
Set a Custom Status Message
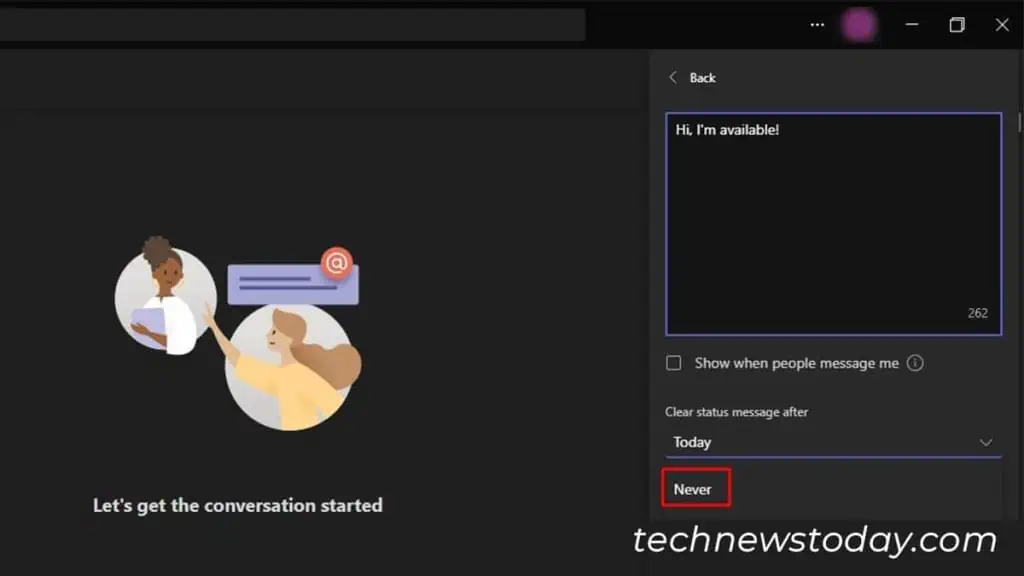
You can also set a status message to notify your teammates that you are still available. This simple gesture can help your colleagues a lot in acknowledging if you’re available. To set a status message on Microsoft Teams, follow these instructions:
- Open Microsoft Teams.
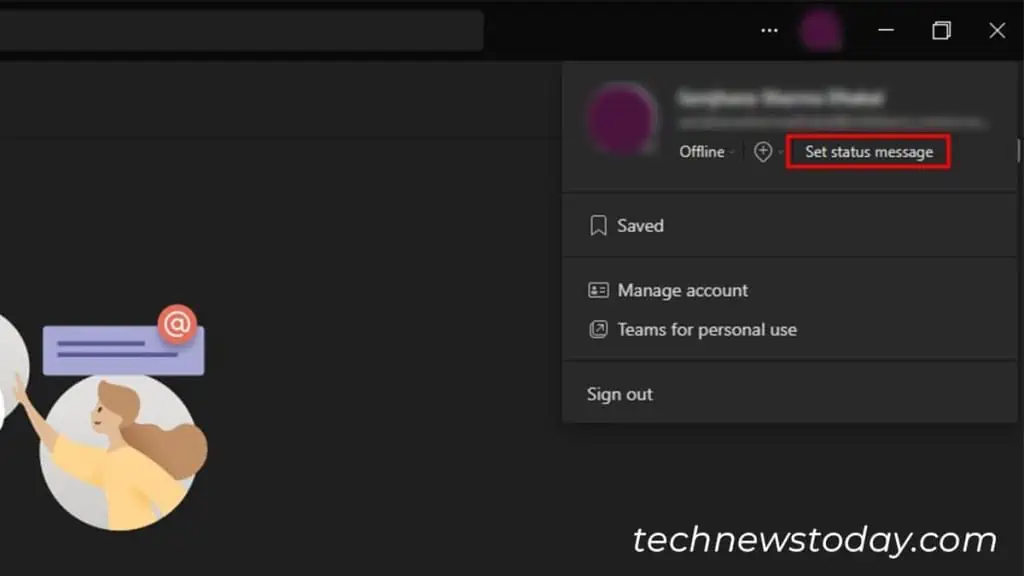
- Click your profile icon on the right.
- On the drop-down menu, locate the Set status message.

- Under less than 280 words, type in a custom message.
- Select Never under the Clear status message after.

Host a Private Meeting
You can host a private meeting as this will stop Teams from showing away. However, after starting a private meeting, set your status to Available so your status isn’t displayed as Busy.
Also, note that this is pretty risky as your IT department can detect such calls as “Ghost Calls.” So, only use this method if you’re away for a short time. If not, prepare to explain an hour-long call with yourself!
- Open the Microsoft Teams app.
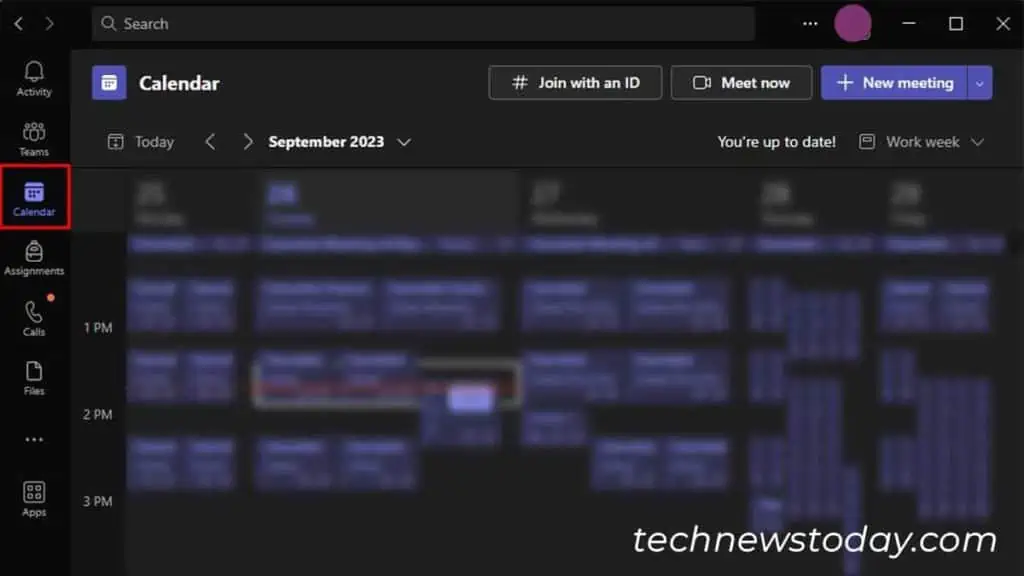
- On the panel to your left, select the Calendar option.

- Select Meet Now > Start a meeting.
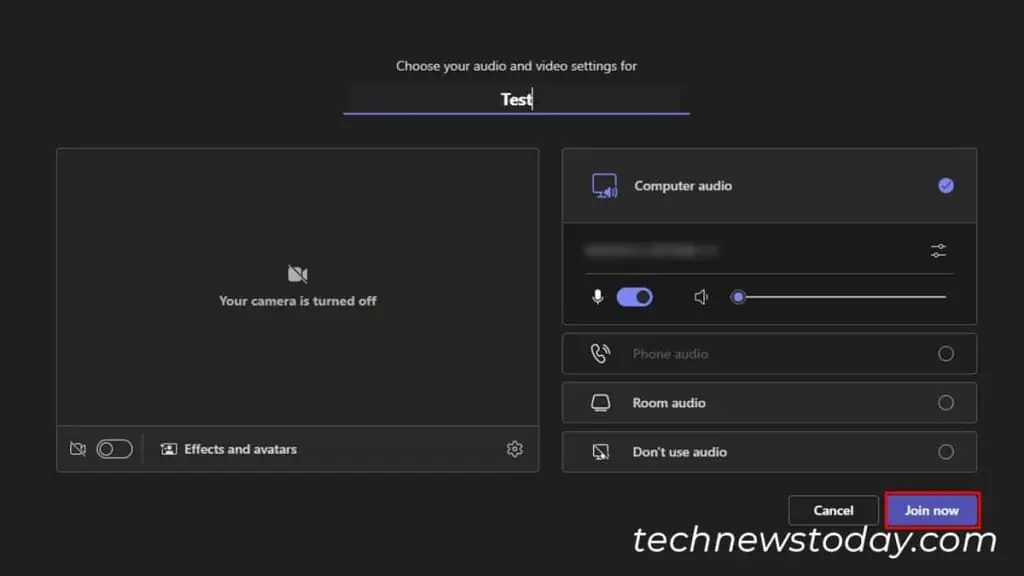
- Click Join Now.

- Set your activity status to Available by clicking on your profile icon.
Increase Your Computer Sleep Time
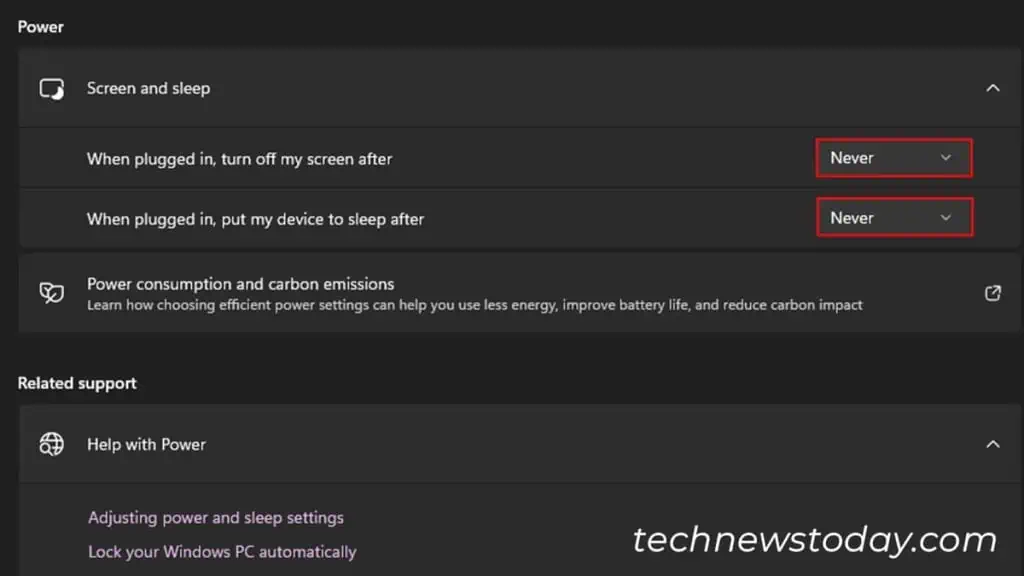
When your screen goes to sleep, your status on Microsoft Teams automatically sets to Away. You can increase the time for your screen to sleep on the Settings application.
- Press Windows key + I to open Windows Settings.
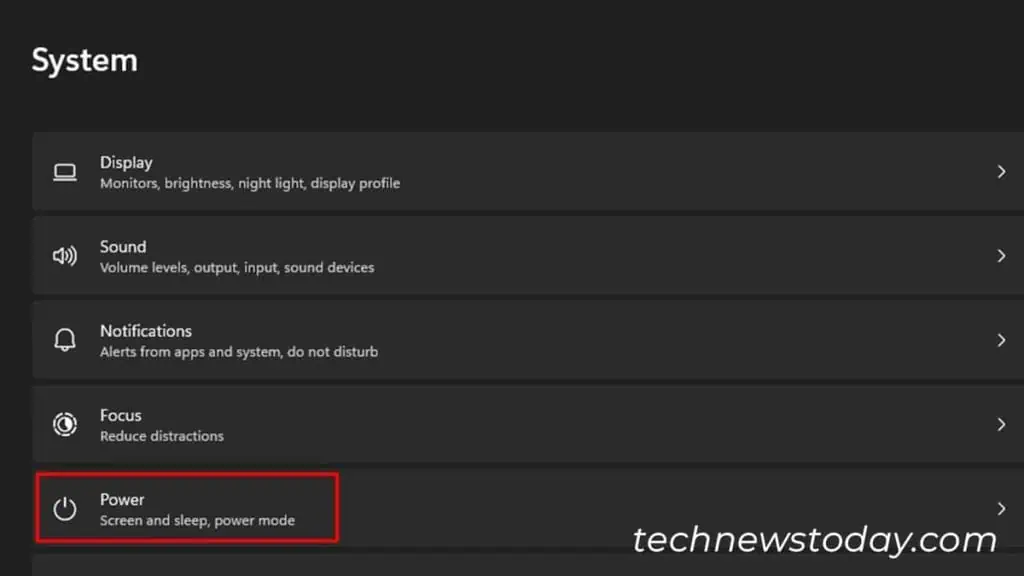
- From the sidebar, select System > Power.

- Drop down the menu for Screen and Sleep.
- Increase the sleep screen time as required.

Use PowerShell Script to Keep Your Device Active
There are three ways you can keep your device active to stop teams from showing away. You can keep your system active using third-party applications like Jiggler or Caffeine.
However, if your group policy restricts you from using third-party applications, put something light on your keyboard’s Shift key. As the key is in use, Teams thinks you’re active.
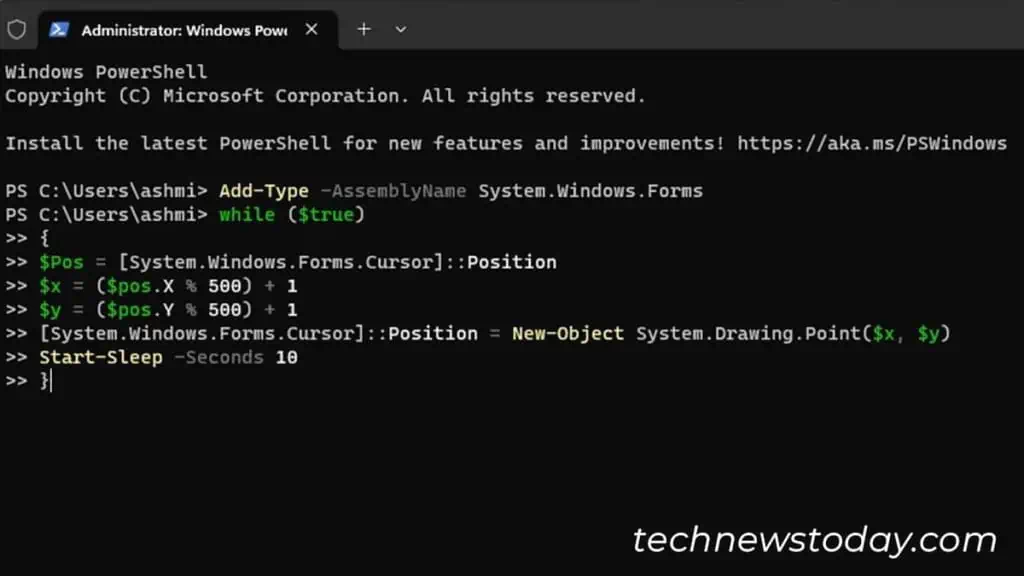
If both of these aren’t feasible, you can run a Powershell script to keep your mouse active every ten seconds. Follow these steps to apply the code:
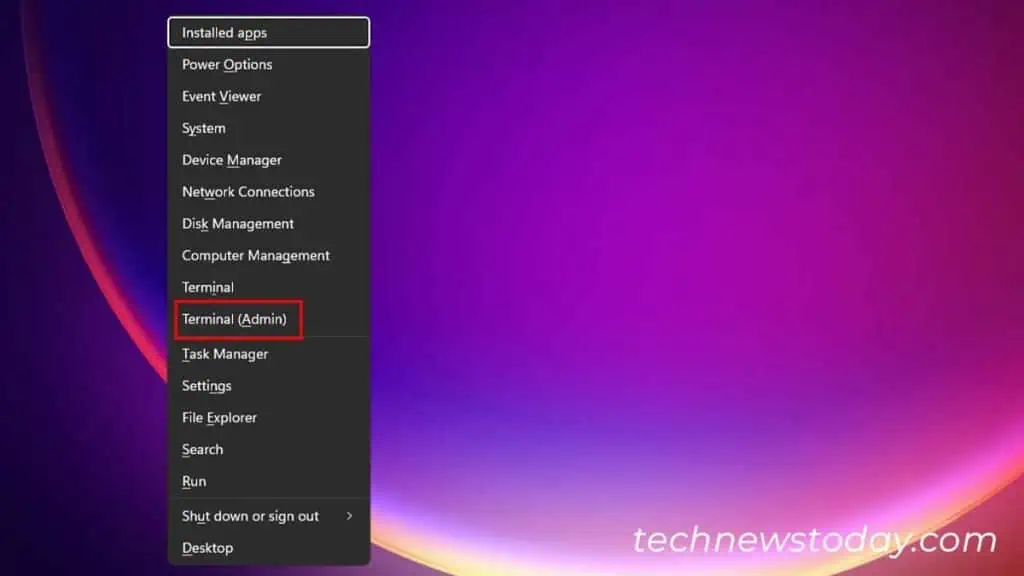
- Use Ctrl + X and select Terminal (Admin).

- Select Yes on the User Account Control pop-up.
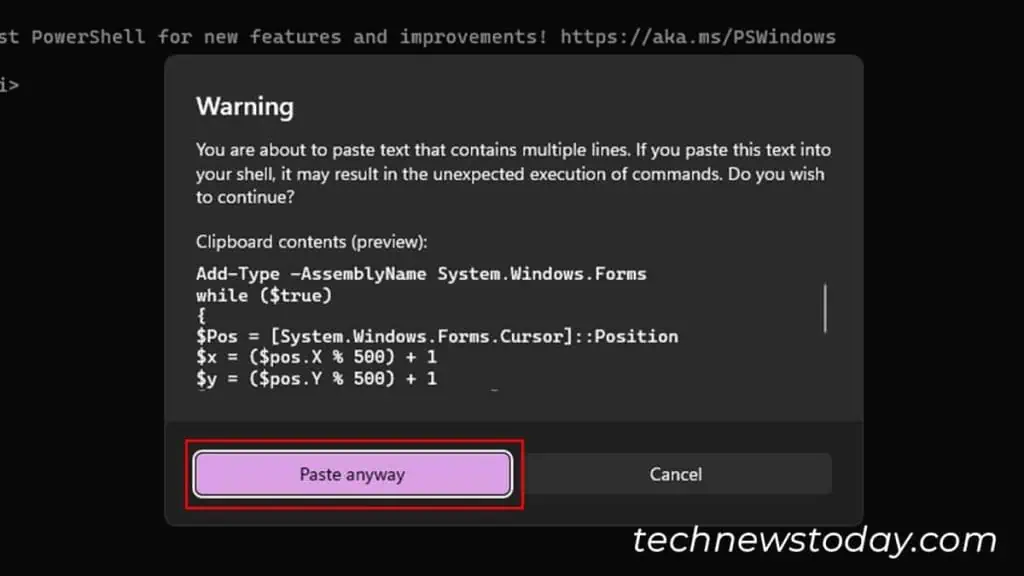
- On the PowerShell window, enter the following script:
Add-Type -AssemblyName System.Windows.Forms
while ($true)
{
$Pos = [System.Windows.Forms.Cursor]::Position
$x = ($pos.X % 500) + 1
$y = ($pos.Y % 500) + 1
[System.Windows.Forms.Cursor]::Position = New-Object System.Drawing.Point($x, $y)
Start-Sleep -Seconds 10
}
- If prompted when pasting, select Paste anyway.

- Keep the PowerShell window open.
- Close the application once you’re done.

