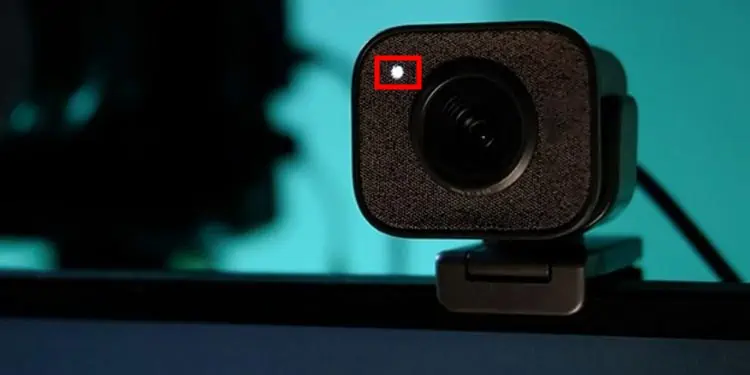
When your monitor’s camera isn’t working, it might seem like it’s been damaged and needs some physical repair or replacement. However, most problems with monitor cameras aren’t unfixable hardware issues. Often they’re just software settings that aren’t quite right and need a few tweaks.
Types of Monitor Cameras
There are two types of monitor cameras: built-in and external. An external monitor camera may be attached to the monitor on the bezel, but it isn’t integrated into the bezel itself. A built-in monitor camera is part of the bezel and the monitor itself.
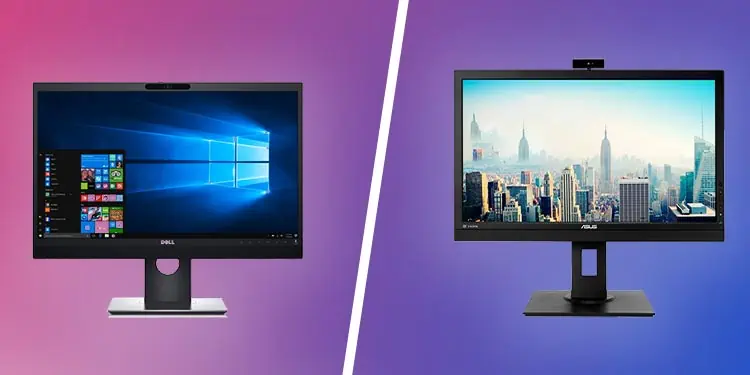
The built-in monitor cameras are a bit more difficult to troubleshoot than the external monitor cameras. External cameras can be easily replaced. Their cords can be checked for external issues. The problem could be something that a simple swap could fix.
Internal cameras are a bit more tricky. The hope is that an integrated monitor camera has a software issue rather than a hardware issue. It will be easier to fix since a hardware issue will likely mean taking the monitor apart or replacing it altogether.
Alternatives to Monitor Cameras
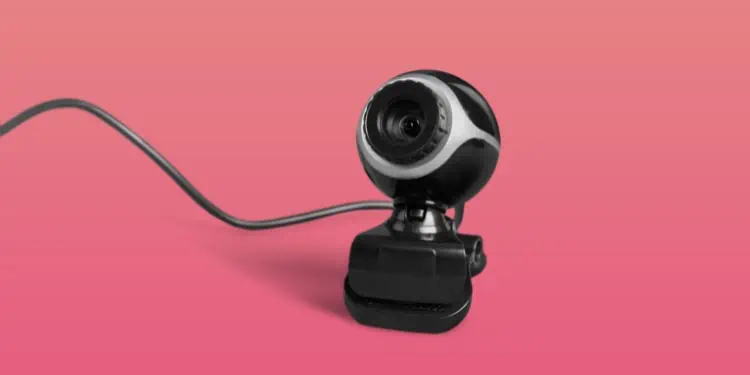
If you’re having difficulty getting your camera to work, you can use a secondary camera as a temporary solution. While it may not be ideal, some would attach to the top of the monitor to let you stream video until you fix the problem with the monitor.
Troubleshooting a Monitor Camera: Software Fixes
Unless there was some kind of physical damage to the camera, you should start by focusing on potential software fixes. It’s easier than taking anything apart or moving components, wires, and your monitor itself around.
Update Windows and Drivers
Updating your operating system, drivers, and monitor firmware to the latest versions will ensure that the issue isn’t caused by out-of-date software. As problems pop up, manufacturers roll out updates to help fix them, but you must install those updates to activate them if you don’t have it set to install automatically.
Windows updates more often than you might expect, but not all the updates are critical. However, once you start experiencing an issue, you should check to see whether any updates were missed.
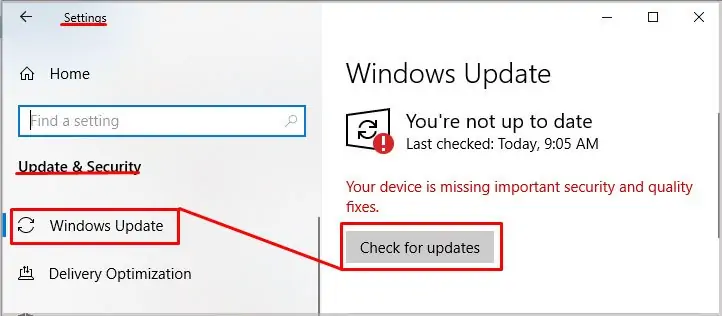
- Press the Windows key + I and choose Settings.
- Choose Update and Security.
- Click Check for Updates. If an update is available, Windows will start downloading it immediately after. Sometimes these updates are extensive. It’s OK to do other tasks while you wait for it to finish downloading.

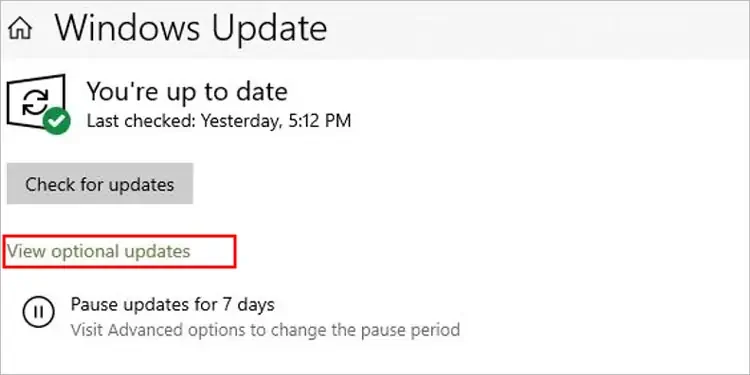
- Click View Optional Updates.

- Expand the Driver Updates category.
- Search for any related to your monitor, camera, or other video settings. If you don’t see anything relevant, return to the main Update page and wait for the updates you downloaded to install.
- Restart your computer.
Once you’re done, you can try the monitor camera again. If it works, fantastic! If not, try to update your relevant Windows drivers.
- Press the Windows key to open the start menu.
- Type “Device Manager” and click the corresponding app from the list. The Device Manager lets you see the hardware installed on your computer and manage its firmware.
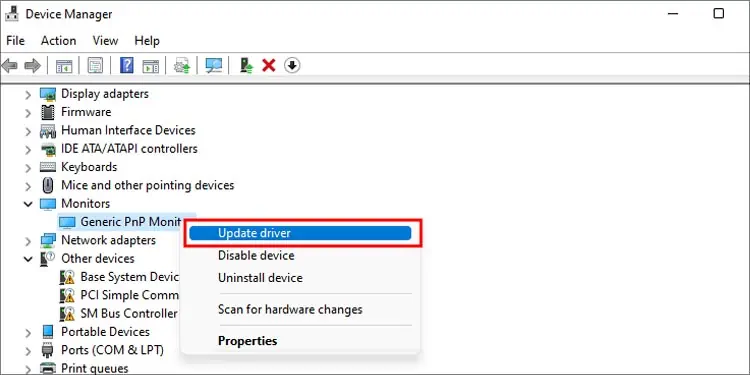
- Expand the monitors category and look for an entry for your monitor.
- Right-click the monitor.
- Choose Update Driver.

- Follow the prompts to search online for a driver and install it, if available. You don’t need to update it if nothing is available. Instead, return to the Device Manager main screen.
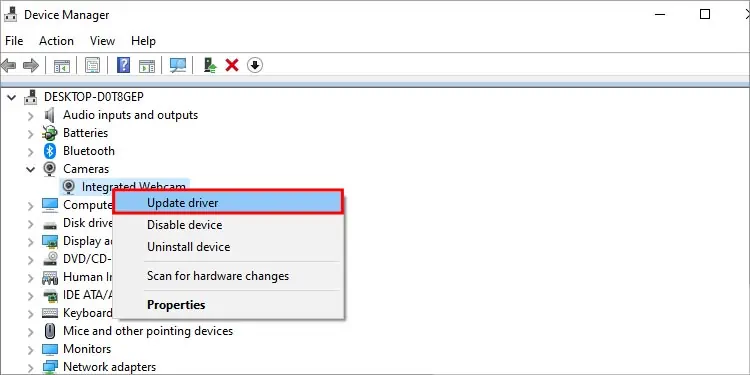
- Look for a heading that says Cameras, Imaging Devices, or Video and Game Controllers. Expand each category.
- Look for an entry specifically for your monitor camera. Right-click that entry when you find it.
- Choose Update Driver.

- Choose Search Automatically for Drivers.
- Follow the prompts to install the update if one is available. If there isn’t one, you’re running the best drivers for your webcam.
If you can’t see the camera in Device Manager, note it. That indicates that it could be disconnected or experiencing some kind of mechanical issue. We’ll talk about that more in the hardware troubleshooting steps.
Updating Monitor Firmware
Your monitor also runs on firmware; it’s similar to software but made for hardware devices like monitors, cameras, and other peripherals. It helps tell the monitor how to function and sometimes requires updates for compatibility with other devices. Updating your monitor’s firmware might fix the problem with your camera, assuming the manufacturer has released an update.
- Depending on your monitor, you may need to download and install the firmware from the manufacturer onto a USB drive before continuing.
- Use the buttons on your monitor to open the menu.
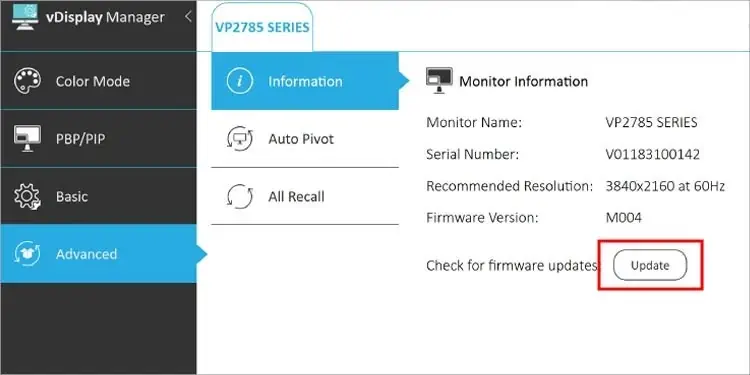
- Look for a Configuration or Advanced option. Depending on your setup, it may be near the end of the menu options.
- Connect your monitor to a USB with the latest firmware. Some monitors can also be updated by connecting them to a computer with a specific cable type. Check your manual to see which is best for your monitor.
- Choose the option to Update in the menu.

- Wait for the update to finish.
Once it’s done, try your camera again.
Keep in mind that firmware updates are applied differently based on your monitor. You should also be able to see the firmware you’re already running, which means you can check to see whether it’s the latest release or not before beginning.
Enable the Camera in Windows
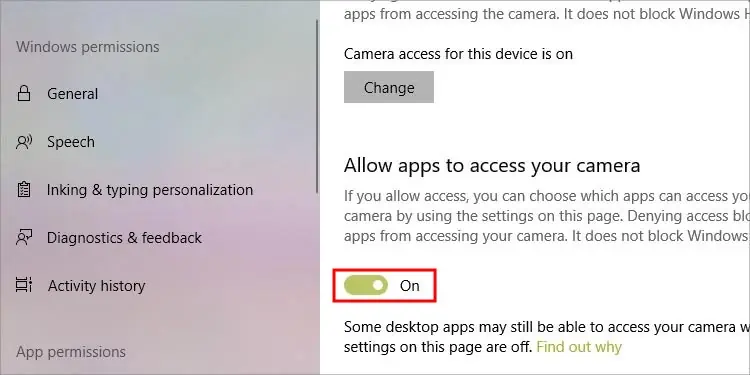
Windows also has an option to turn off your camera so that programs can’t access it. Your camera may be working, but this setting is switched on, so it’s not displaying anything.
- Press the Windows key and then choose Settings.
- Choose Privacy.
- Choose Camera from the lefthand menu.
- Click Change and switch the camera to On.

- Scroll down and switch the program you want to use to have camera permissions.
Now restart your computer and try the camera again.
Check Your BIOS Settings
Sometimes the webcam itself is turned off in BIOS. When people want to make a change to the computer that overcomes any user or administrative options, they often change the options in BIOS. As long as you can access it and make changes, switching it back on is simple.
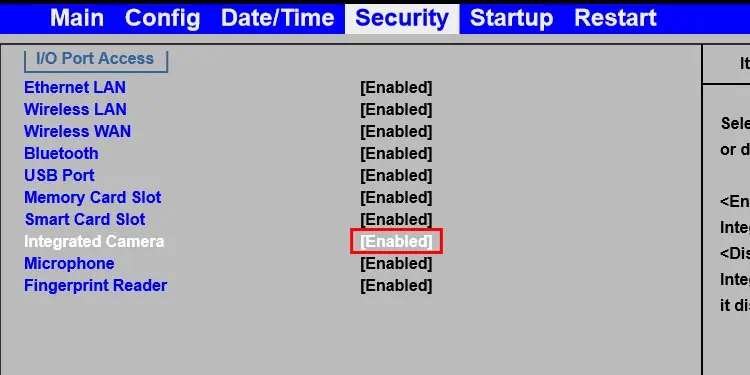
- Restart your computer and press the appropriate button to enter BIOS. Which button depends on your system. You should be able to see it quickly on your screen or check your user manual if you don’t know.
- Look for the Security.
- Open the I/O Port Access.
- Look for an Integrated Camera option.

- Switch the option Enable.
- Save changes and exit BIOS.
Each BIOS is built a little differently, depending on who made your motherboard. The listings might differ, but the general location should be the same.
Look for a Switch
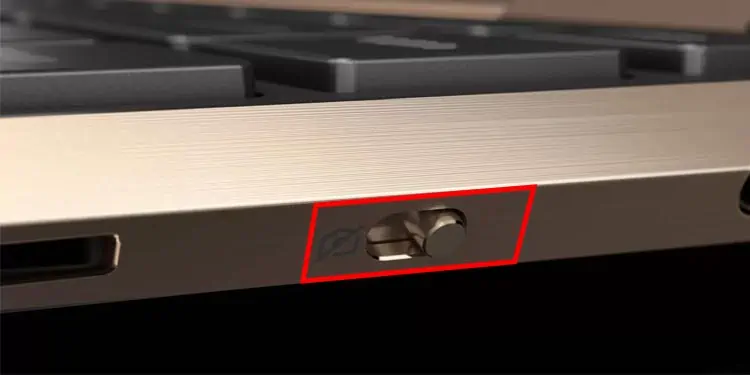
Many modern laptops and monitors have buttons to disable a built-in webcam quickly, so you have a quick option for moments when you want guaranteed privacy. If you aren’t sure whether you have one, take a quick peek around your device’s sides, back, and edges. You might find one you can switch to enable the camera.
Some cameras are also switched on or off by pressing FN + F10.
Try Using a Built-in Troubleshooting
Windows has several troubleshooters that can help identify hardware and software issues. It might be able to fix what is wrong with your monitor.
- Press Windows key + R.
- Type
CMD. - Type “
msdt.exe -id DeviceDiagnostic” without quotes.
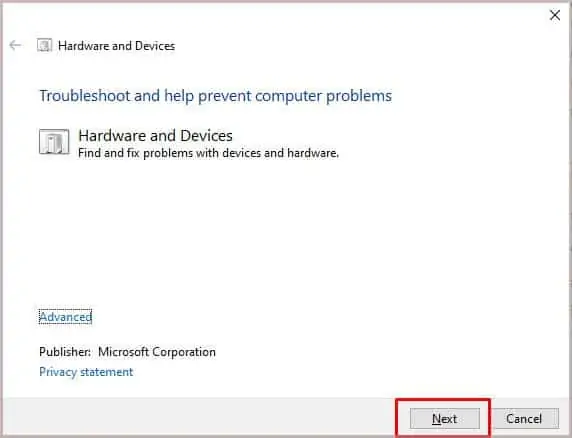
- Press Enter. The hardware troubleshooter should launch in a new window.
- Click Next and let the program work. It may take a while to look for problems in your system. Don’t be surprised if things seem a bit slower on your computer while it’s working.

- Read through each prompt when it’s done and determine whether or not you want to apply the recommended fix. Follow the steps to complete the troubleshooter.
- Restart your computer and try the camera again.
Since it isn’t a troubleshooter specifically for webcams, other issues may be brought to light. Read the descriptions and the suggested activities for each to see whether your computer needs a little extra maintenance.
Troubleshooting a Monitor Camera: Hardware Fixes
Hardware fixes are a bit trickier. Most monitor cameras will be built-in, meaning you’d have to take the actual bezel of the monitor apart to troubleshoot it.
While that isn’t necessarily something each home user will want to do, you can still check a few things to ensure the monitor is working as it should.
- Turn the monitor off. Try switching power outlets and hookups on the back of the monitor. Turn it back on and test the webcam again.

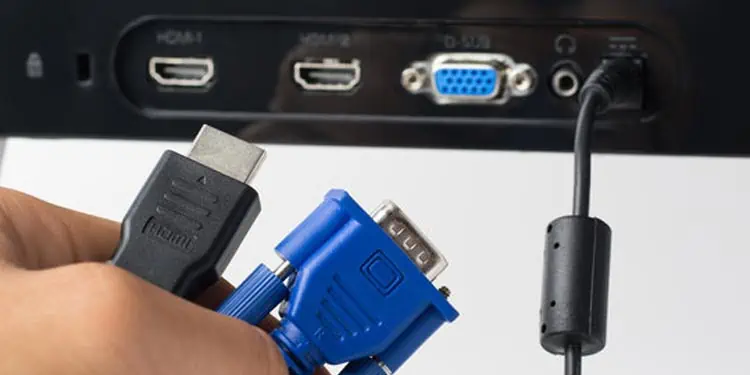
- Try using different power and connection cords. If the webcam starts working after the new cables are in place, there is probably something wrong with the data or power transfer.
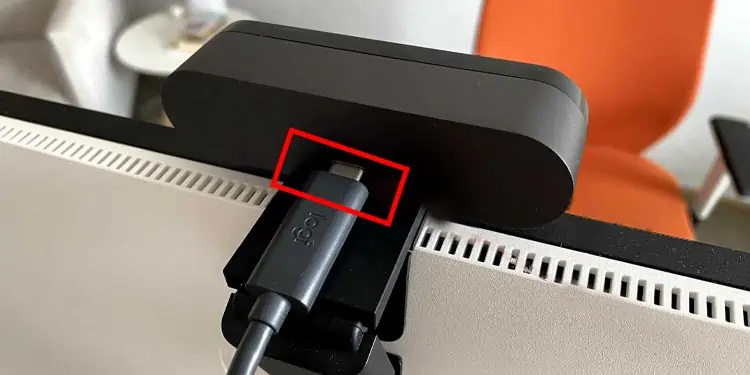
- If the camera is mounted, try changing the cables that connect the camera to the monitor.

- Look for a switch on the camera itself.

- Finally, if it still isn’t working, you may need to take apart the bezel, fix the connection, or replace the camera module. This will require advanced troubleshooting and can damage your device if you aren’t comfortable working on electronics.
While you can take it apart yourself, it will be easier for most users to reach out to a qualified tech support place for help. You should also consider putting in a ticket with the manufacturer if it’s still under warranty.
