Issues with data or power connections may prevent your monitor from turning on. Most users claim to have faced this problem when their system goes to standby or sleep mode but doesn’t wake up. Also, this can happen when the operating system can’t boot up or there are problems within the internal hardware components.
If you do not notice any light on the monitor’s LED, note that there’s a problem with your power port or the cable. In other cases, the LED emits light but you’re stuck with a black screen. This indicates issues with the data port or cable.
Before moving forward, we first recommend force restarting your computer and reconnecting all the cables. Also, you can try resetting the graphics driver (using Windows + Ctrl + Shift + B keys) to resolve possible display issues.
Inspect Cables, Ports, and Wall Outlets
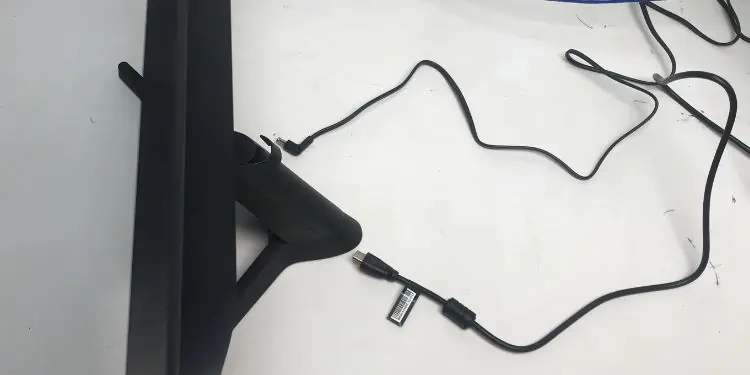
First and foremost, you need to ensure that none of the cables and ports are damaged. In some cases, the wall outlet may have been damaged. So, you can try connecting the power adapter to another outlet.
Next, inspect both the power and data (HDMI, DisplayPort, VGA) cables, ensuring they aren’t broken. Kindly replace the cable if found damaged. You may even try another data cable if your monitor supports the interface.
While you’re at this, don’t forget to check the power and data ports. If you find any issues with the power port, kindly check the warranty and take it to the nearest repair center to get it fixed. For damaged data ports, you may simply plug the cable into an alternative one or use a different interface.
Power Cycle Monitor
Power cycling will recover your monitor from its unresponsive state, fixing the basic problems by reinitializing the configuration parameters. Below is a simple guide on how you can do just that:
- First, force shut down your computer and power off the monitor.
- Next, unplug both the data and power connectors. Also, we recommend disconnecting from the power source.

- Wait for about two to three minutes and reconnect all the cables.
- Finally, power on the monitor and start your computer.
Examine Error Messages on the Screen
If the monitor isn’t completely black and instead throws some errors, you can directly follow the screen instructions.
Note the Blink Codes
Some manufacturers have adopted blink codes to notify users of the possible cause when the monitor doesn’t turn on. These codes can be identified by noting the blinking pattern of your monitor’s LED or dedicated keys on the keyboard.
For example, HP’s Caps Lock key starts to blink (long blinks followed by short ones) with distinct patterns indicating different issues. Therefore, if you also notice similar blinking sequences, you may refer to your manufacturer’s official website to learn the root cause and their possible solutions.
Check Issue in Another Monitor
If none of the above fixes helped, the problem might lie within your monitor’s internal components. In this case, the only option is to repair or replace the output device.
Well, you can check this by connecting another monitor to your system. If the other display turns on without any issues, it’s an indication that your monitor is malfunctioning. However, if the second display also doesn’t turn on, know that there are issues with other hardware components.
Replace Monitor’s Backlight or LED Strips
The backlight inverters work as the light source for LCD monitors. So, the display panel won’t be able to produce images if it gets faulty.
To confirm that the backlight is failing, take a white light near the screen and check if you can see the graphics. If yes, kindly go through the below steps to replace the monitor’s backlight:
- First, shut down your computer and unplug the power cable from your monitor.
- Next, disassemble all the monitor parts – stand, bezel, and cover plate.
- Locate the inverter board and unplug all the connections. While you’re at this, also unplug the power supply cable.
- Now, carefully untighten the screws that hold the inverter board in place.
- Then, place a new backlight inverter here and tighten it.
- Reassemble all the components and check if your monitor turns on.
While the backlight inverters are present on LCDs, LED monitors have dedicated strips to generate images. Before replacing these components, you need to first ensure whether they are damaged:
- Take your monitor to a dark environment.
- Then, remove the monitor stand and its casing.
- Locate the LED strips, turn on your monitor, and check if they start glowing. If they do not glow, note that the LED strips are damaged.
- Unplug all connections from the monitor.
- If you haven’t already taken off the bezel, kindly remove it.
- Now, start removing these components in succession – tapes, display panel, filter panel, diffusion layers, tabs (that hold the reflector sheet), and finally the sheets.
- Then, disconnect the power connector of your LED strips. Once that’s done, carefully take off the LED strips.
- Next, align the new strips exactly how the older ones were placed.
- Now, connect the power cable to the new LED strips.
- Reassemble other monitor parts, and start your PC. This time, your monitor should turn on.
Check and Upgrade Faulty Hardware Components
If there are no issues with the backlight, you may want to check if the hardware components of your computer are faulty. We recommend inspecting both your Graphics Processing Unit (GPU) and Power Supply Unit (PSU).
Firstly, you can check whether the graphics card is appropriately seated and whether the power cable is also properly connected to the PSU:
- Remove the PC casing and lay it flat on the ground.
- Navigate to the graphics card and wiggle it. If it wiggles too much, know that it hasn’t been seated properly.
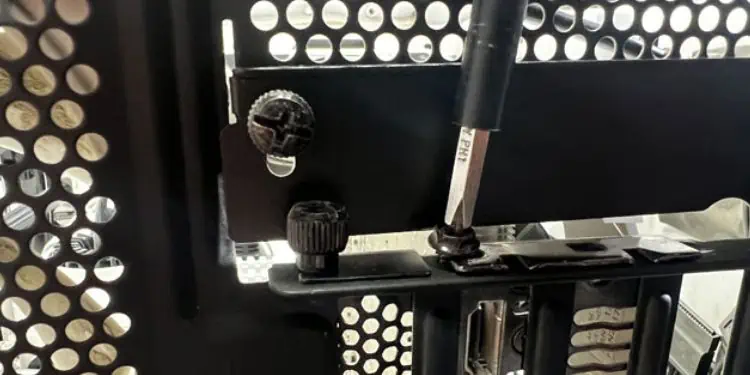
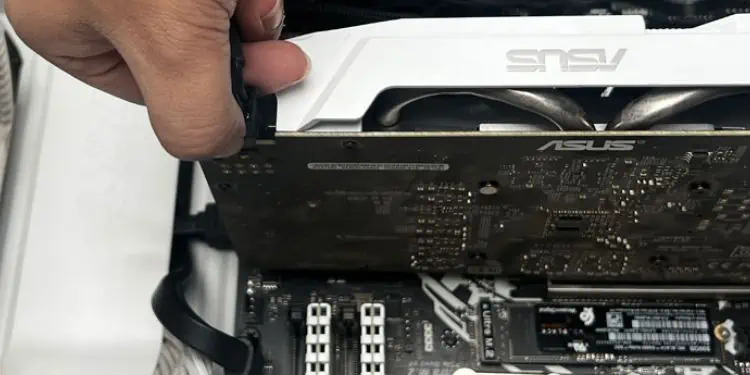
- Kindly untighten the screws and remove the card from the PCIe slot.

- While you’re at it, remove the power connection too.

- Now, clean the slots and the card to ensure no dust gets accumulated.
- Then, reseat the card to its slot and tighten it firmly. Also, reconnect the power cable to the PSU.

- Reassemble the components and start your computer. If there were issues with the GPU, they should get fixed and the monitor should turn on.
If this didn’t help, you may need to upgrade the faulty hardware components. But before doing that, we suggest checking the warranty period. If it hasn’t expired, kindly take it to the nearest repair shop. Otherwise, you can refer to our dedicated articles on how to change a PSU or upgrade the graphics card on your PC.


